
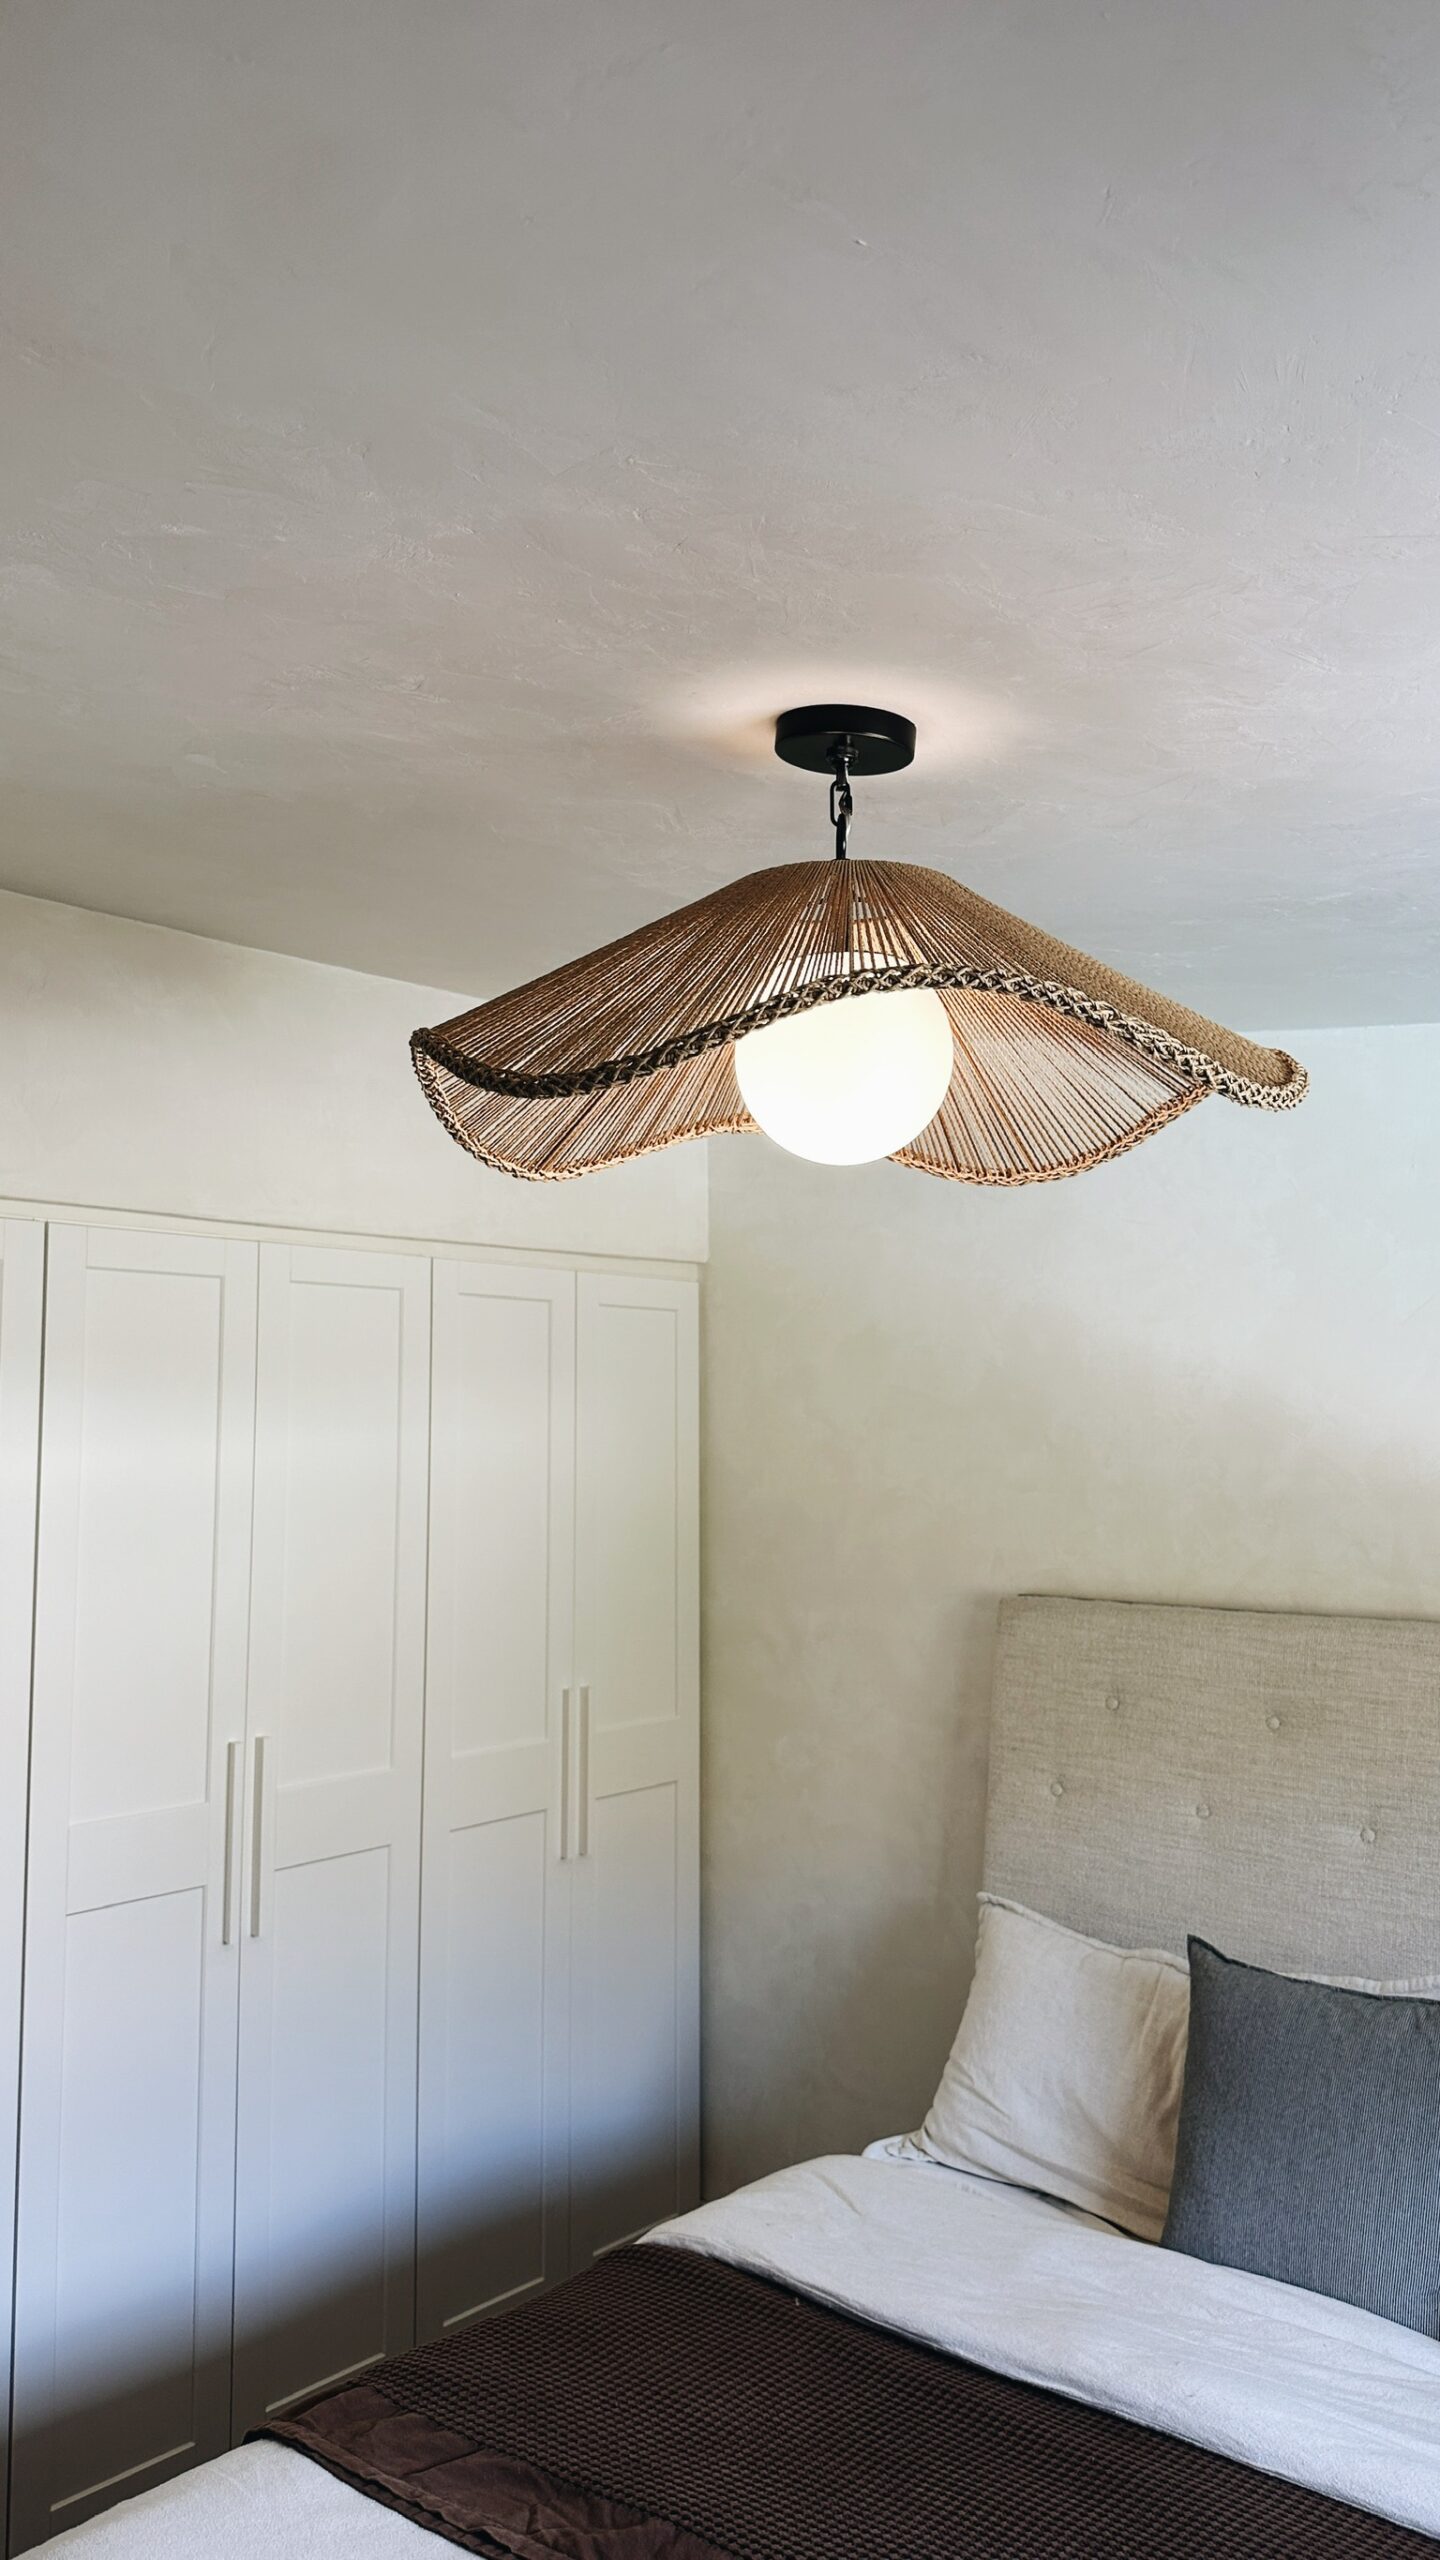
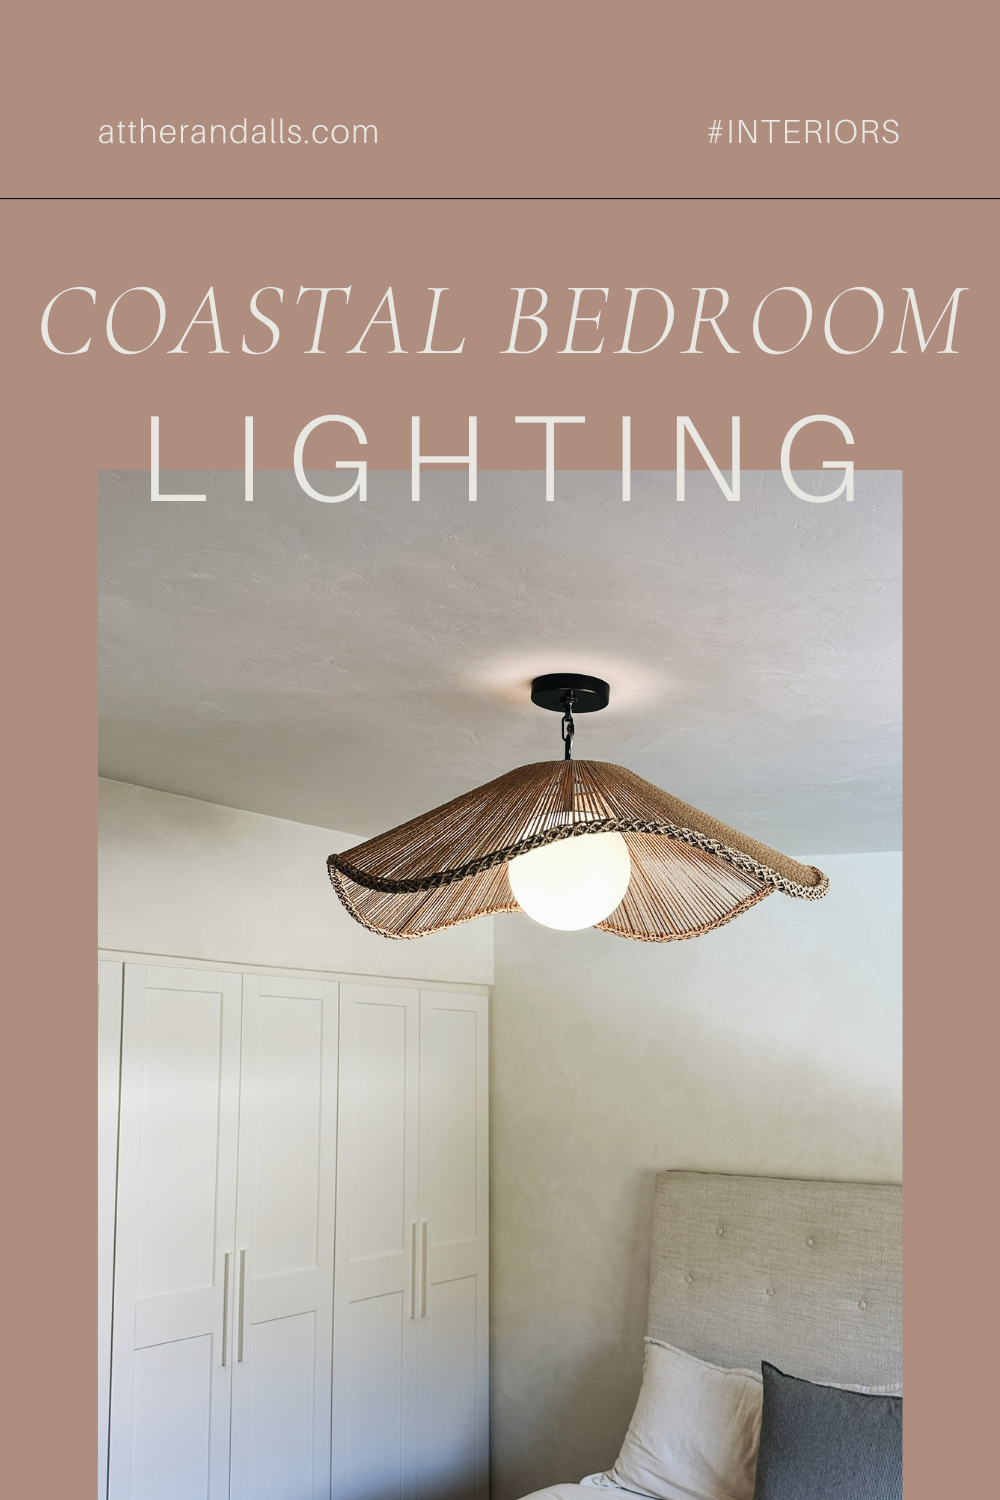
I got this AMAZING light from Shades of Light for our bedroom and I’m so excited to install it! I’ve had my eye on it for like two years and it’s finally time to put it up. I’m so excited for our new bedroom lighting.
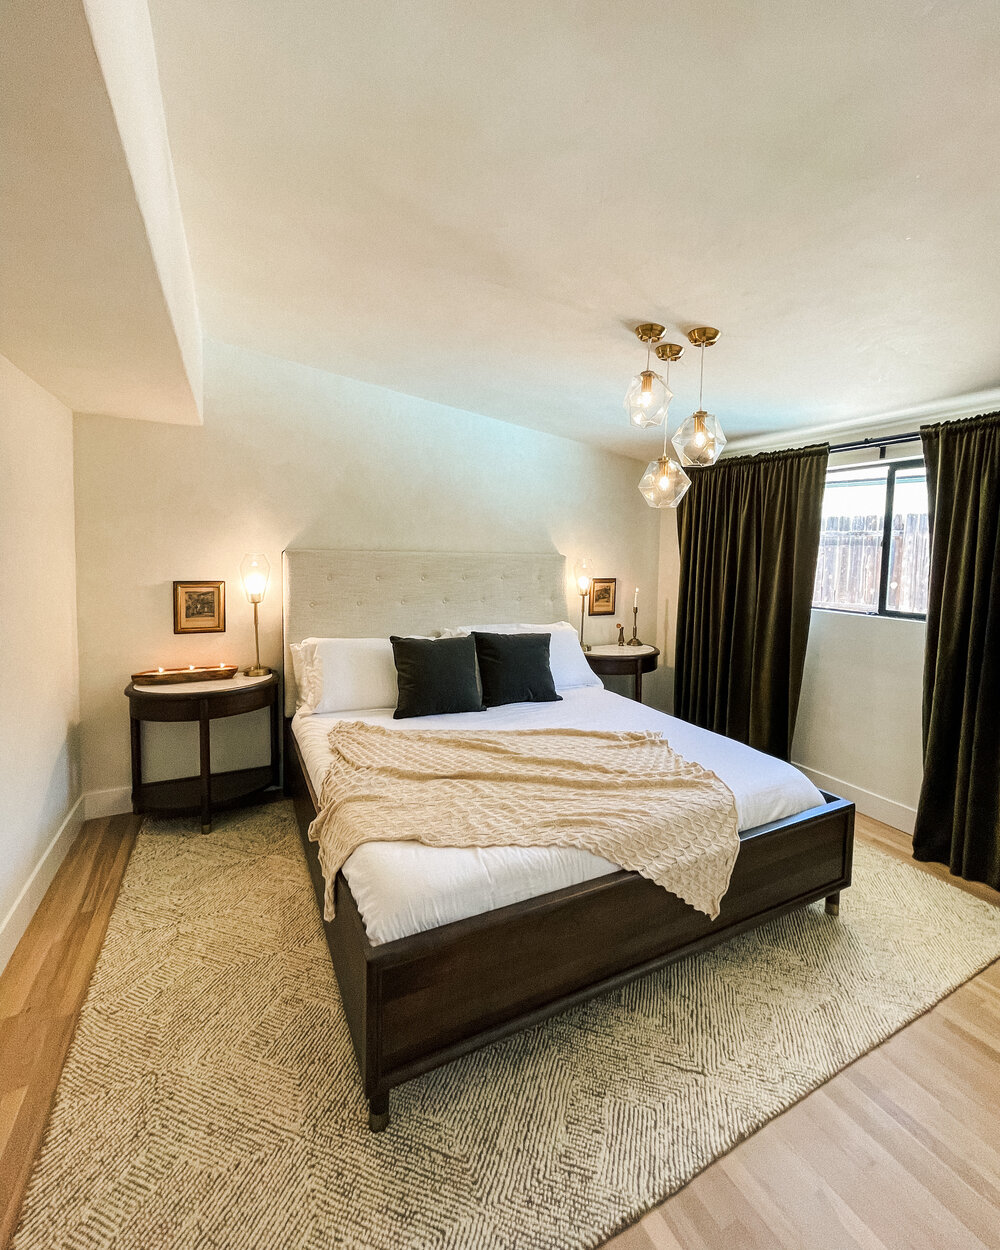
The lights we had in here before are super pretty. But, we installed them a little too close together and we’ve had to replace one of them twice already in only three years due to the glass shattering. It definitely isn’t ideal to have glass shattering in your bed…haha. Here’s what our room looked like a few years ago with our original lights:
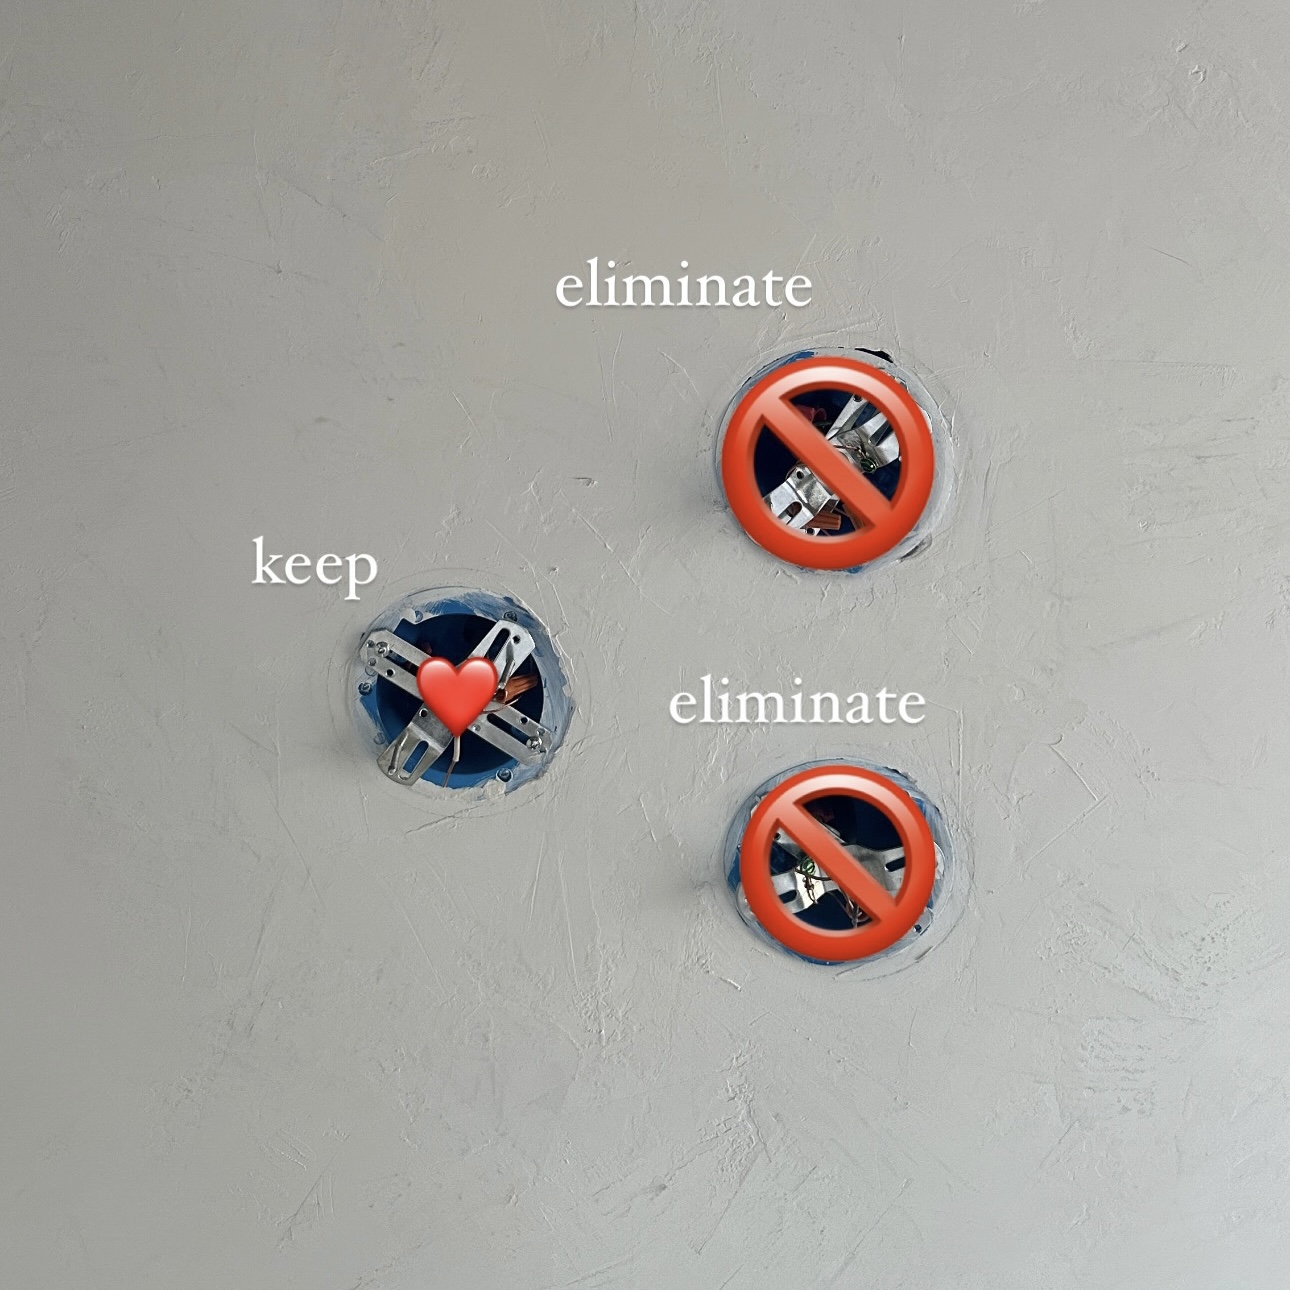
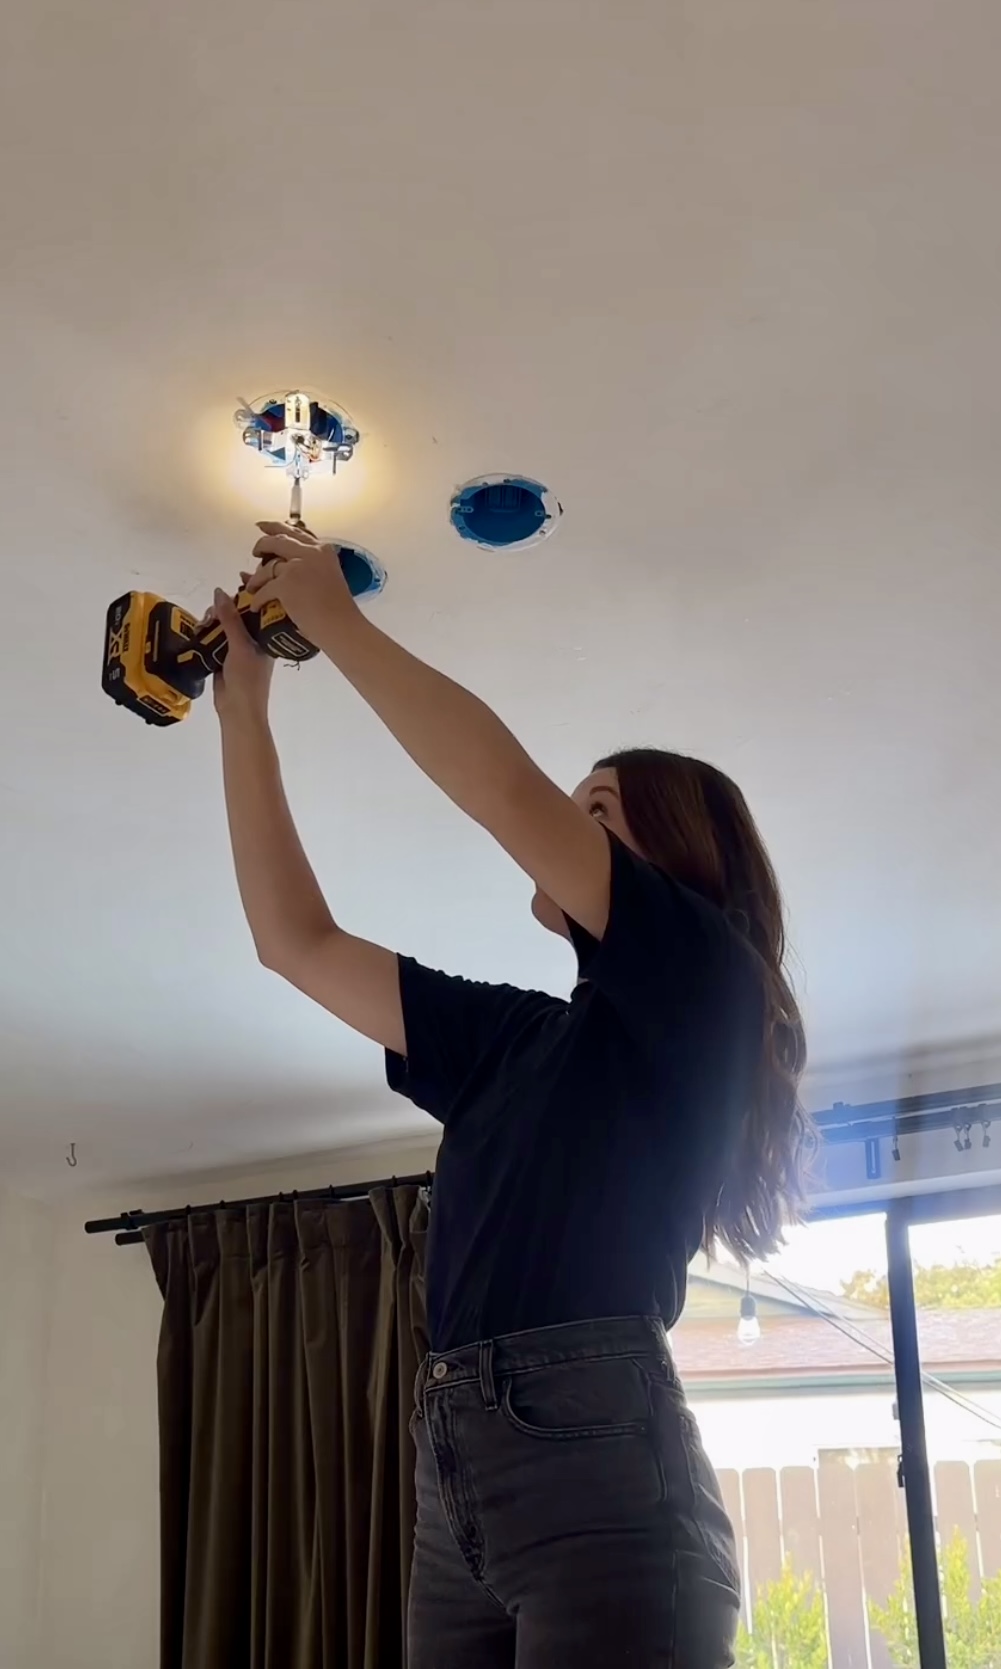
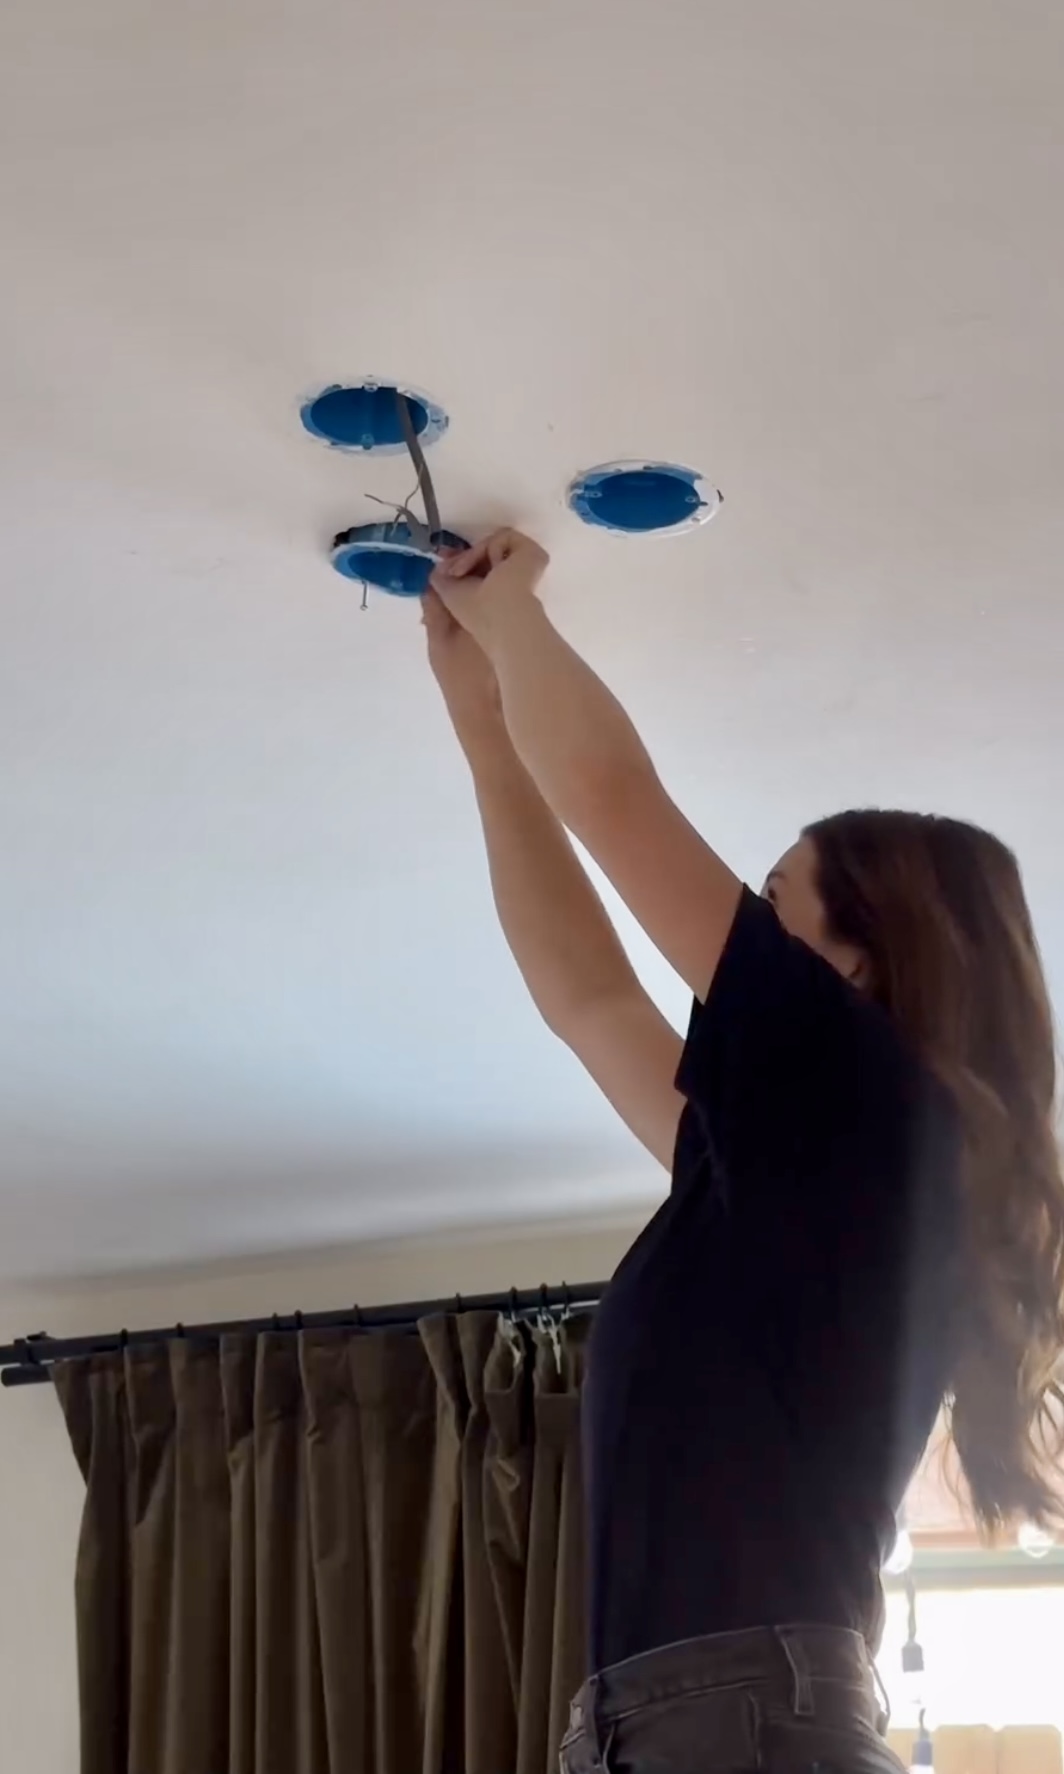
After I removed the original lights, it got a little bit tricky. I needed to eliminate two out of the three holes that were in the ceiling. We measured and found the one that is the most center in the room. The plan was to disconnect the wires, pull out the jboxes, and patch up the ceiling.
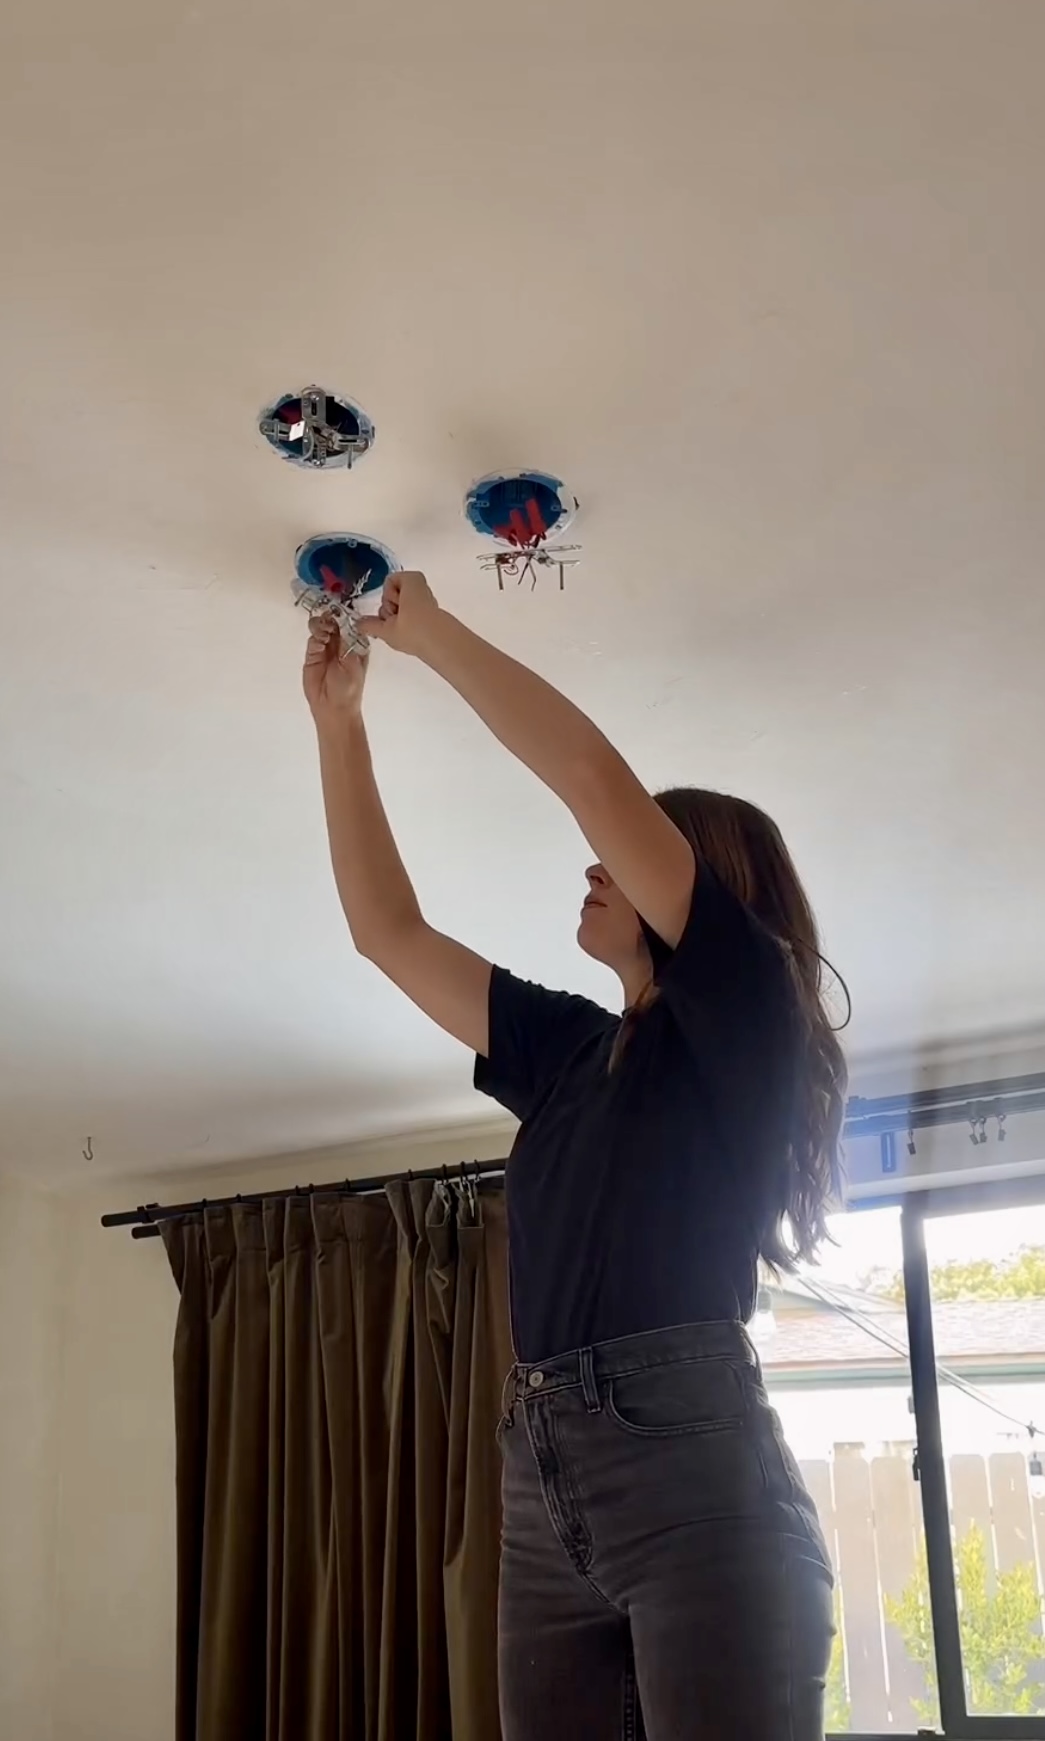
Jake walked me through how to do this. All the lights were “daisy chained” together. Before I started doing anything I made sure the power was off! To remove the jboxes, I unscrewed them and pried them off.
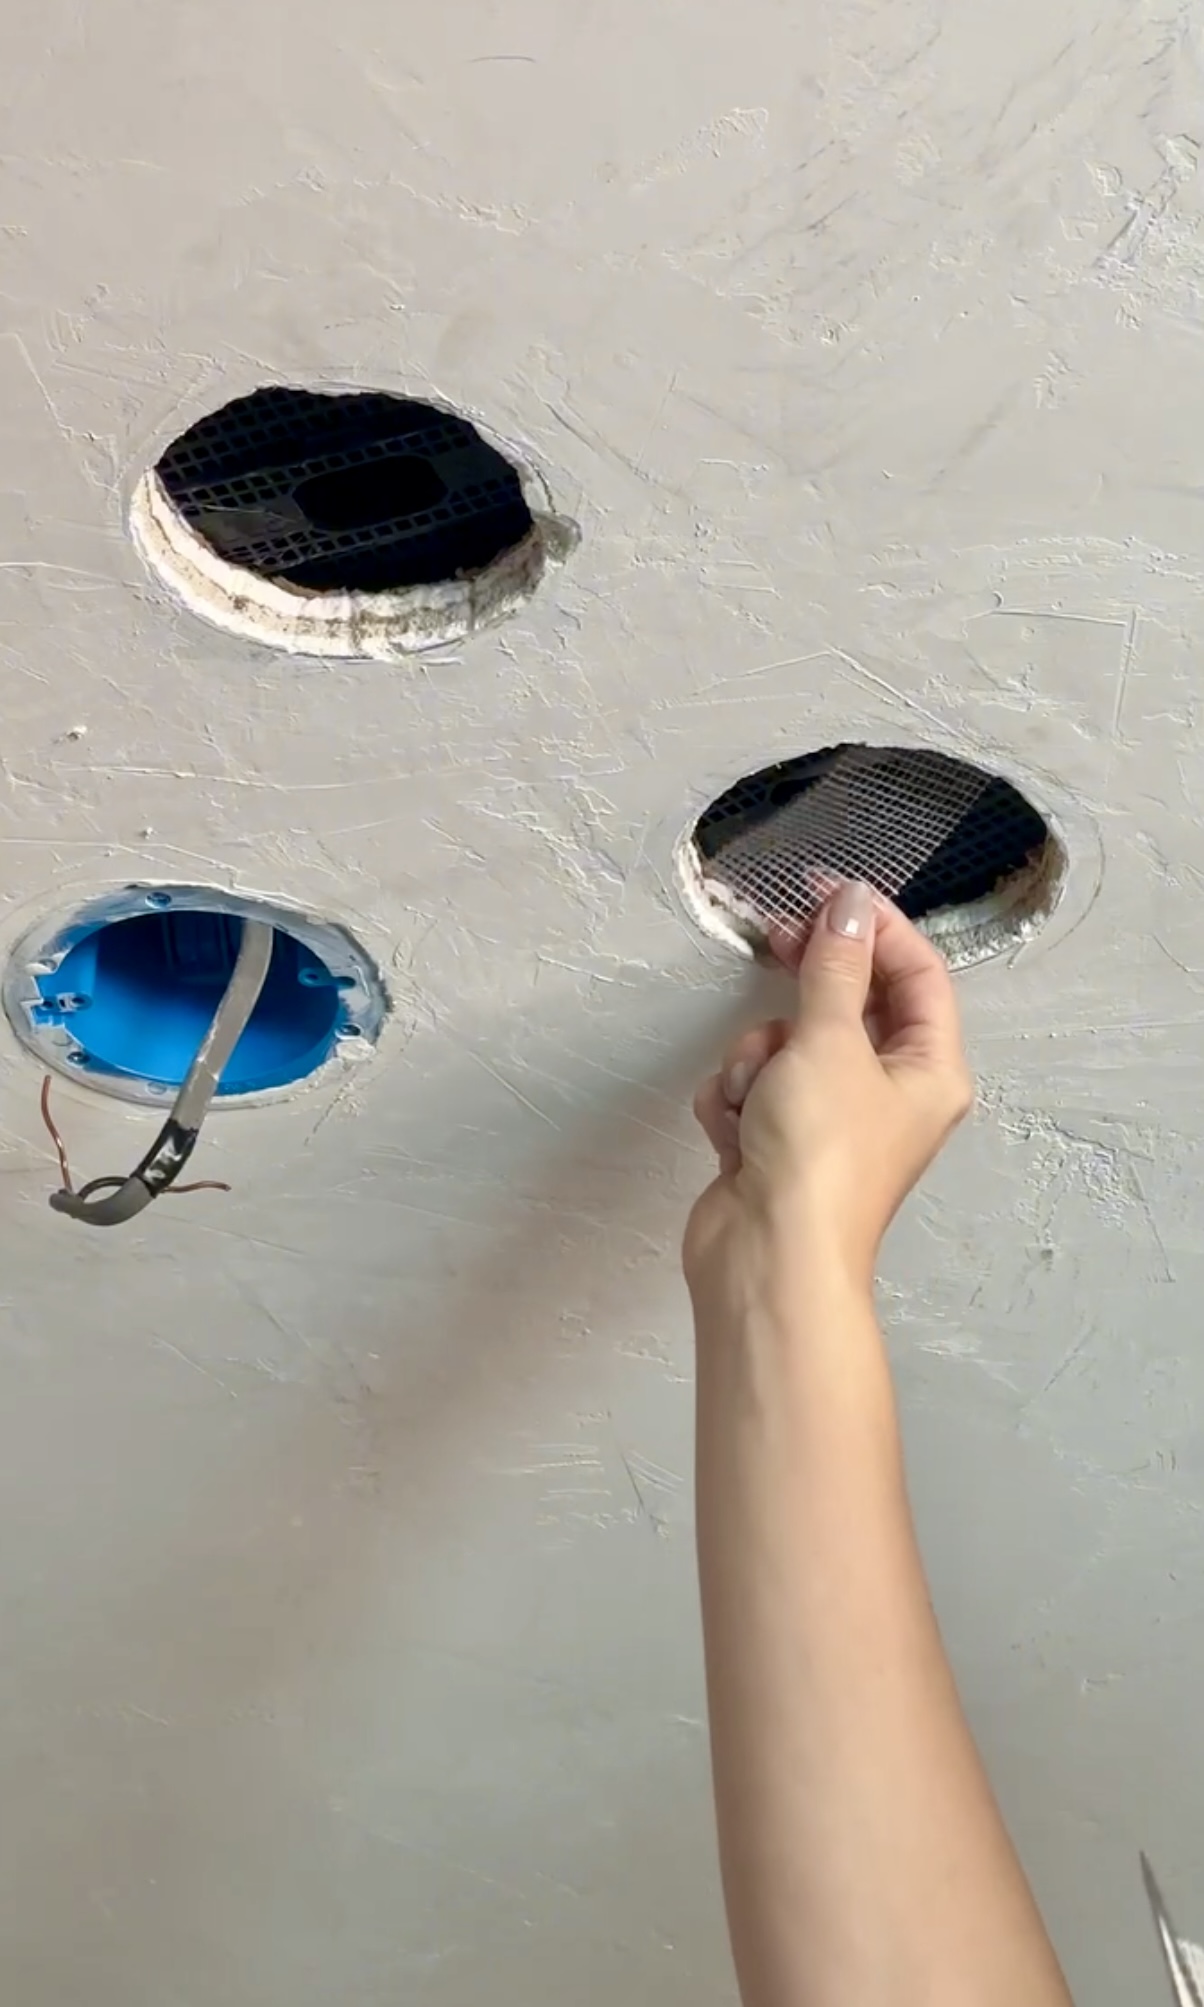
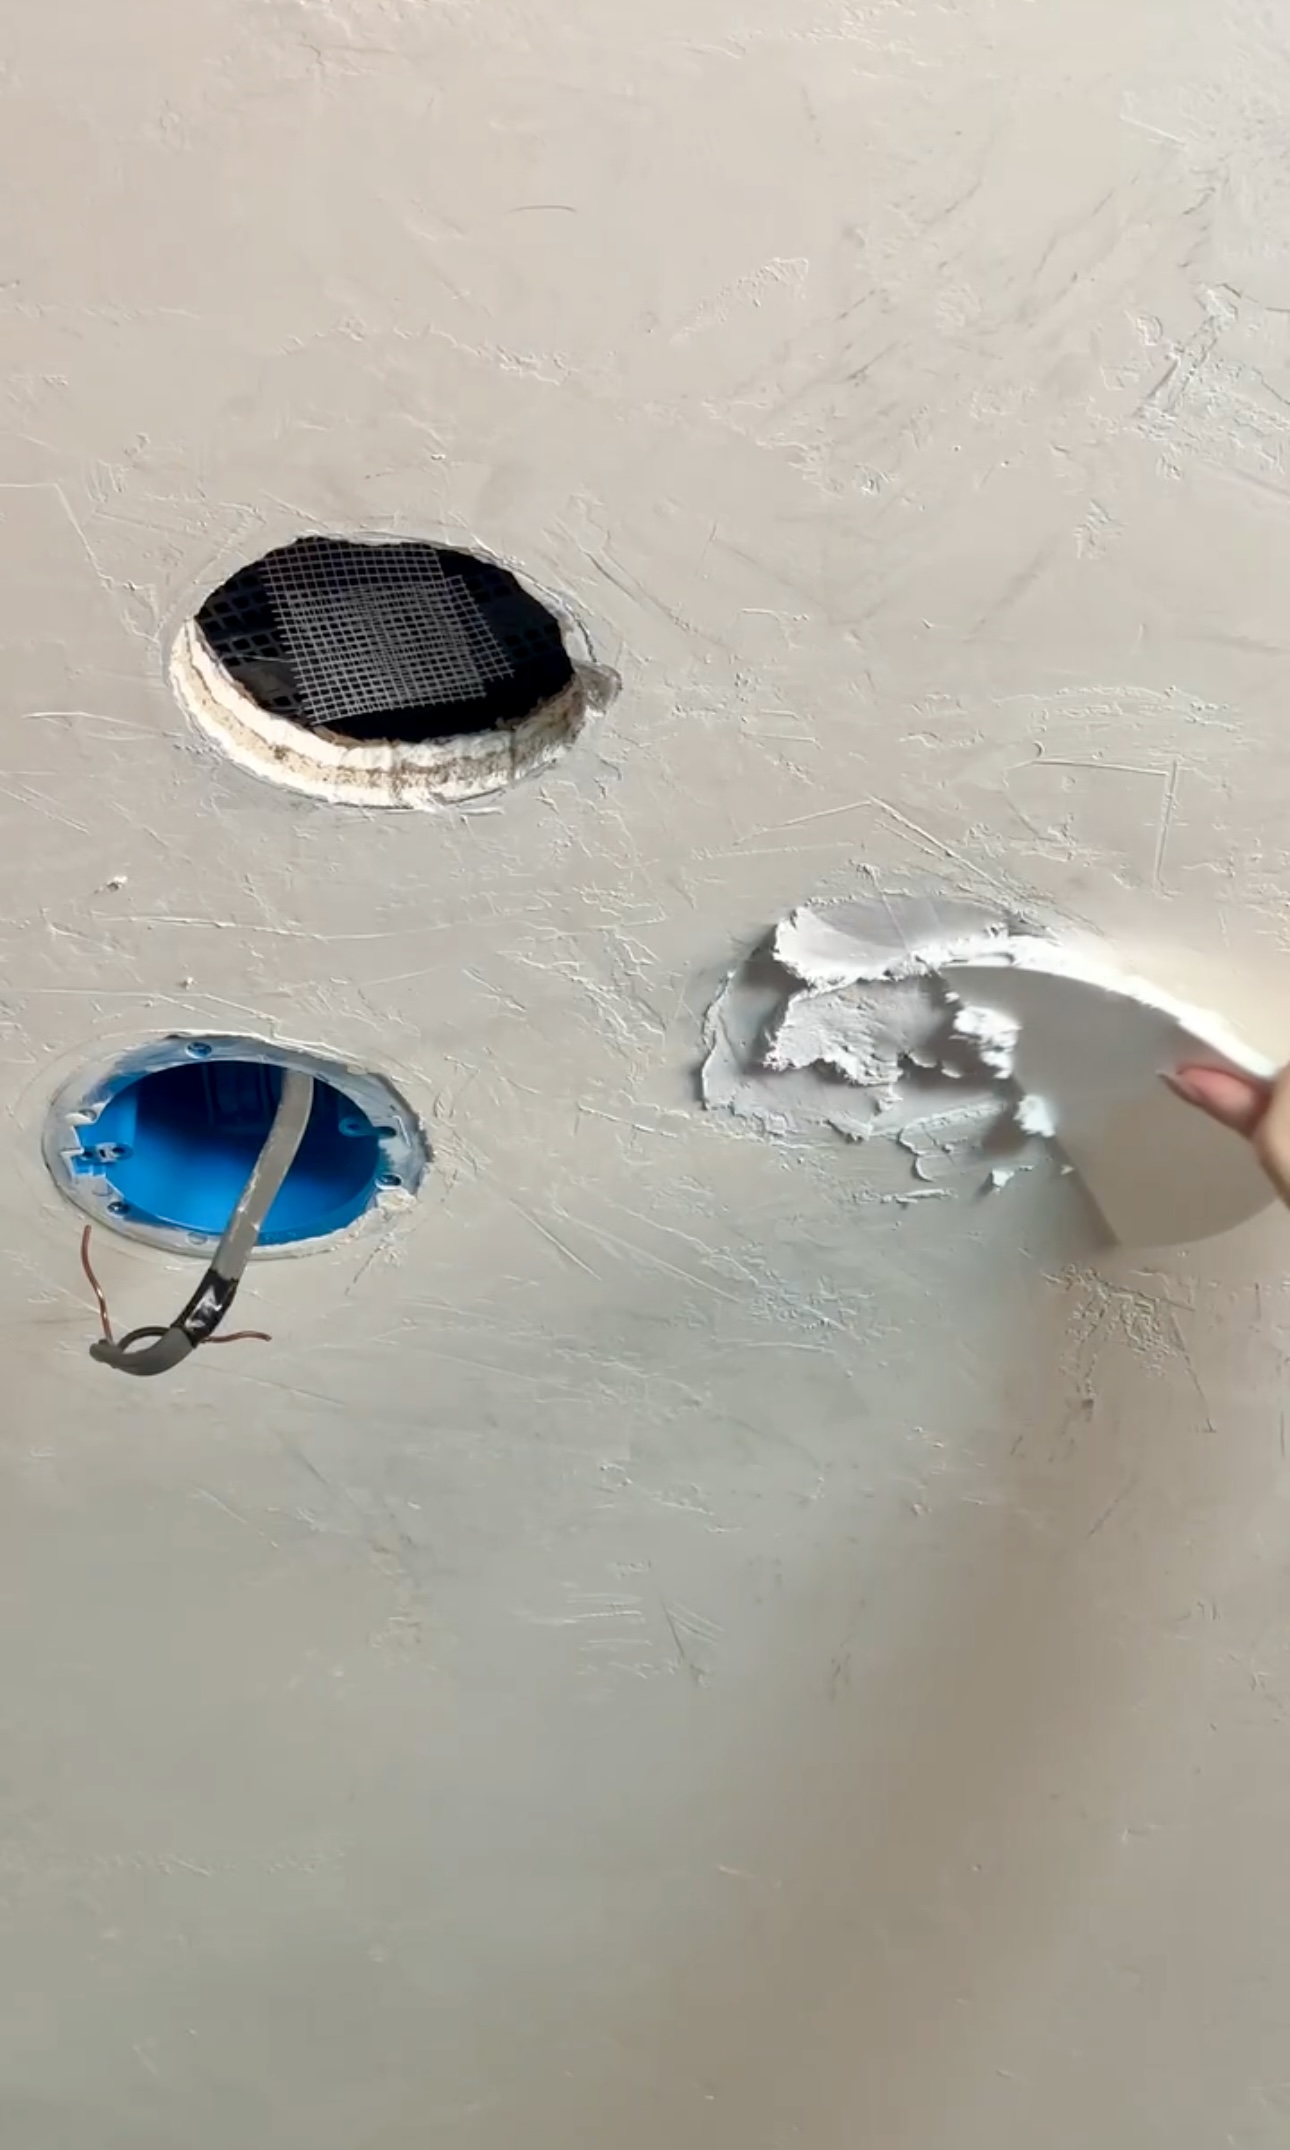
I got these hole patches to keep any little critters out of our bed. But the adhesive didn’t work properly because it’s so dirty above my ceiling and there was too much debris. I tried nail glue but that didn’t even cut it! I could have just done a regular patch over the top but I wanted to create a more seamless look for when these holes were filled. In the end, I went with with hot glue, and it worked perfectly!

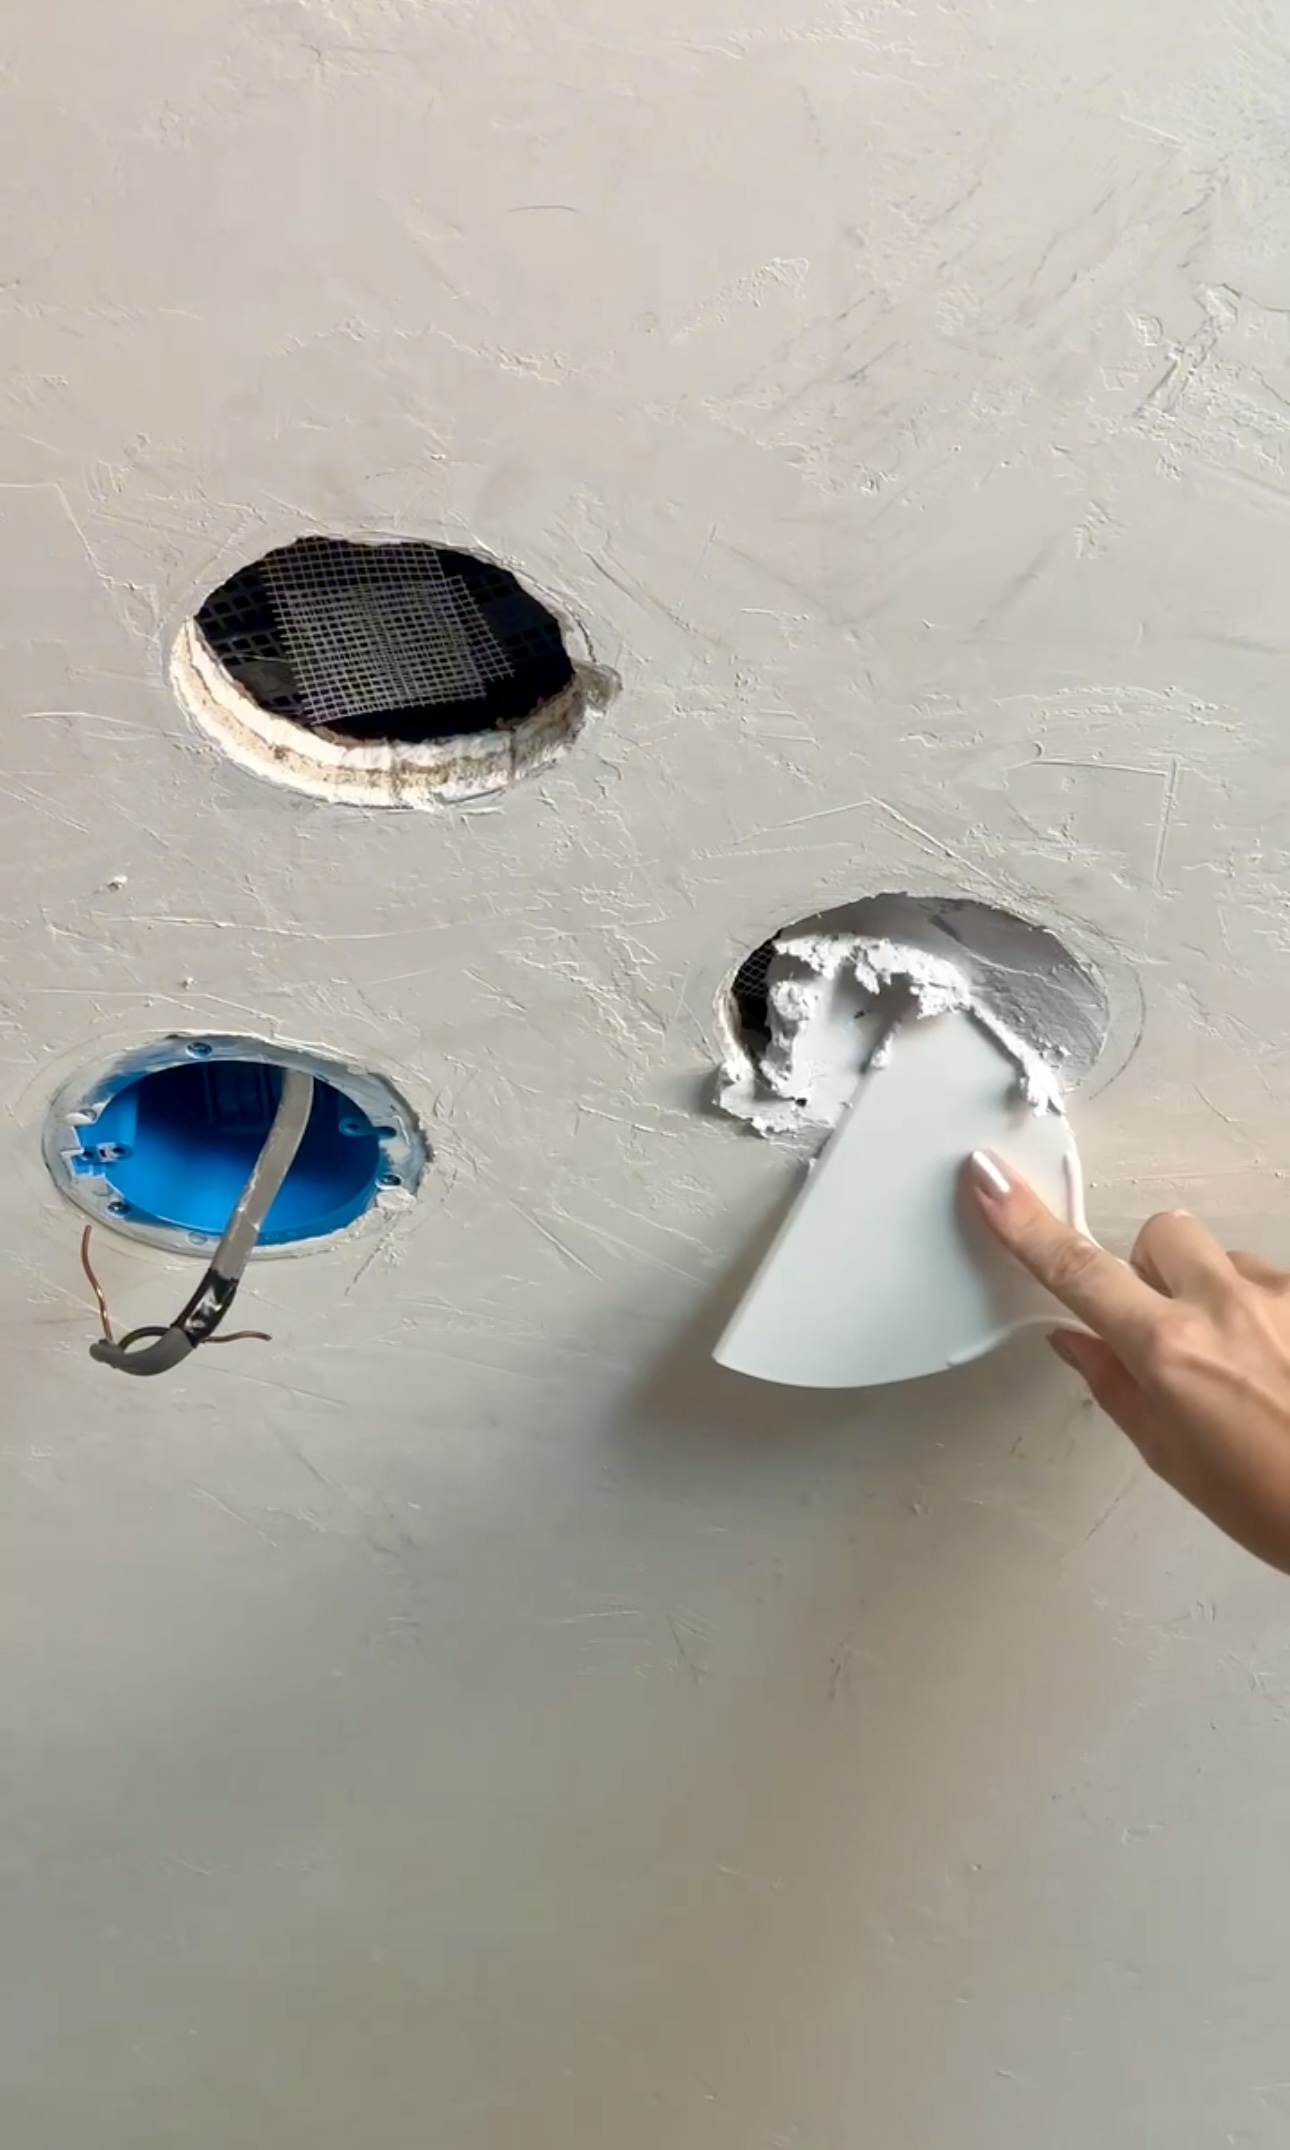
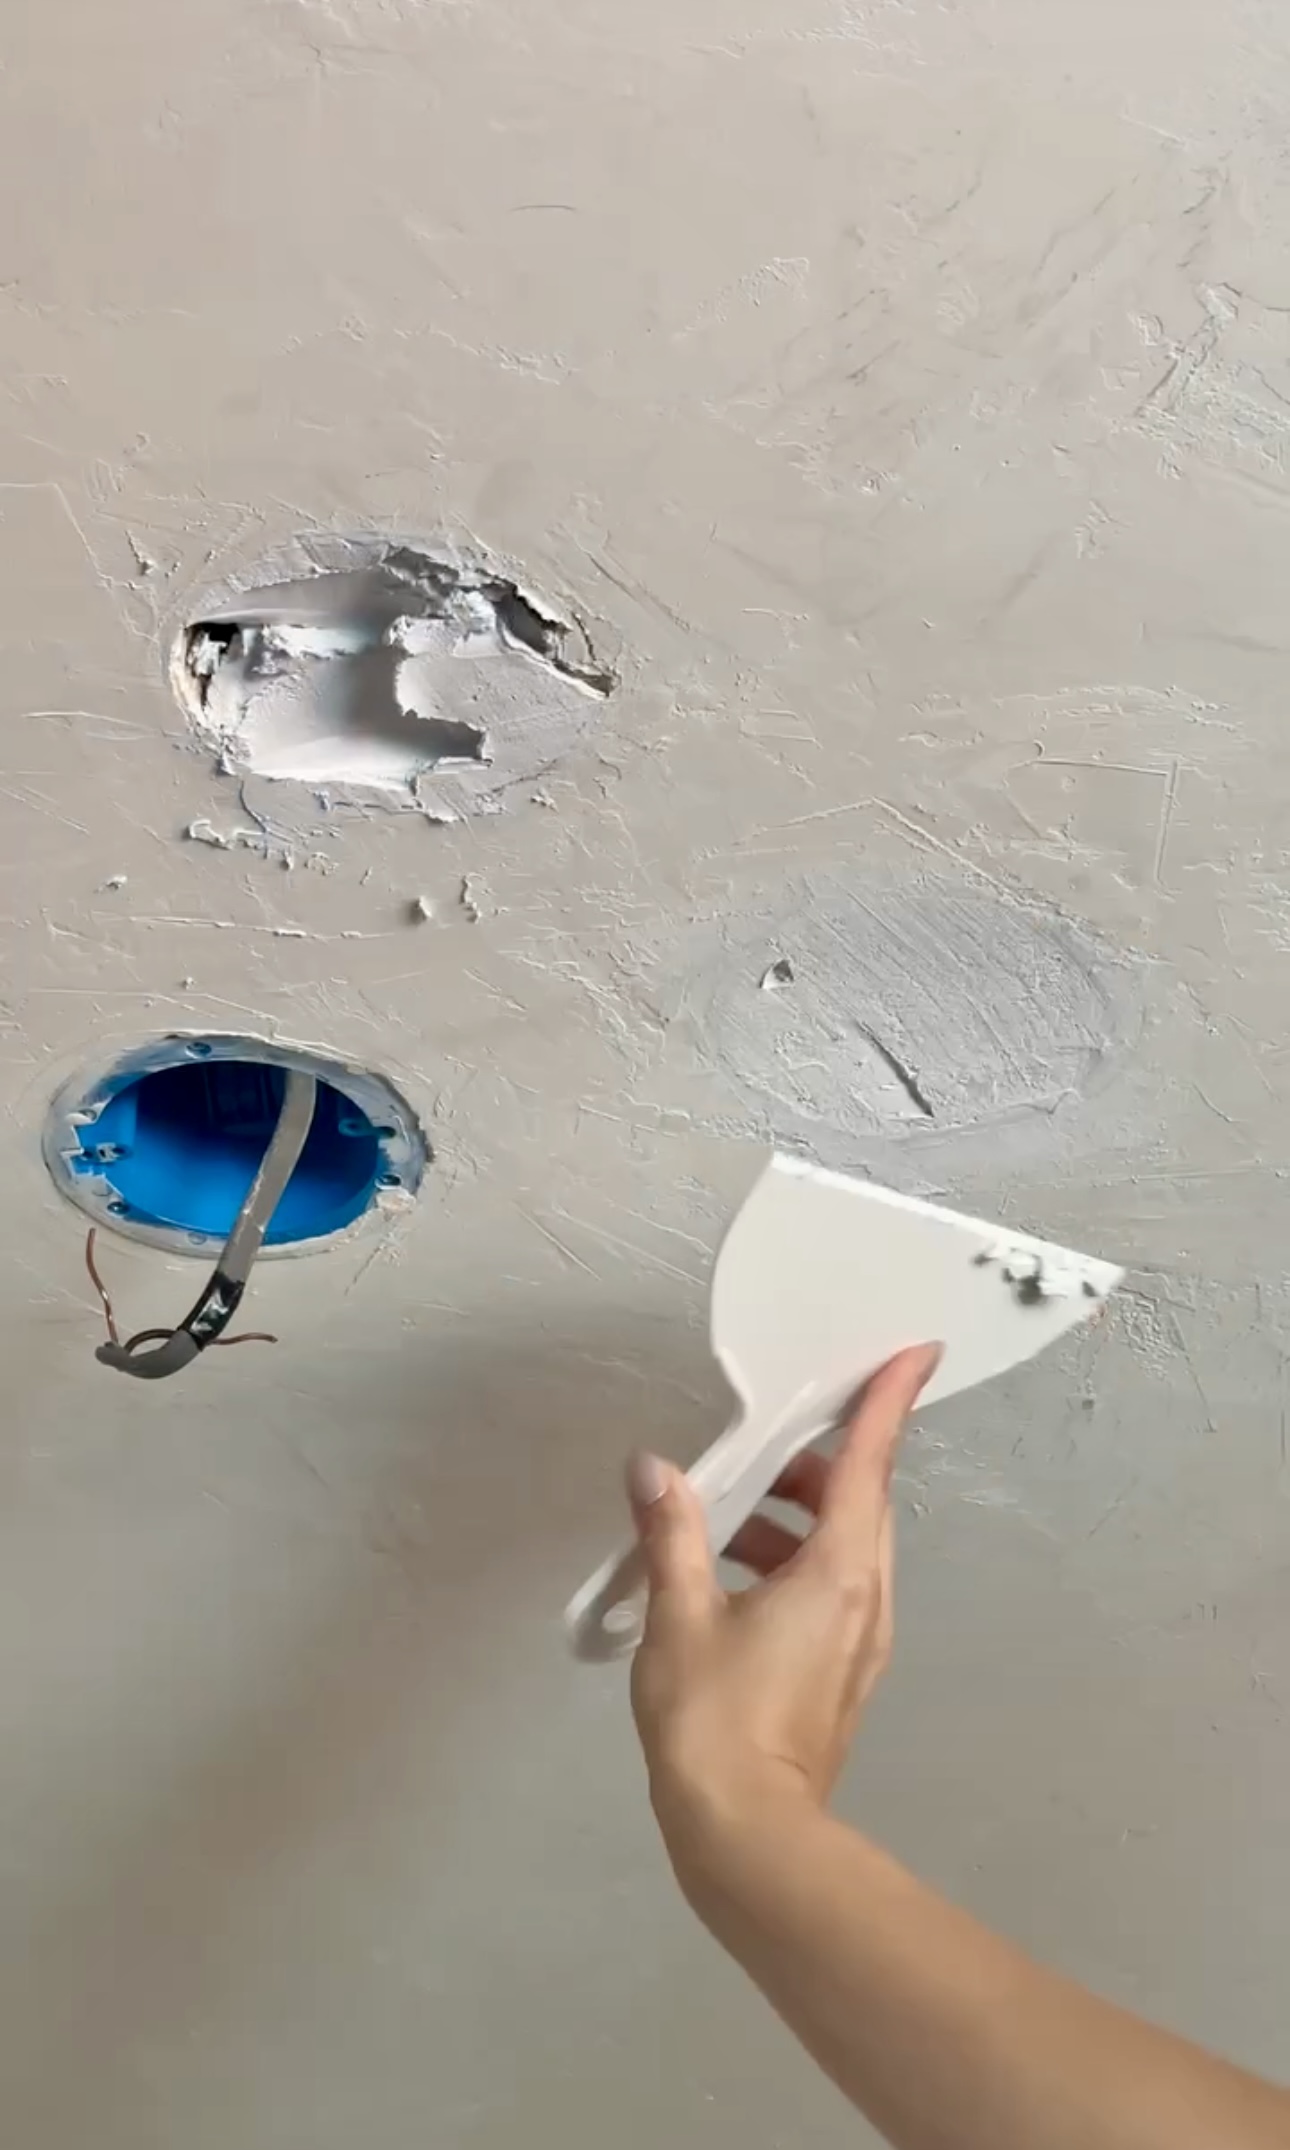
Here’s where the magic happens. I filled the holes with spackling! After the spackling dried, I gave it a light sand and then went in with a second (and final) coat.
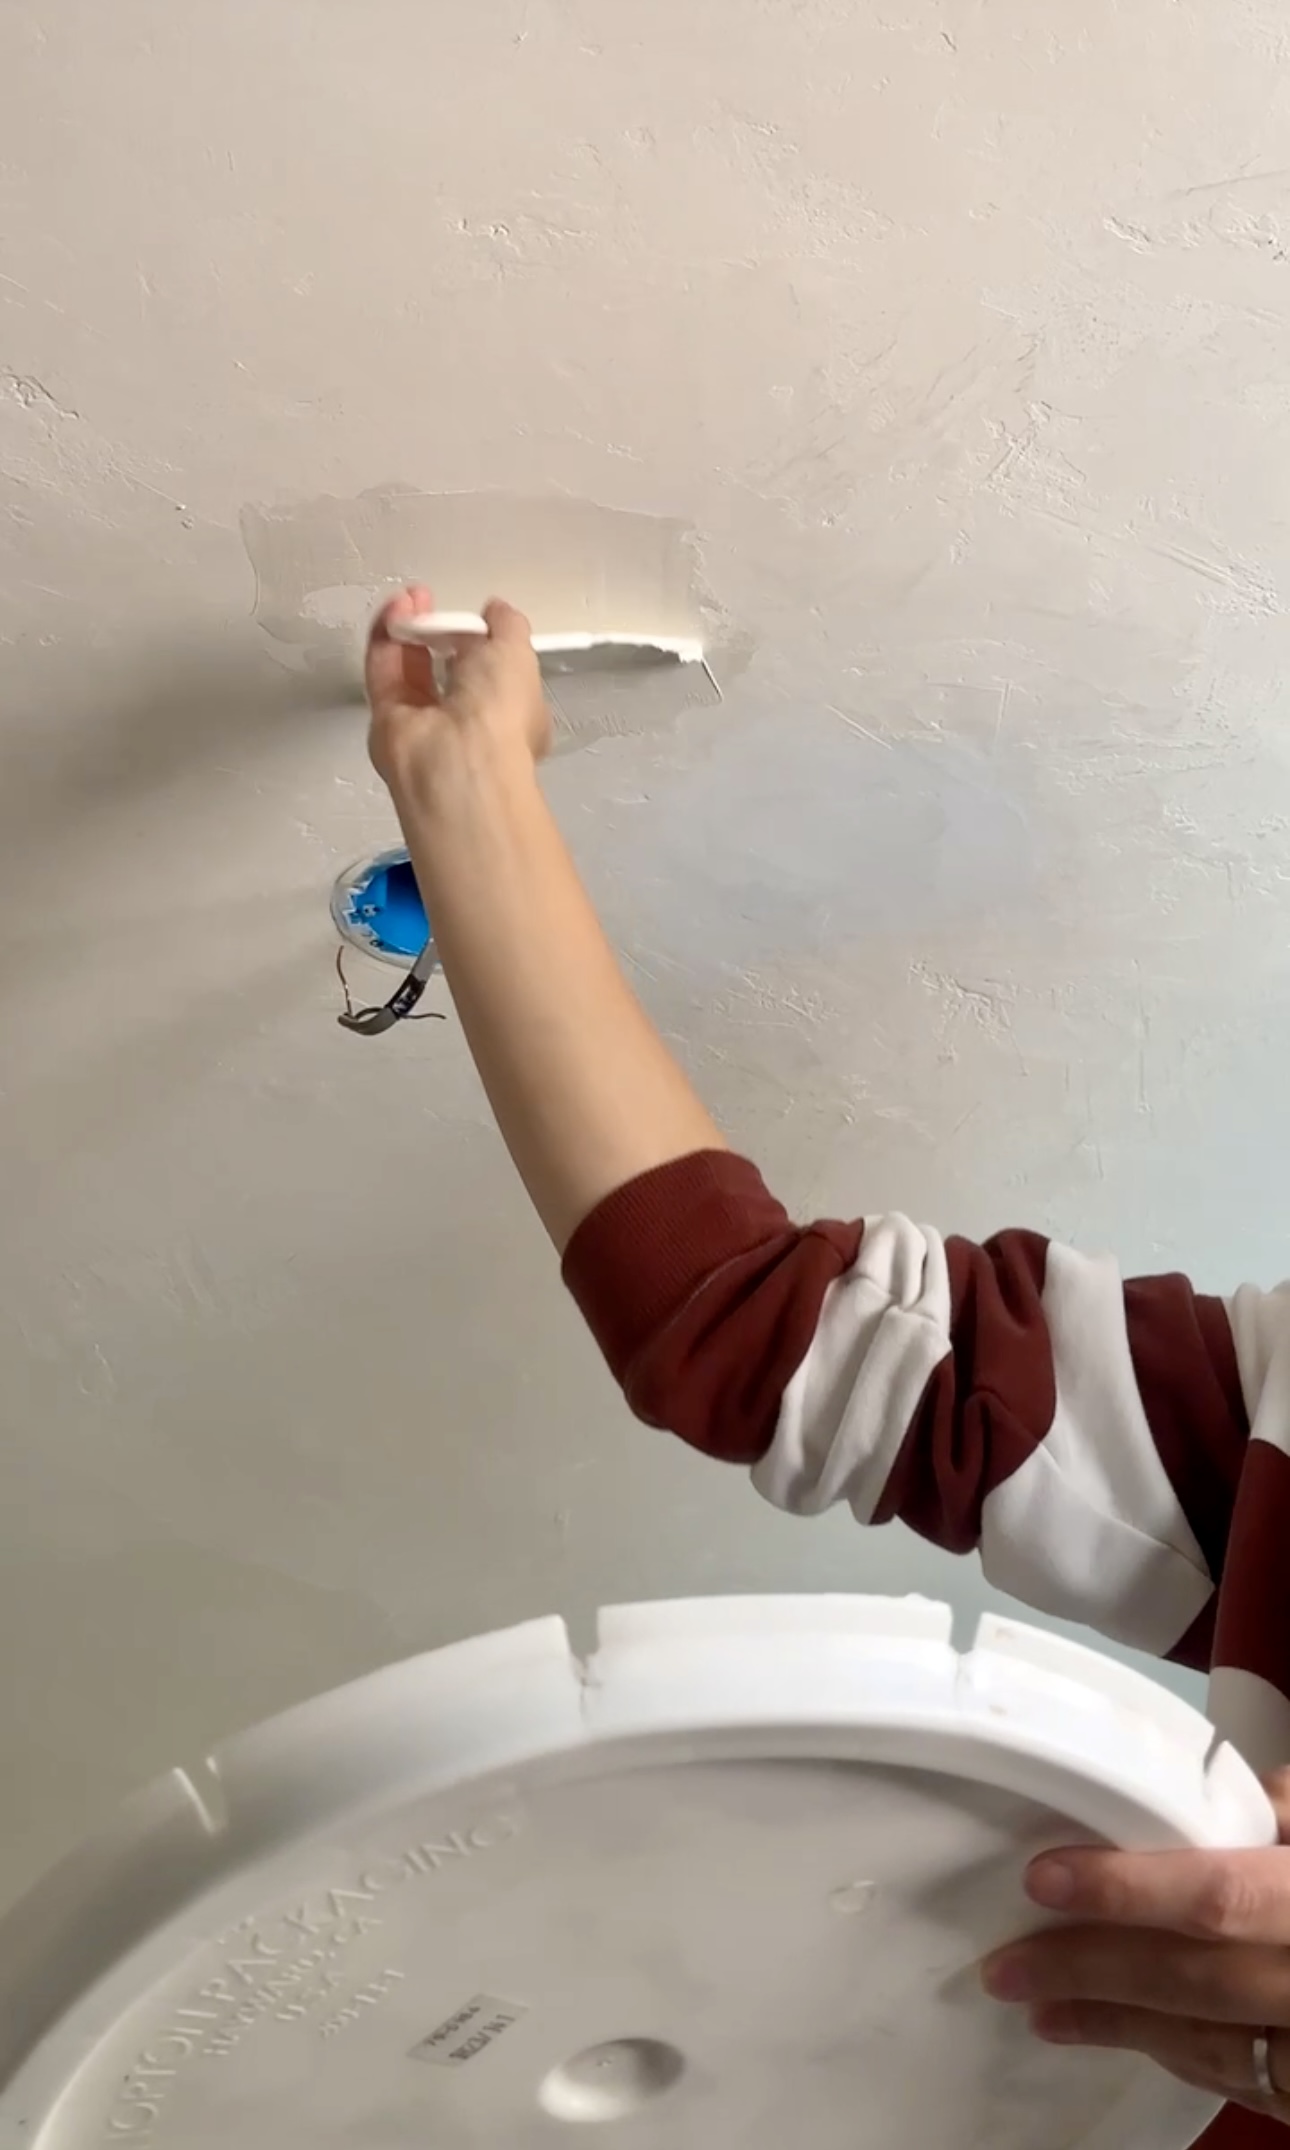
Then it was time for Roman Clay! I had someone ask me how I do this so I thought I’d share a few tips! I order from Portola Paints. The color I use is “Brooks“. It’s like a creamy, light beige.
I recommend using a plastic putty knife because the metal ones rust quickly. I’ve done about seven rooms with Roman Clay and have gotten rust on my walls when I’ve used a metal putty knife. You basically just apply thin coats in a random criss cross pattern! I usually do two or three coats.
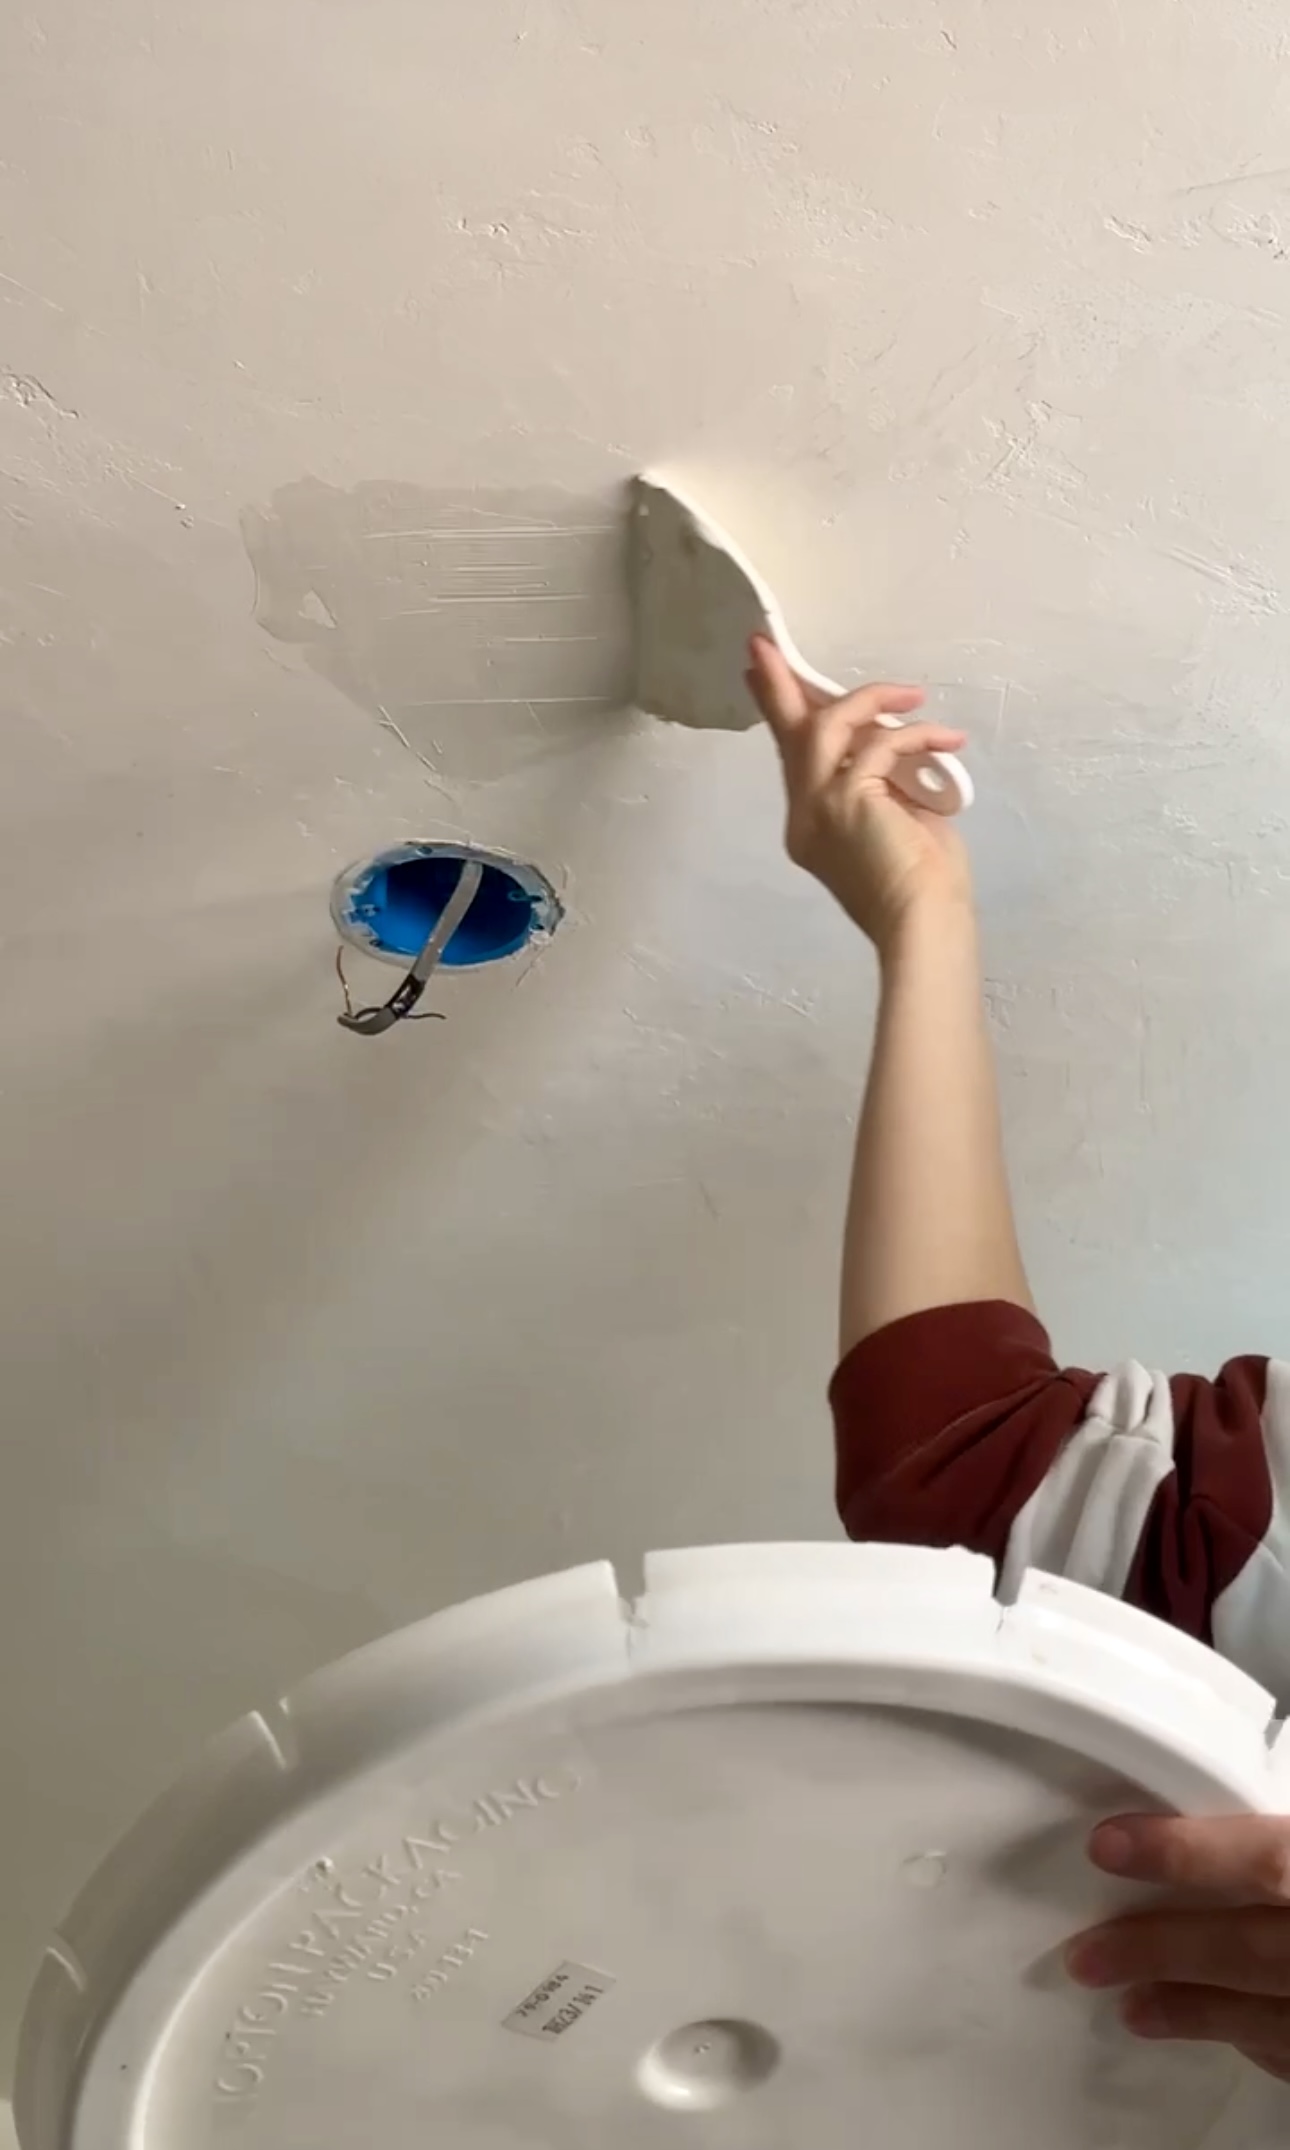
I ended up doing three coats up here and I think it looks really good! Next, time to install ✨the light✨.
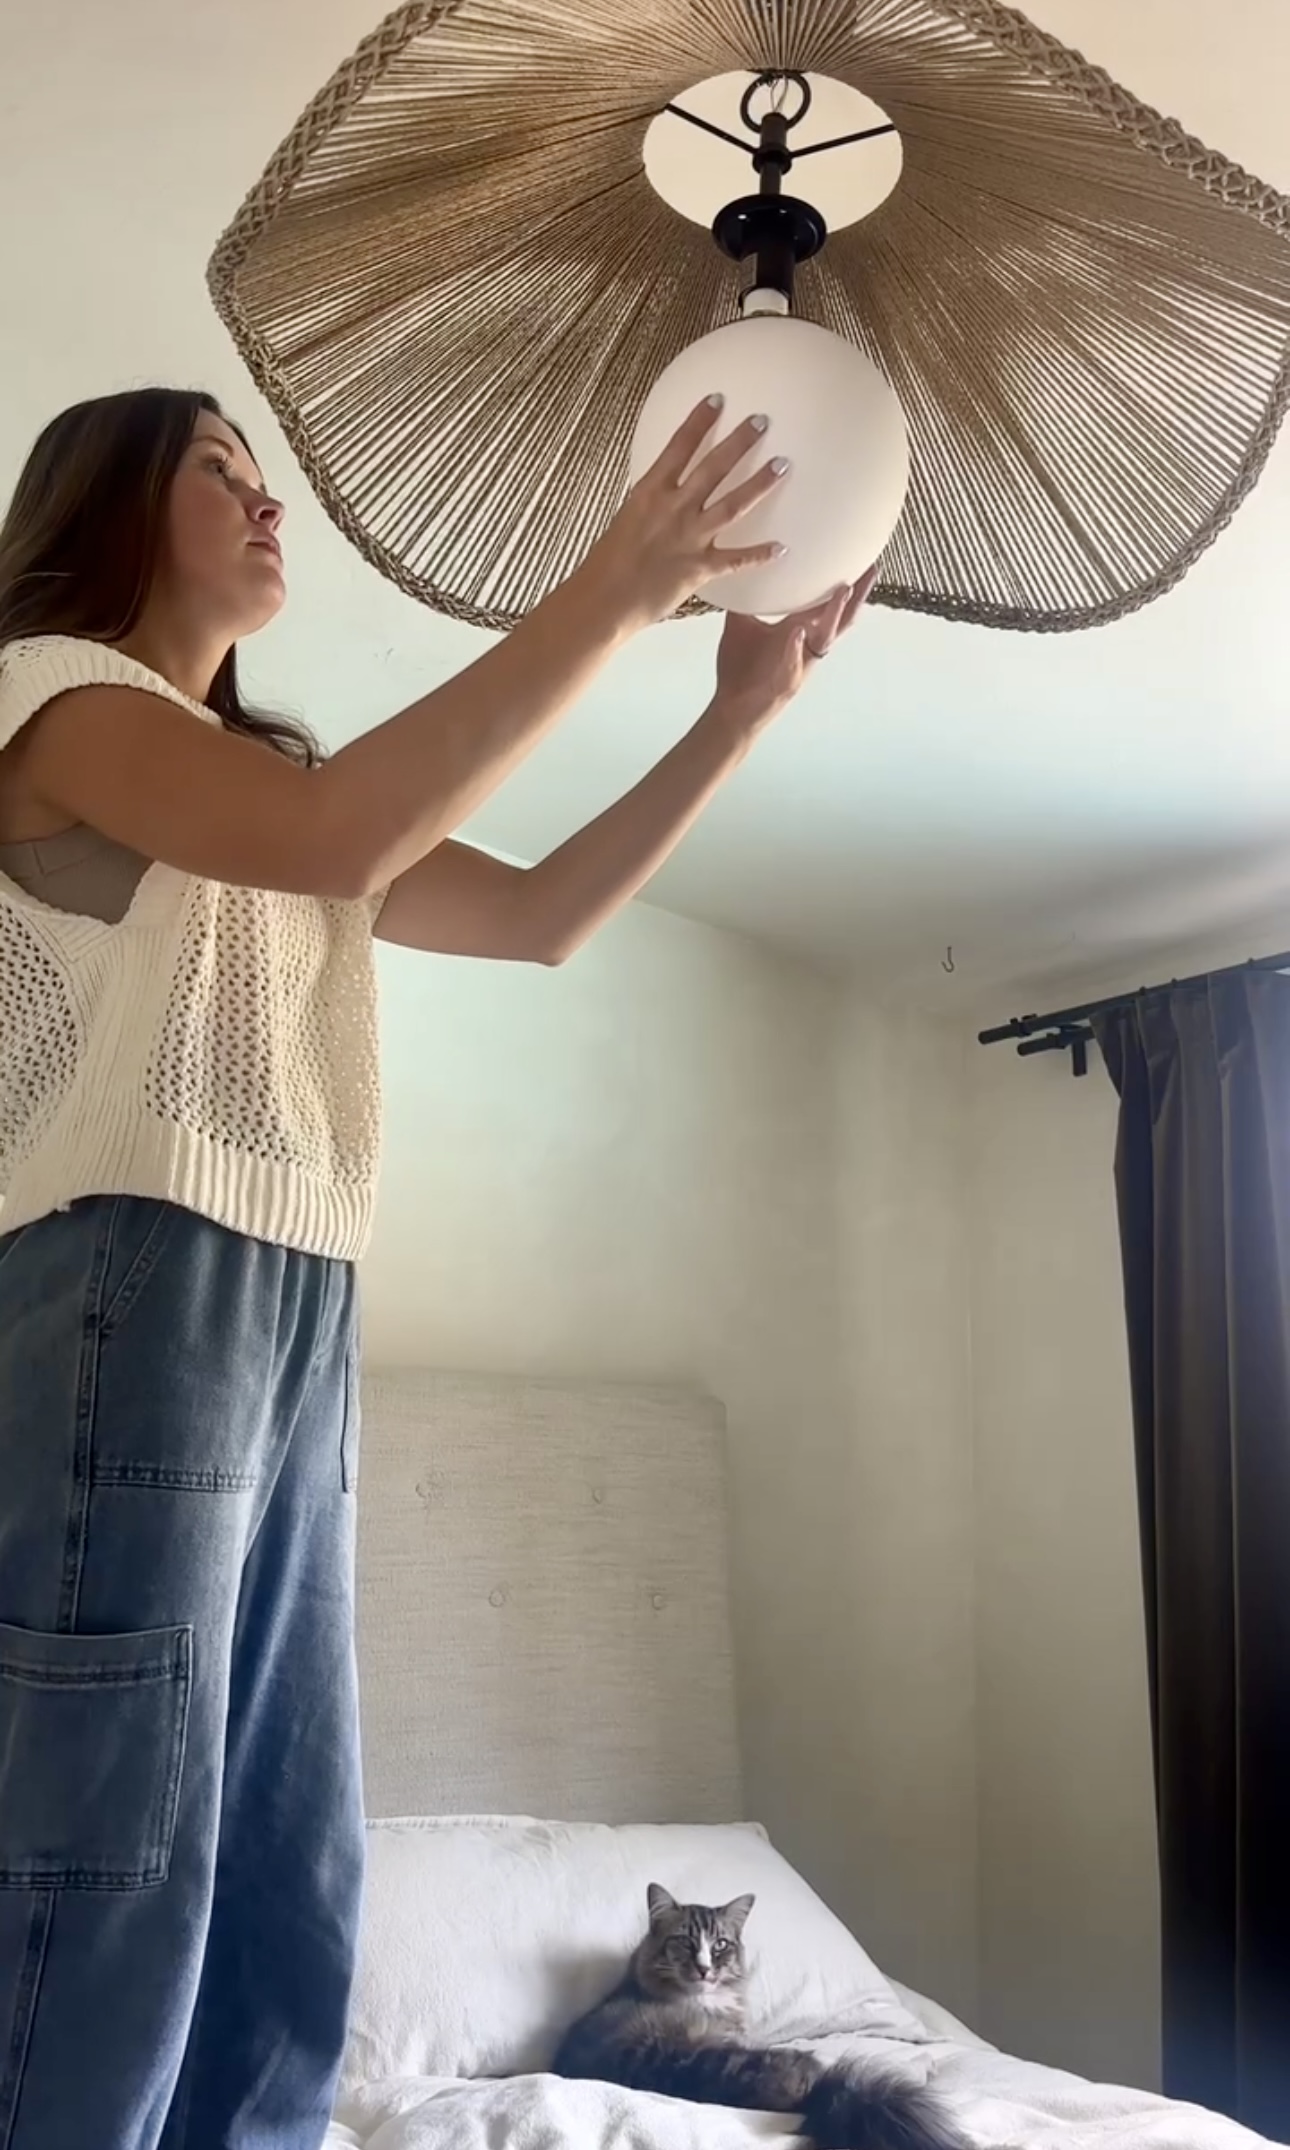
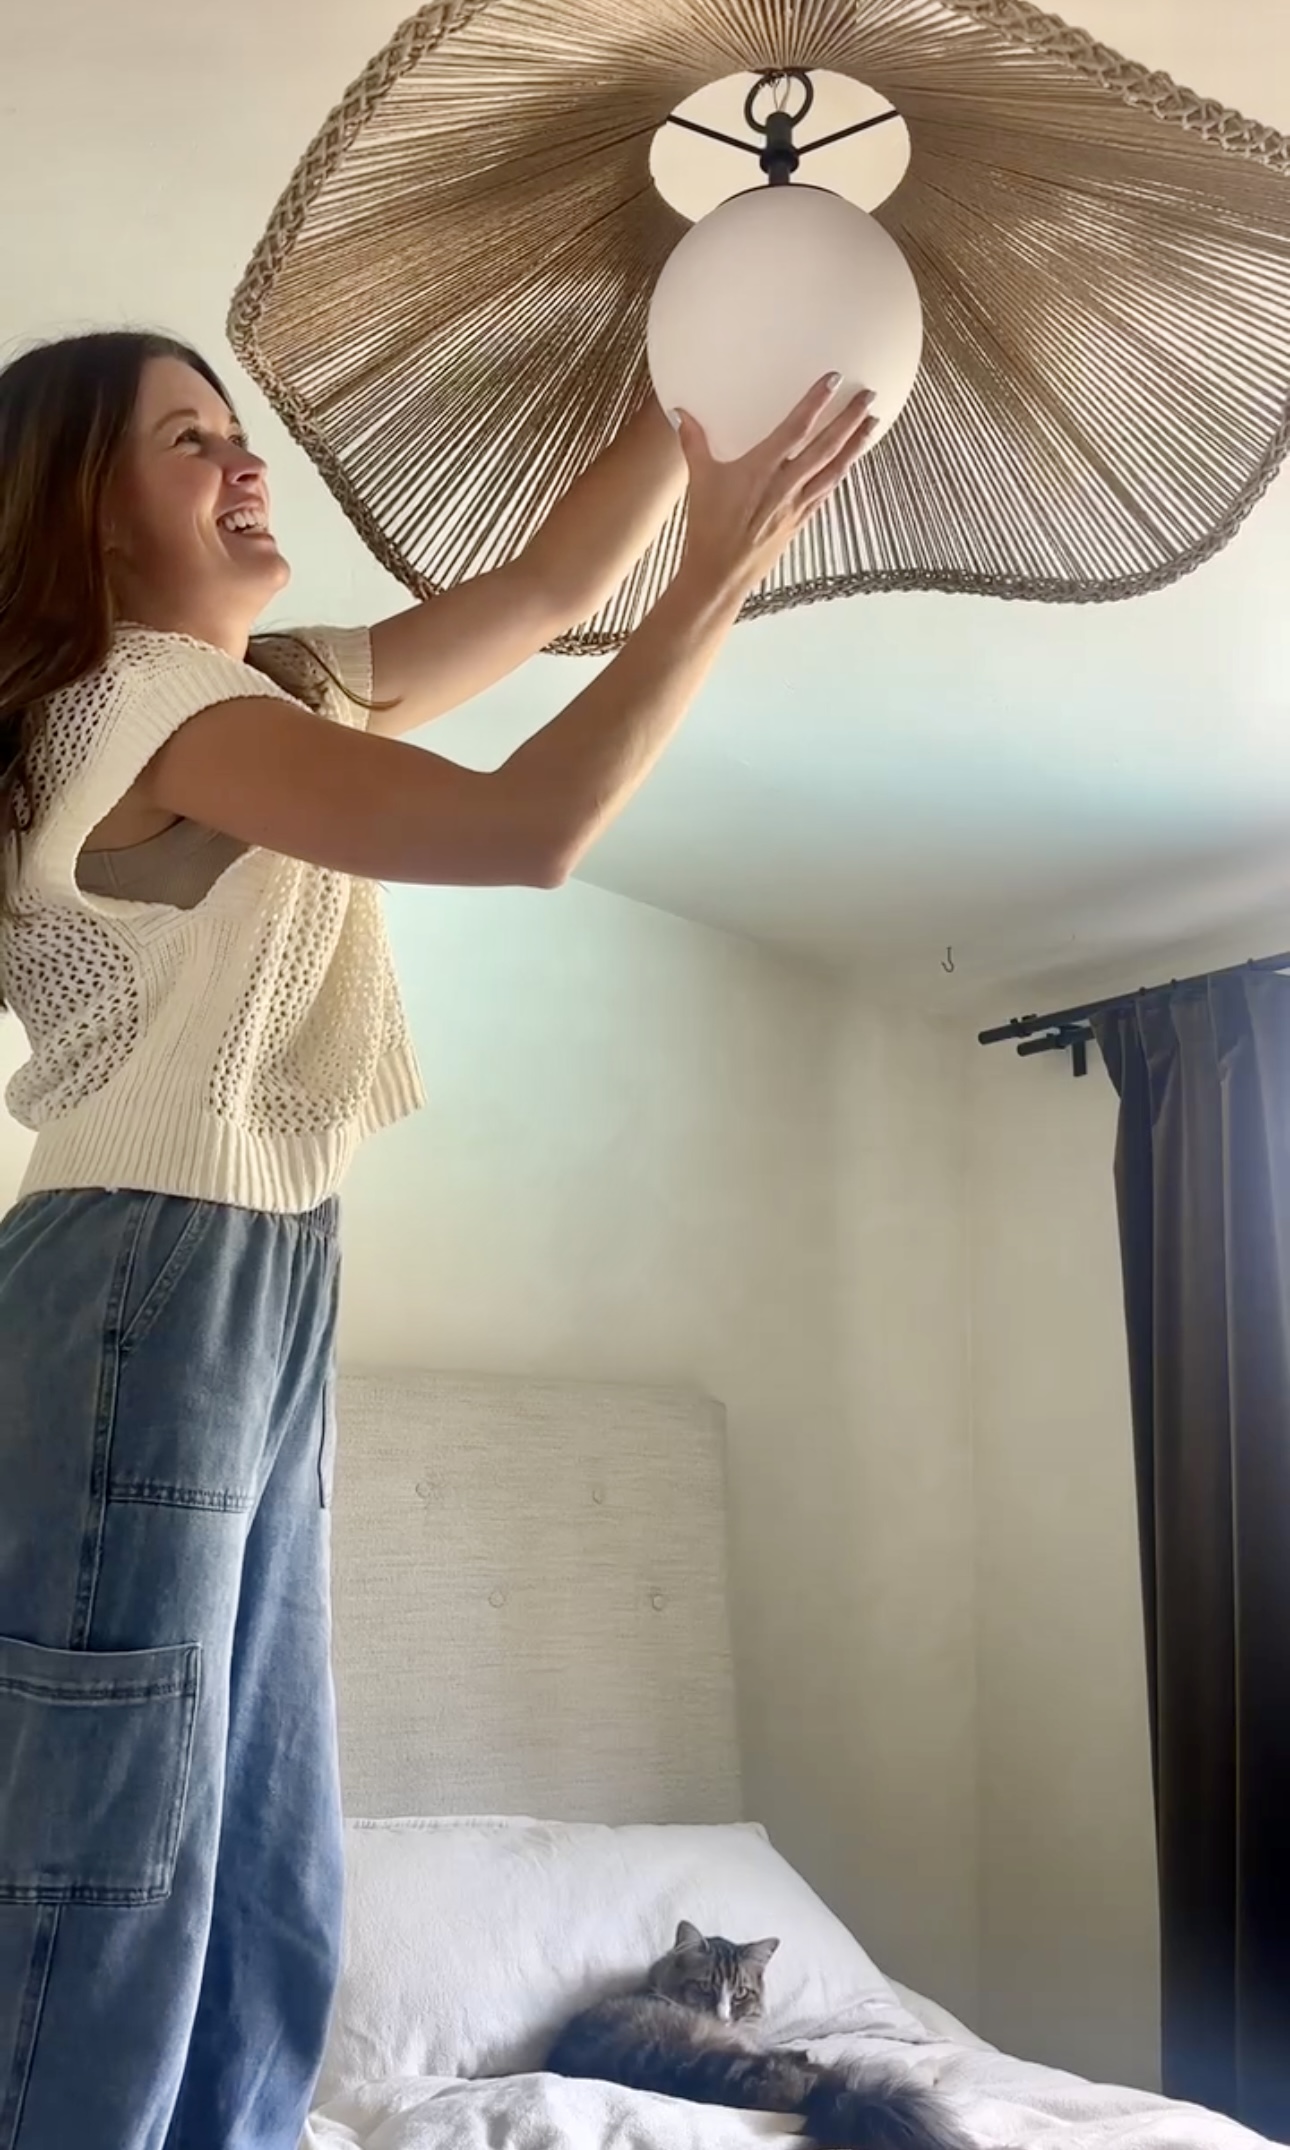
We actually had this pendant for a long time before we installed it. But two weeks ago, I left the orb on a chair and Charlie found it very interesting. So he, of course, threw it on the ground. I left for 5 seconds and from the other room Jake and I hear glass shattering and then “uh oh.” Shades of Light has the best customer service and they were able to send us a new orb – so THANK YOU Shades of Light!
FYI this pendant could work with a verrrryyy tallll ceiling. The chain is taller than I am 😂
Our bedroom is slowly coming together!
Comments