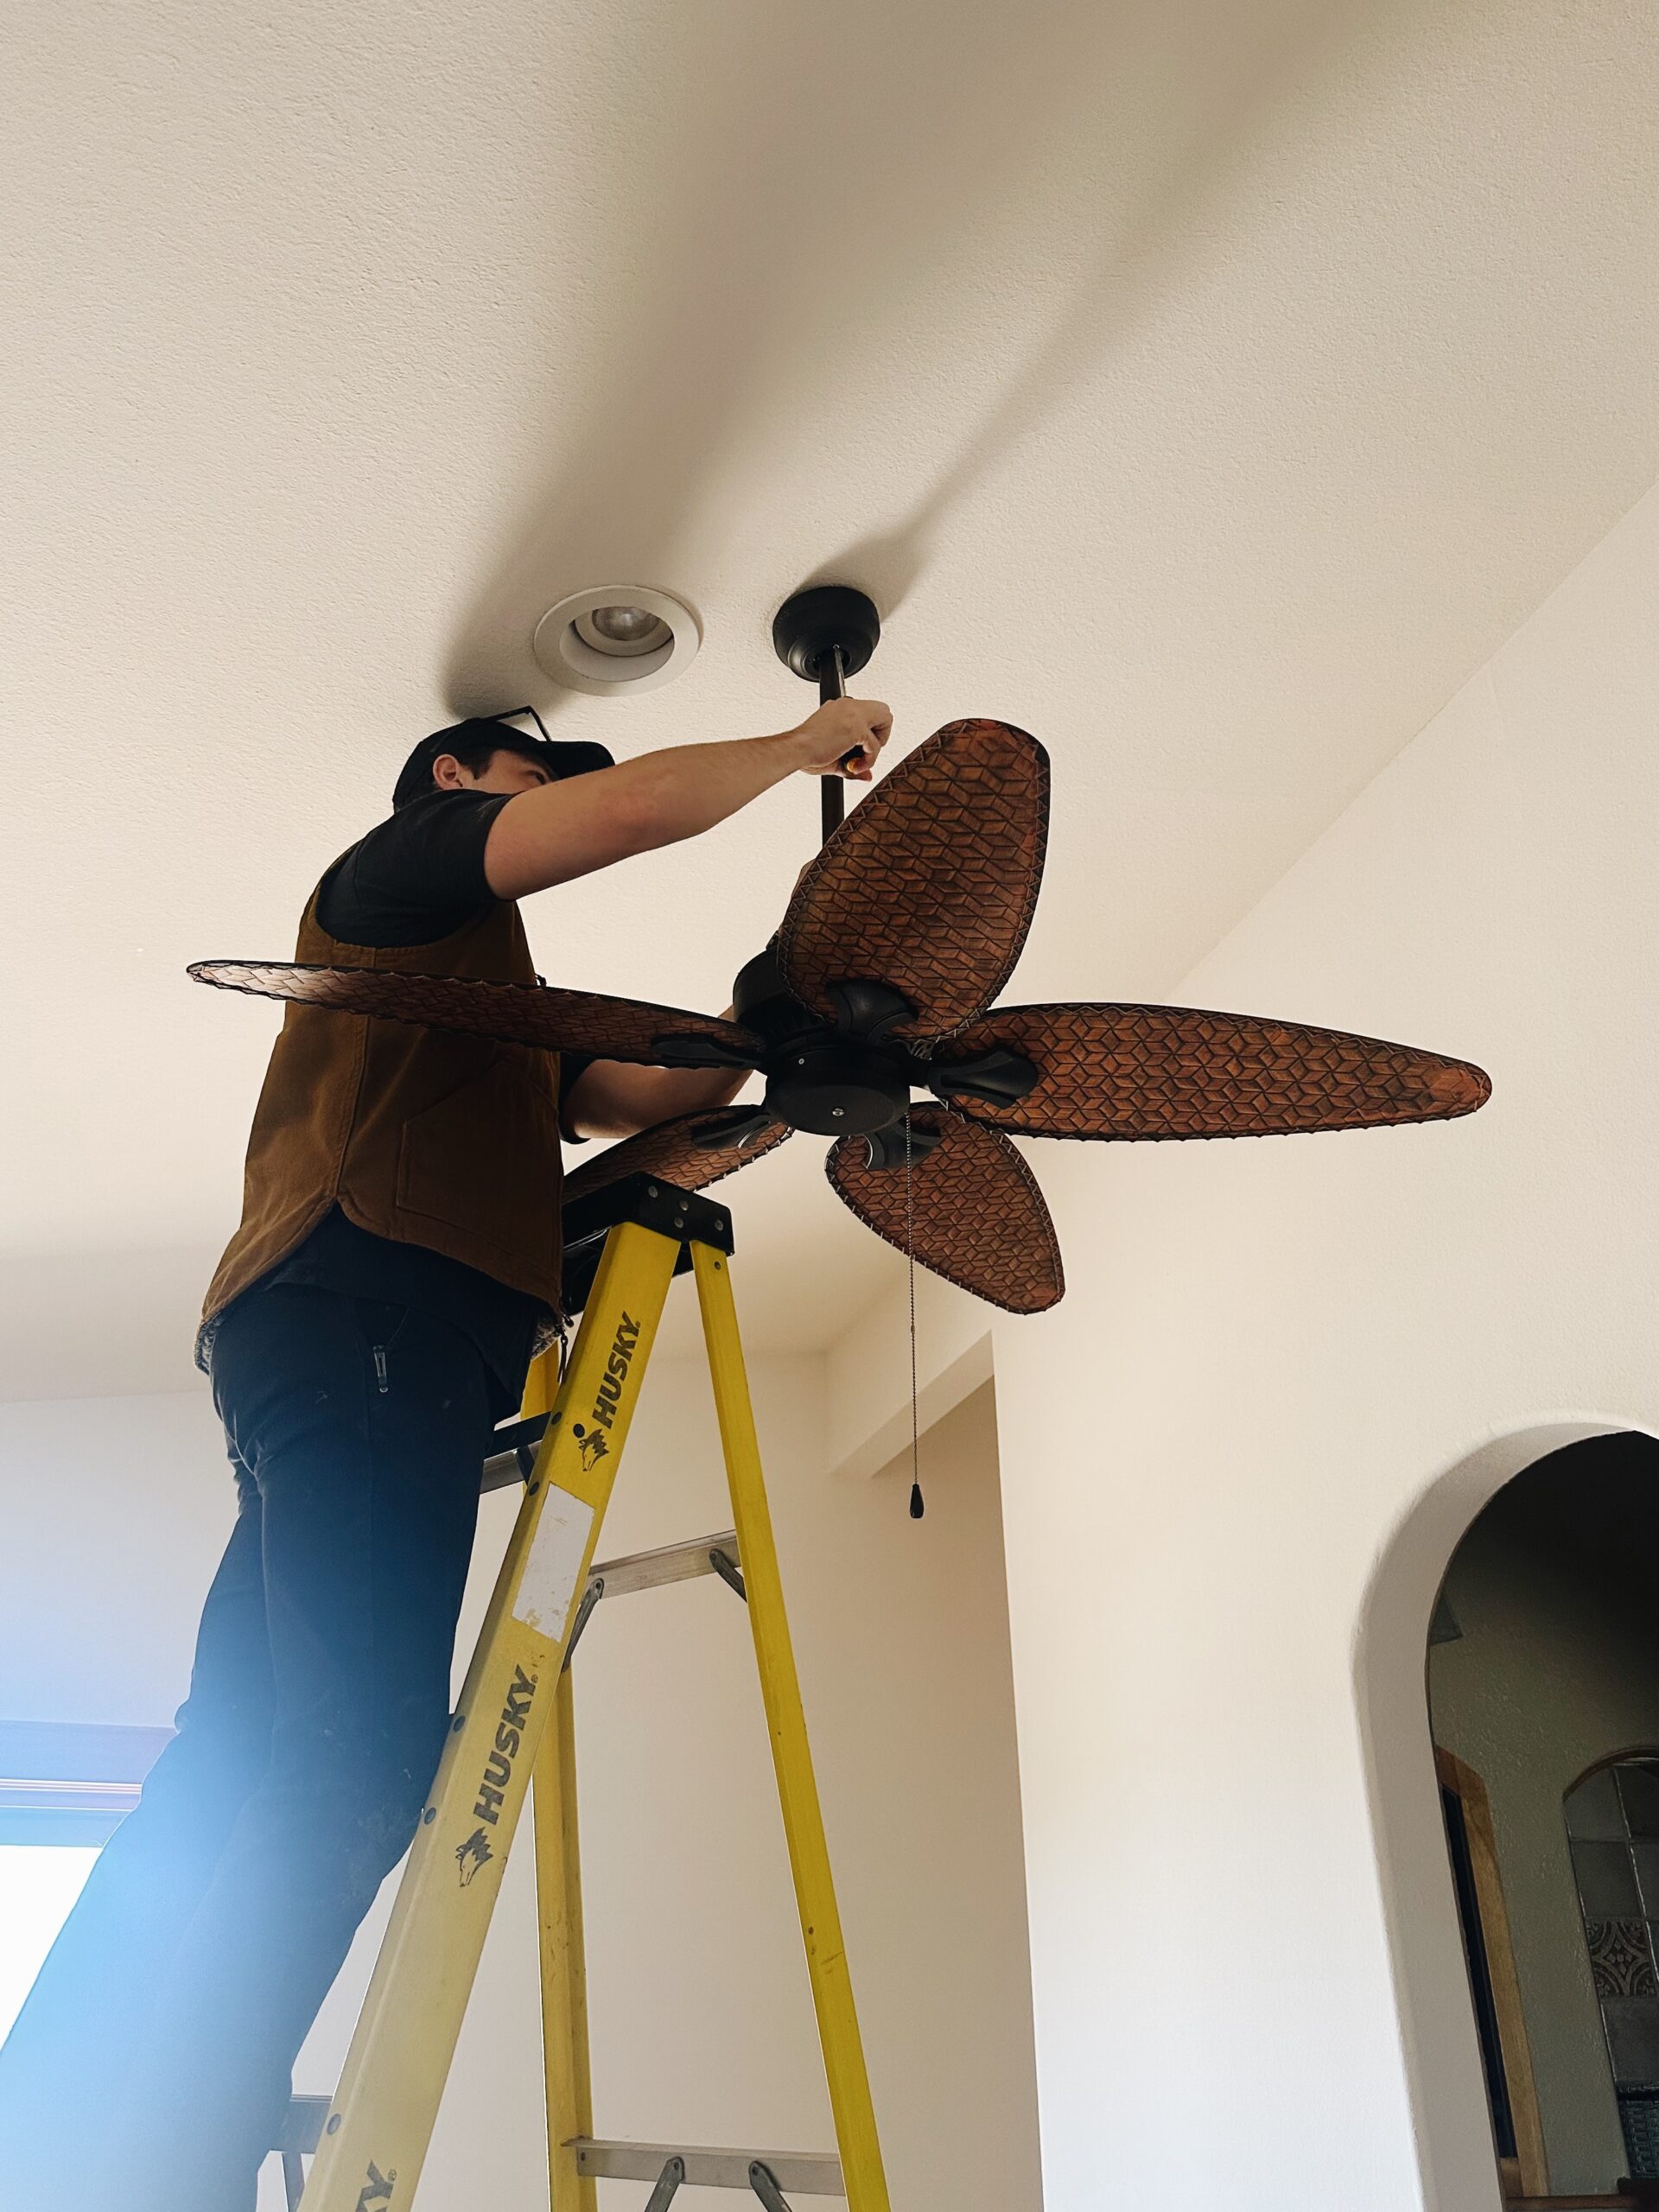
This Saturday, we wrapped up the last 5% of my parents’ bedroom makeover by swapping out their ceiling fan! Here is the one they had before. It had more of a tropical vibe, so I wanted to change it out to something that would better compliment their new furniture!
Here is how we changed out the fan in 5 steps:
1. Take down old fan
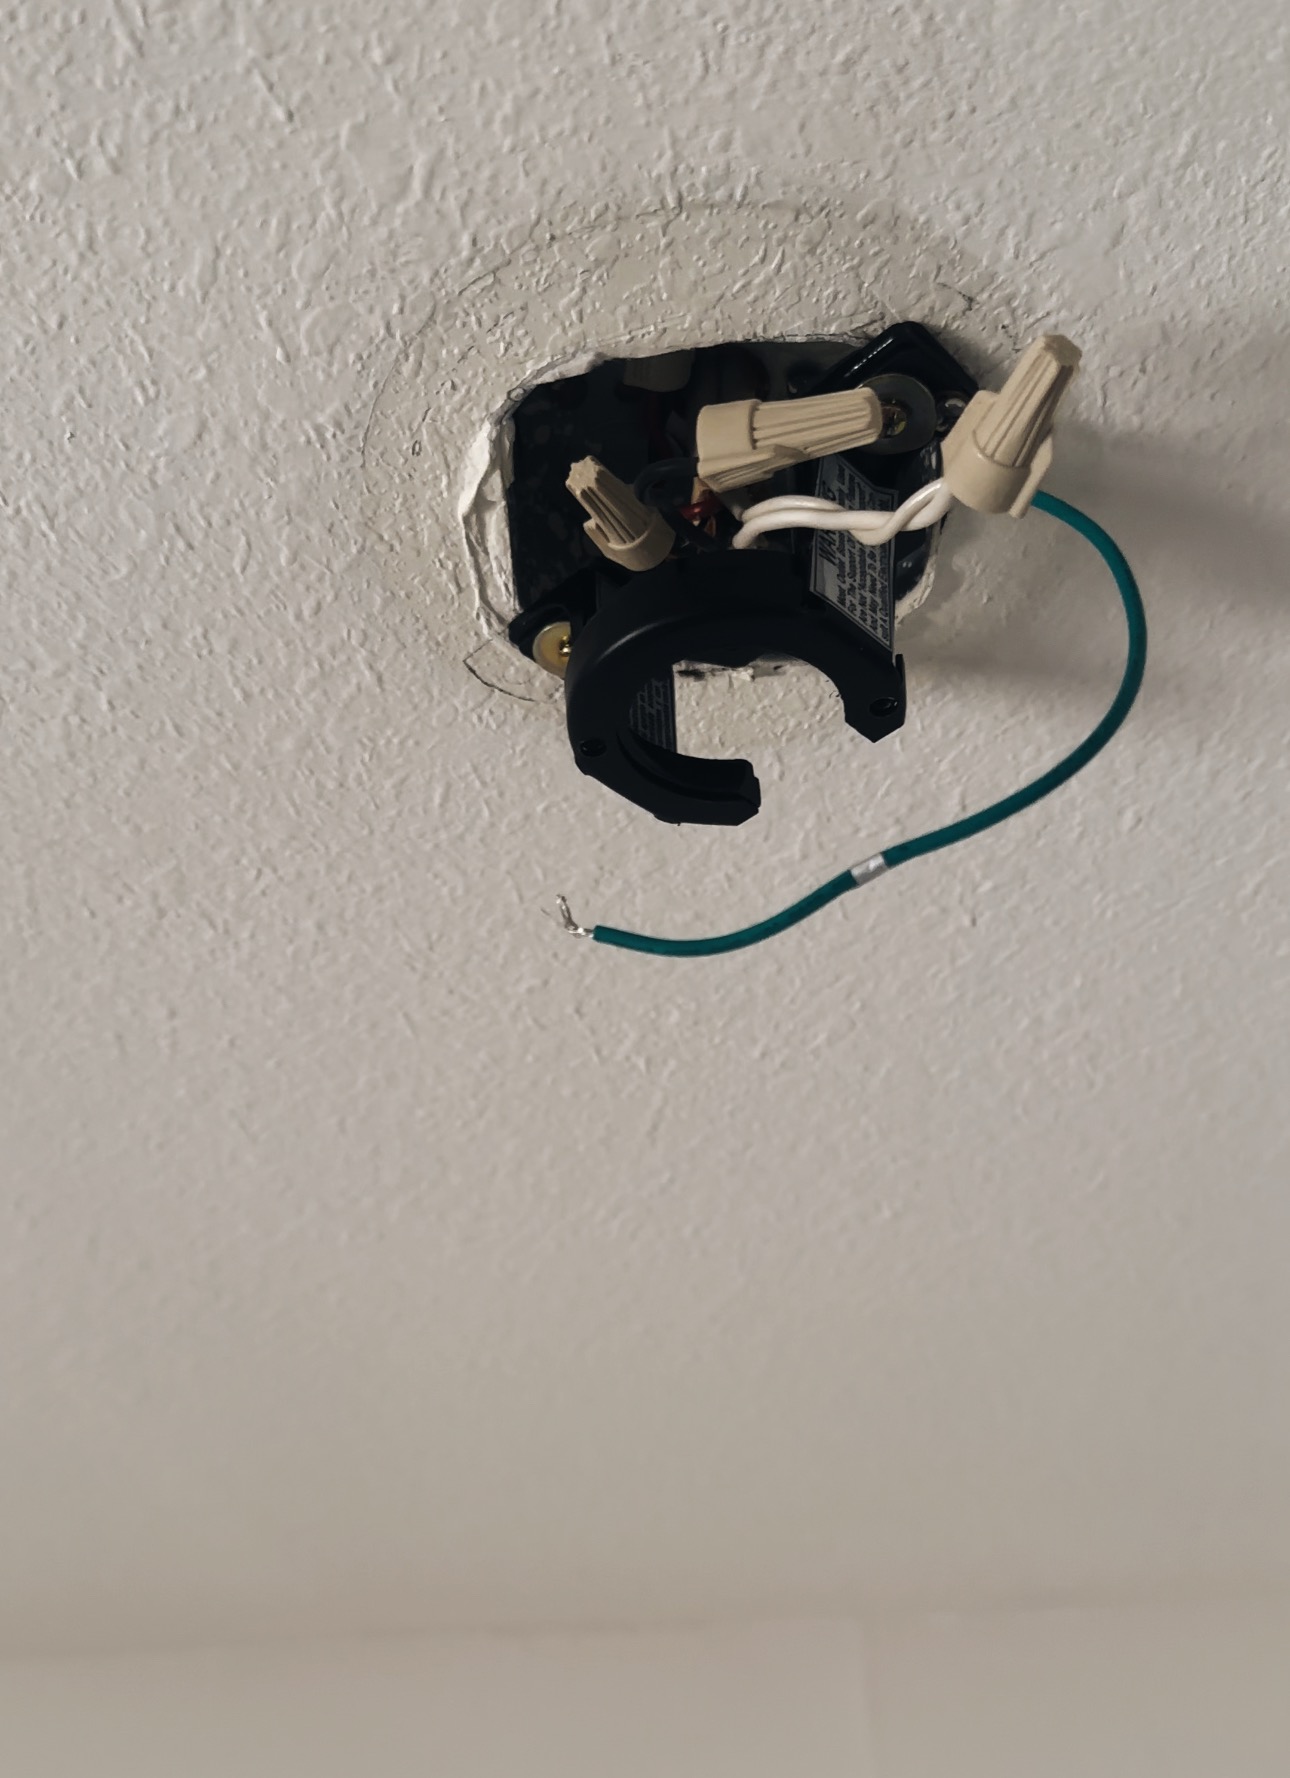
Here’s what it looks like after taking down the old fan. Before you take down your fan, make sure to turn off power to that specific area. Once the power is off you can then disconnect the appropriate wiring and take down the fan.
2. Hang new one
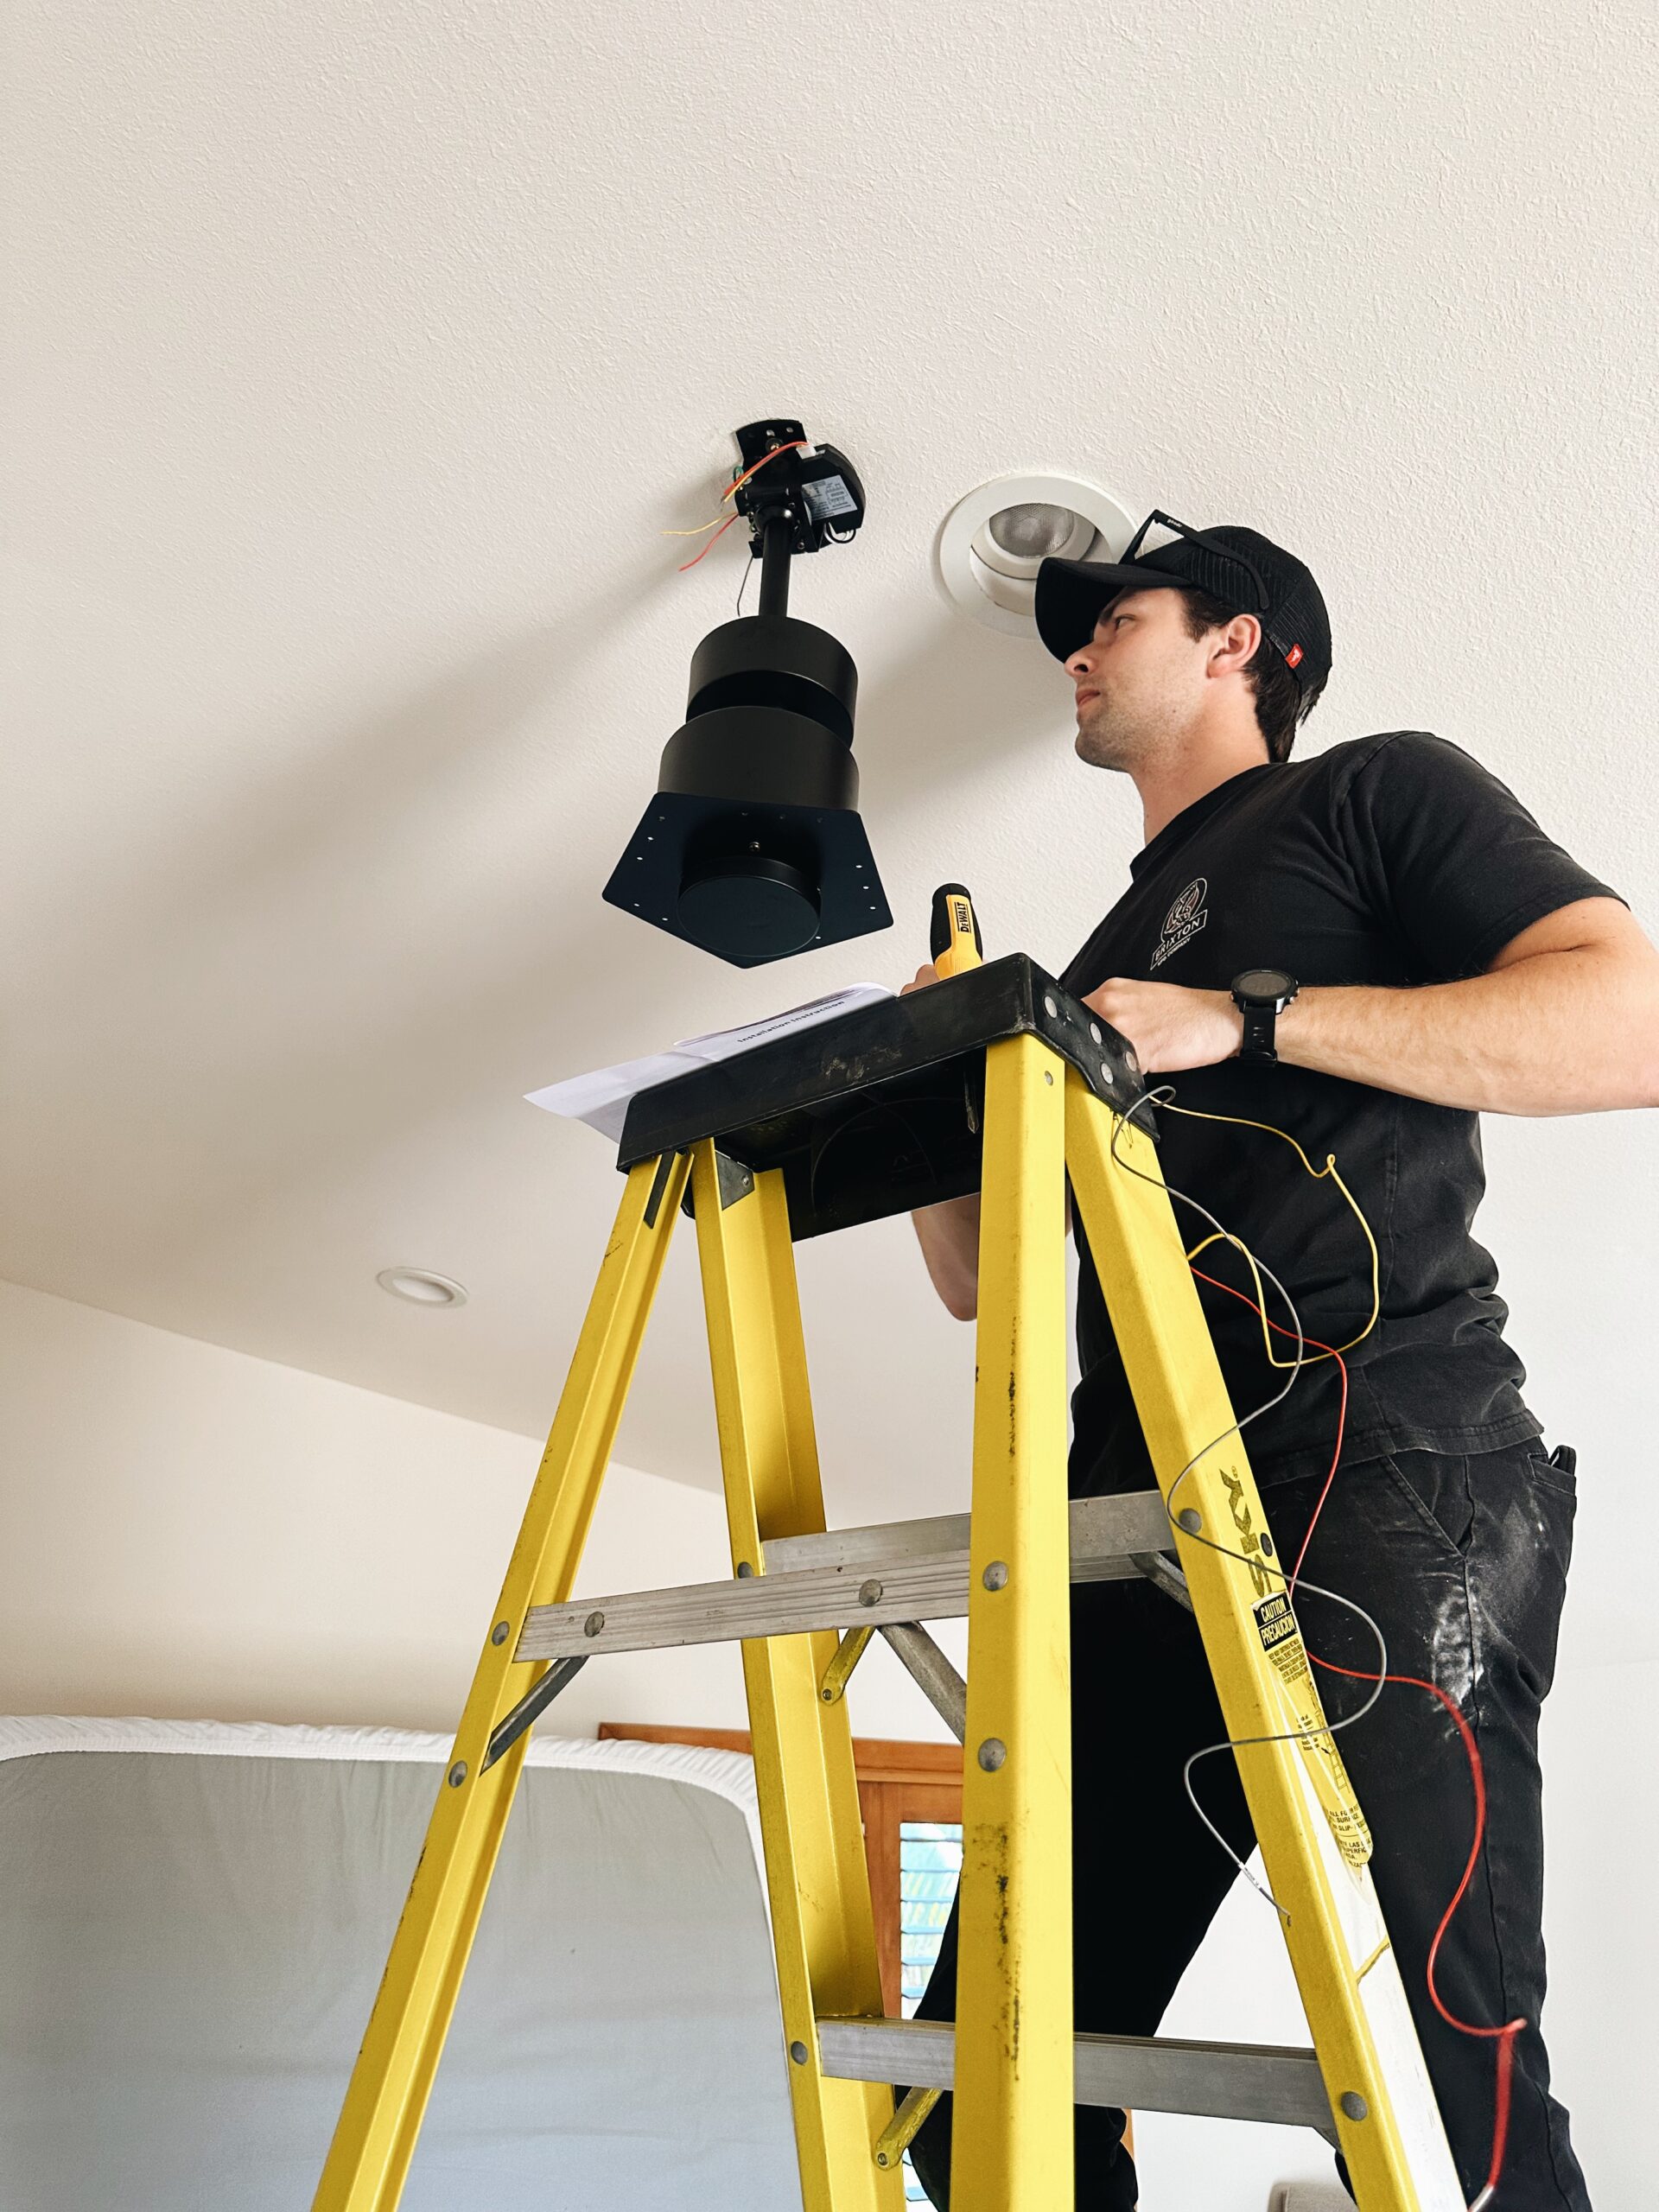
We were able to hang the new fan using the brace provided by the manufacturer. This brace screws into the j-box with two screws and supports the weight of the fan.

3. Cut excess wires & attach wiring
Jake cut all the excess wire and then attached red to red, yellow to yellow, etc. If you need help with the electrical consult your fan manual or contact your local electrician. Before doing any electrical, make sure that the power is turned off to whatever area you are working on.
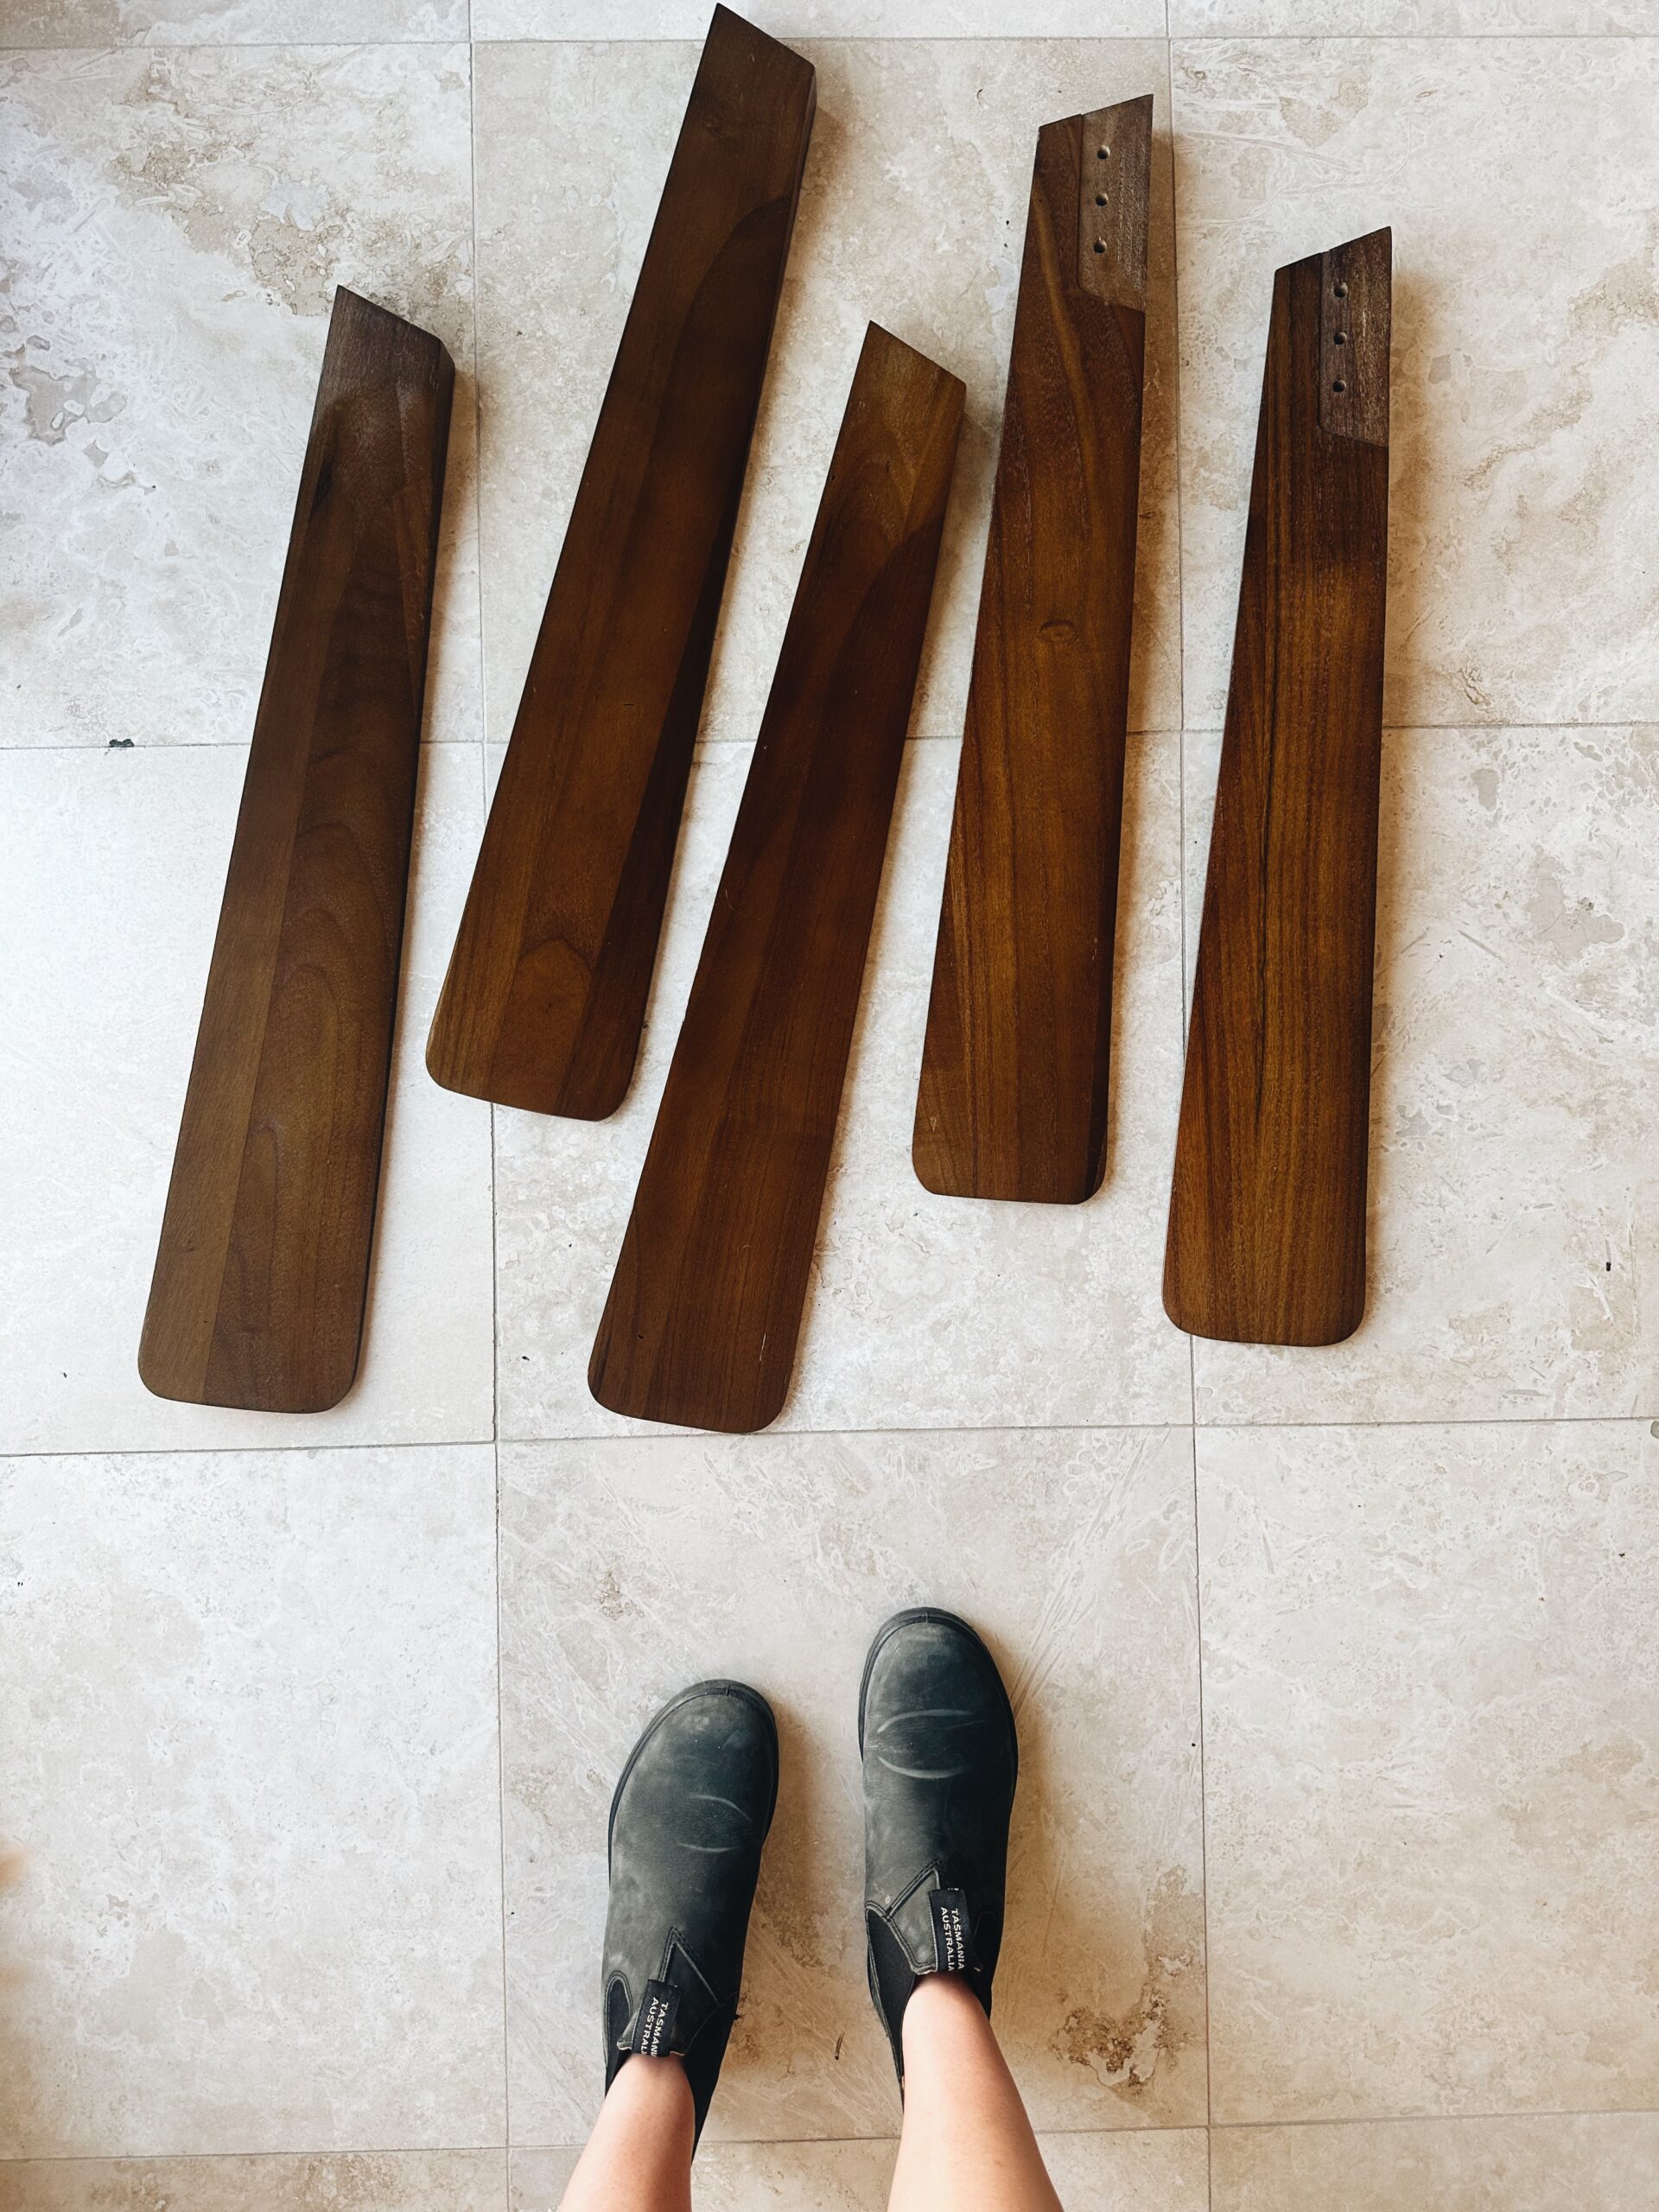
4. Attach fan blades
Once your electrical is all connected and the fan body is seated in the brace, you can then proceed to attach the fan blades. This fan doesn’t have a light on it, but there are other options that have lights in them linked below!
I am so impressed with the quality of this wood – such a dark, beautiful grain.
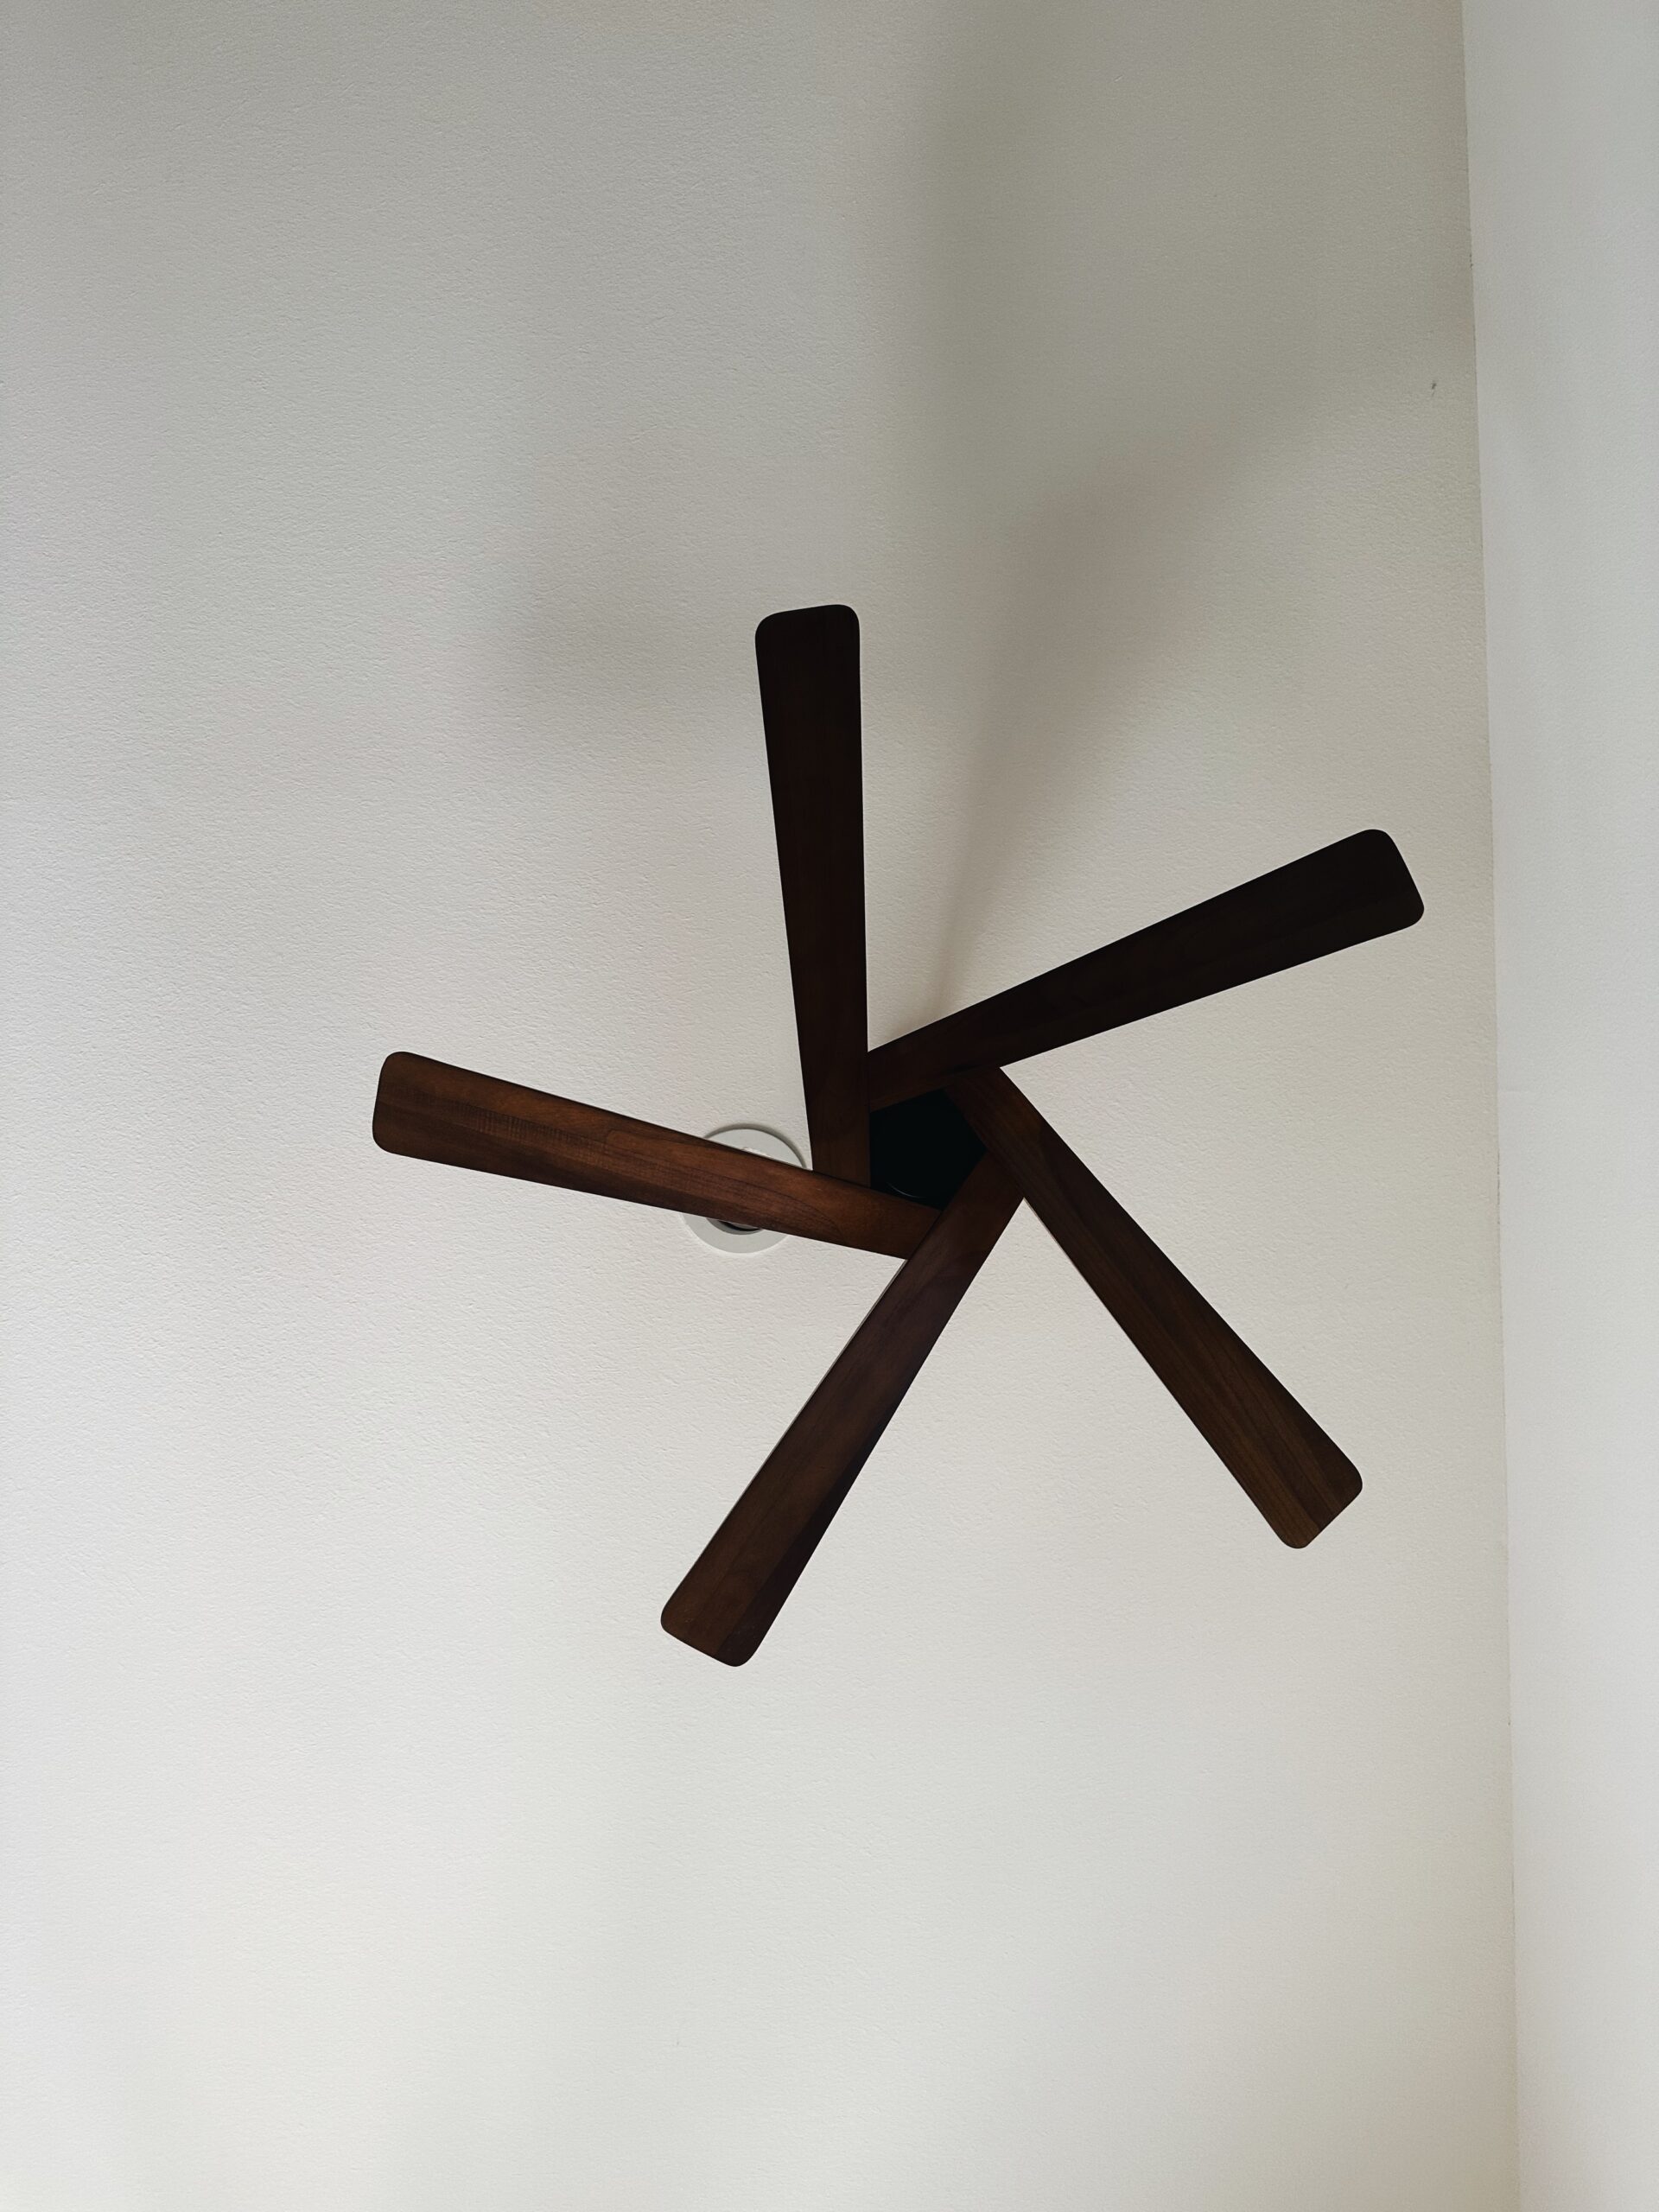
5. Admire
There you have it! I love this fan. It looks so sleek and modern!
Other options
There are so many other great options on Amazon. Here’s the fan we used.
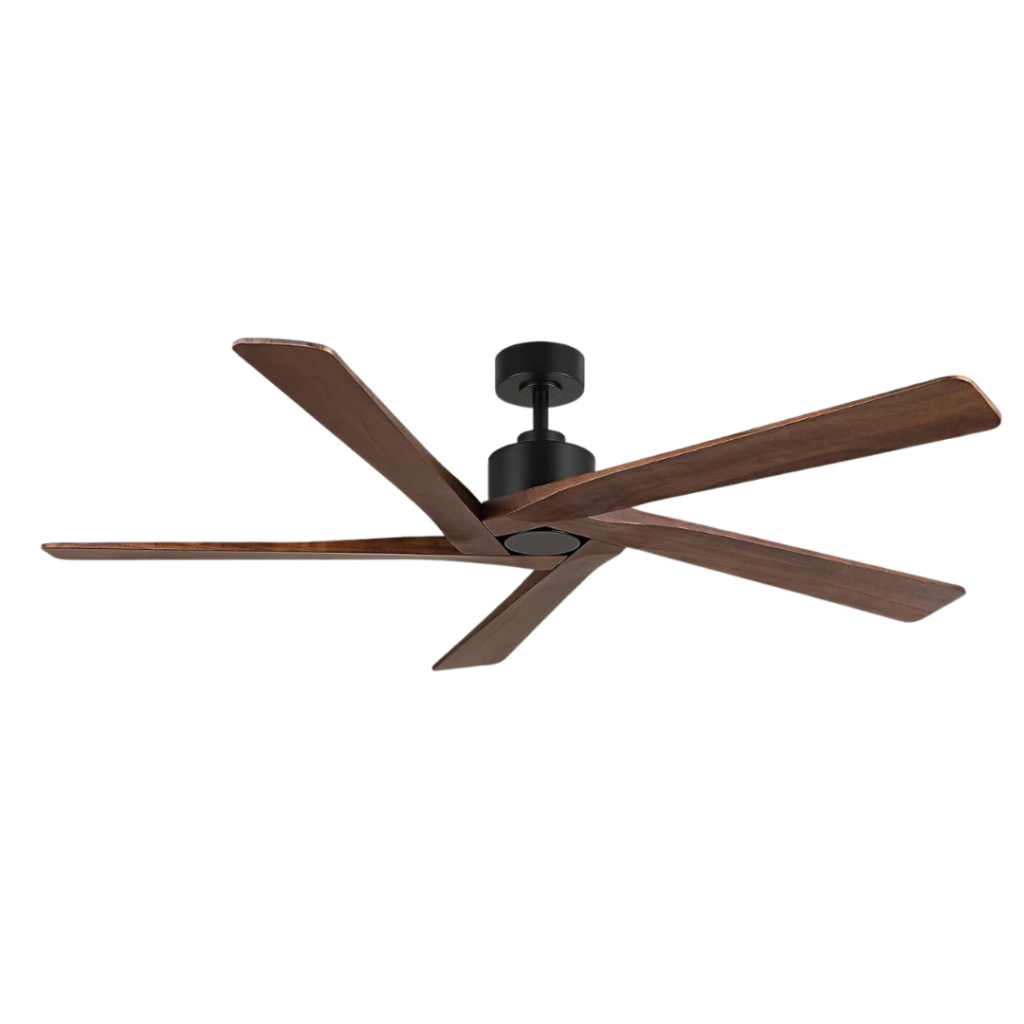
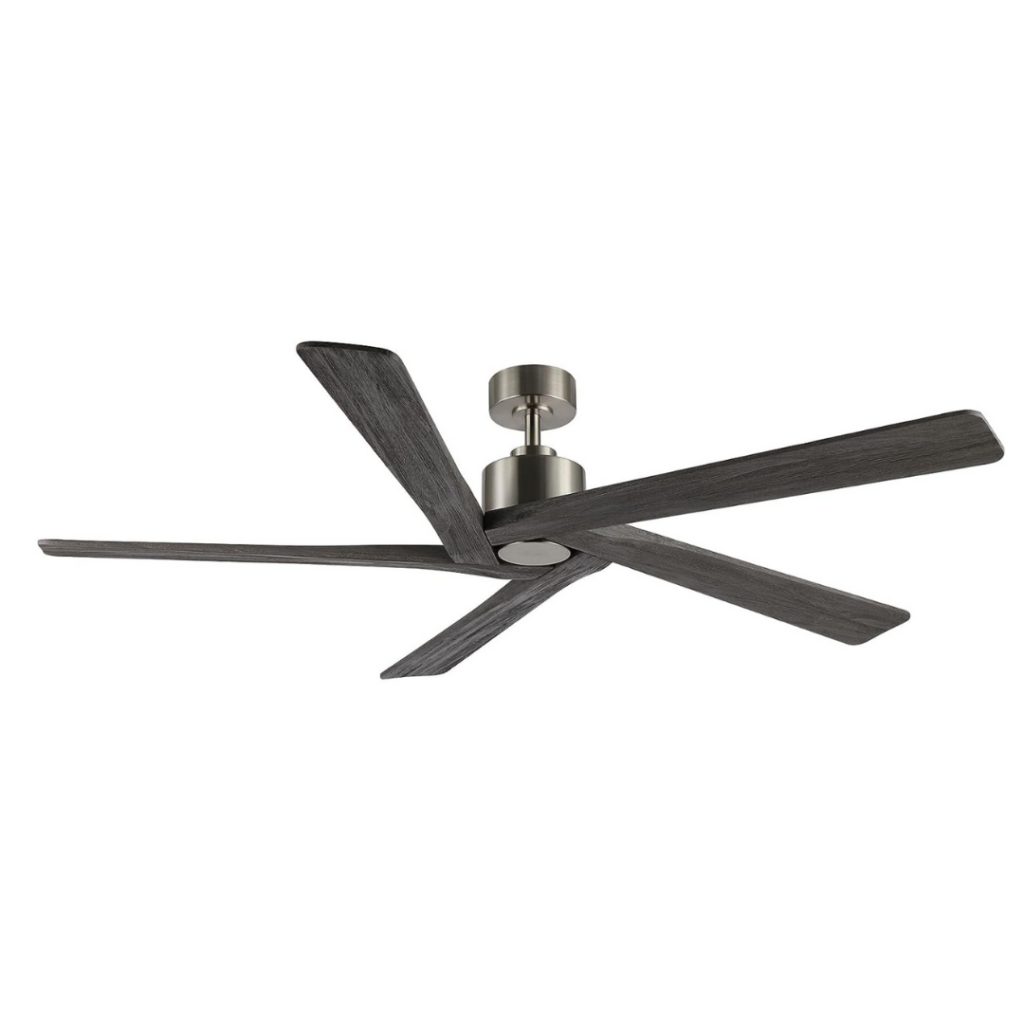
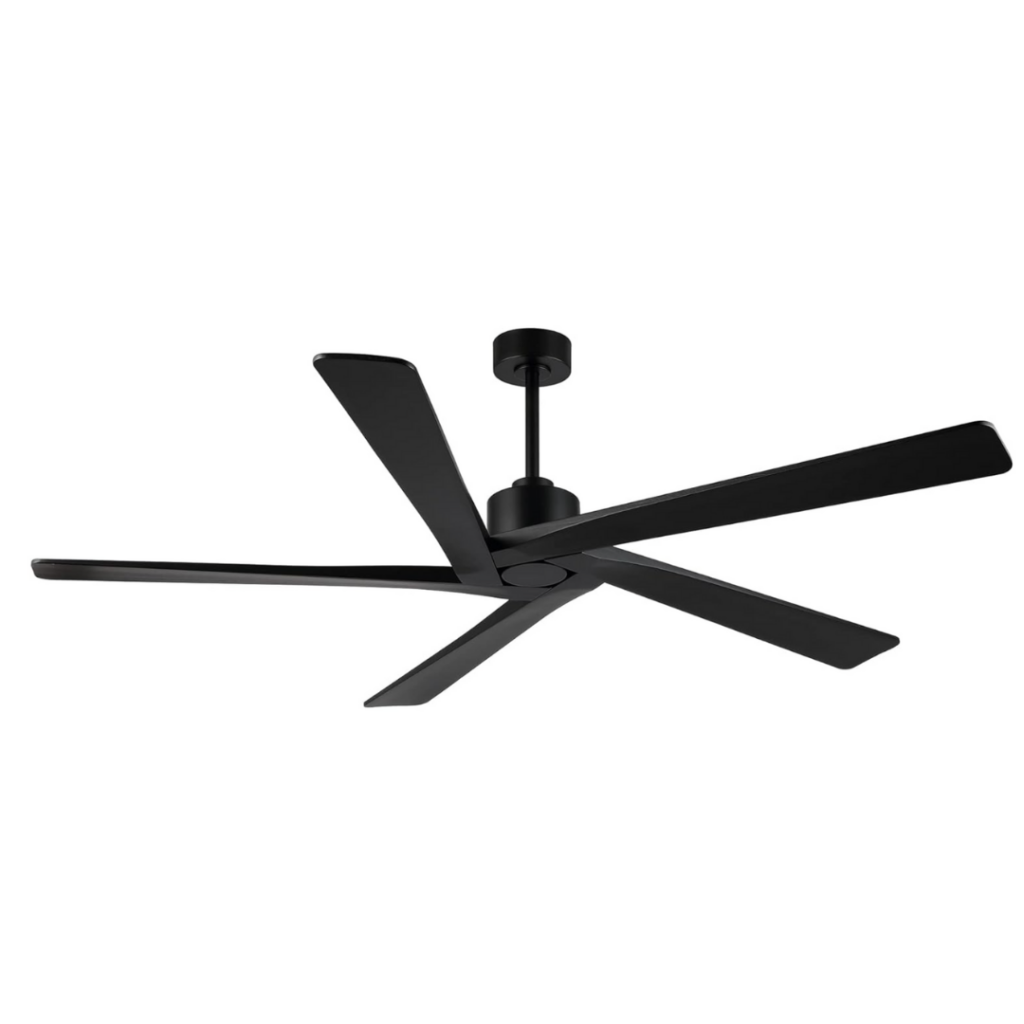
Here are some other colors to choose from.



Comments