
If you remember, my sister and her husband live next door to us and we share a fence! And she’s about to have her first baby. He and Charlie will grow up right next to each other 🥹 So, we decided to make pass through to her house! Here’s how we made our DIY gate!
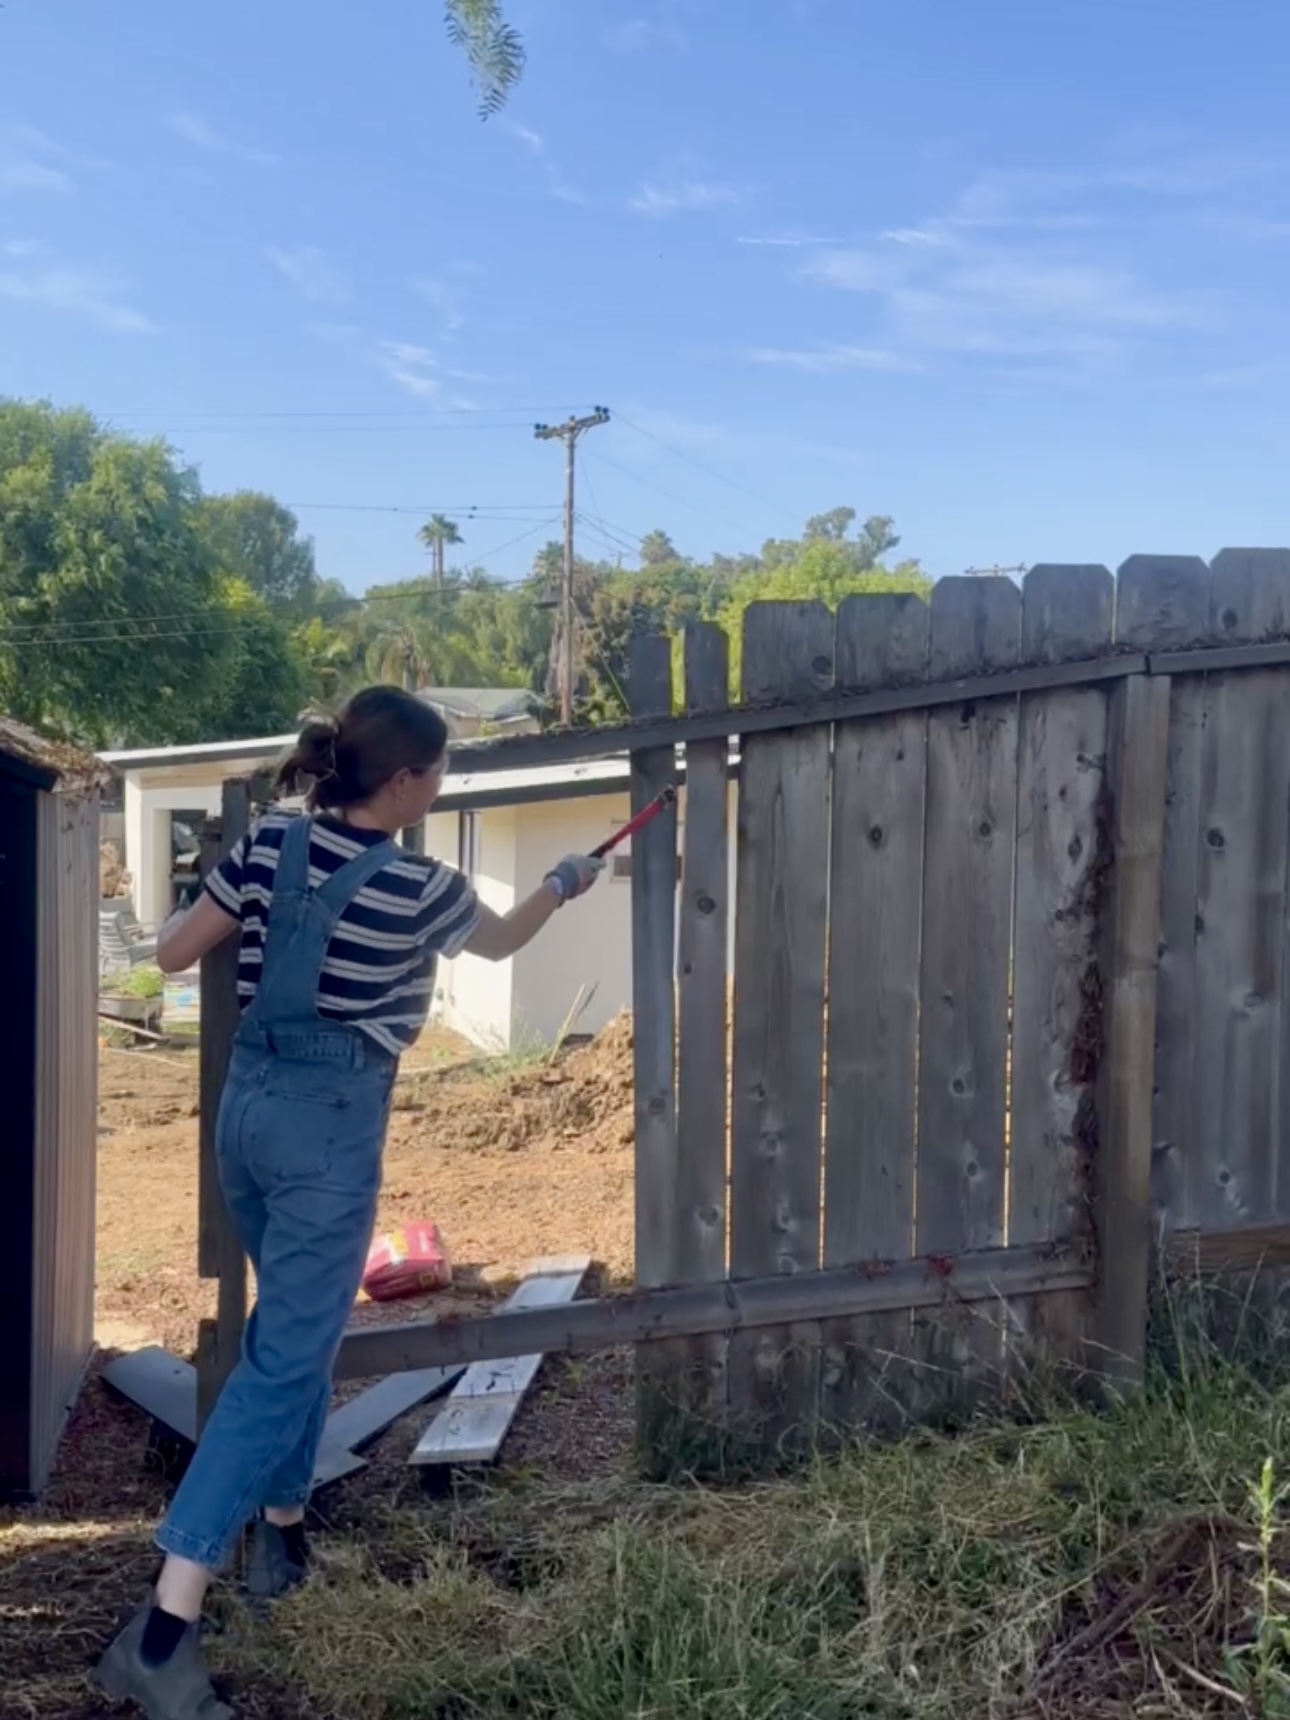
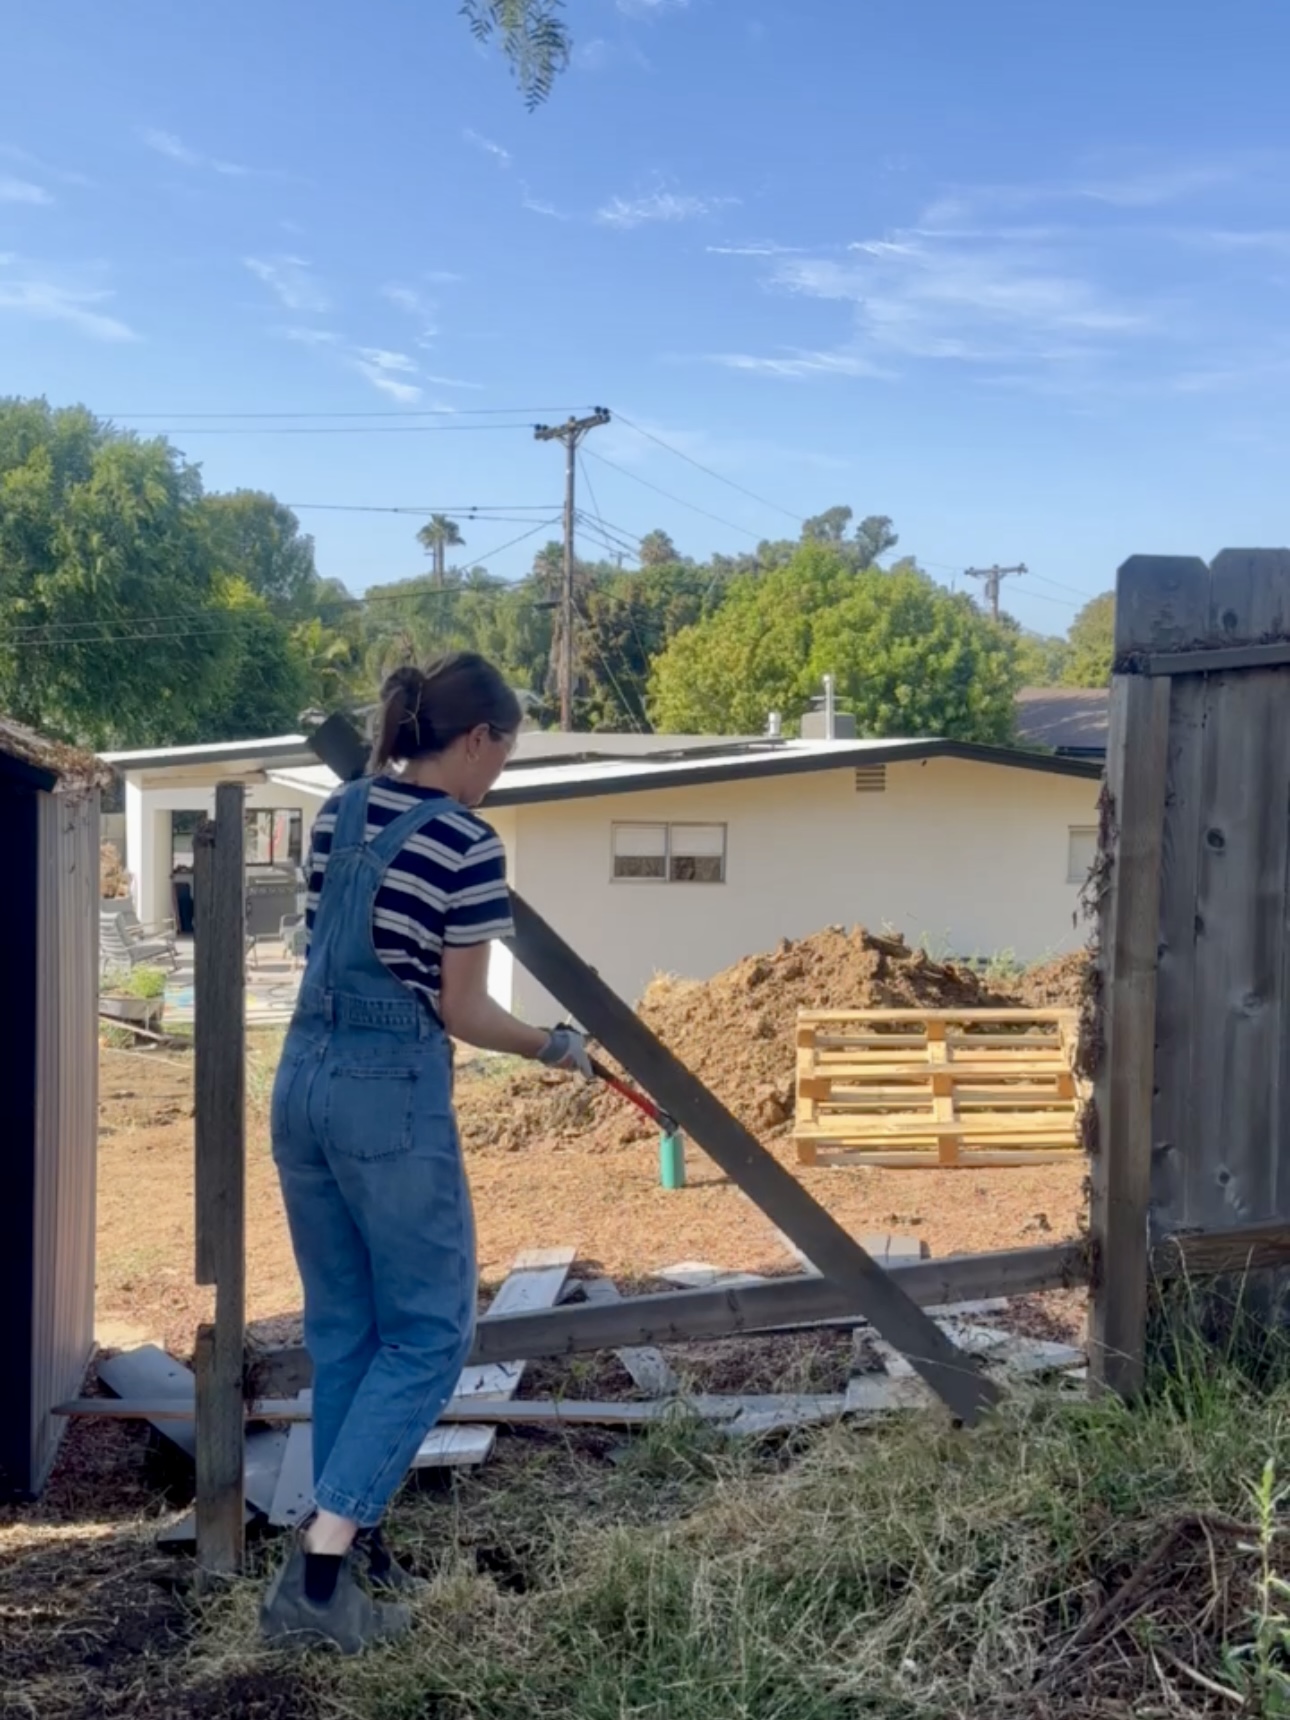
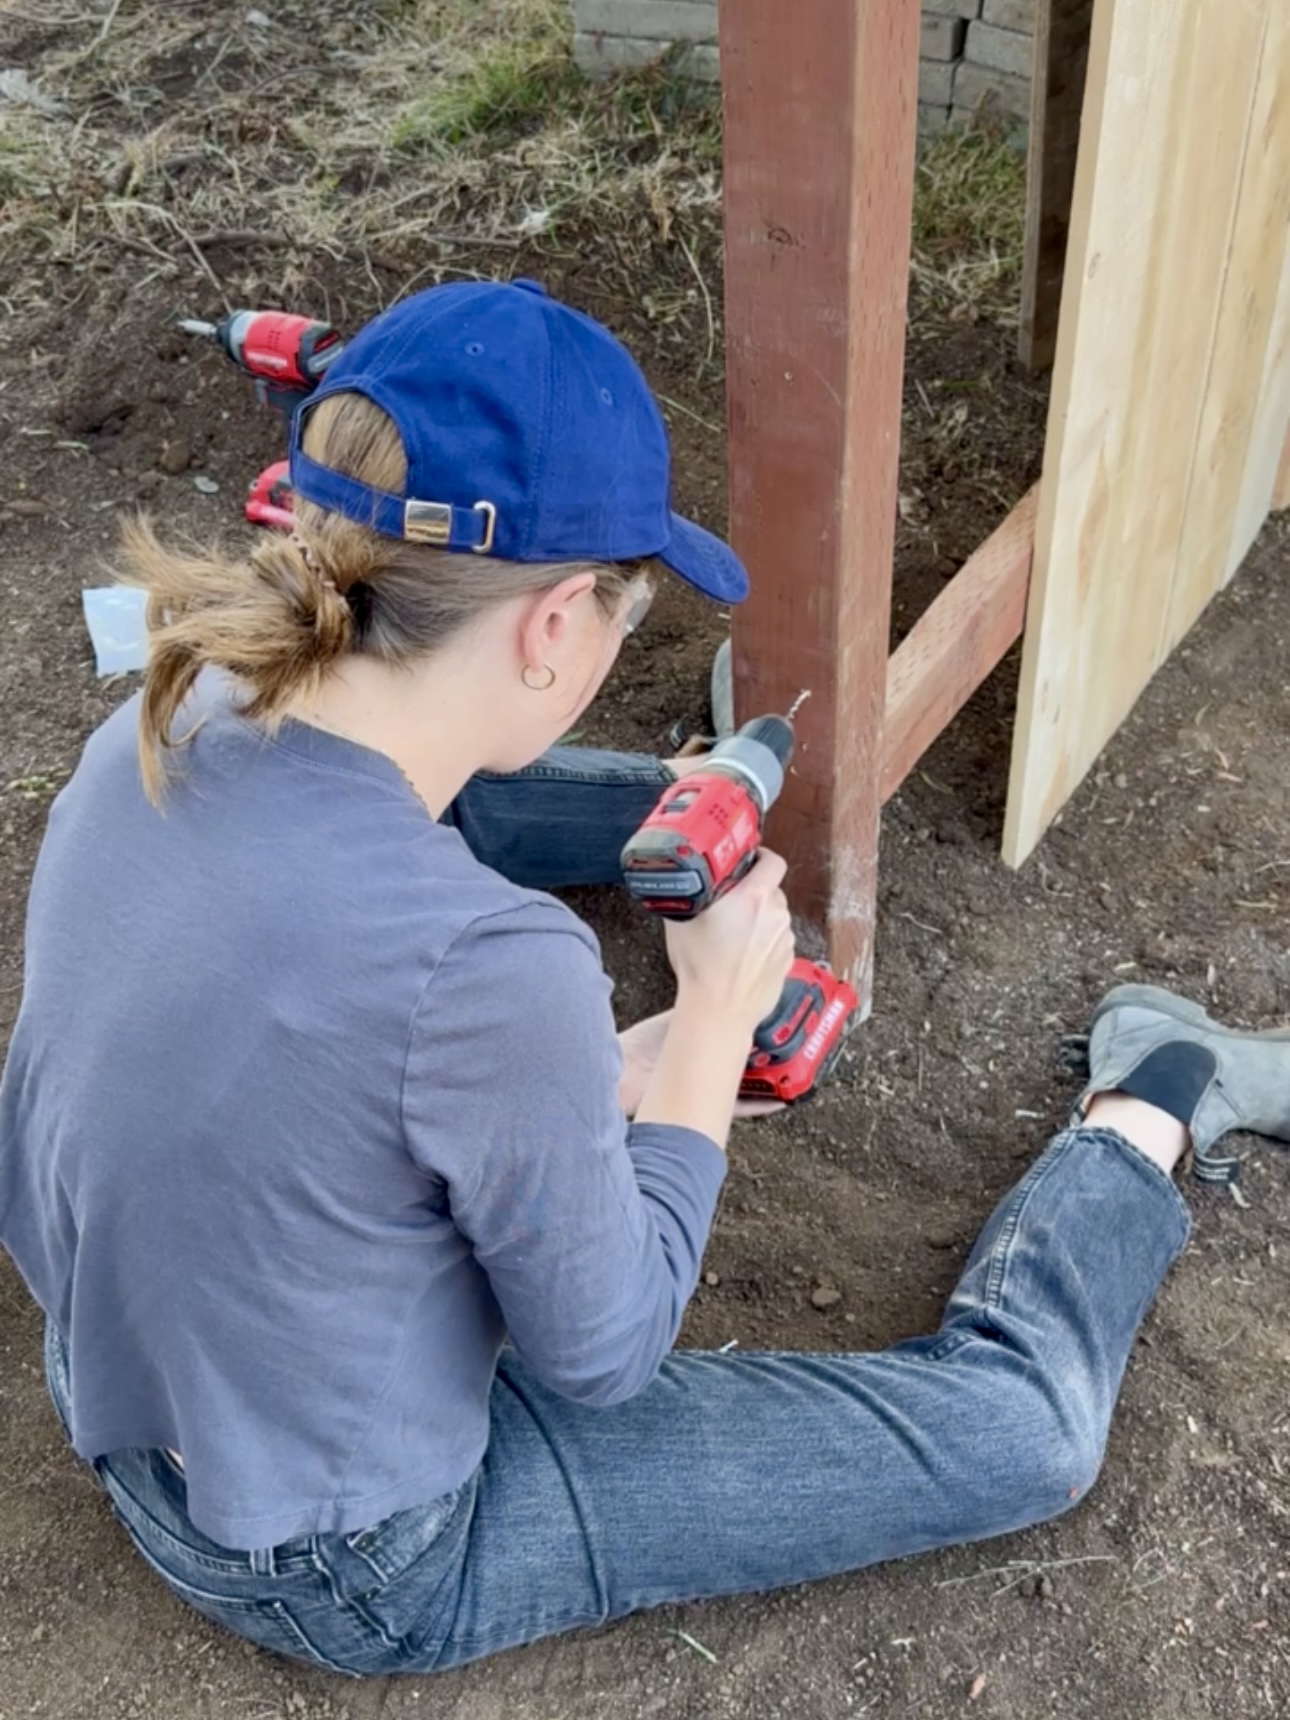
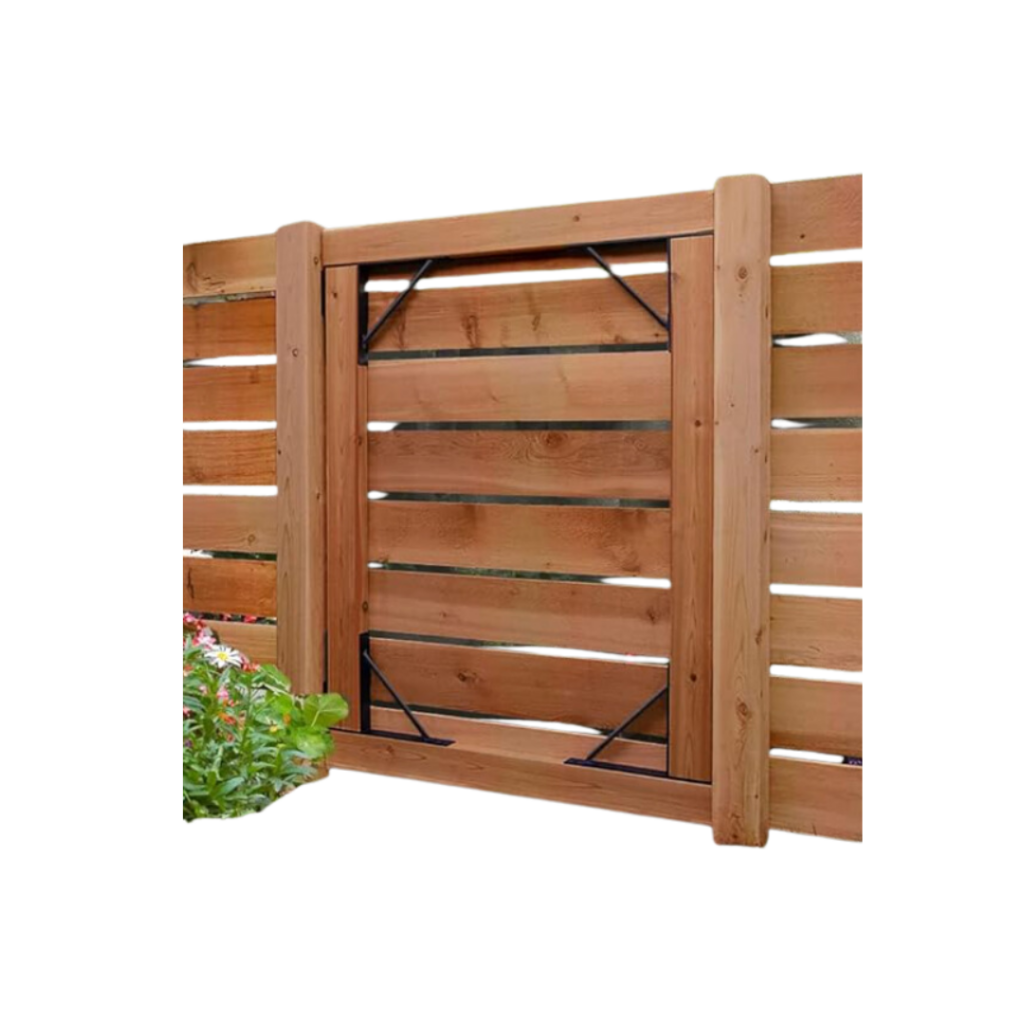
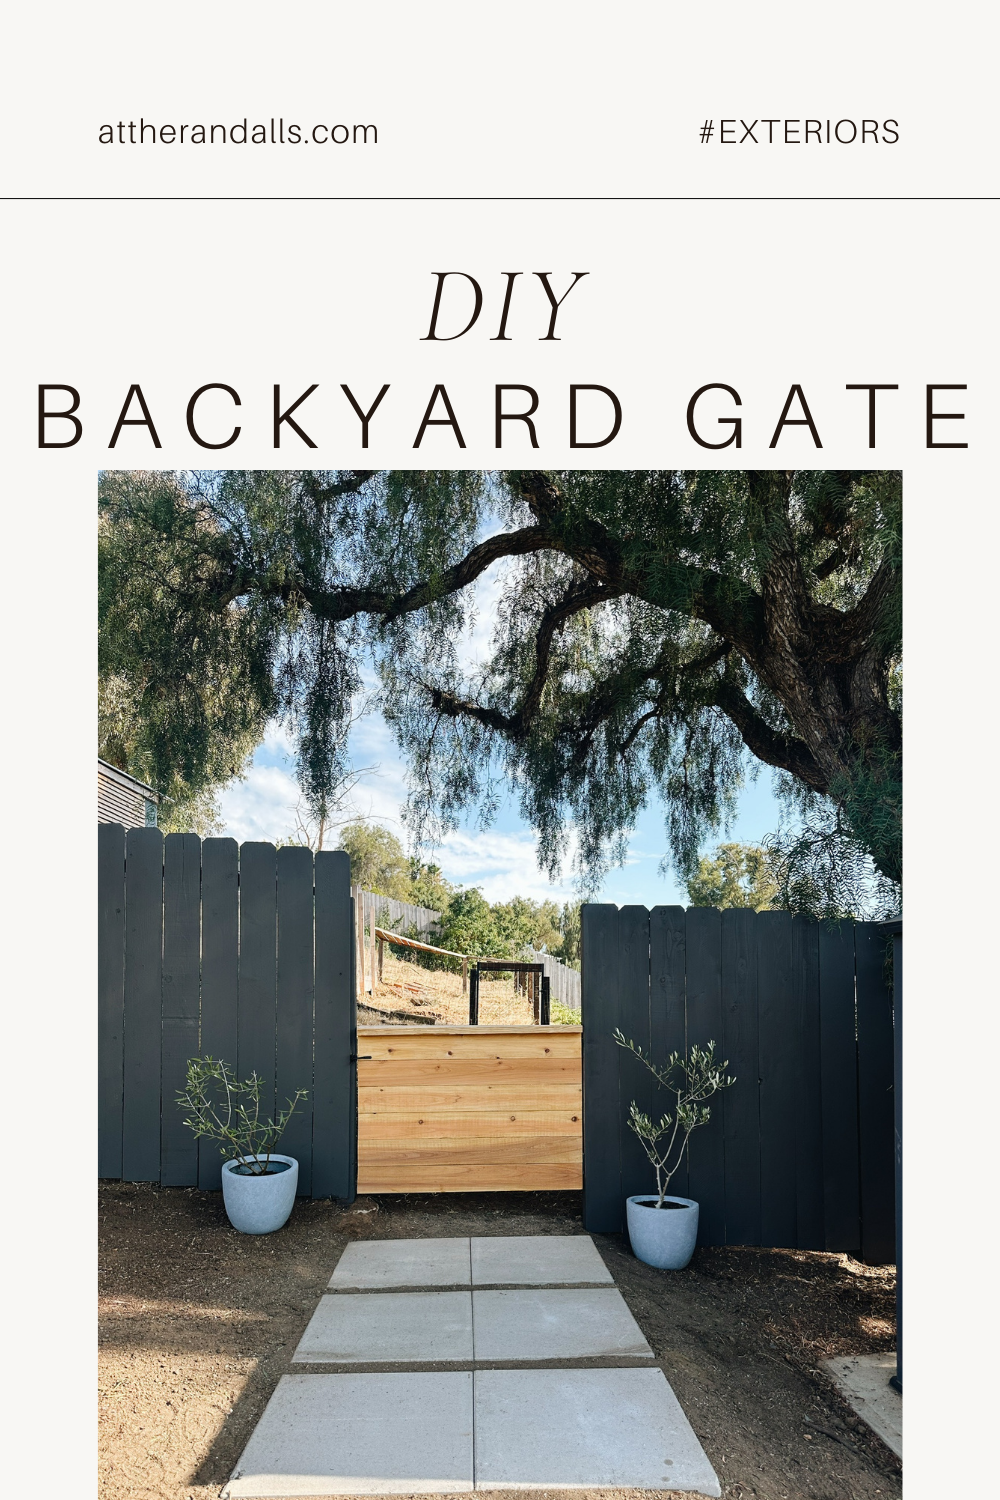
For the longest time, we had a wooden pallet as a doorway between our yards and it just wasn’t cutting it anymore. We’ve had this on our to-do list ever since they moved in. After careful consideration, we decided to build a half-sized gate for friendly chats and coffee over the hill. Let’s build it!

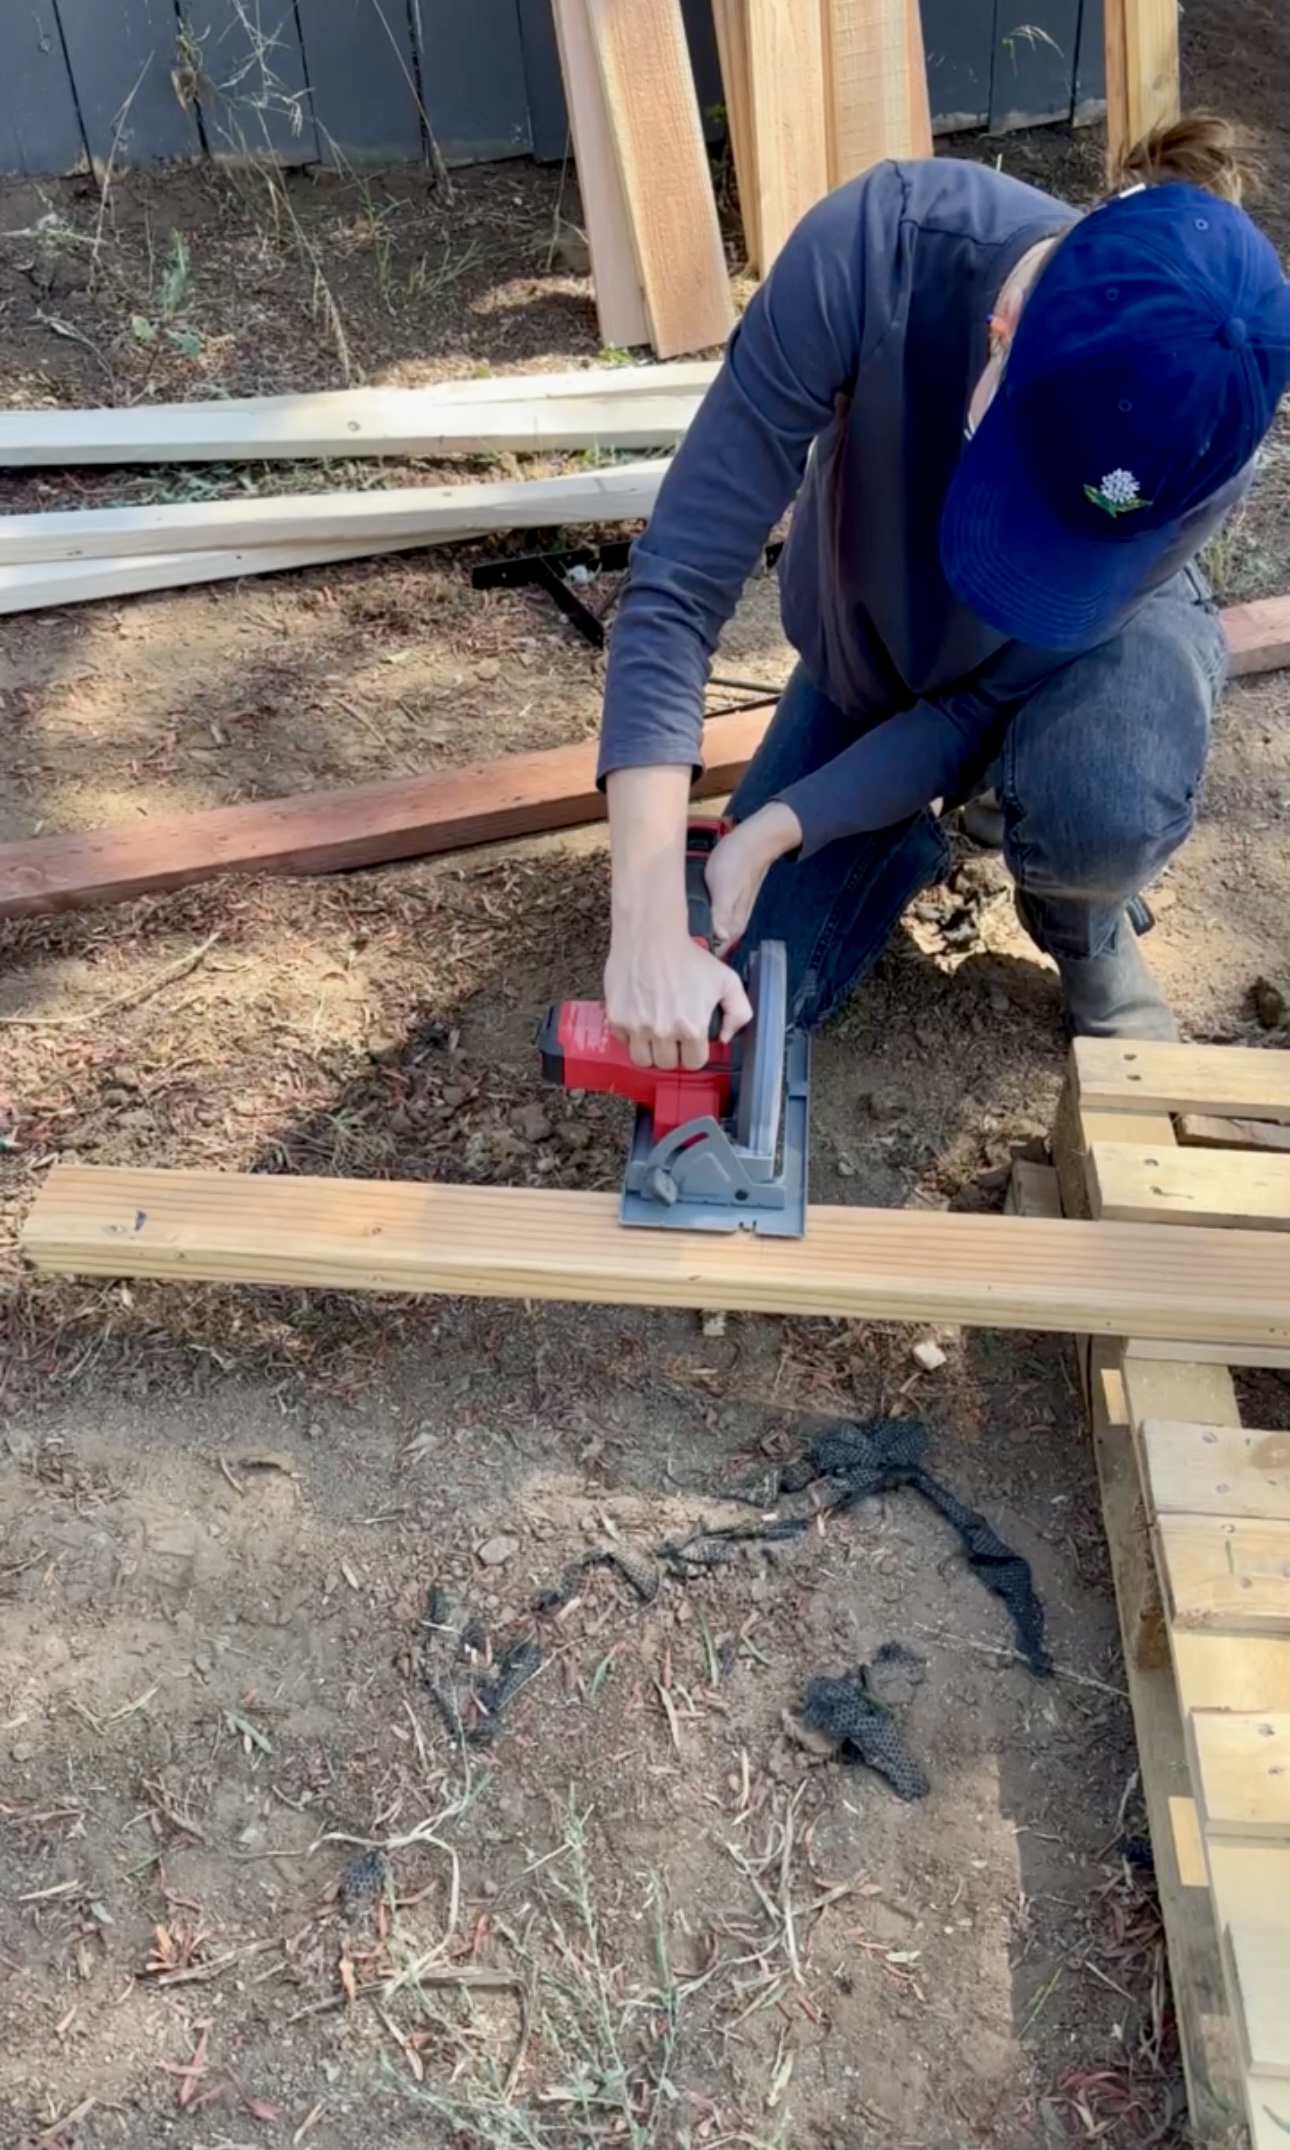
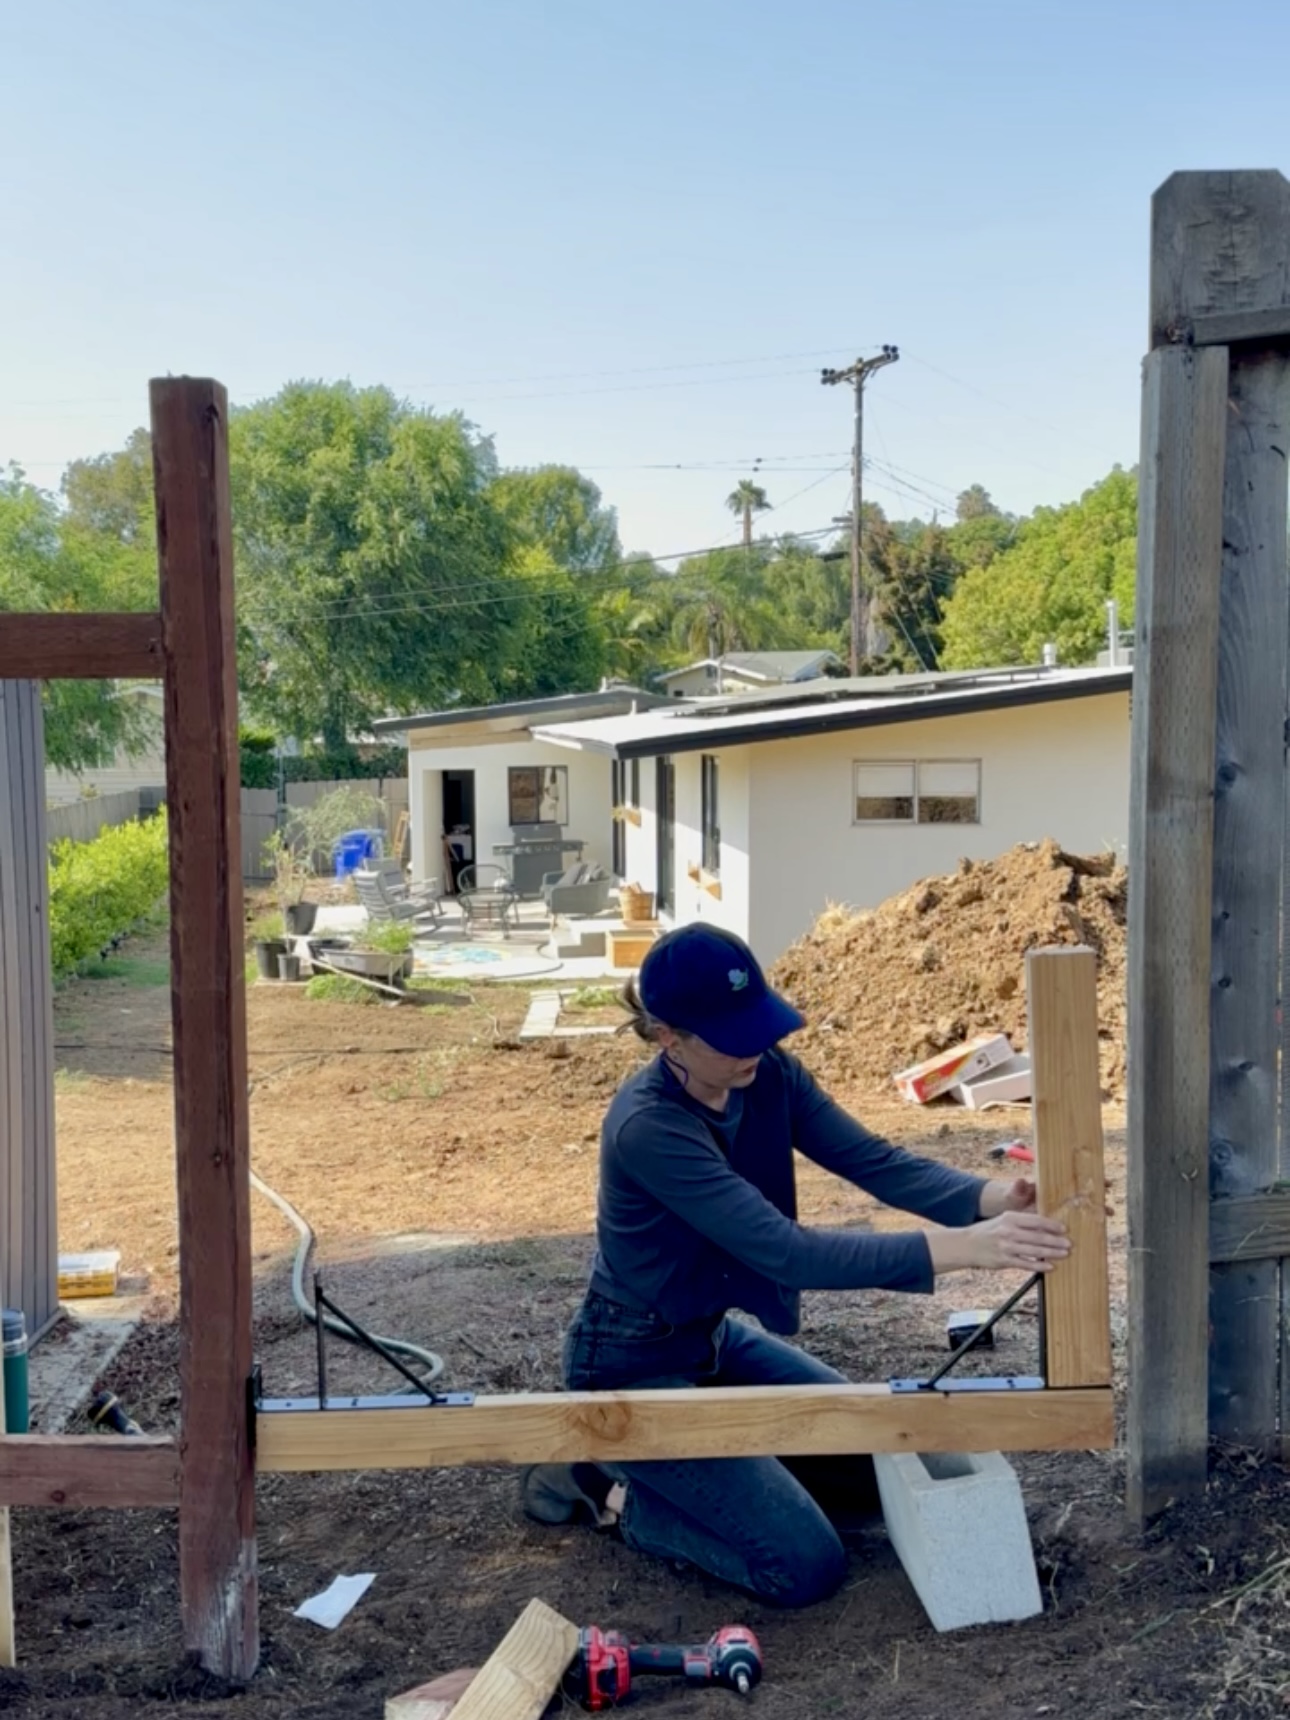
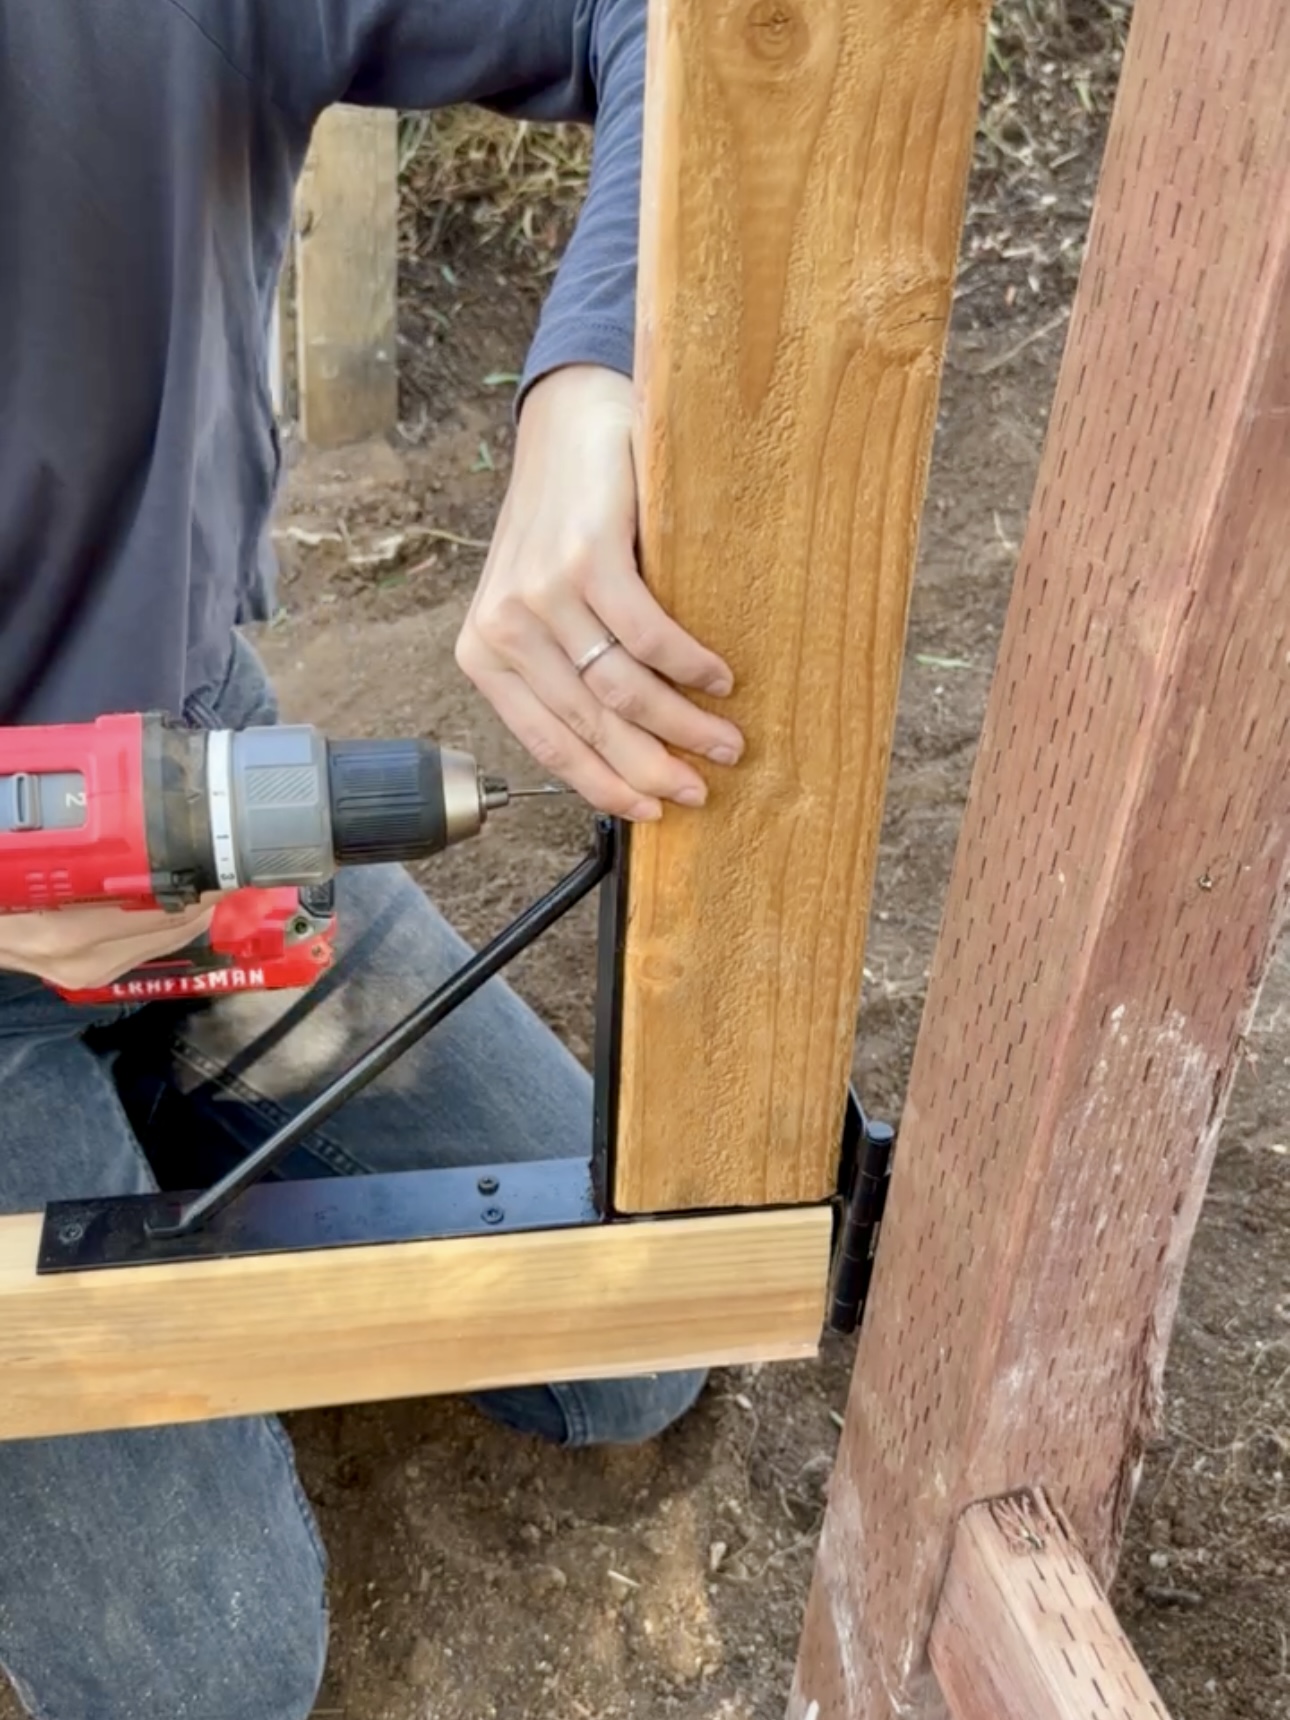
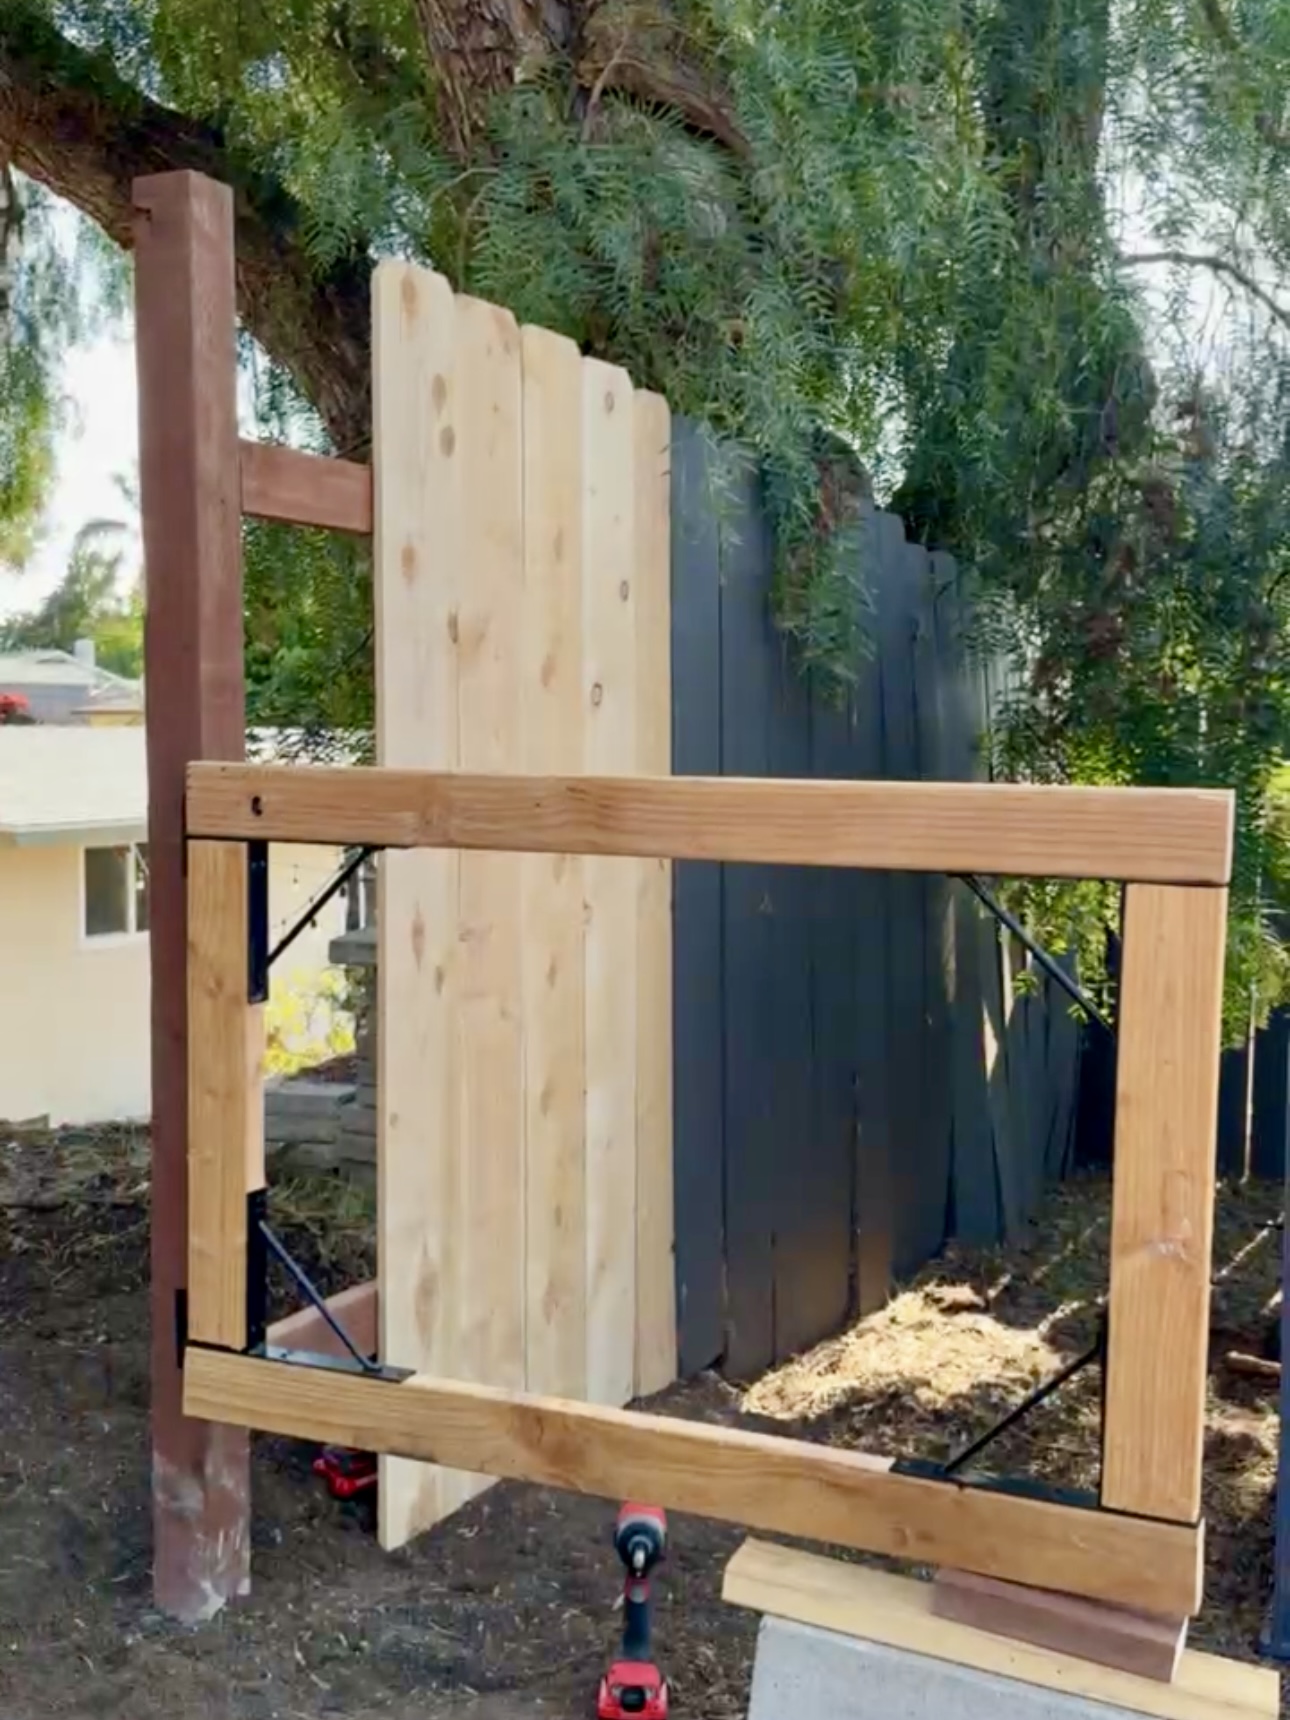
I ordered this gate kit to build this door and we our lumber from Lowes. It’s so simple and straightforward. So easy to follow!
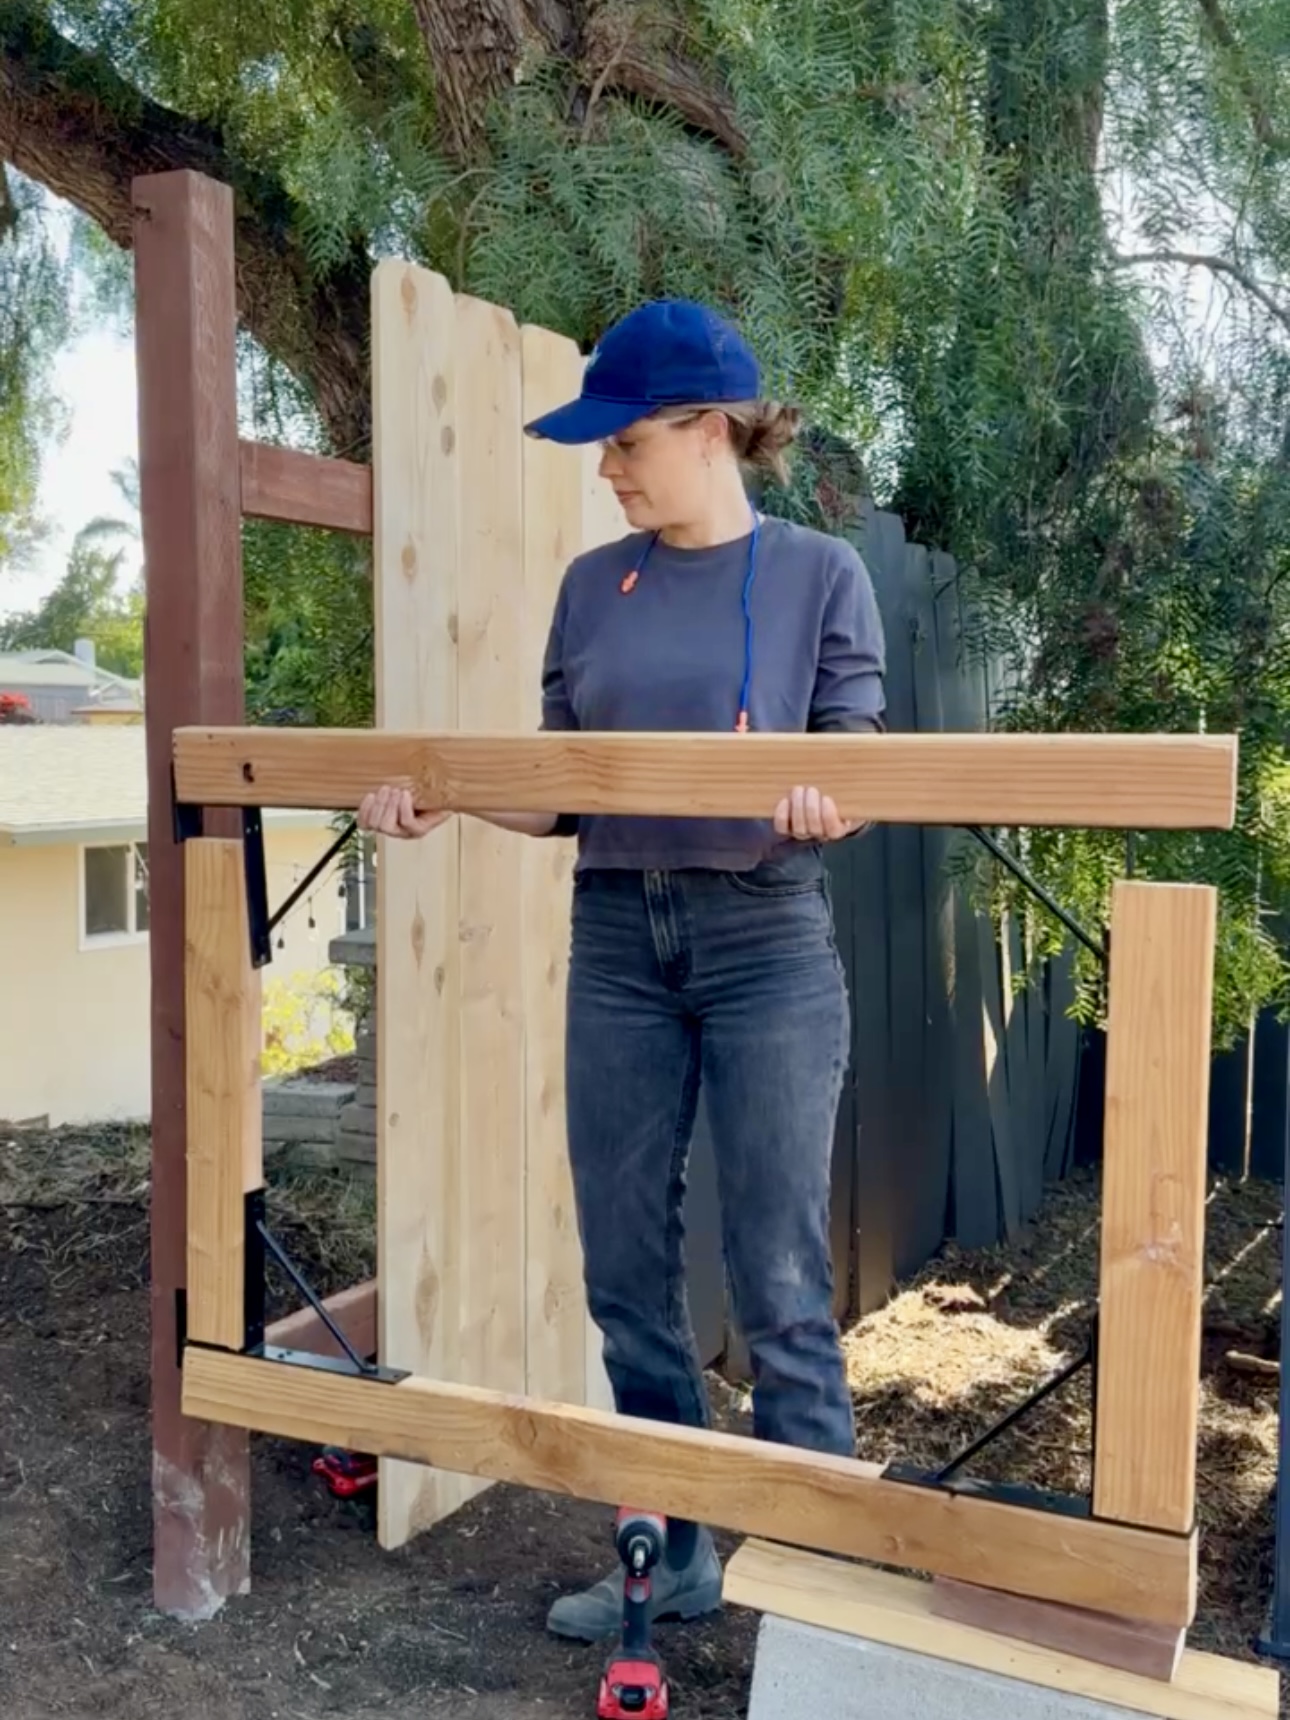
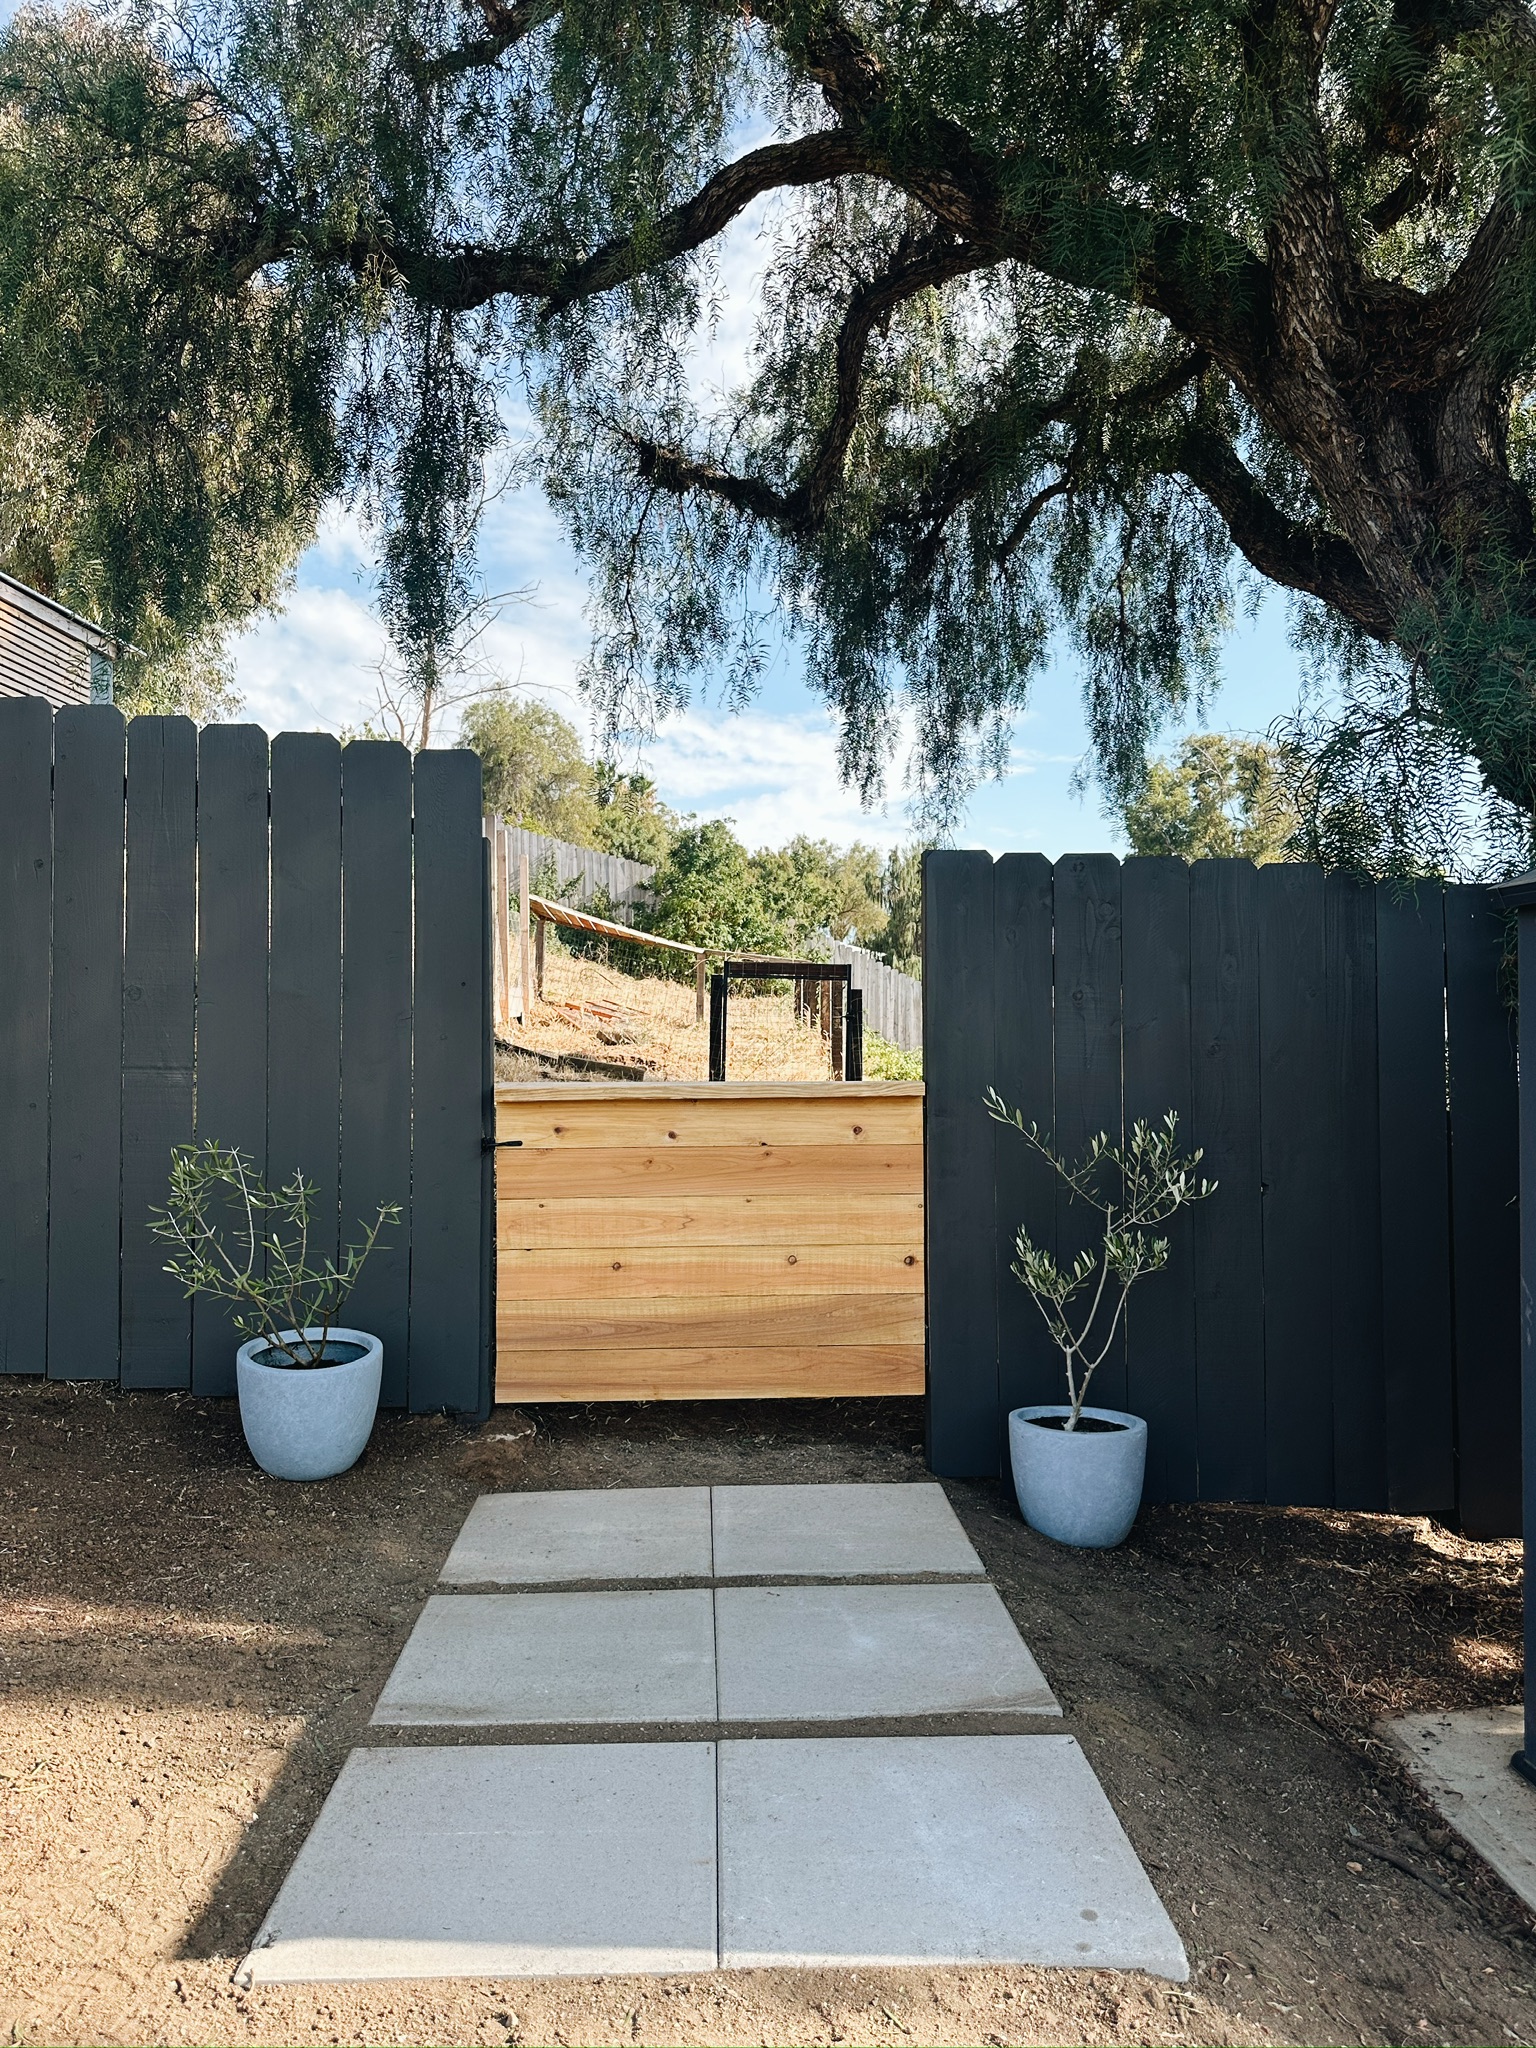
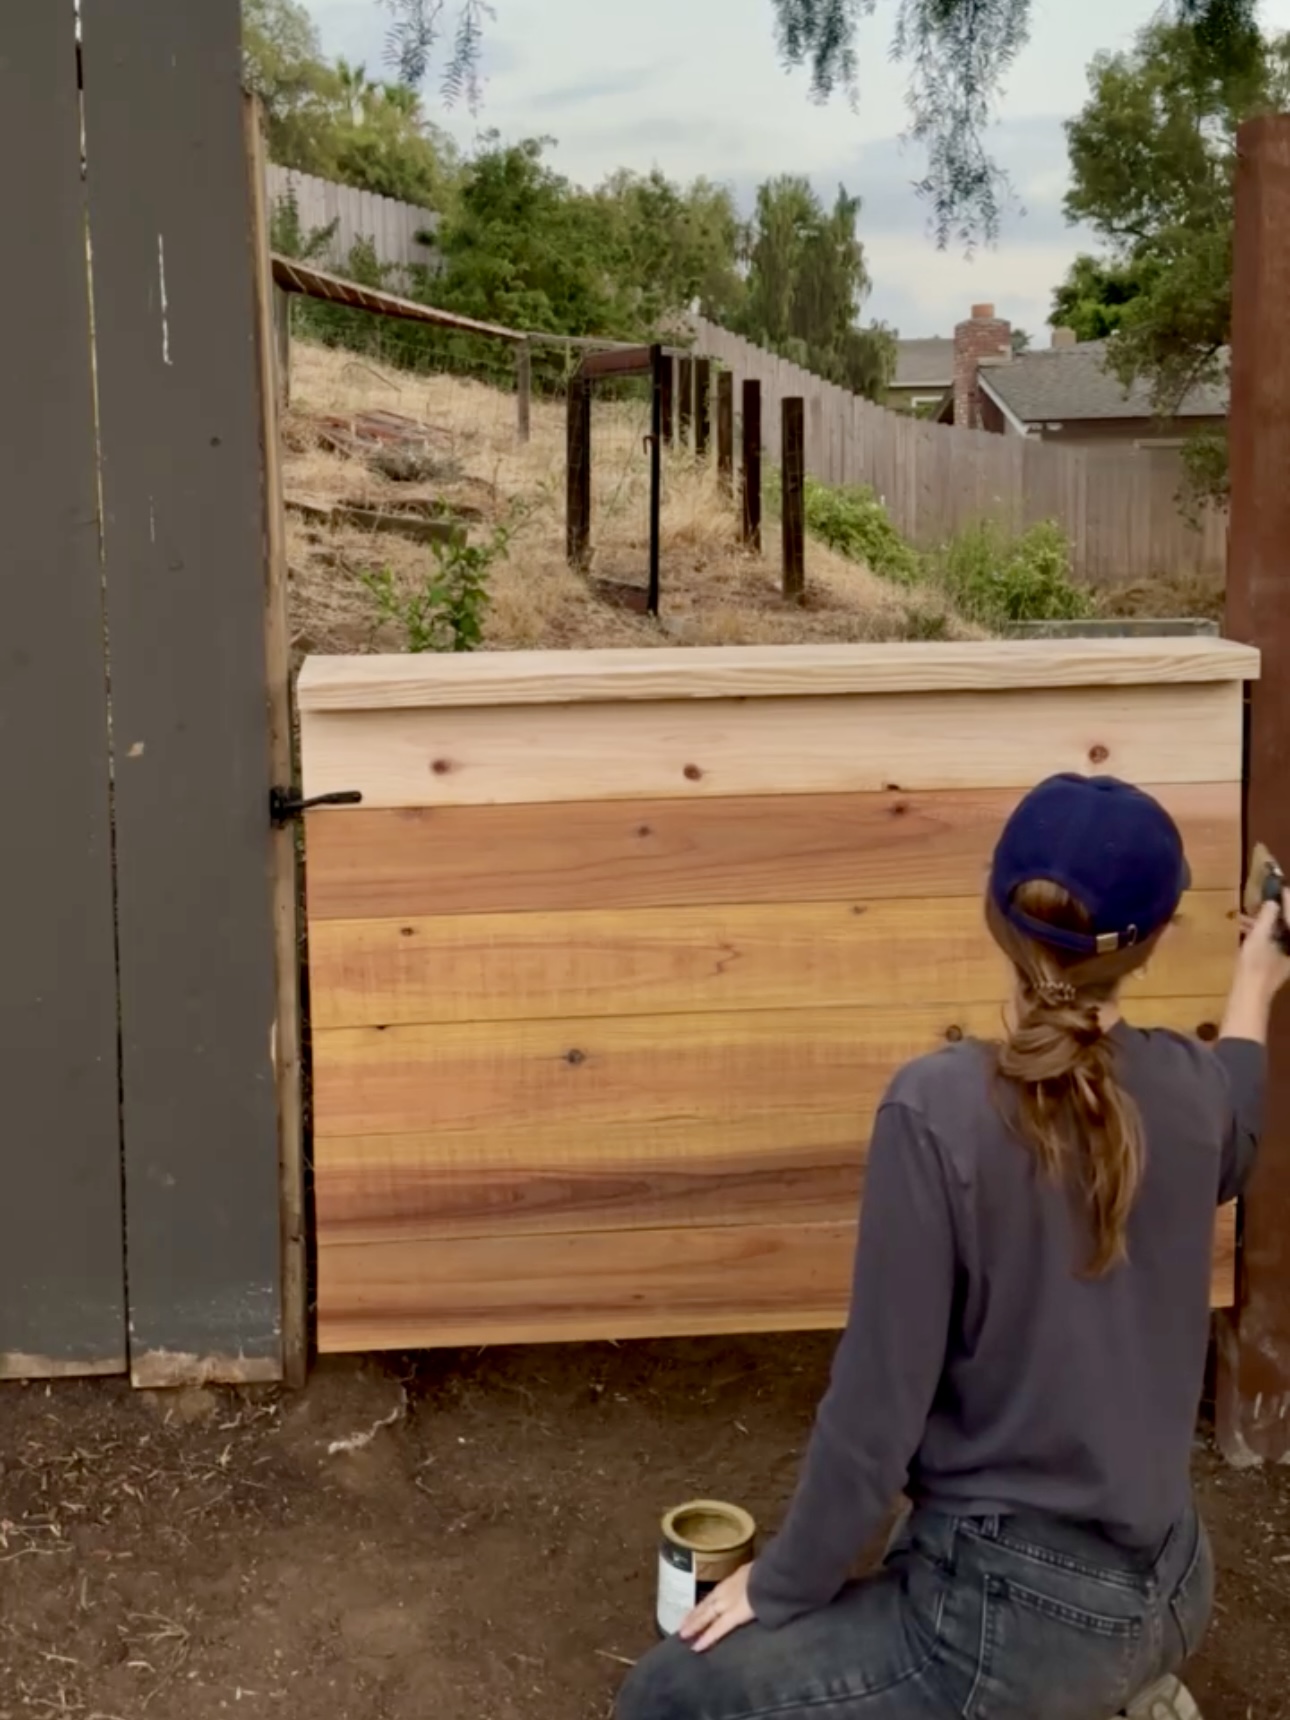
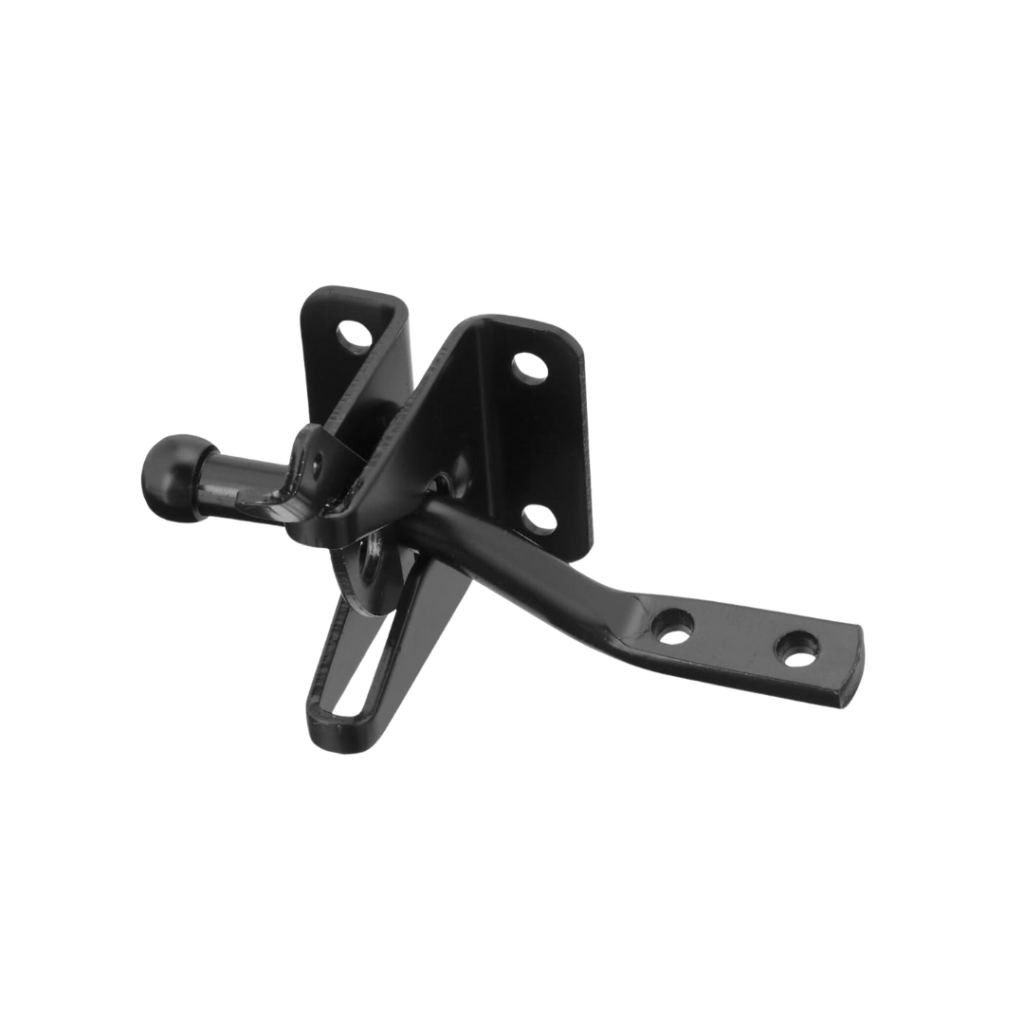
For the ledge (aka coffee ledge) , we just picked a piece of wood from our scrap pile! We used a 2×8 board. Then, we added the latch so the gate can close. They have chickens so this will keep them from our yard!
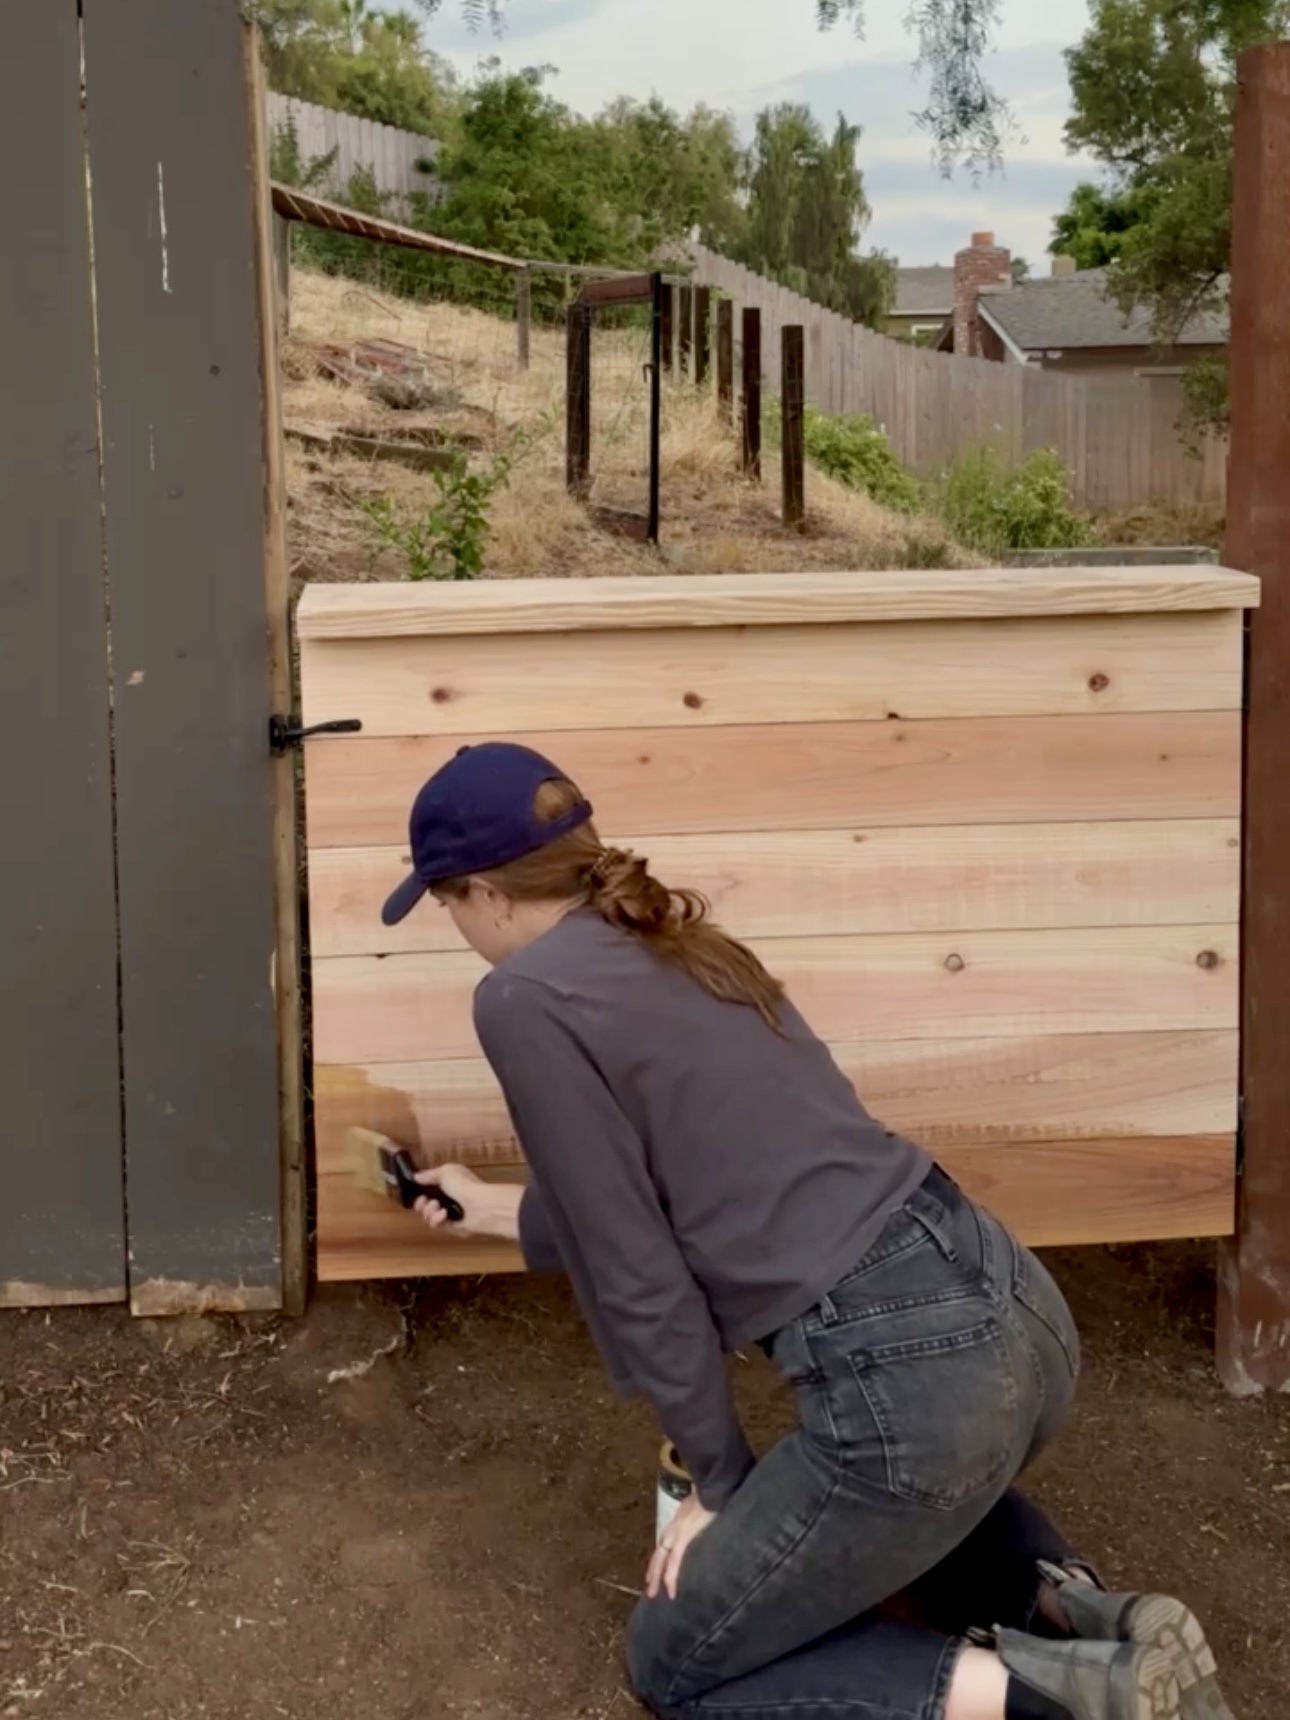
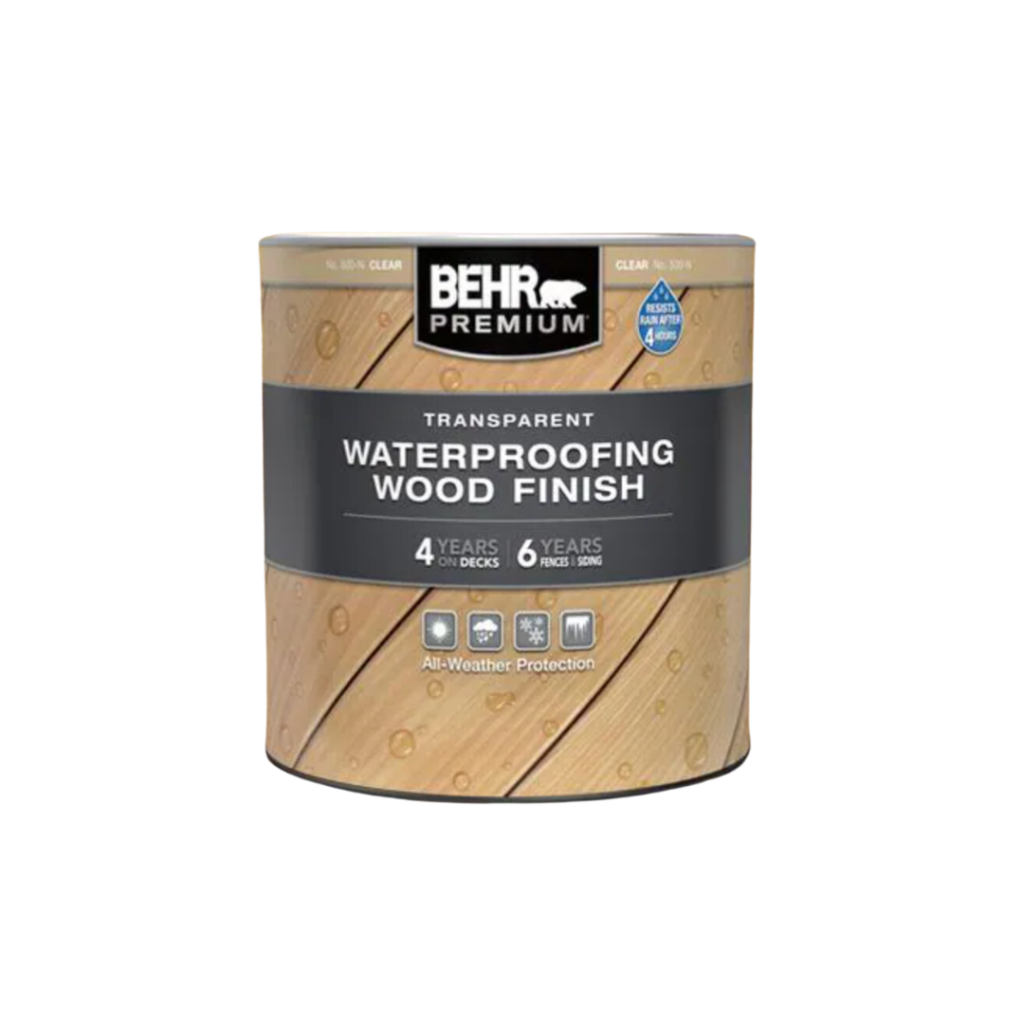
Next, we applied this waterproofing wood finish in the color “clear.”
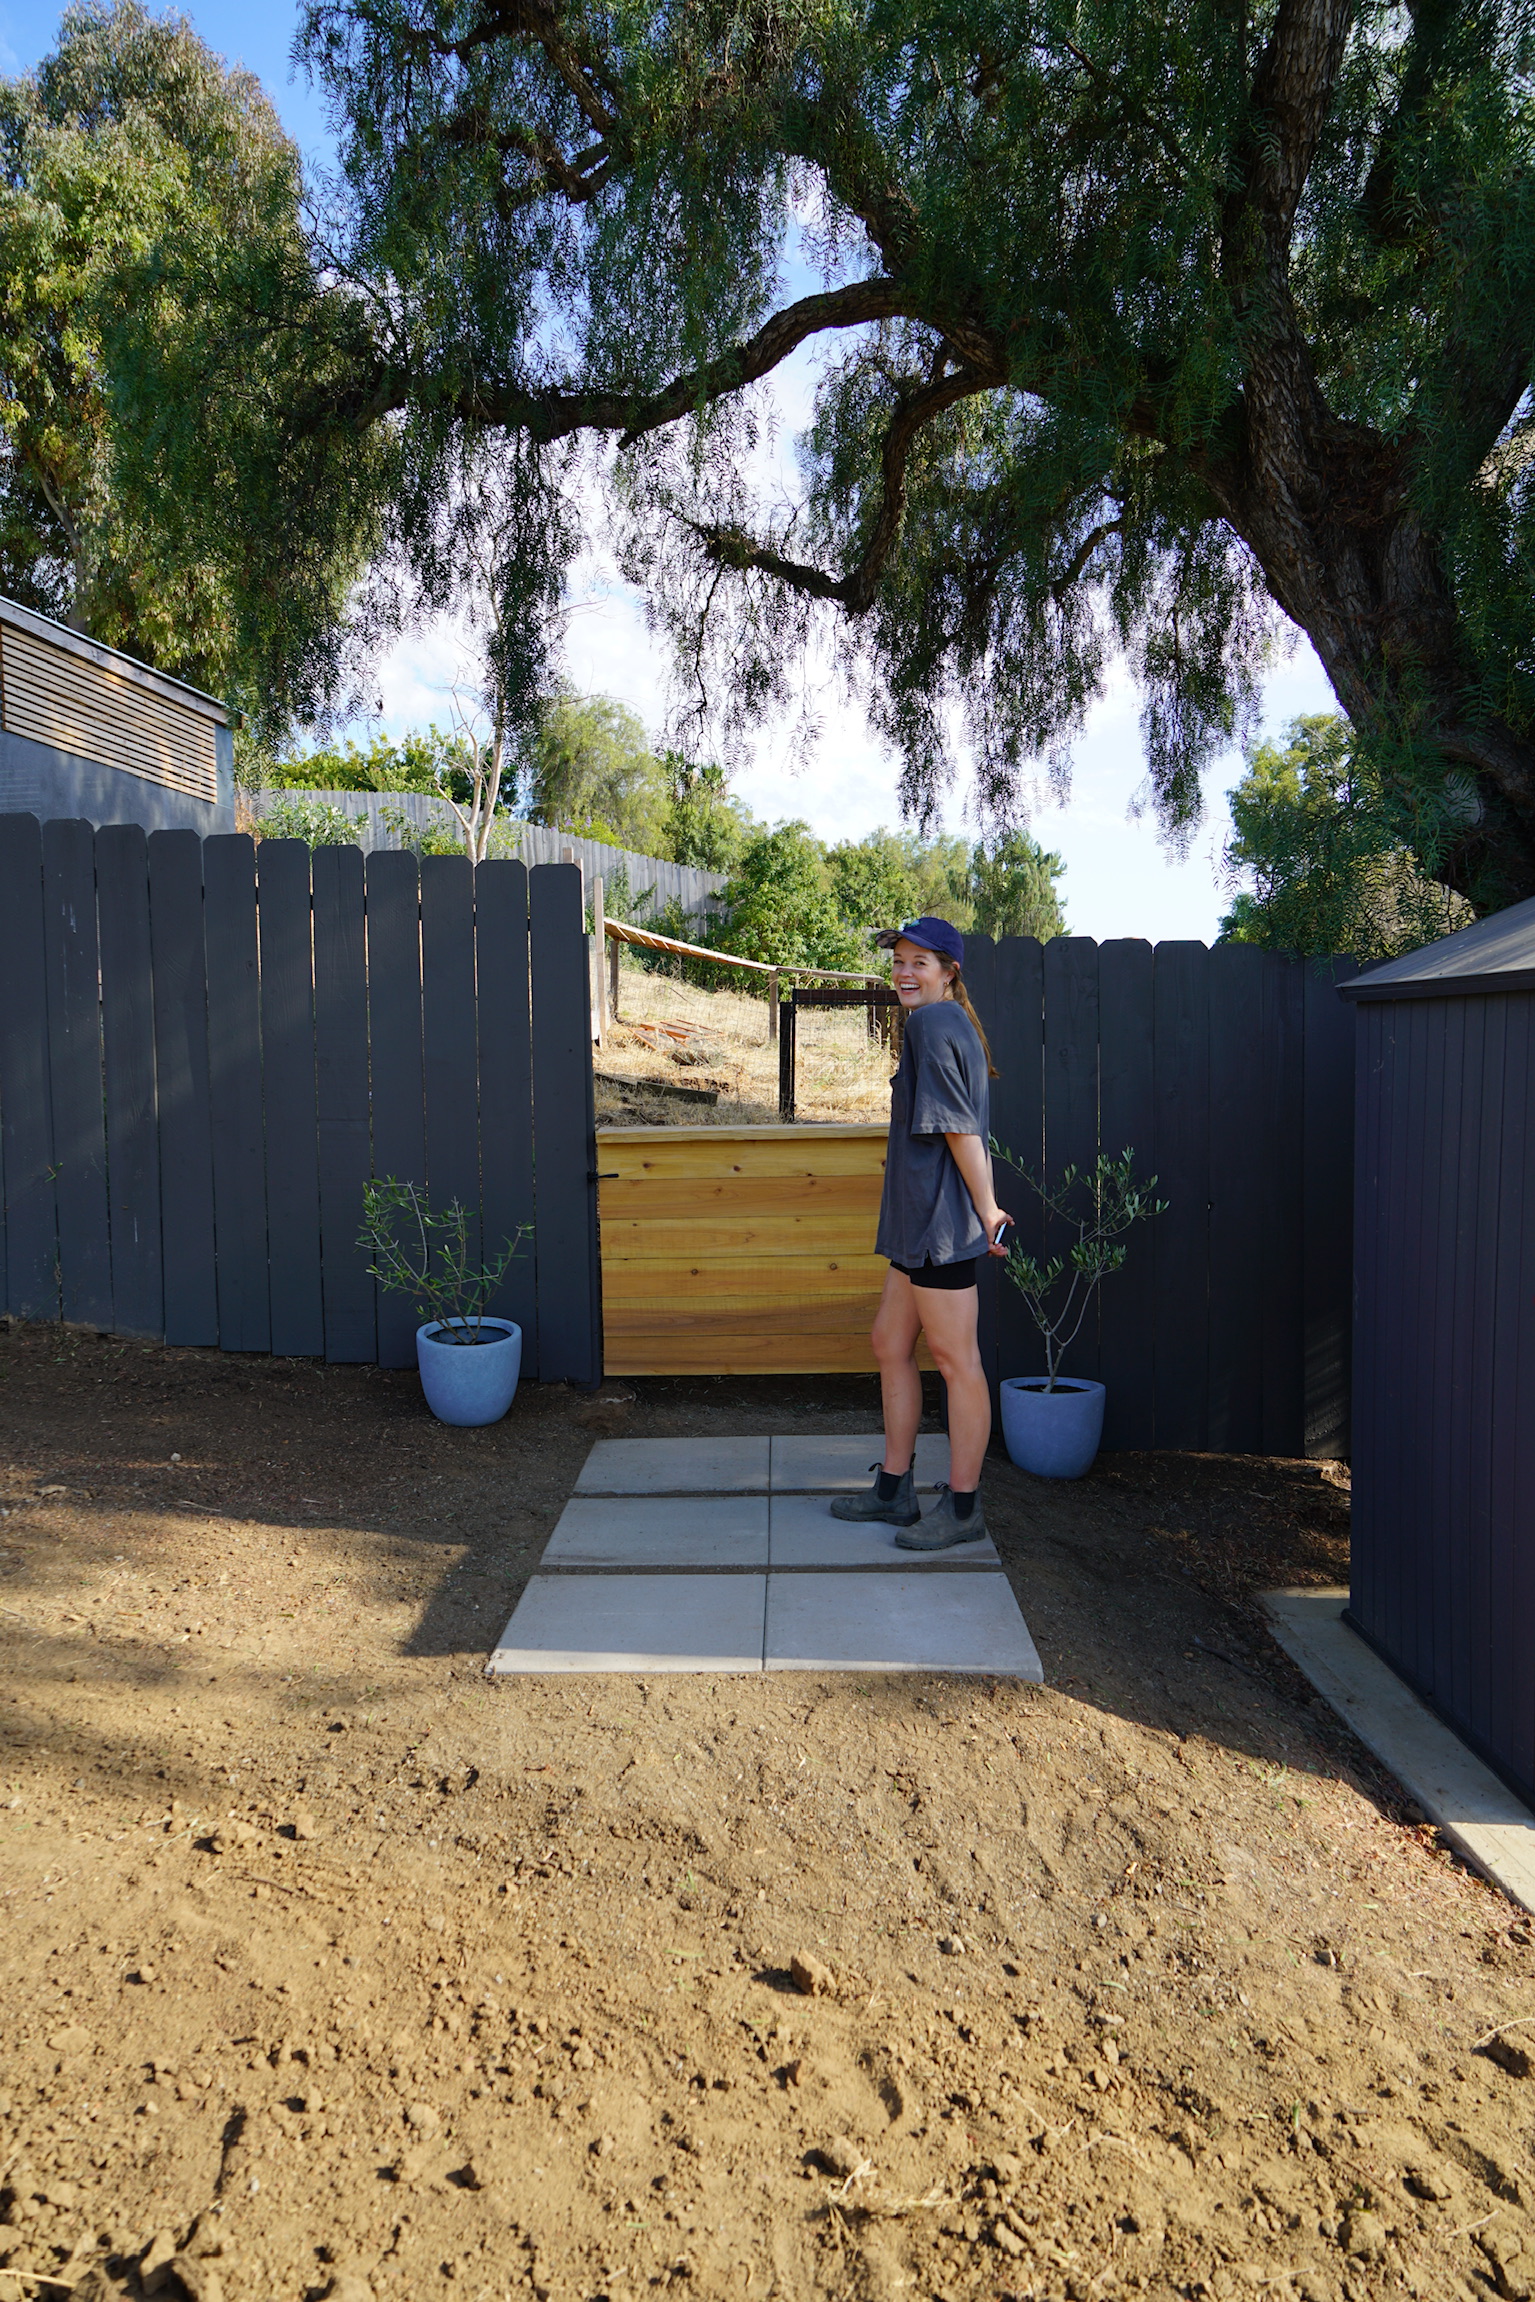
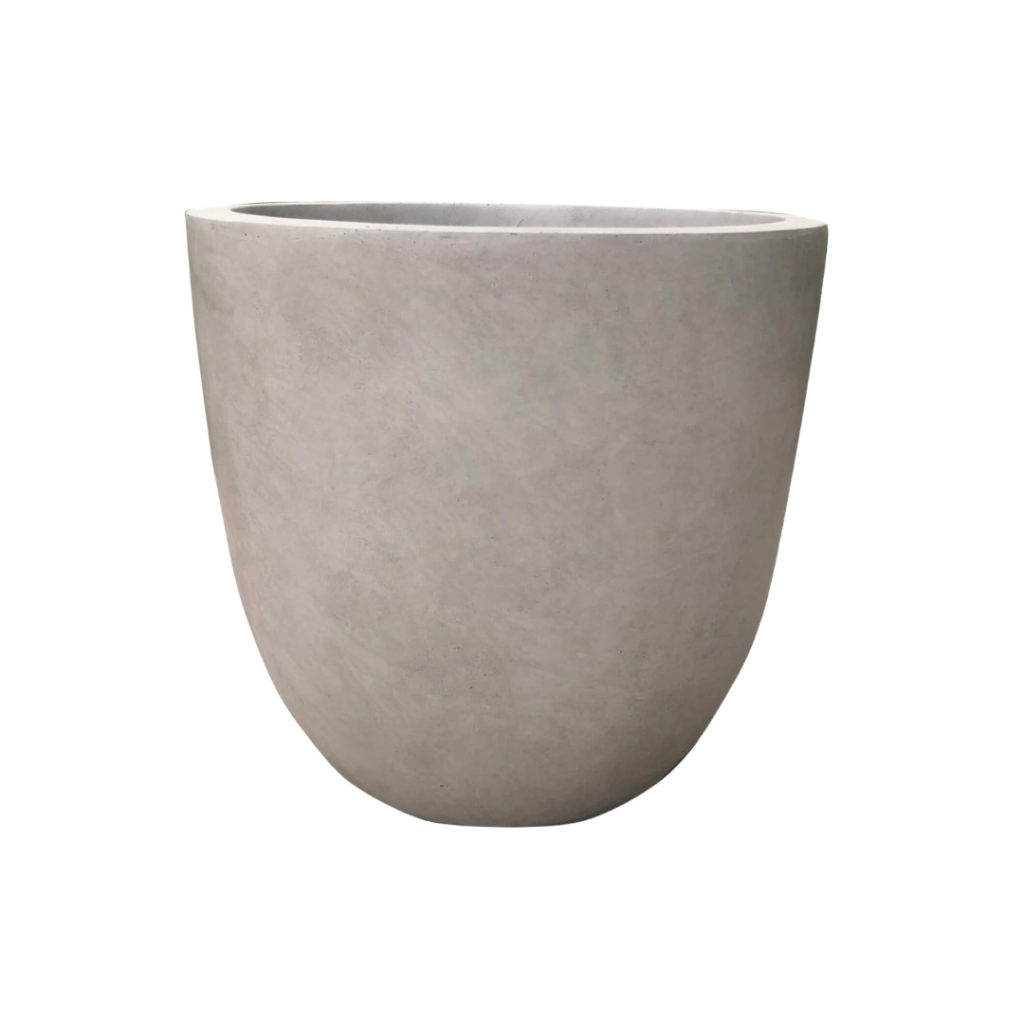
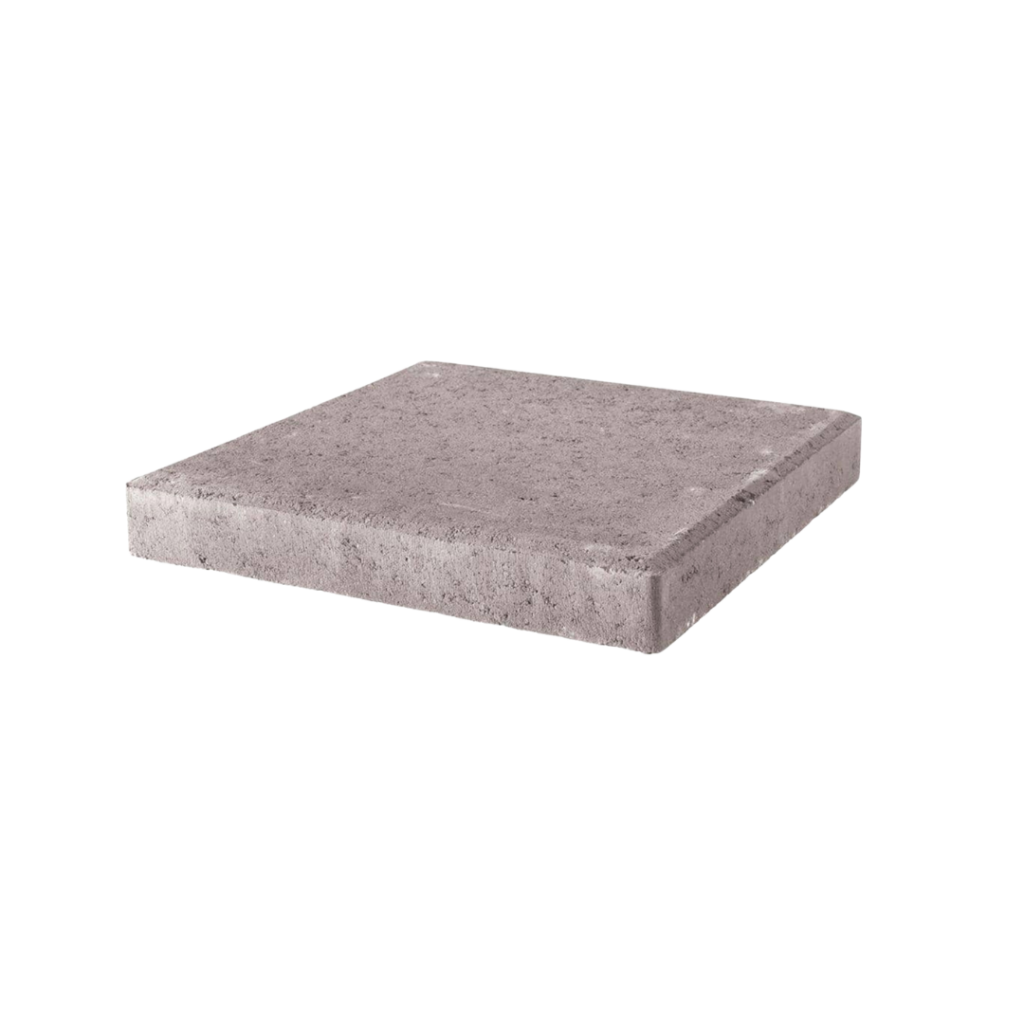
Finally, we put some concrete planters on each side of the door as well as some pavers as a nice little walkway up to the gate!
Night one the family was already hanging out by the gate. Exactly what we hoped for!

Materials for our DIY Gate:


- Gate Kit
- Lumber from Lowe’s
- Circular Saw
- Drill
- Latch
- Waterproof Wood Finish
- Concrete Planters
- Pavers
Comments