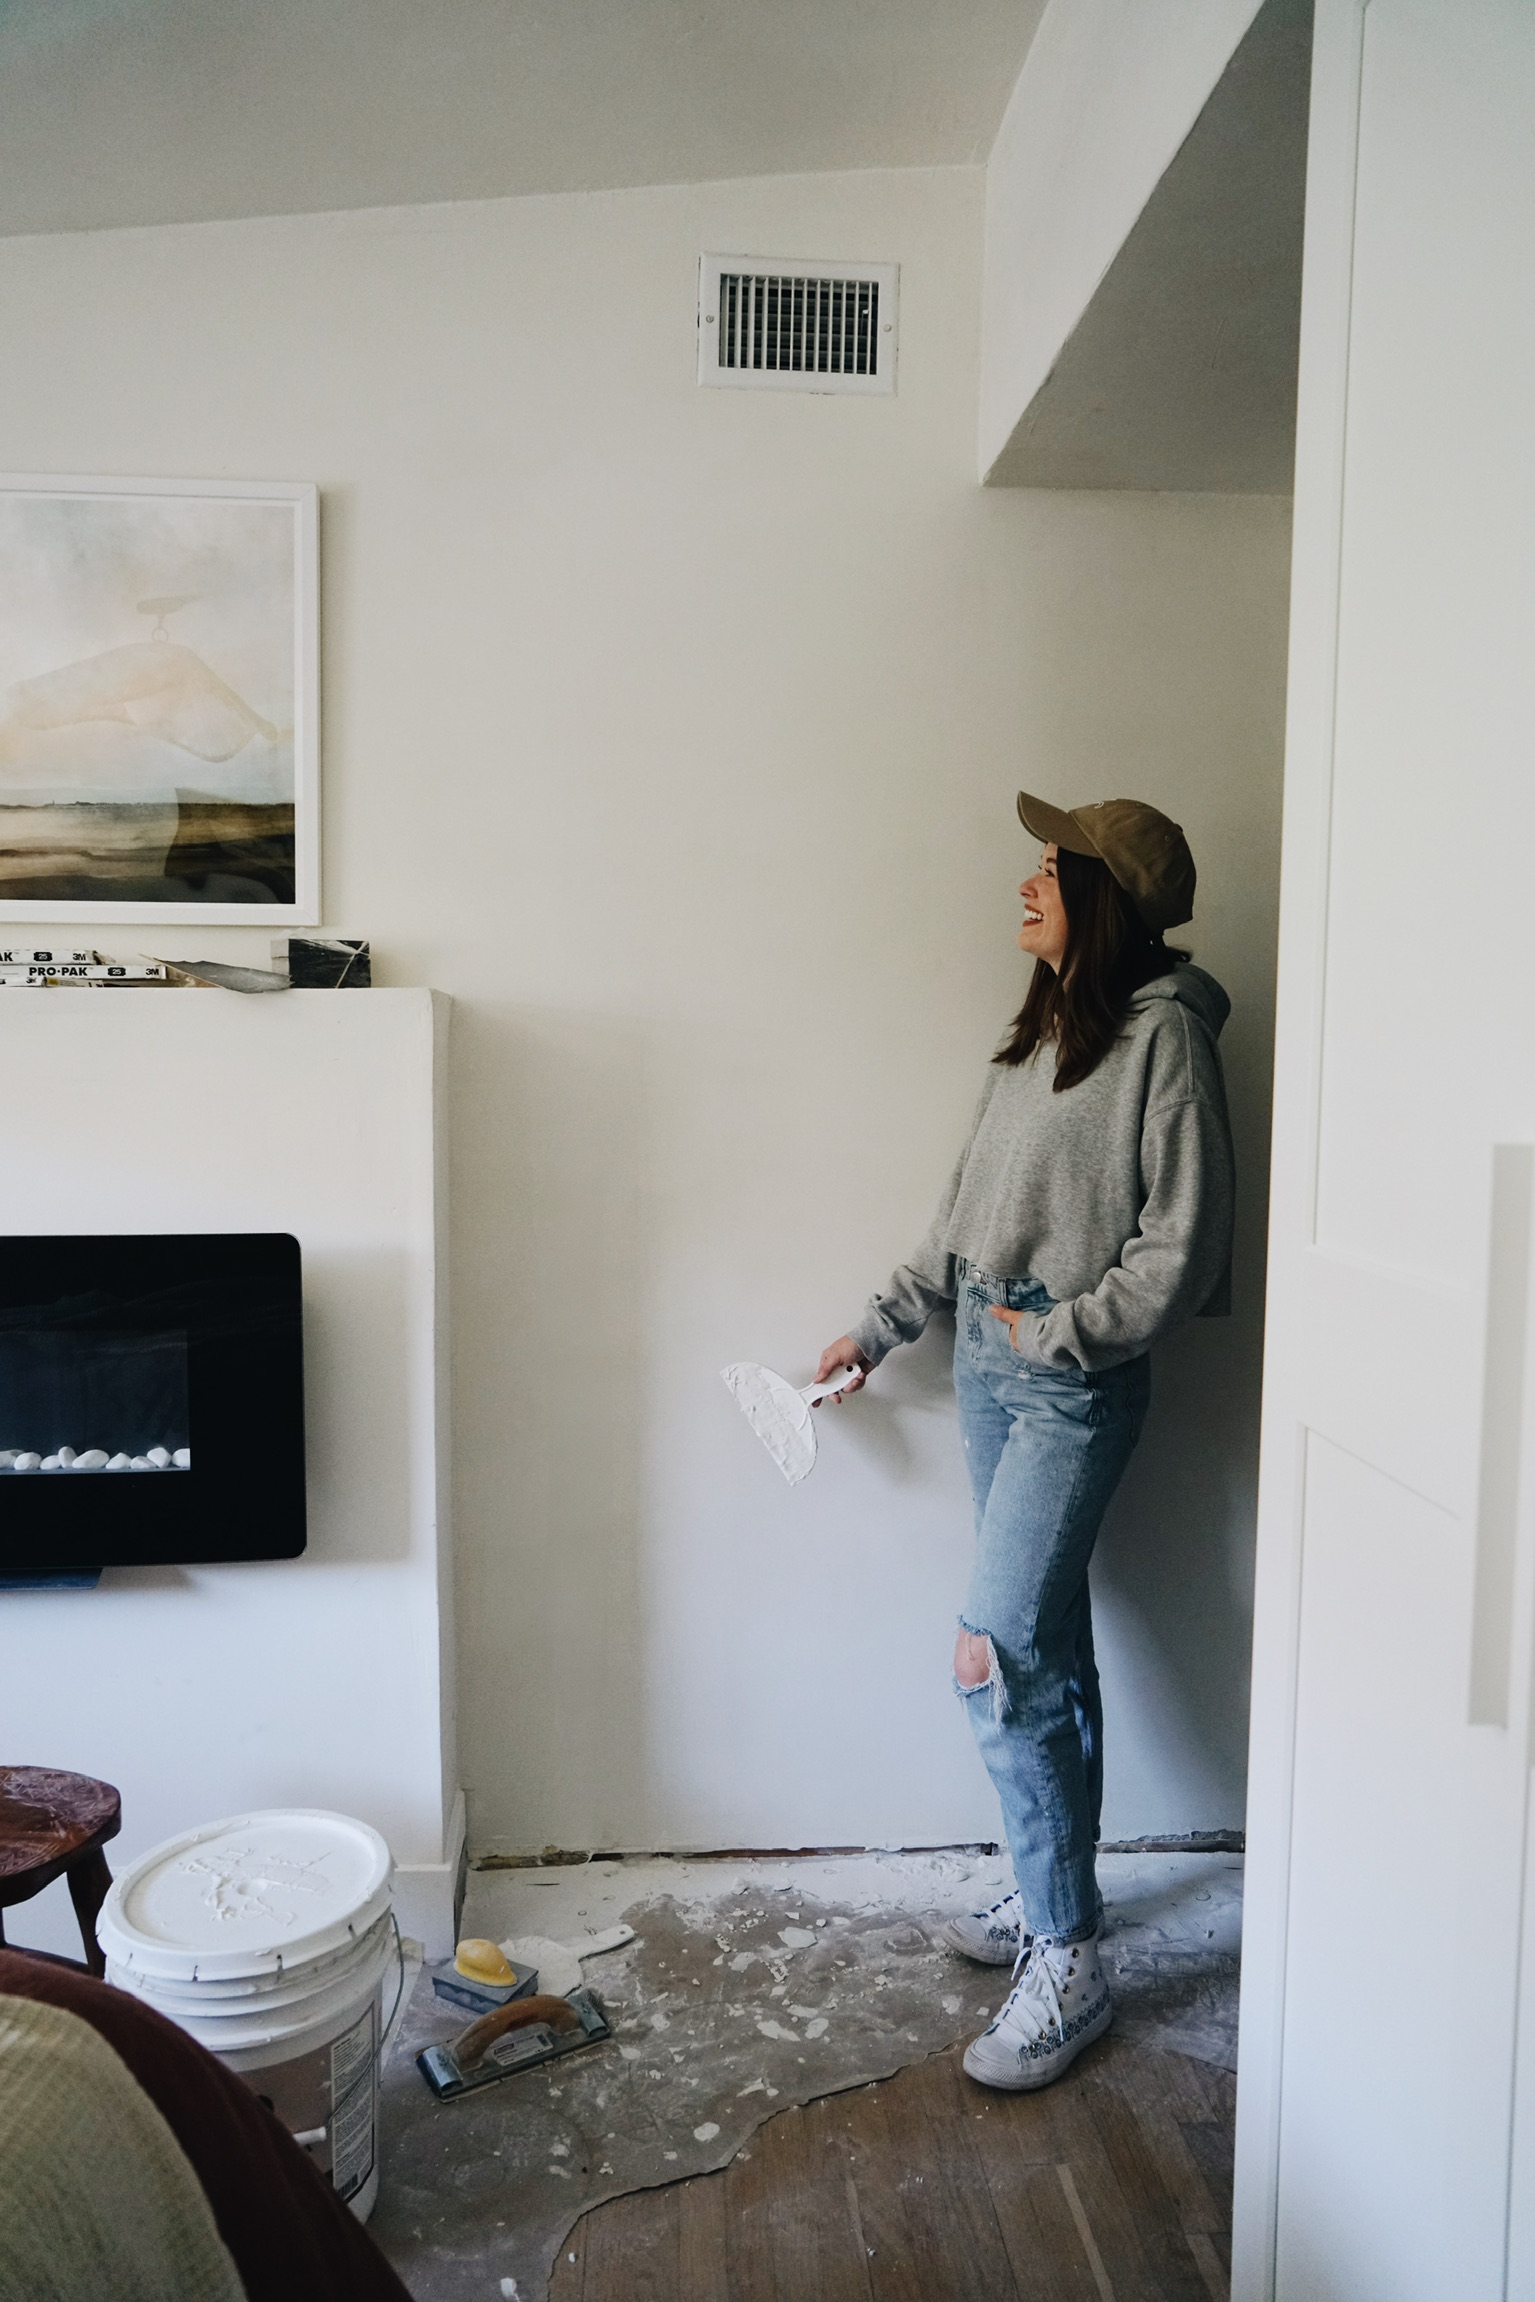
Moving onto the next part of our bedroom makeover! As you know, I’ll be closing off the closet in our room and opening the wall to the kitchen and making a coffee bar. I am so excited! To get this started, I needed to take off the closet door so I could close up the wall. Here’s how I did my drywall installation!
Mold….
I had a sneaking suspicion I’d find mold when I took off the door jamb. And….yep…mold. I could see a bit on the plaster a few moths ago and sent it to a lab for testing. They confirmed it was mold but the least dangerous kind. They were SO helpful; they not only emailed me the lab results, but they also talked to me on the phone about exactly what to do! The lab test and phone consultation are both included in the price. The lab is based out of South Carolina – highly recommend! We taped off the empty doorway with plastic so we wouldn’t be breathing in the fumes over night.
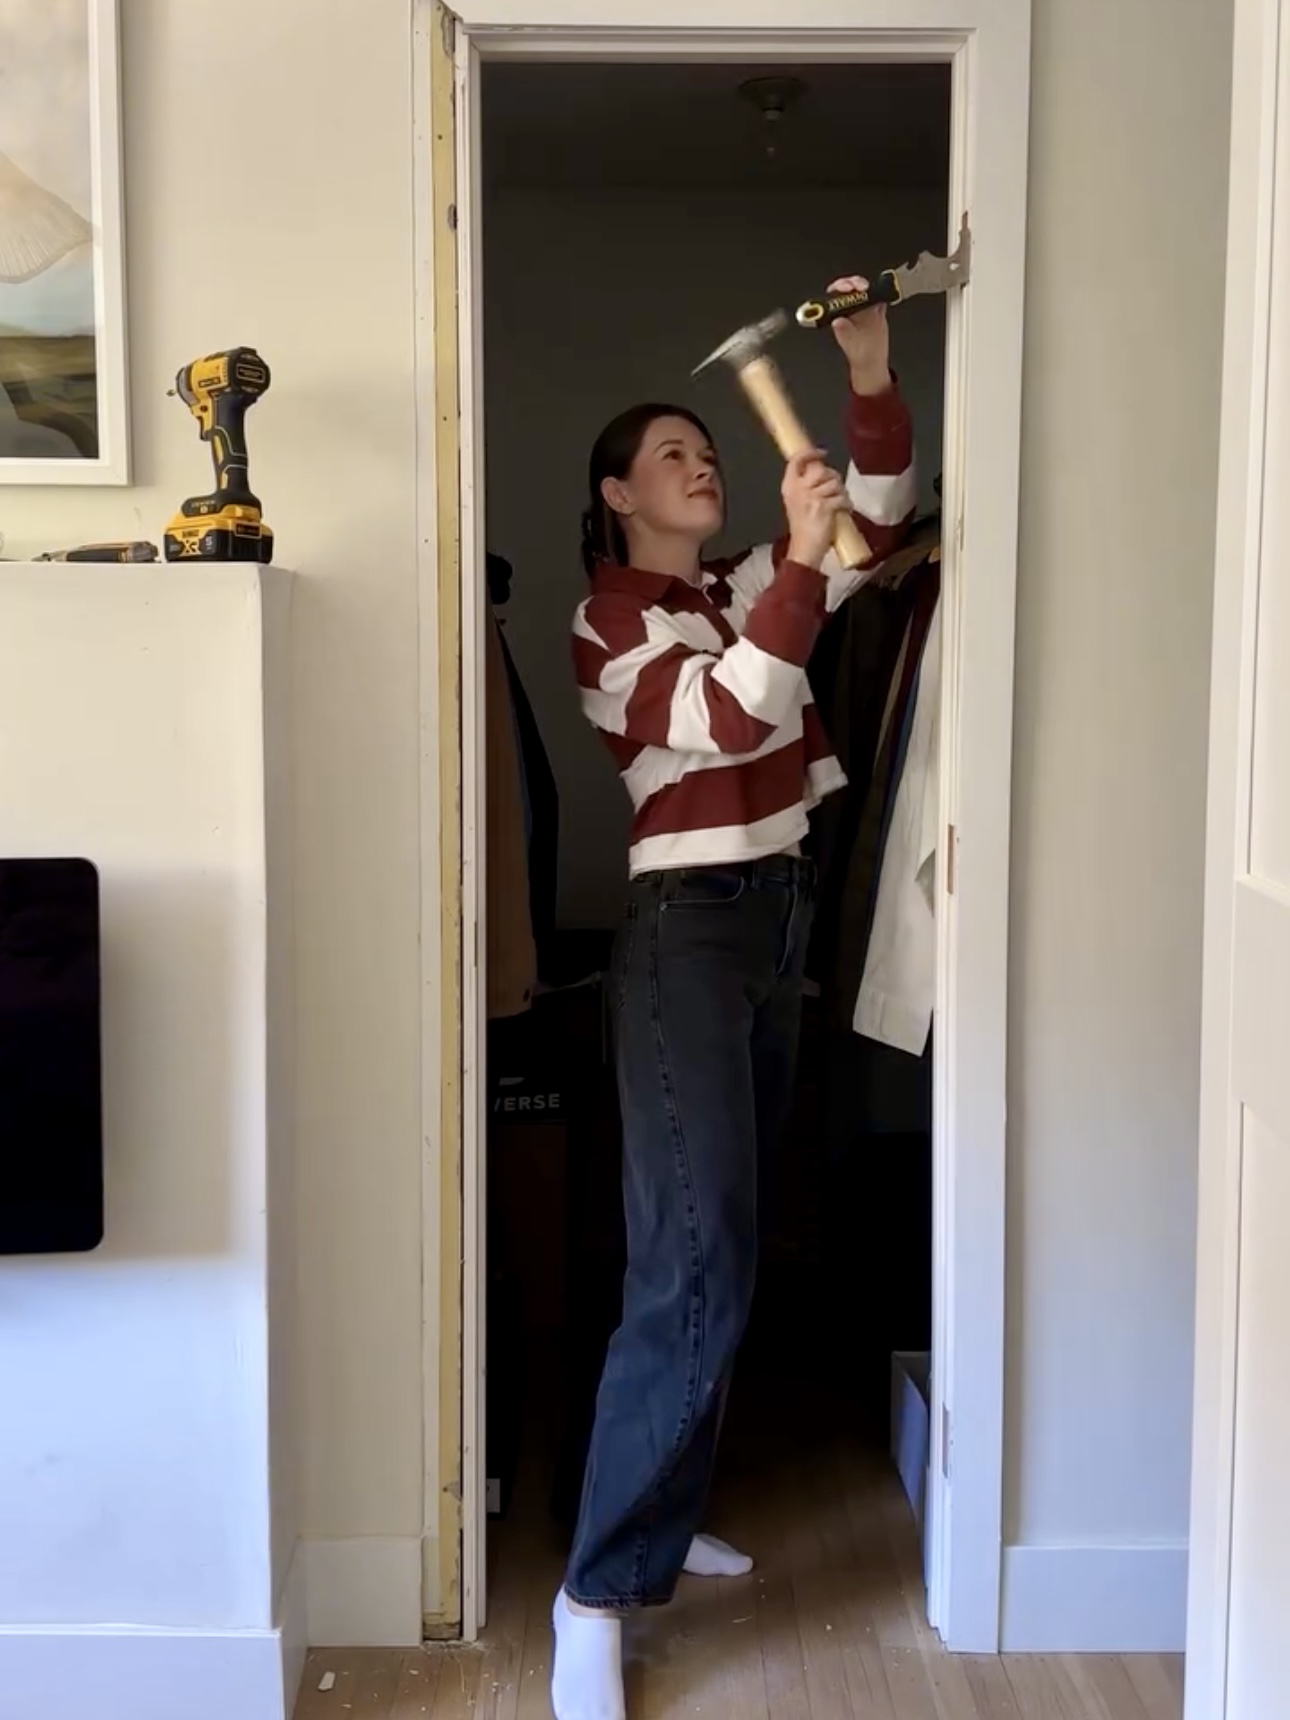
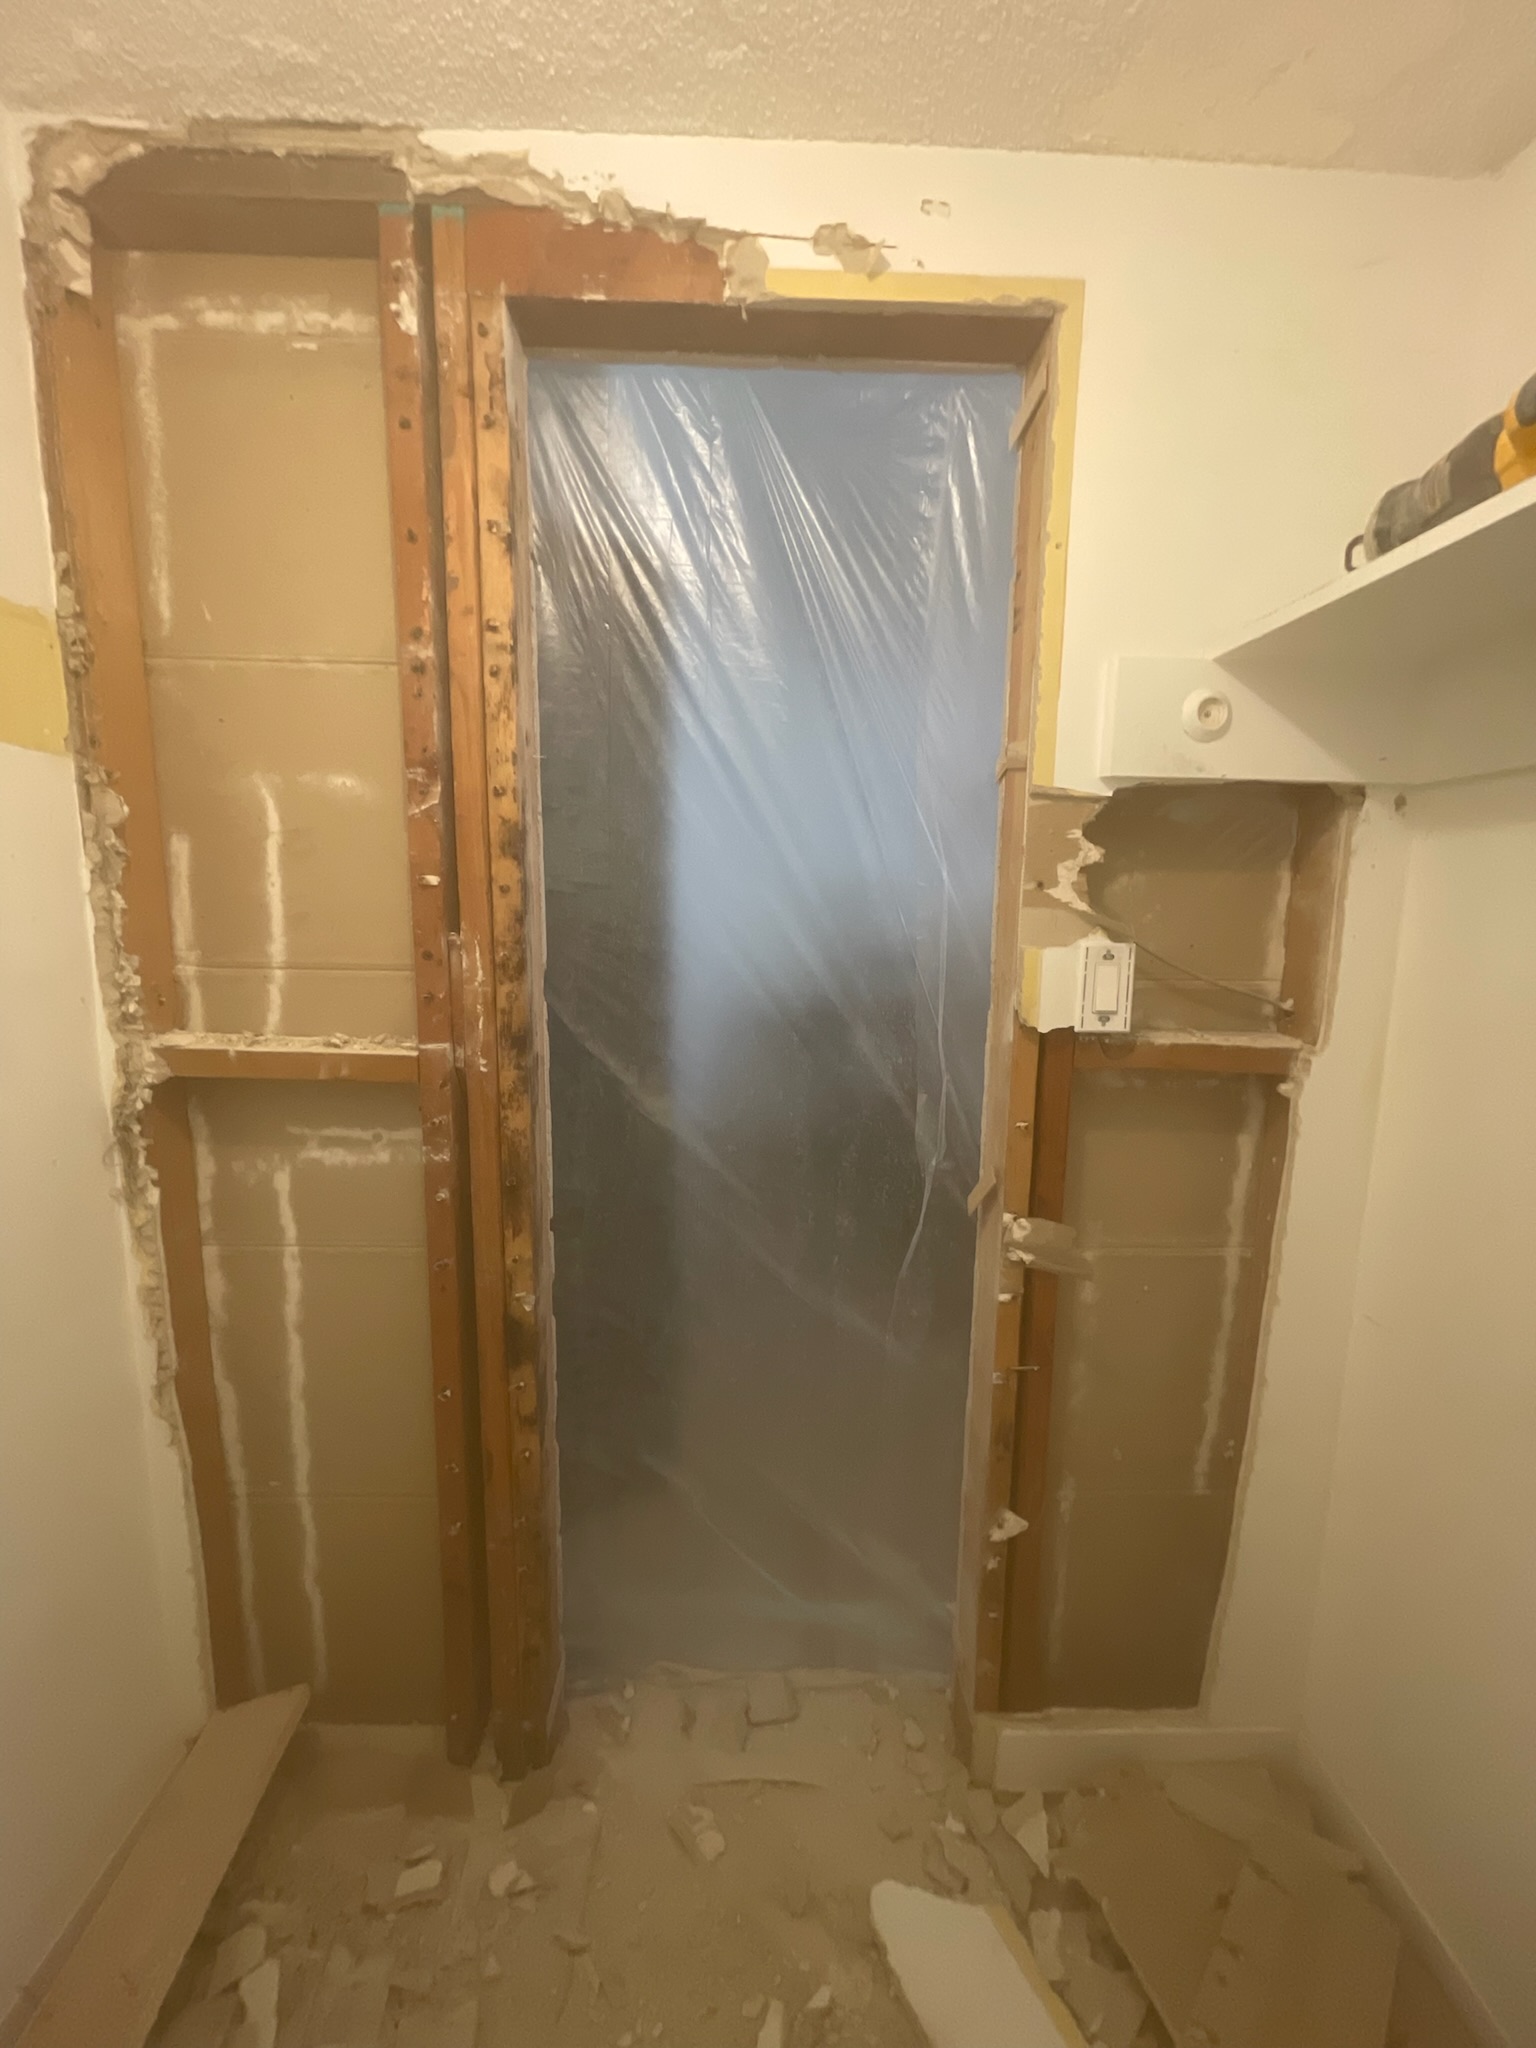
Thankfully it was limited to just the one stud! Jake just pried this out with a hammer and prybar. Then, we just replaced the stud. So happy to have this out of the house. This mold wasn’t as bad as I thought it would be!
Drywall Installation
After the mold was gone, it was time to close up the doorway! I installed a new non-moldy stud 🥰. Then I screwed new 2×4’s into the hardwood floor. It broke my heart a bit to drill into this flooring but it was worth it! Building this wall would have been easier with a framing nailer, but I don’t have one. I just used my drill and construction screws.
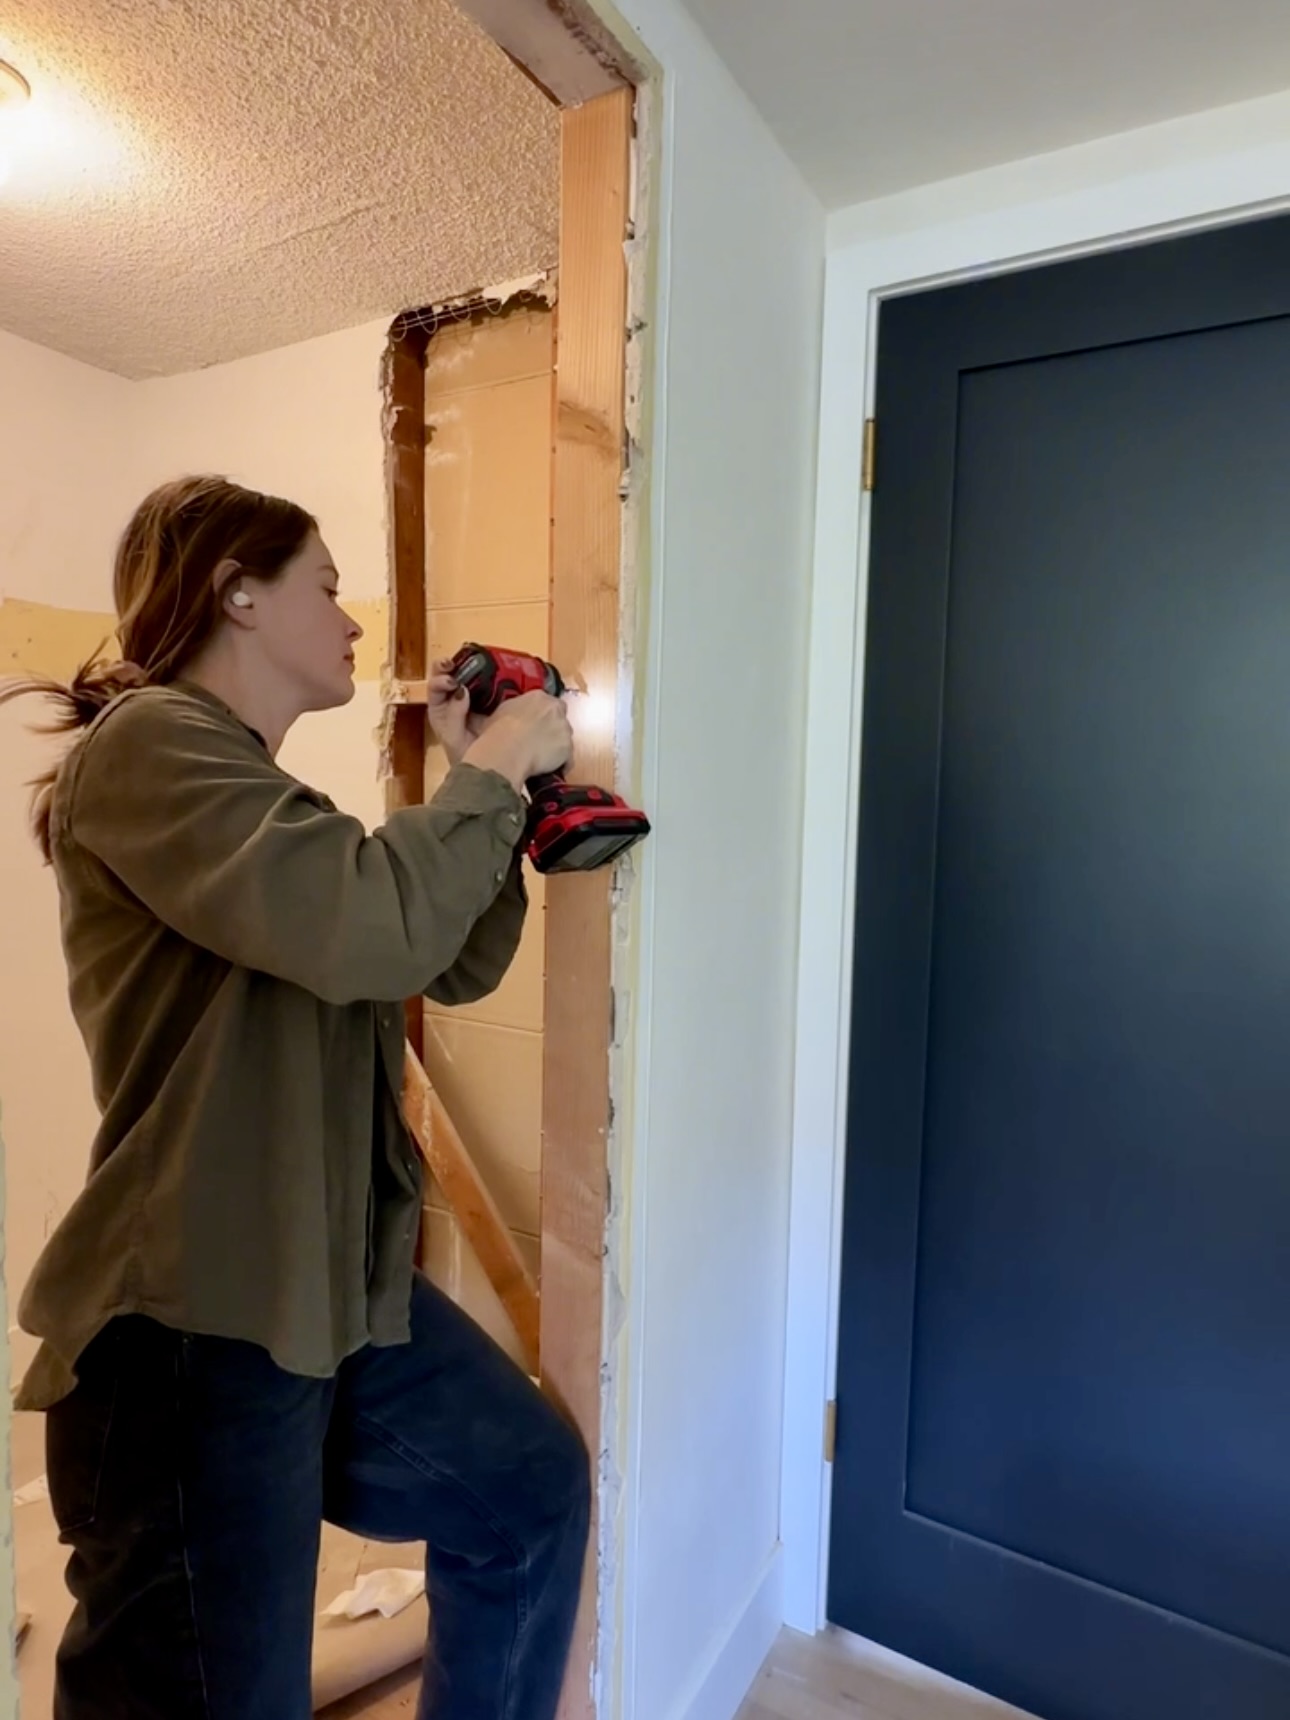
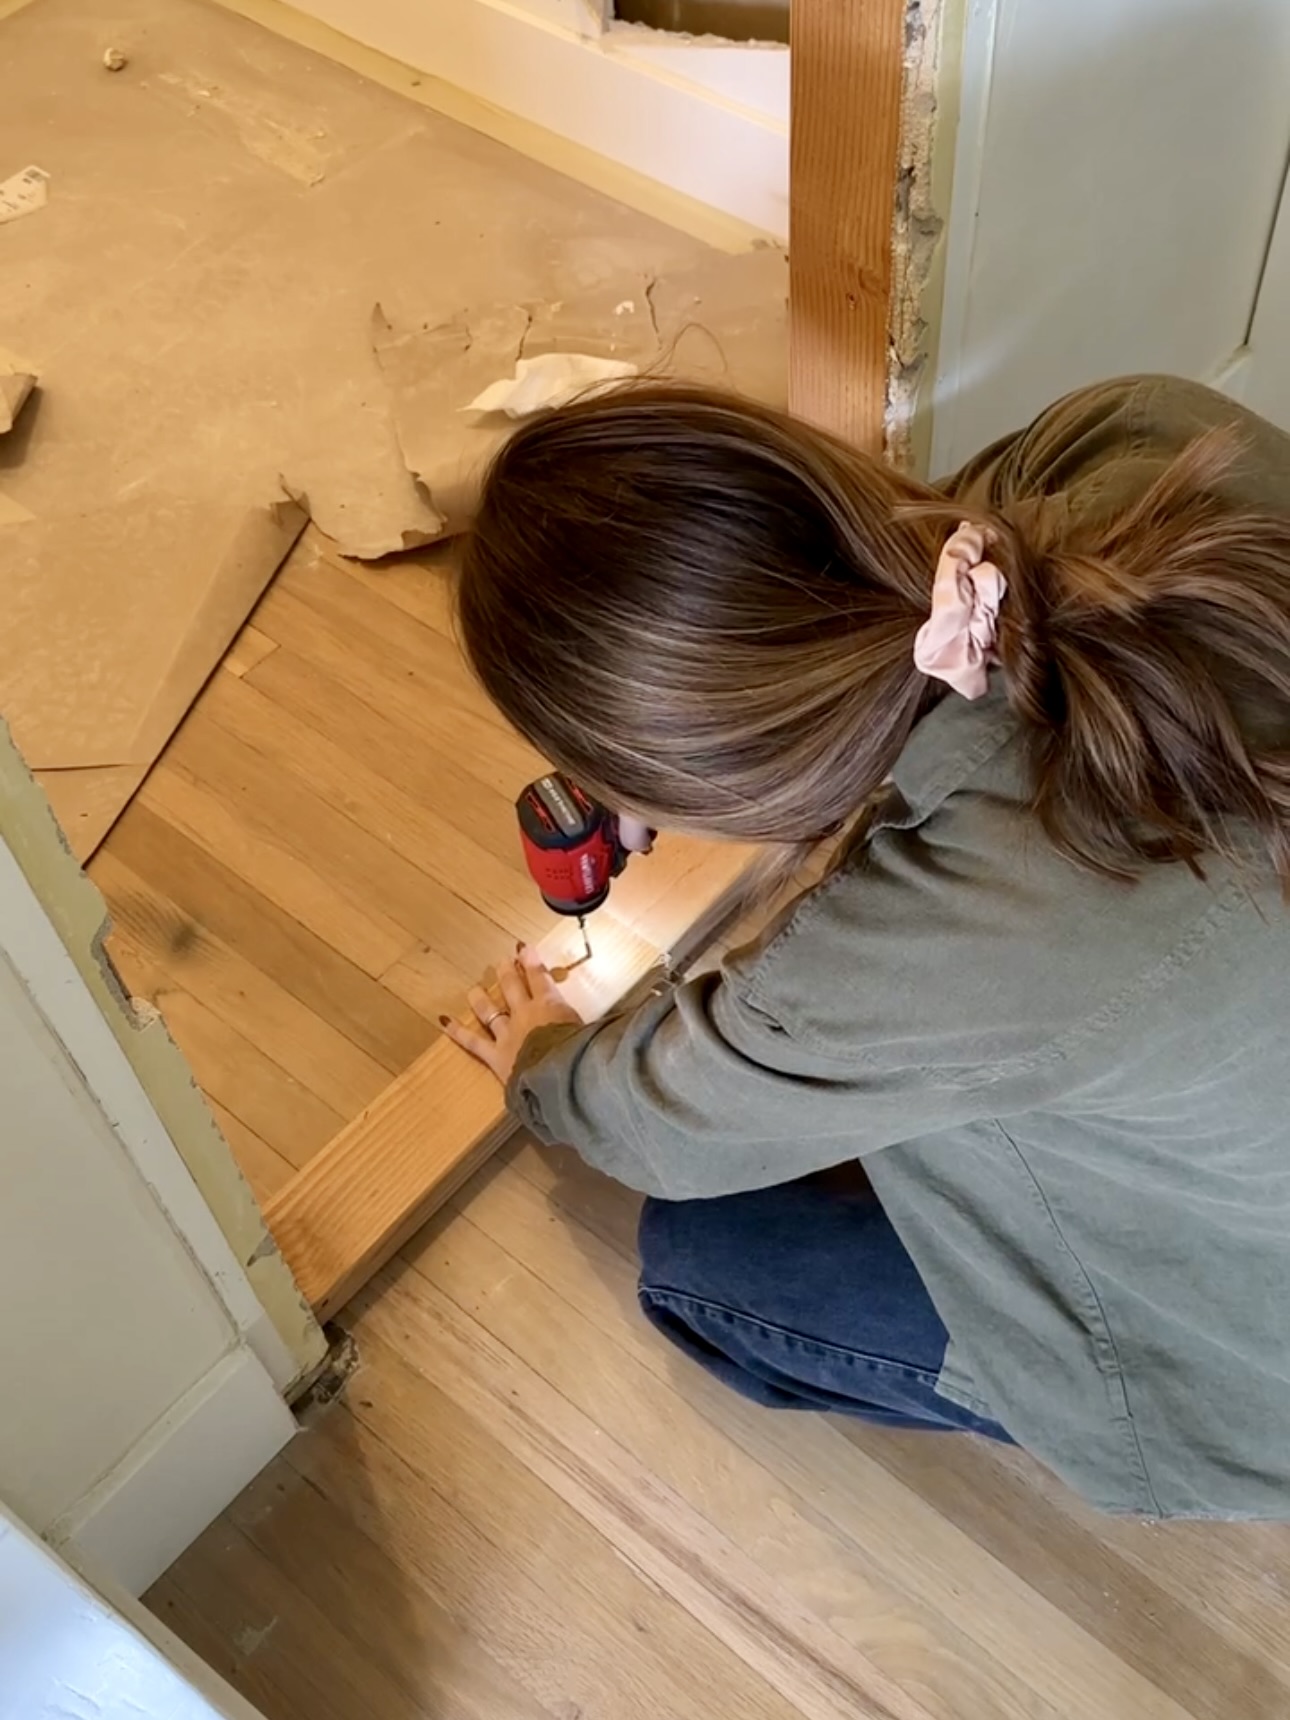
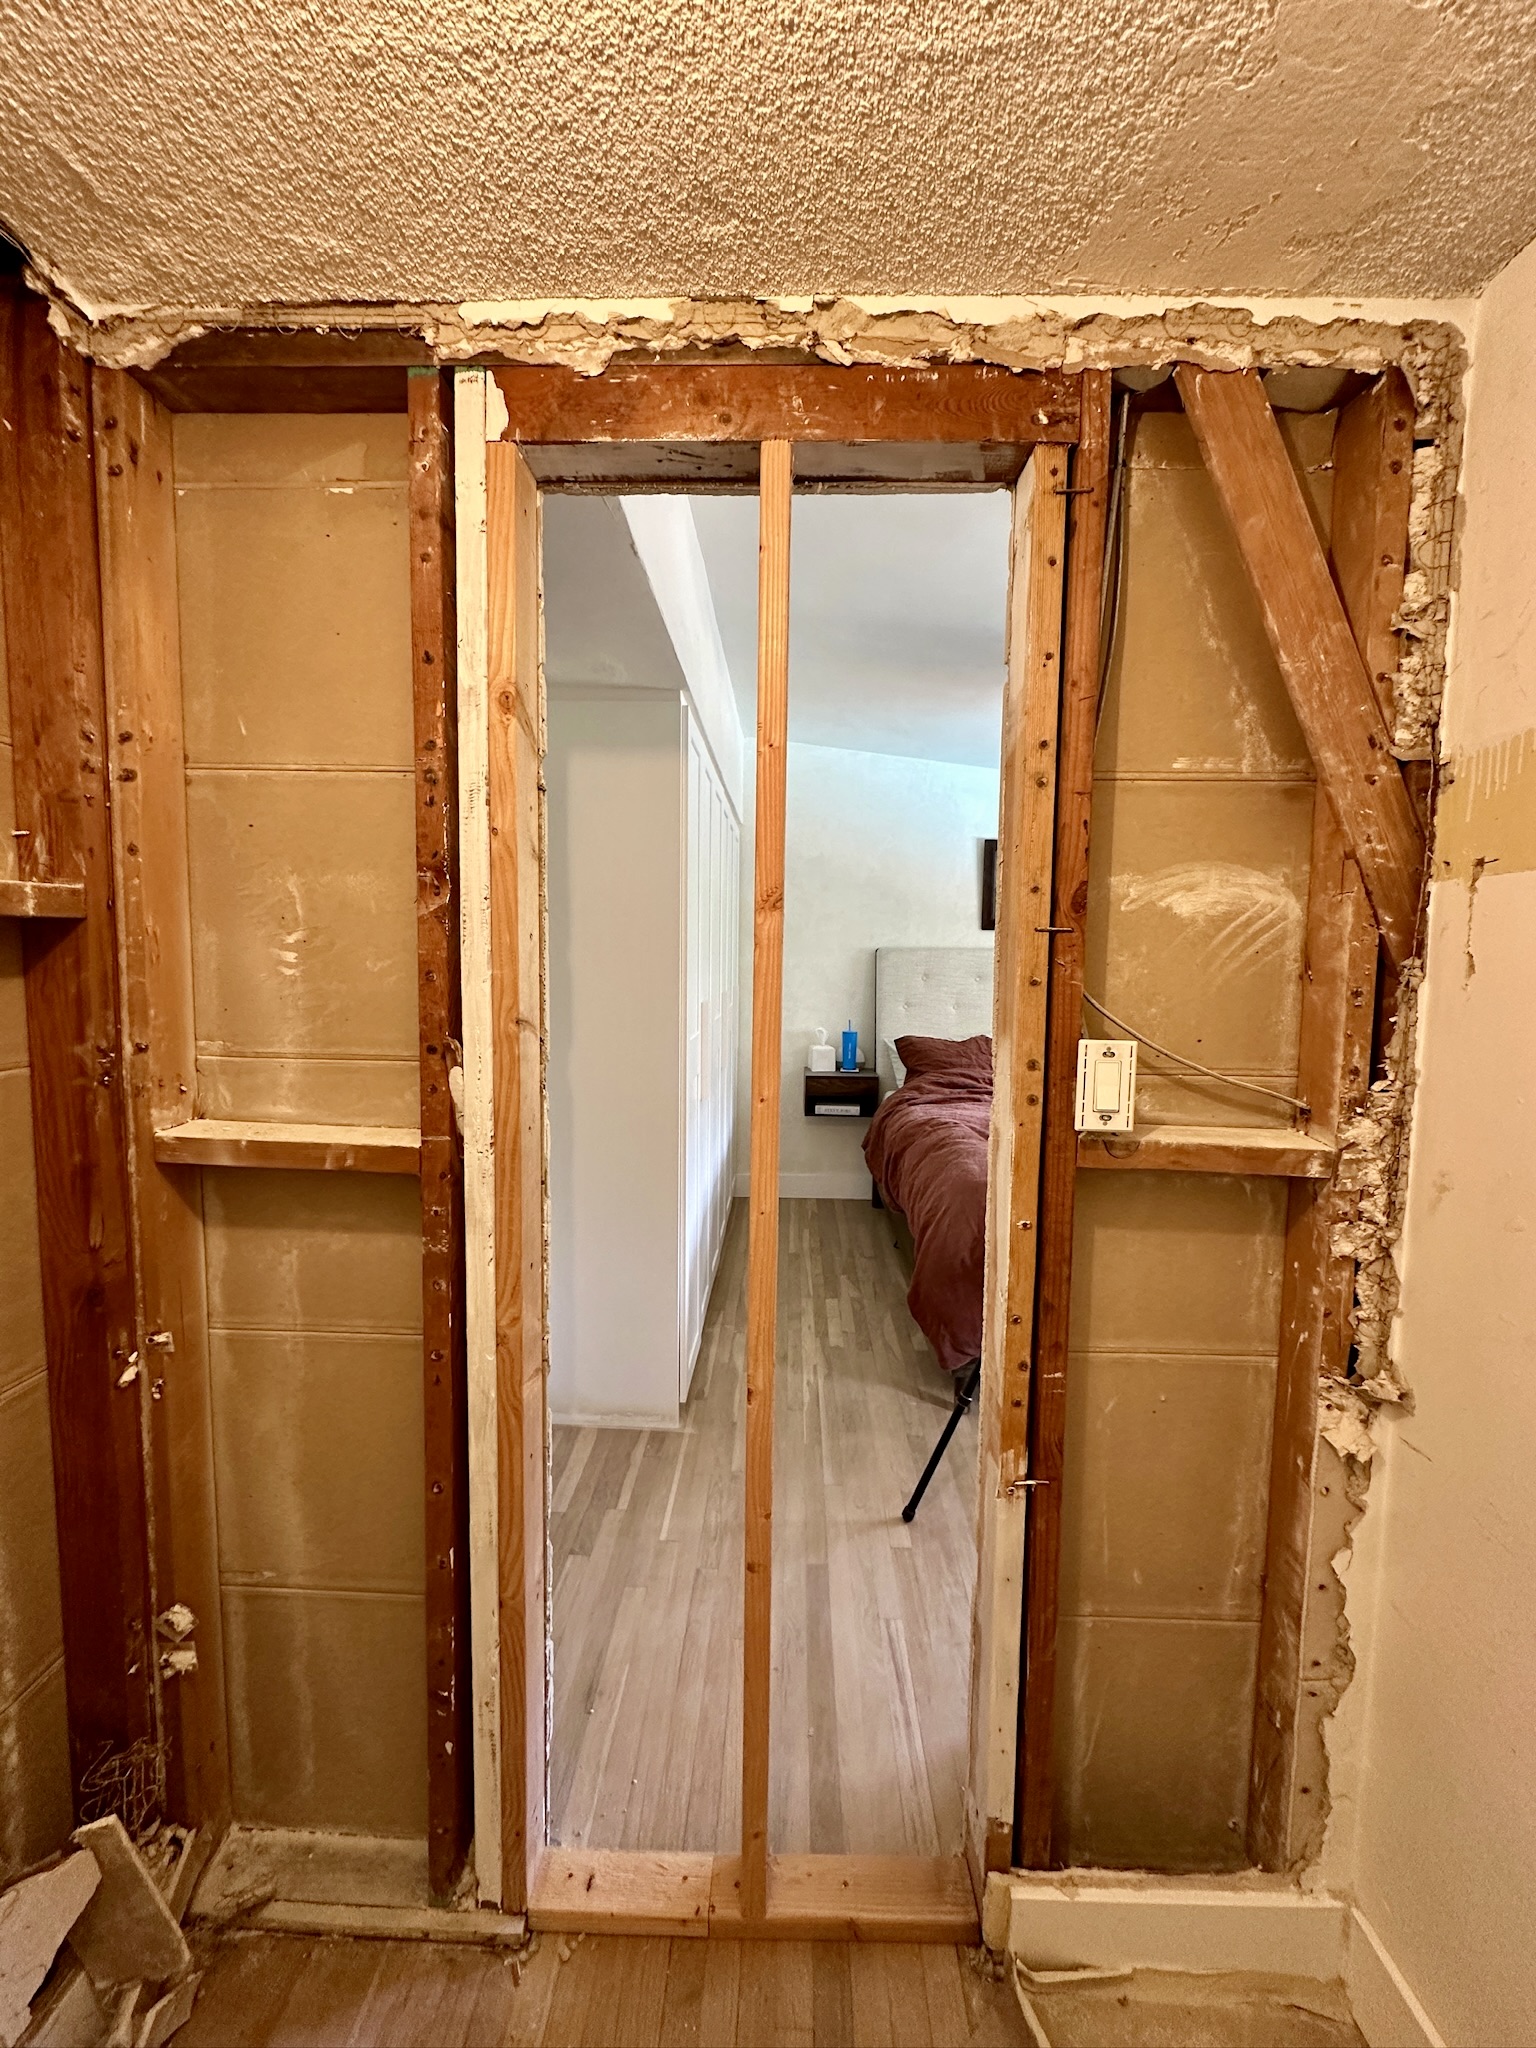
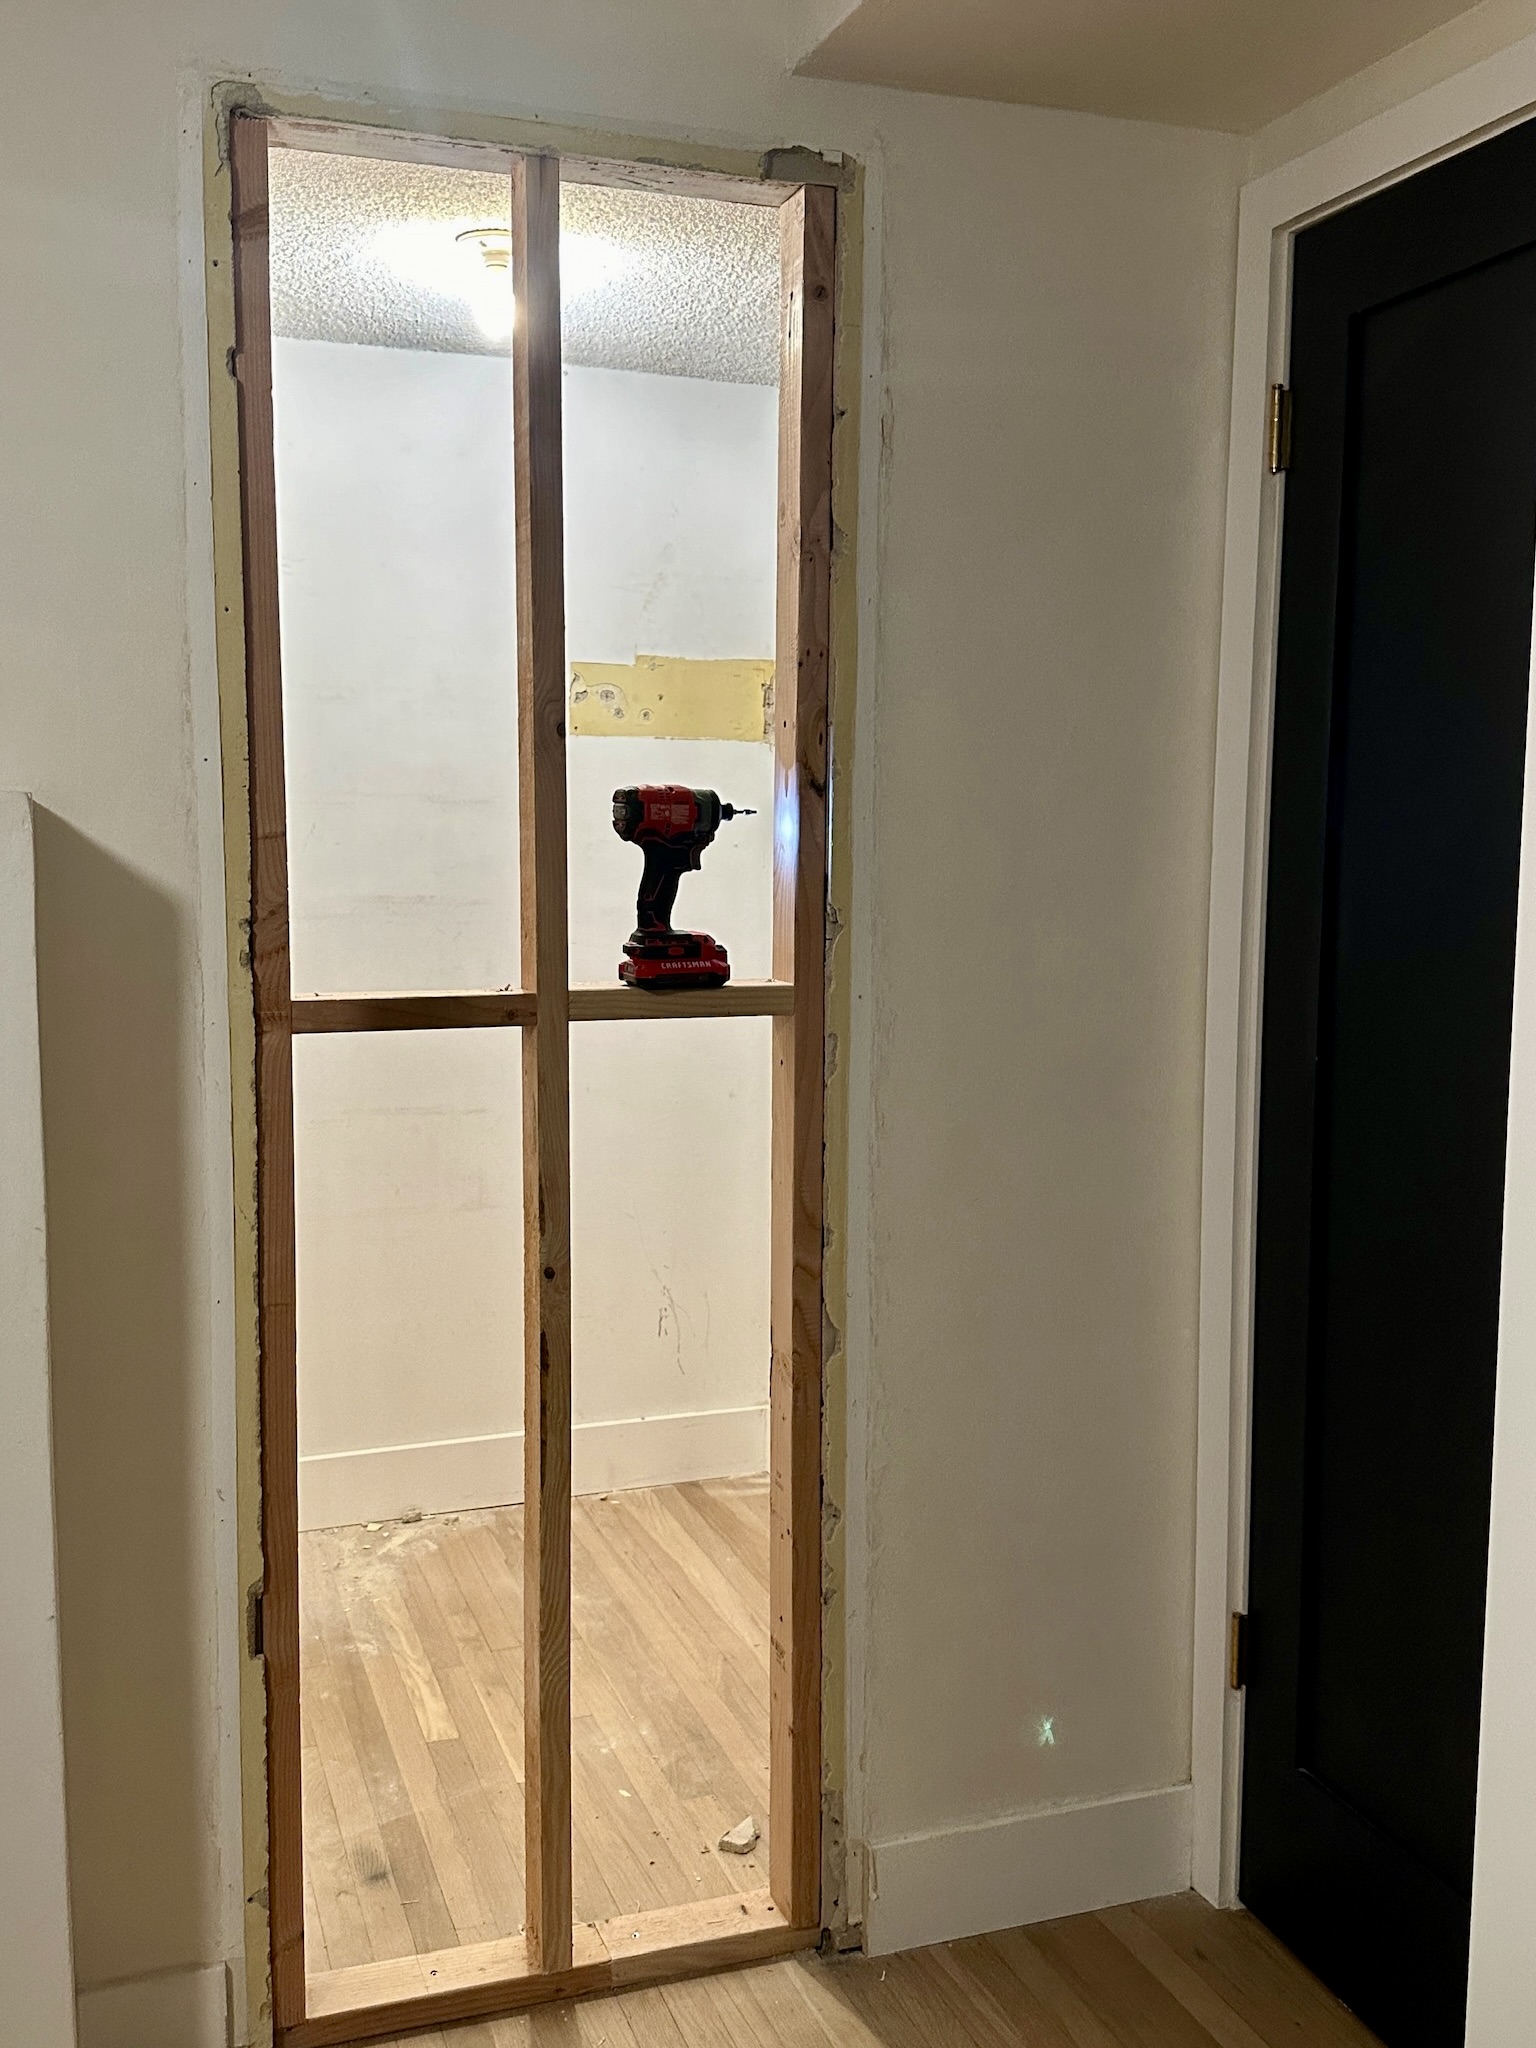
Our plaster walls are an inch thick, but standard hardware stores don’t sell inch thick drywall. So, we had to pivot. We bought 1/2″ drywall and we had to bump out the framing a bit to make up for the other 1/2″. We finished up our frame and screwed in our drywall…and voila!!
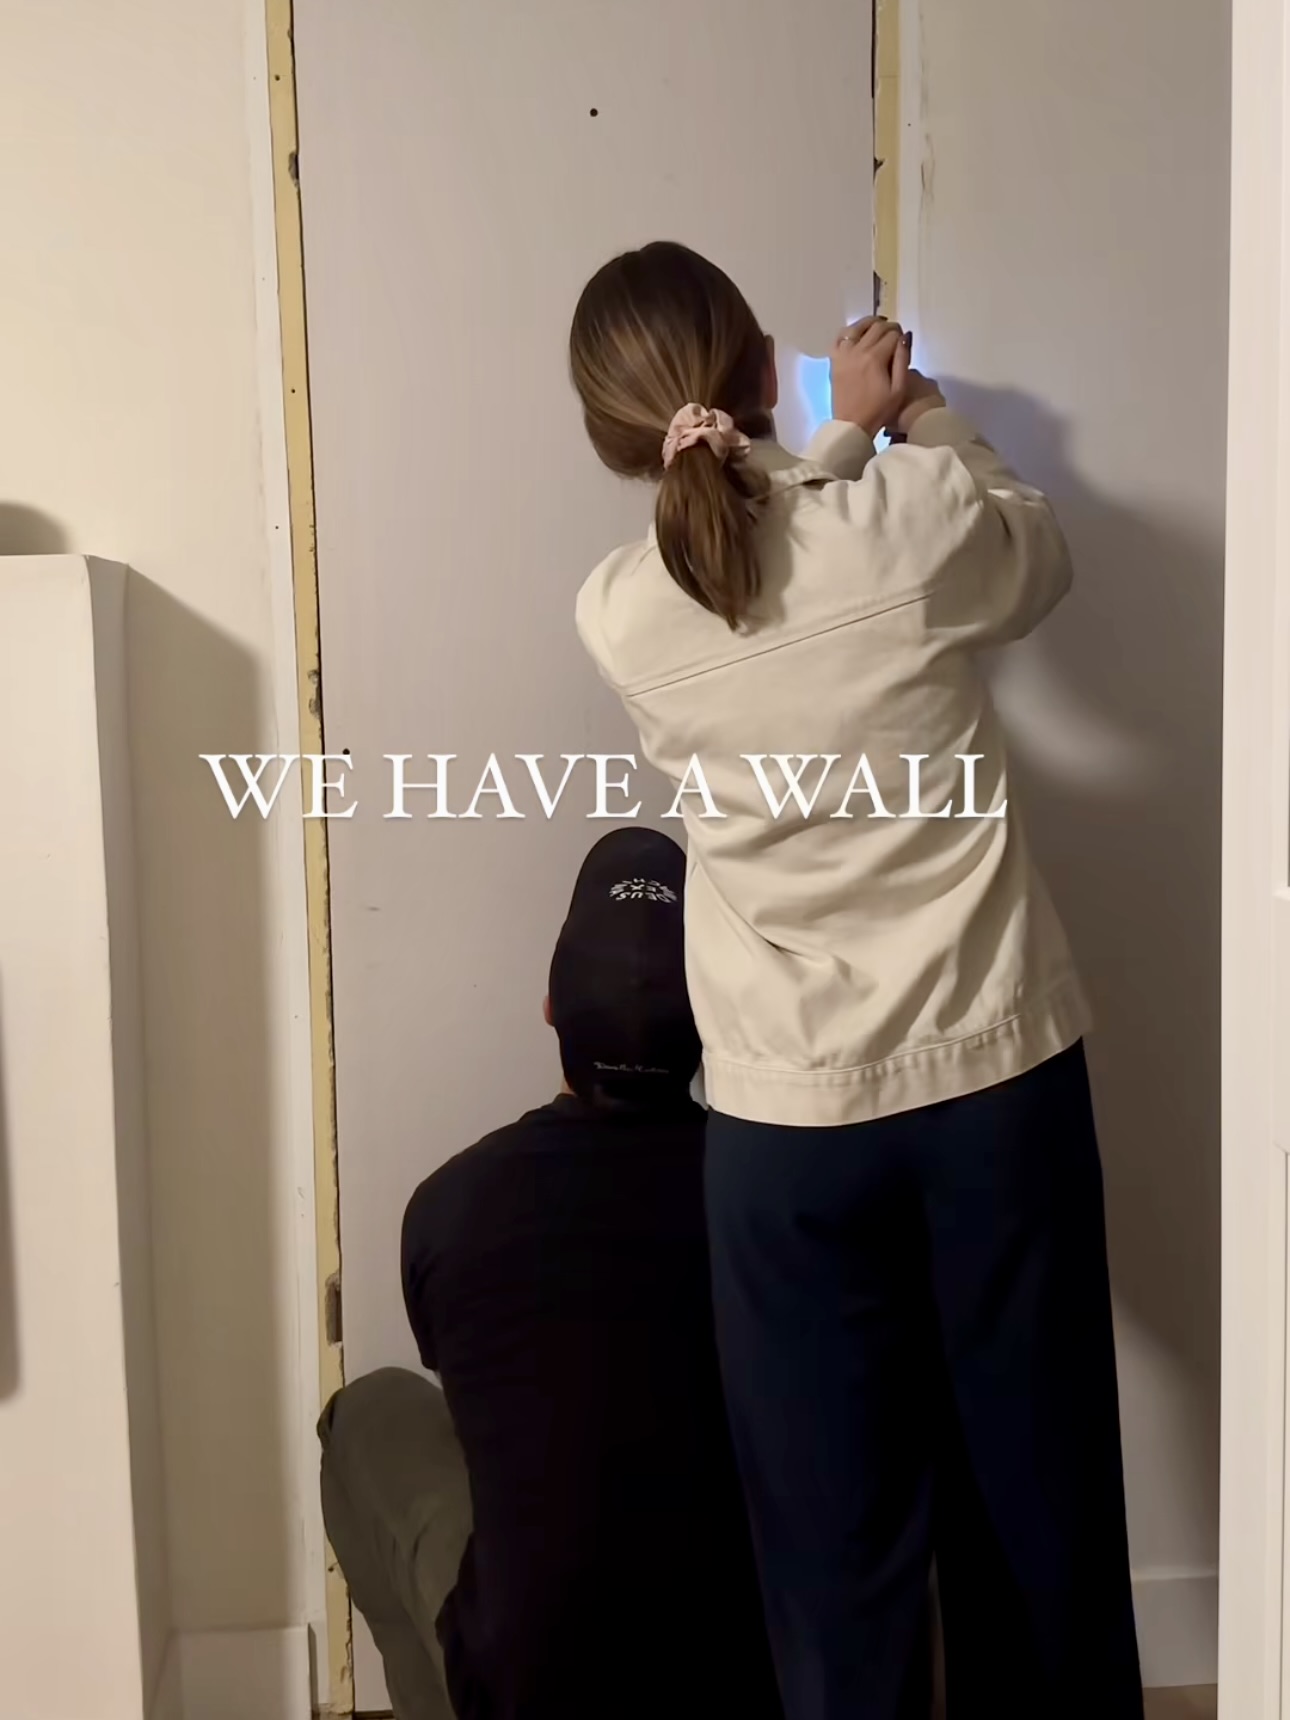
Drywall Mud
I applied mud onto the drywall and the new frame. Then, I taped the seam together and applied more mud. Next, I let the mud dry and sanded. I did 4 layers of mud to try and disguise the door frame..but I could still see it!😅 Lots of you suggested switching to a vertical application to blend the seam so I started doing that and it definitely helped.
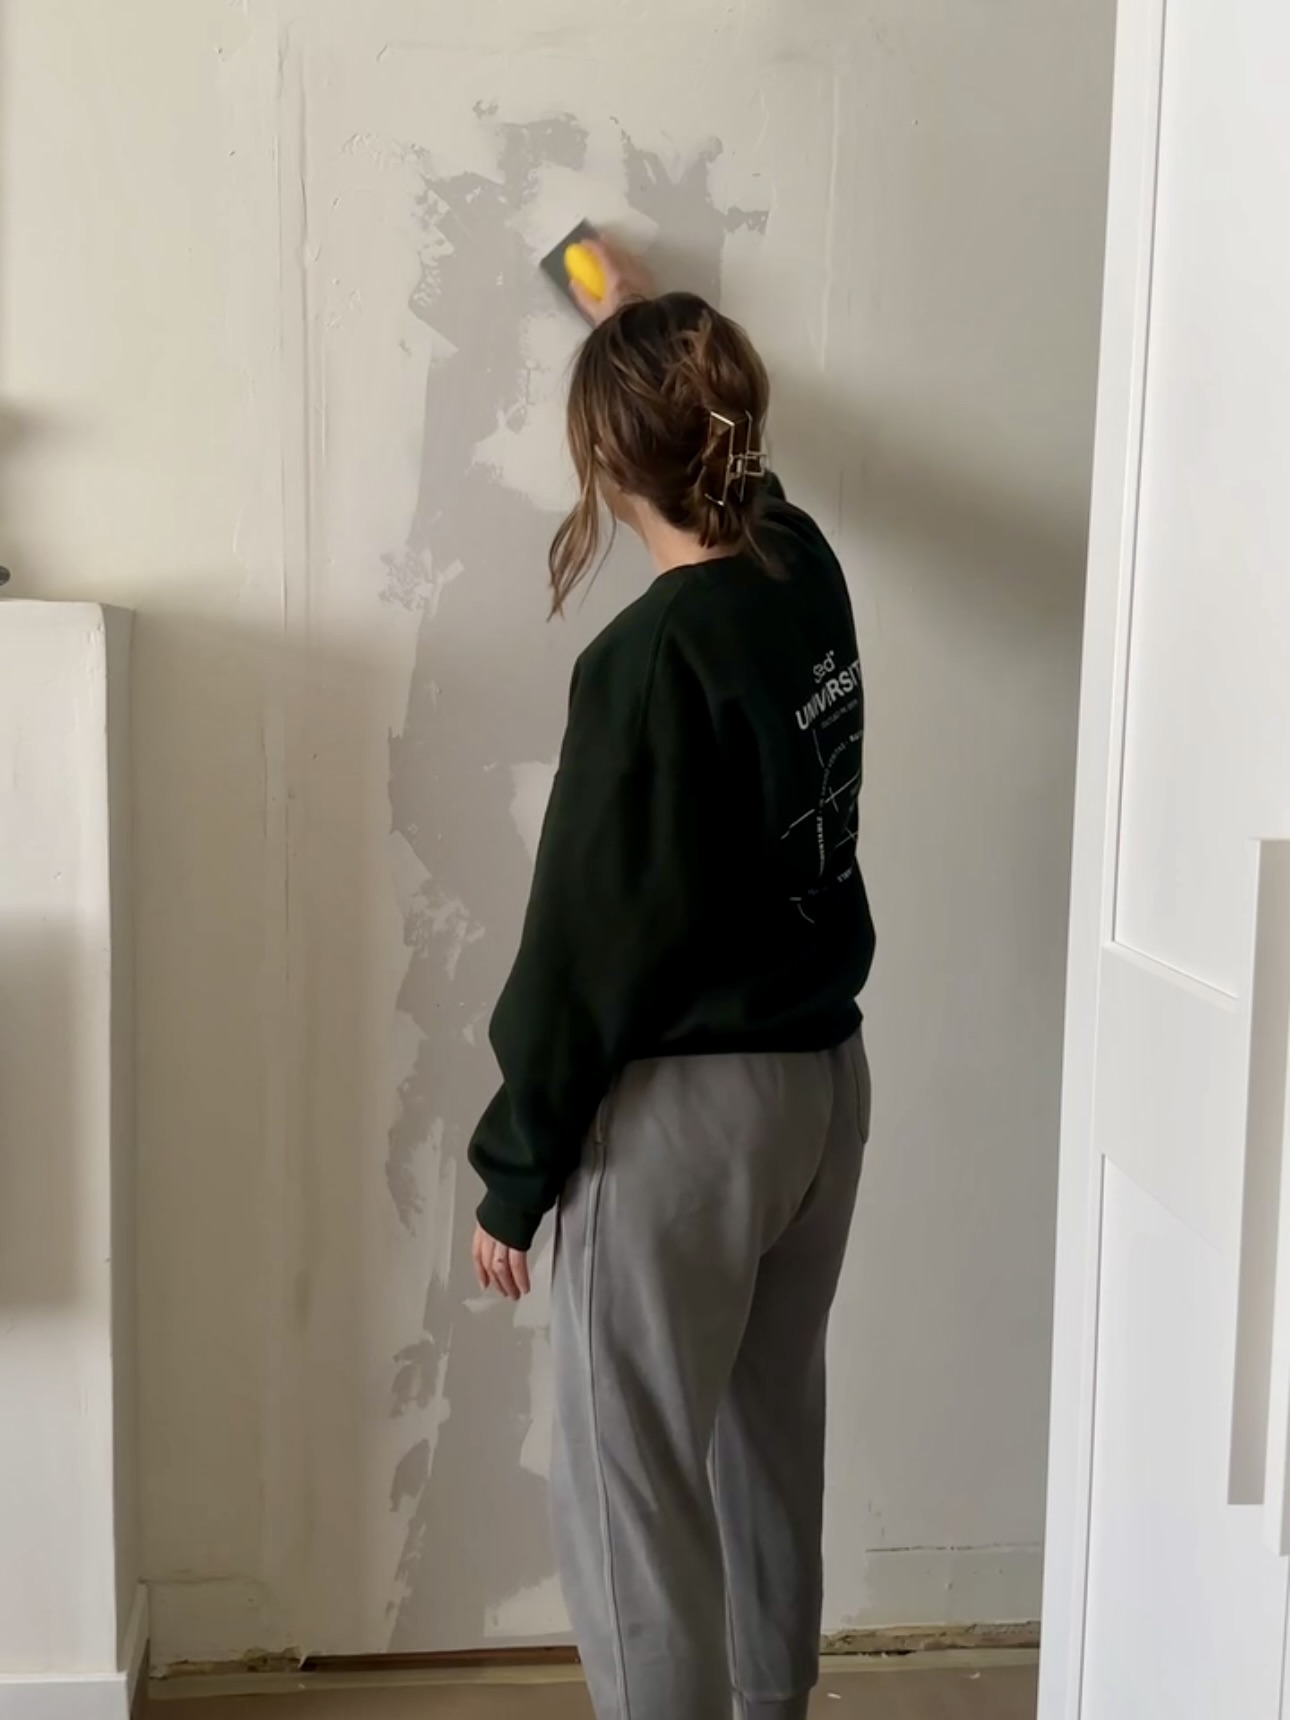
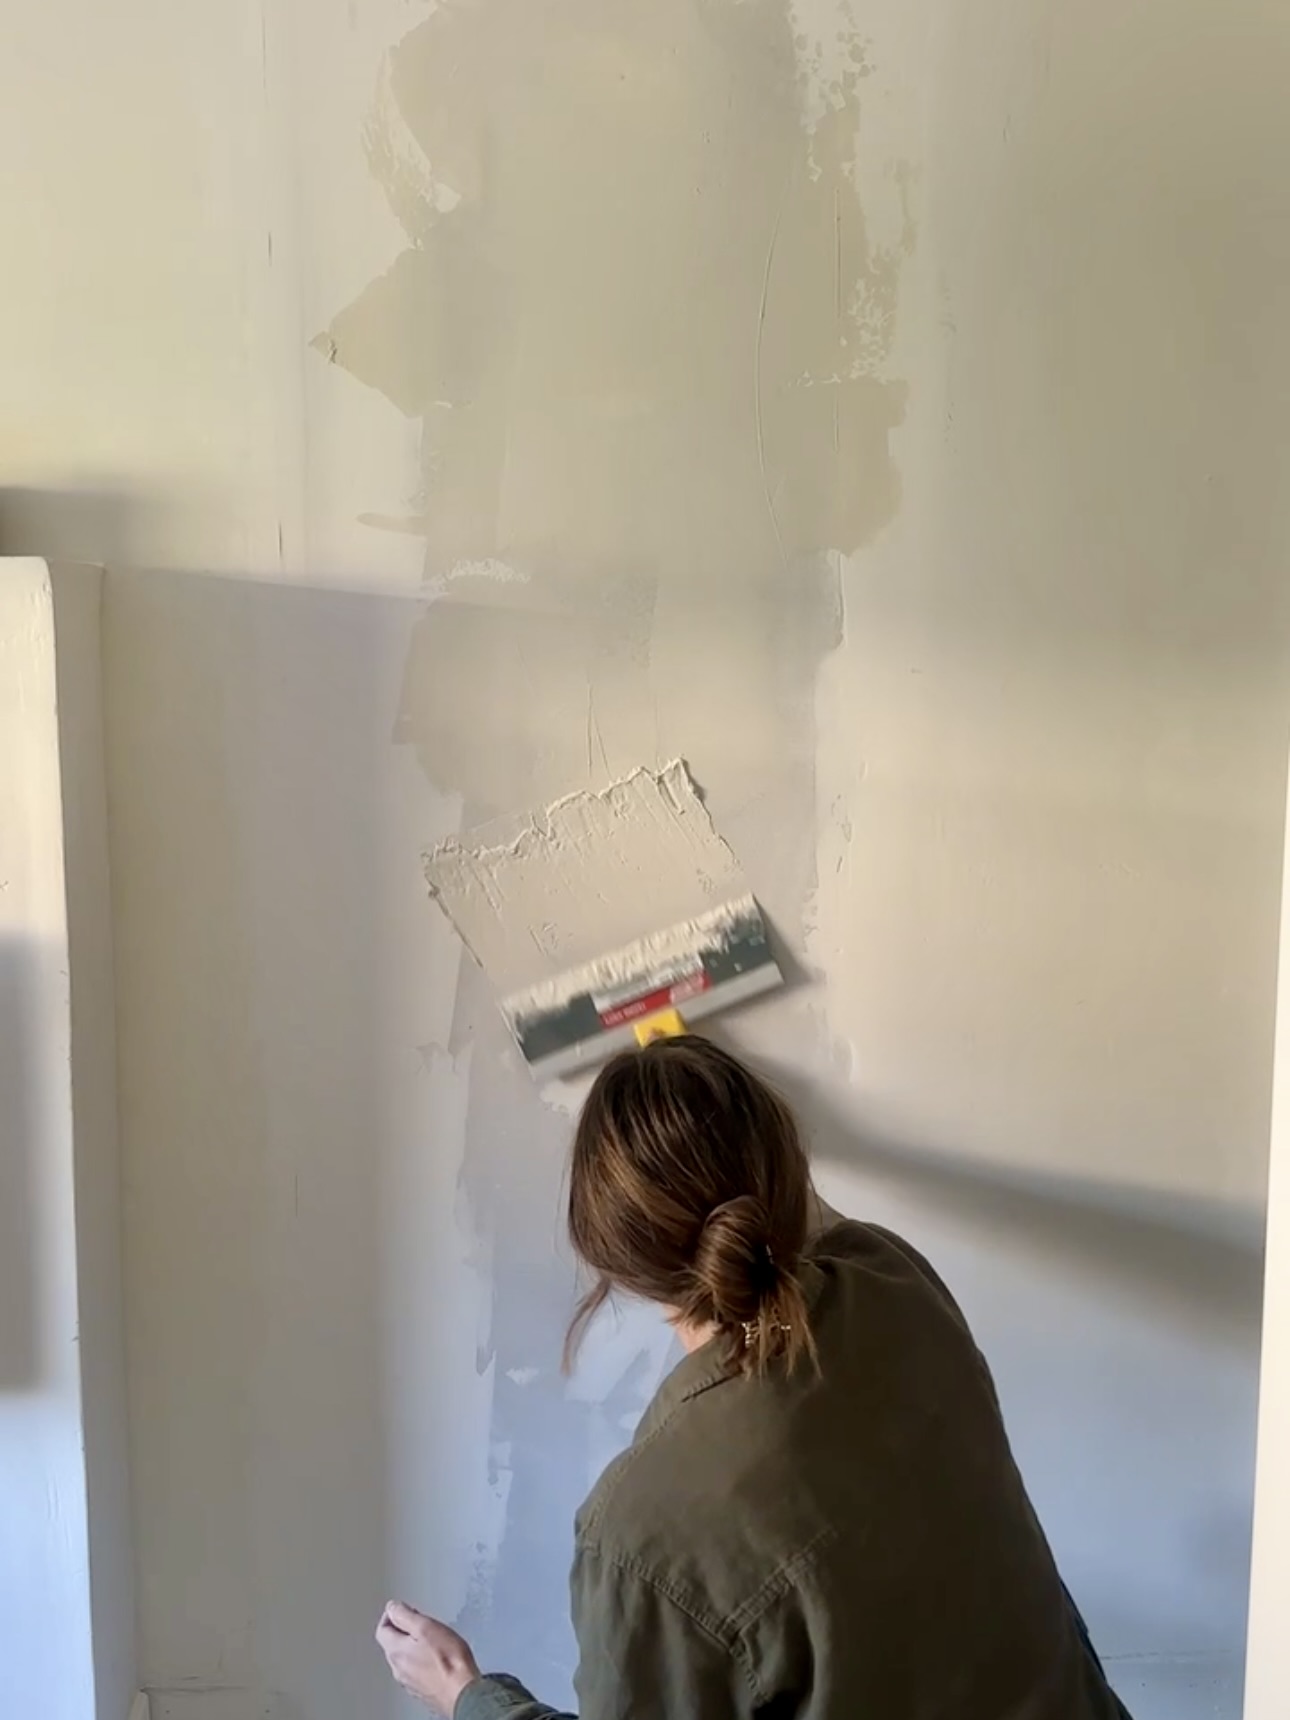
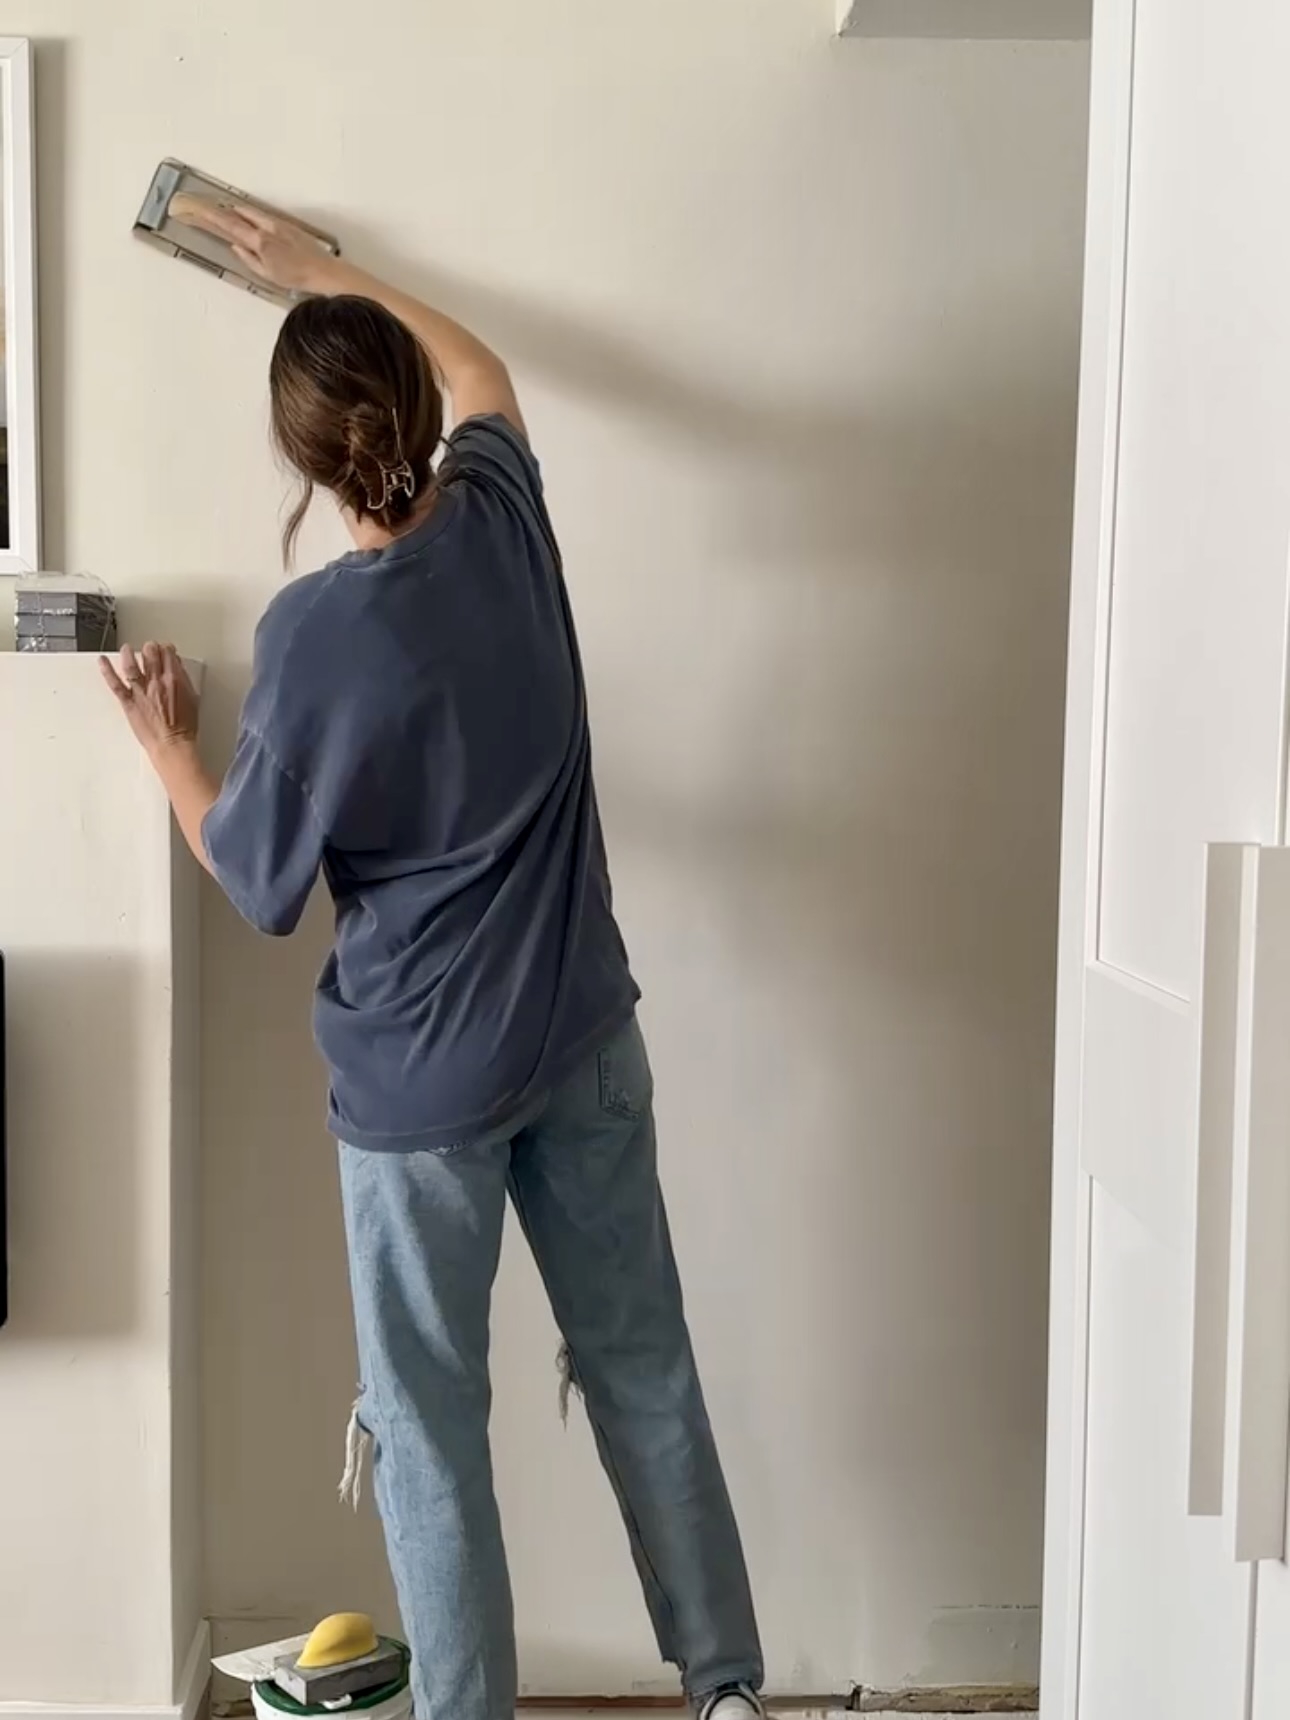
Roman Clay Application
After almost ~ripping my hair out~, I got to a stopping point….8 coats. I finally called it quits and just applied my Roman Clay to tie it all together.
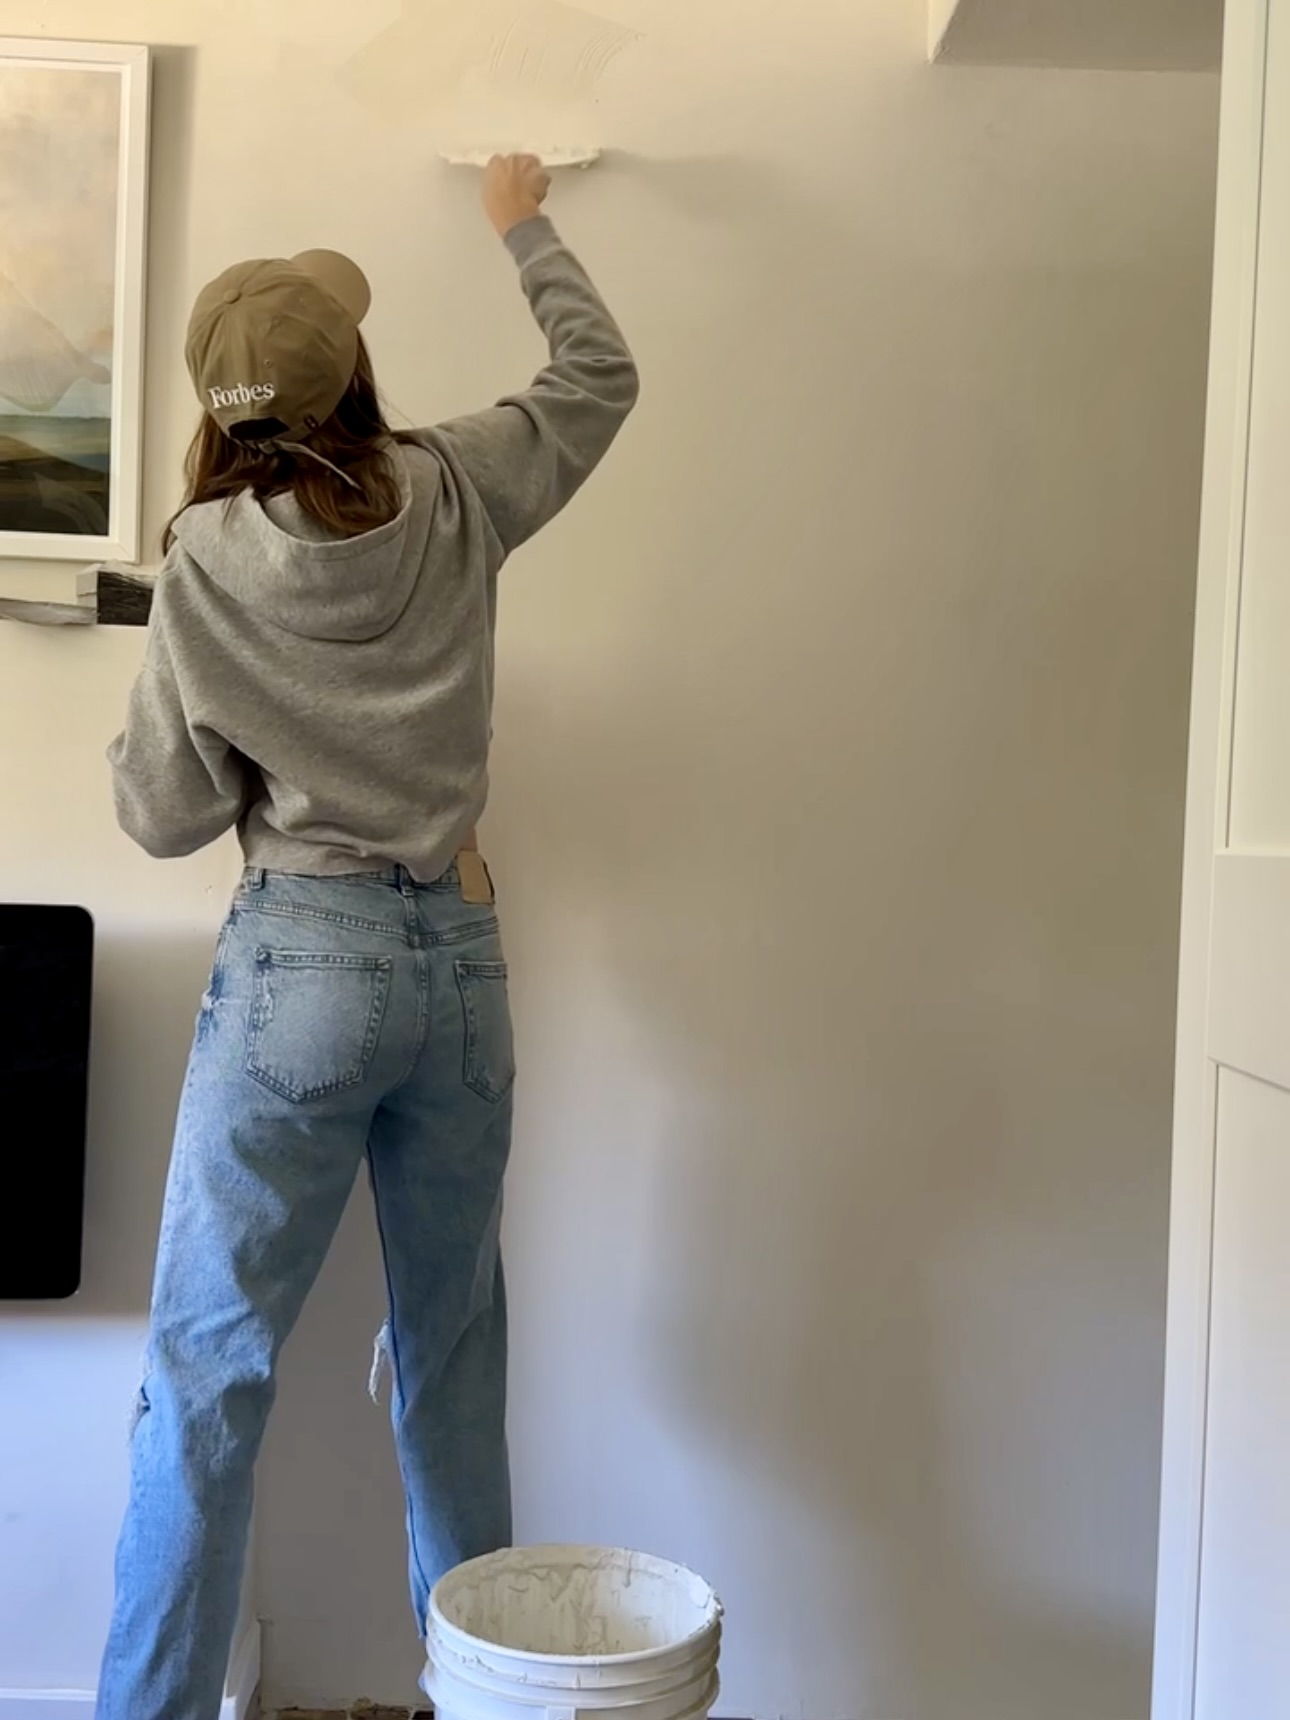
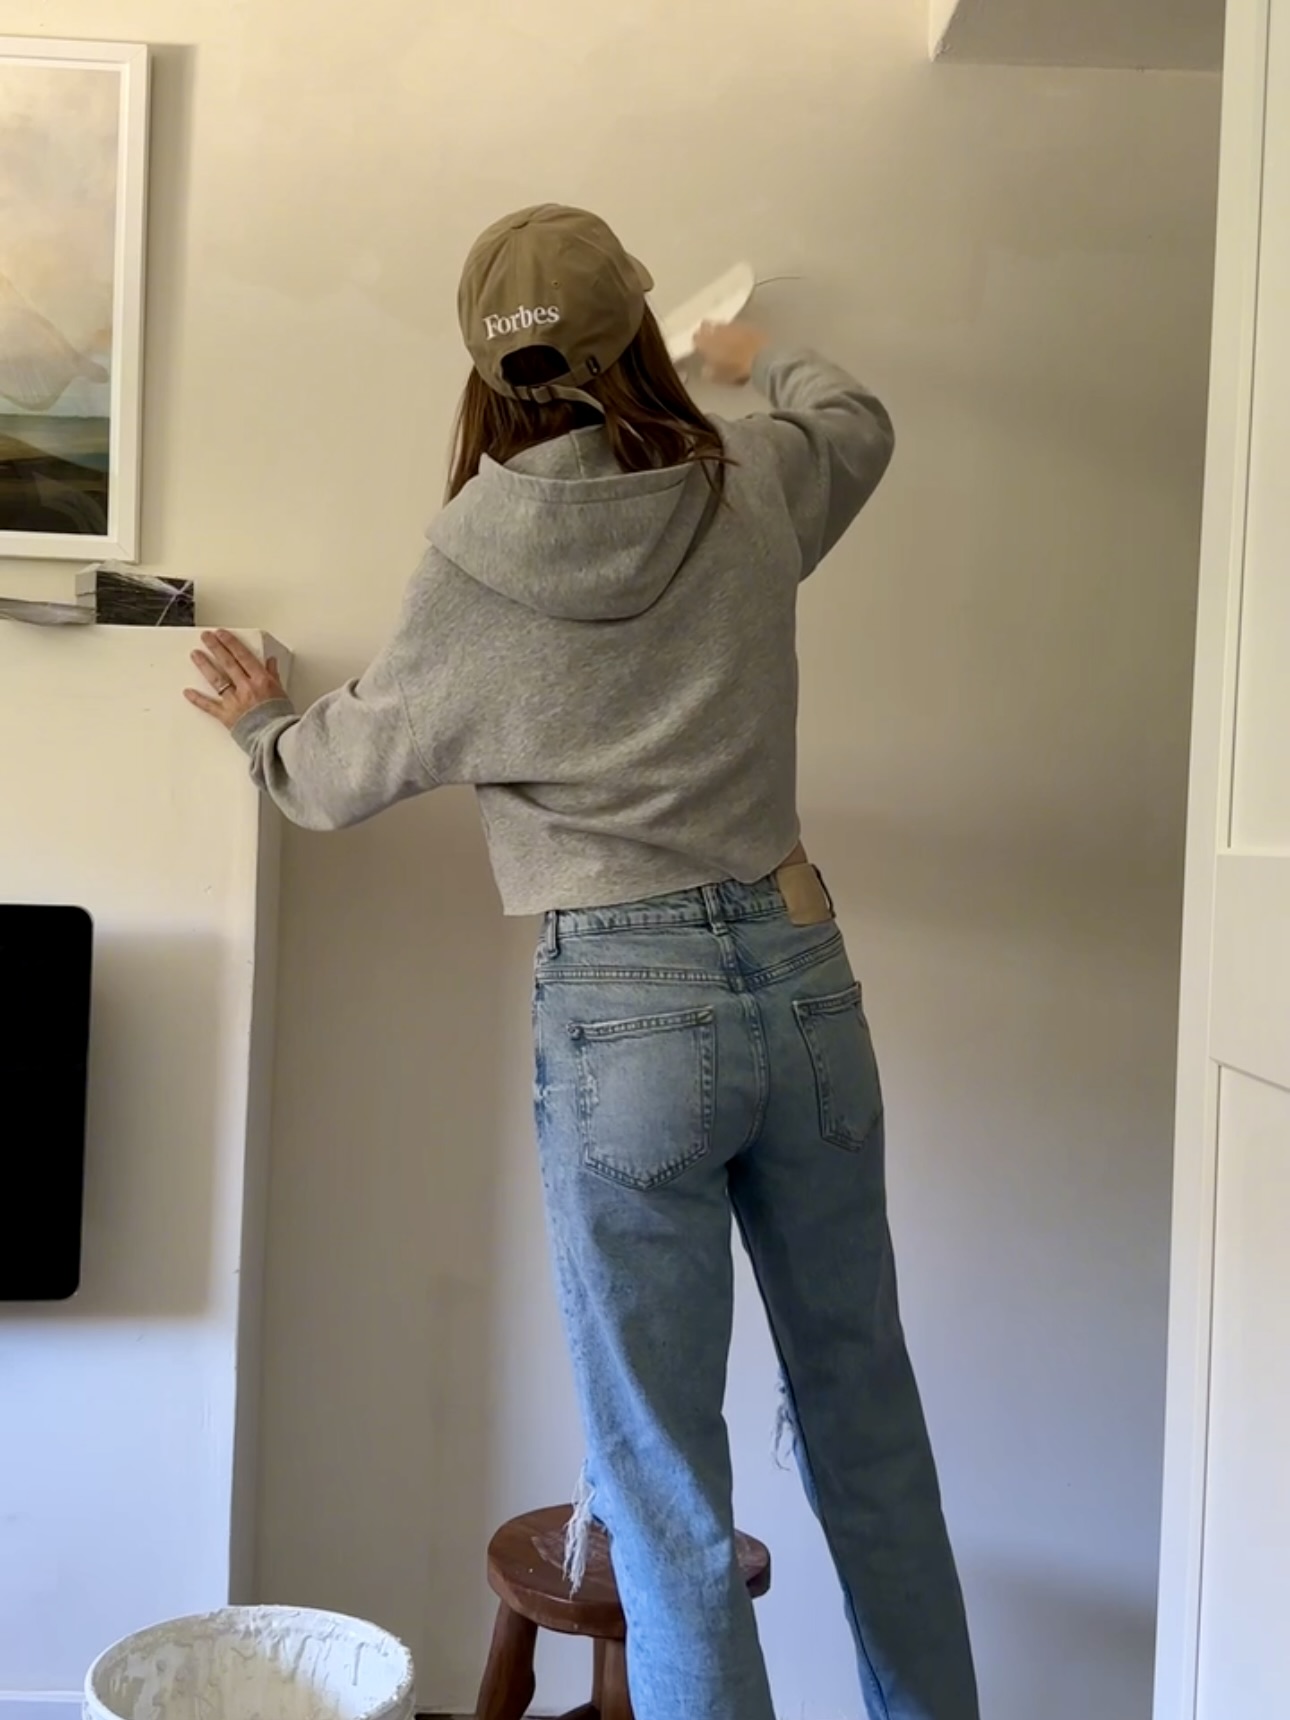
After this project, I think everyone should do at least one drywall project in their lifetime so we can all understand and appreciate how tedious this is.
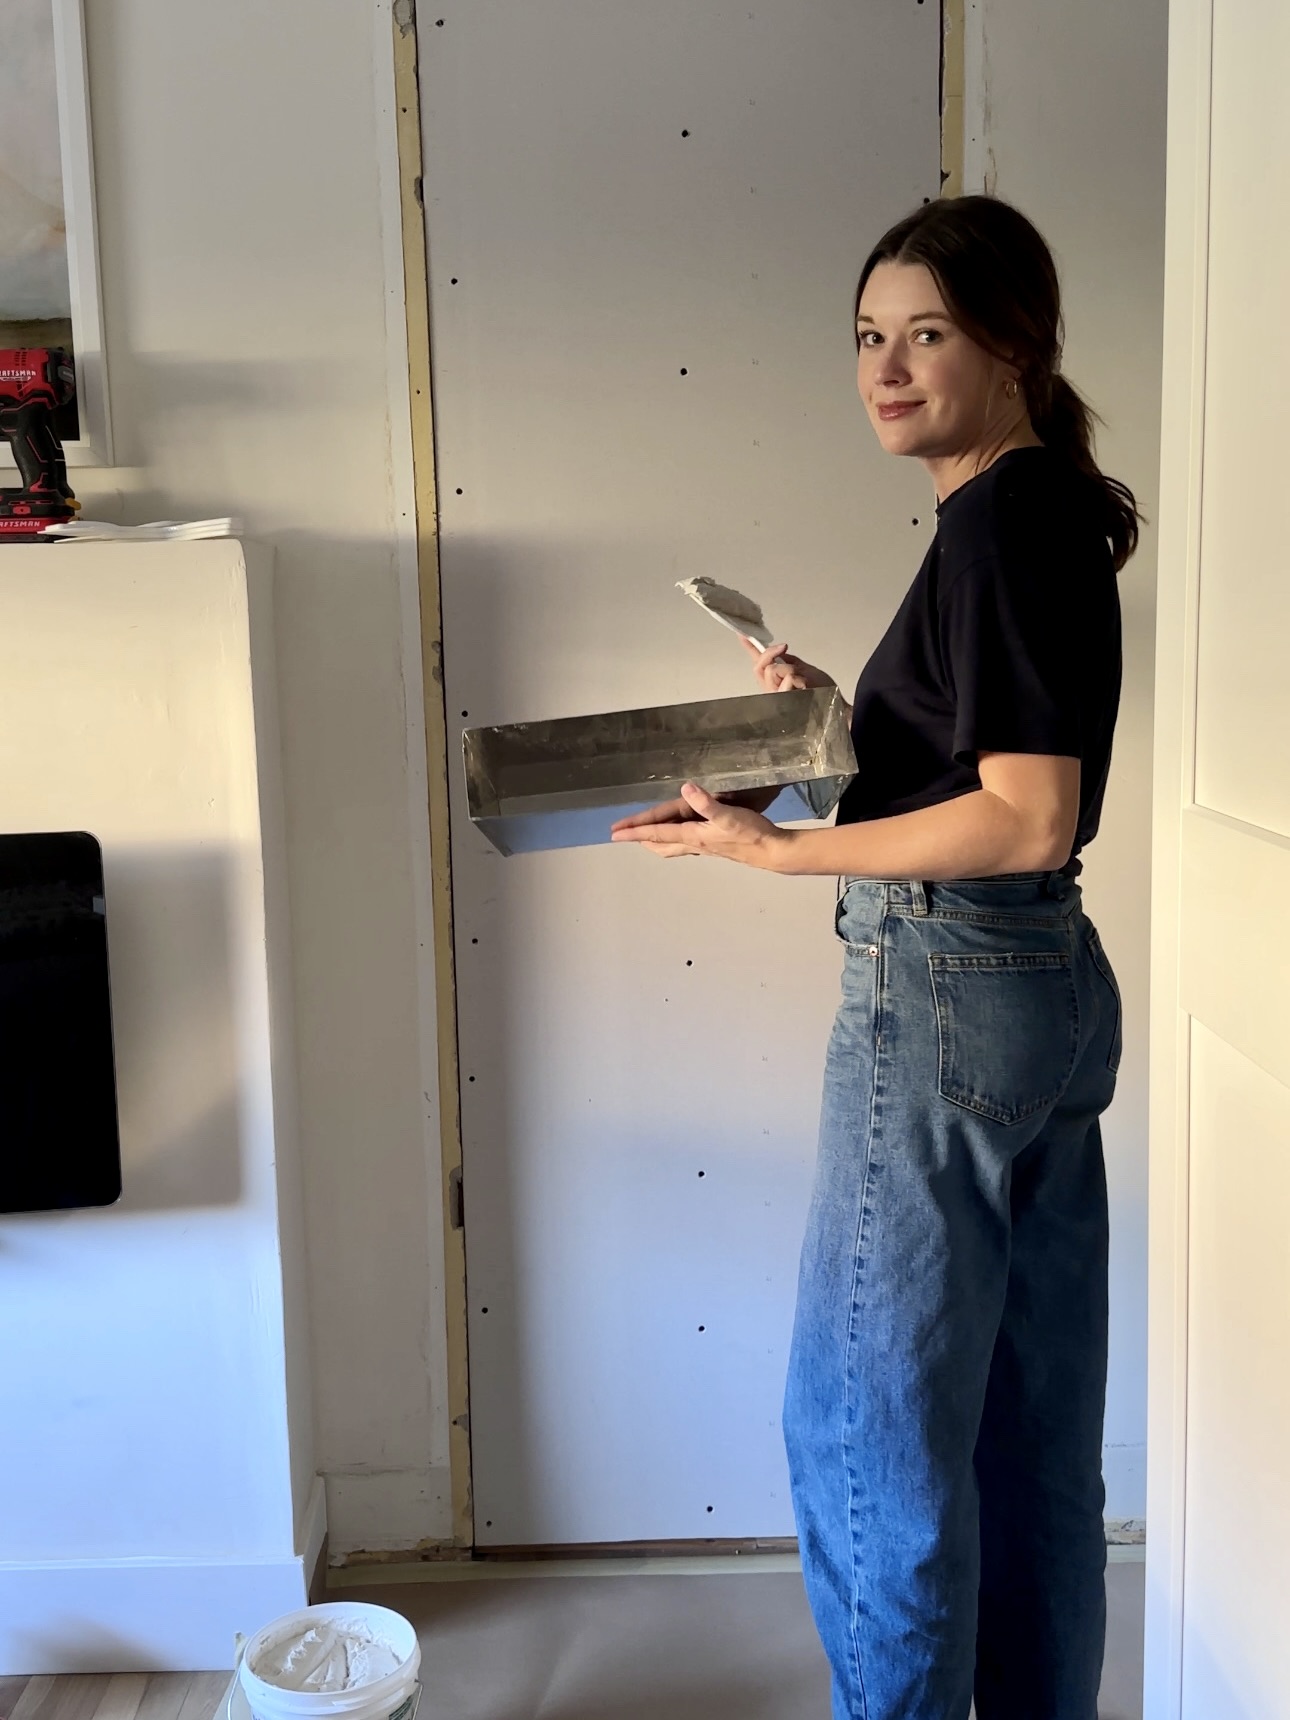

While this was more of a pain than I anticipated, I’m so glad I took the time to do this. Can’t wait to get this coffee bar going!
Comments