
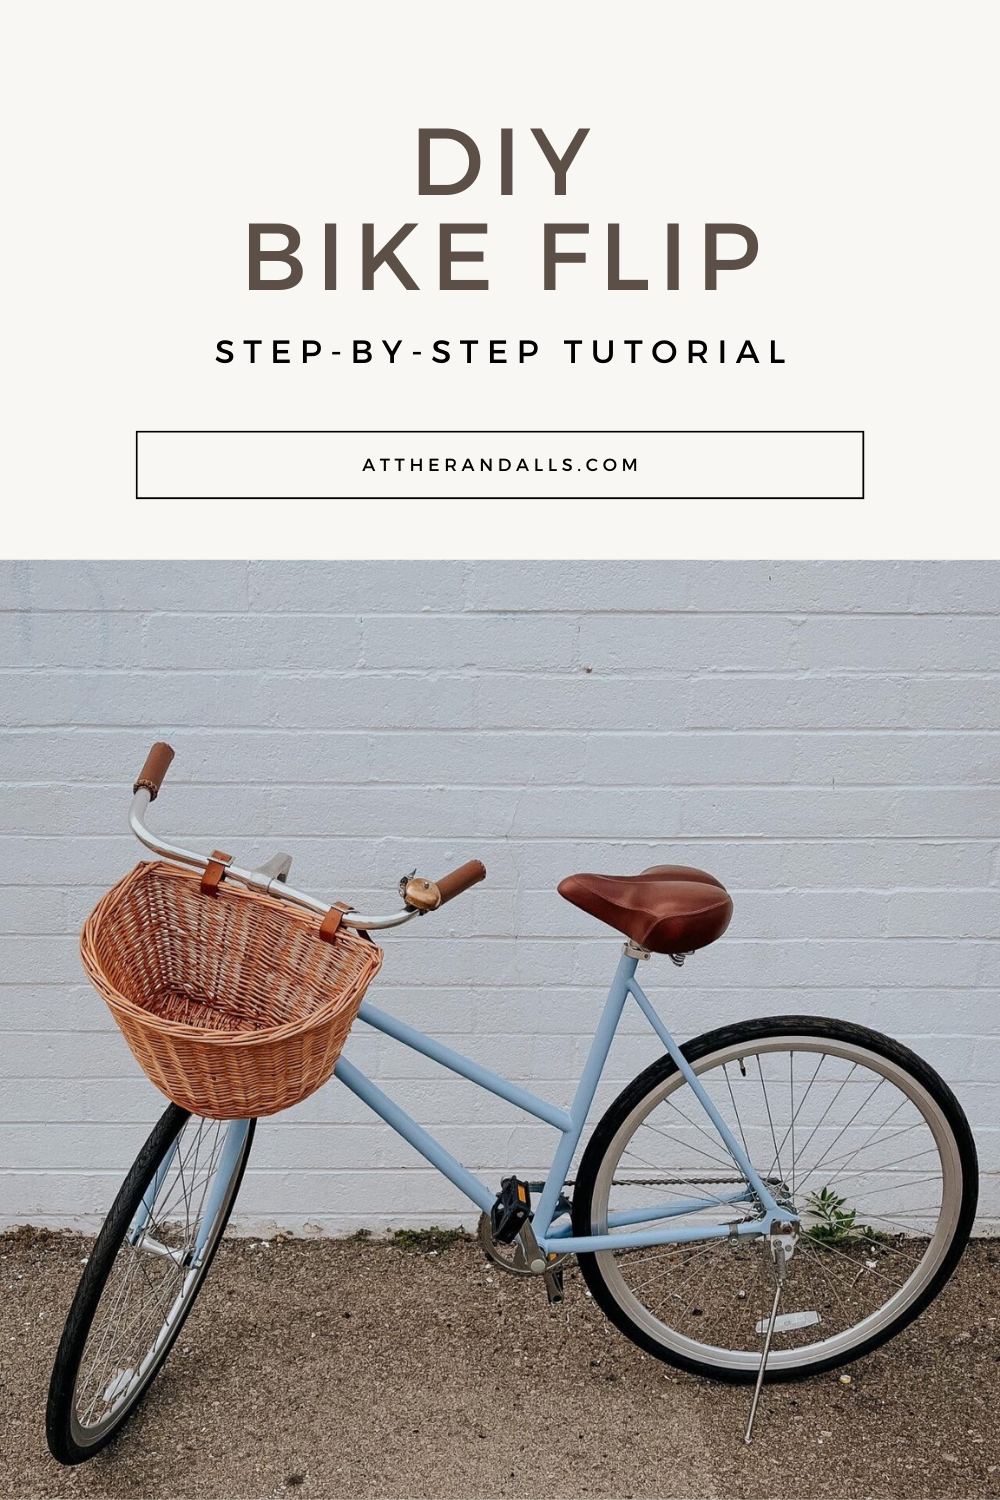
1. Find an old bike
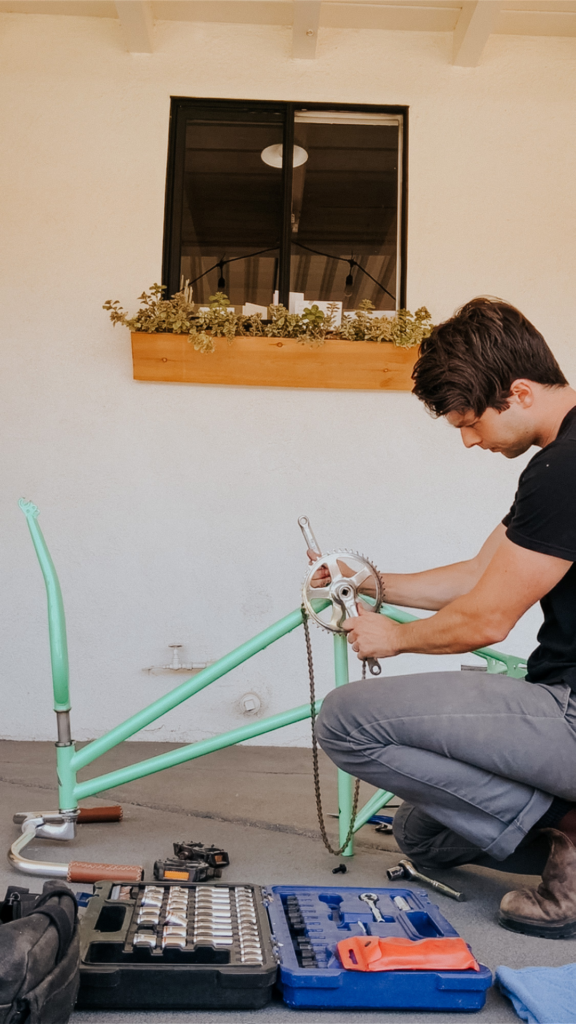
Here’s the hand-me-down cruiser we got from a friend! One of the tubes was flat and needed to be replaced, and we wanted to change out the seat and the paint color. It also needed a good deep-clean! It was the perfect piece for this bike makeover!
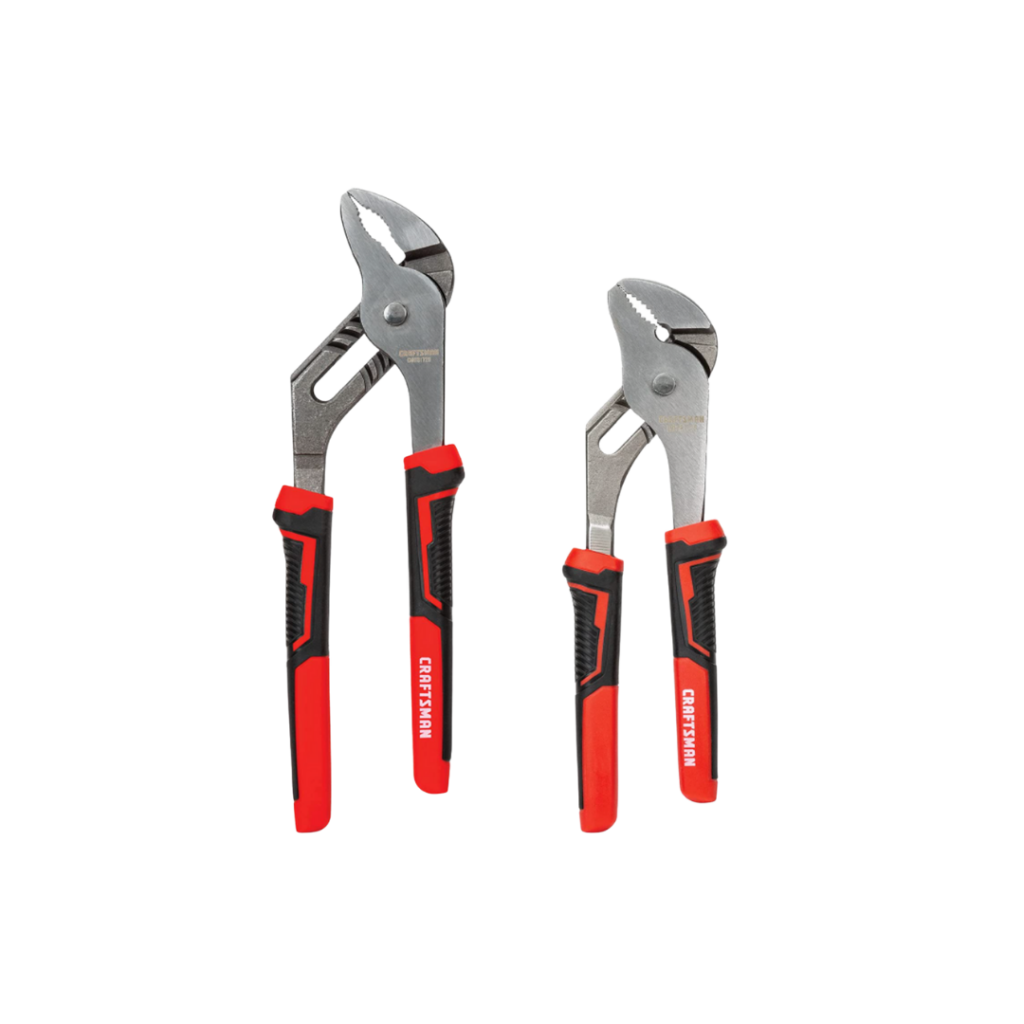
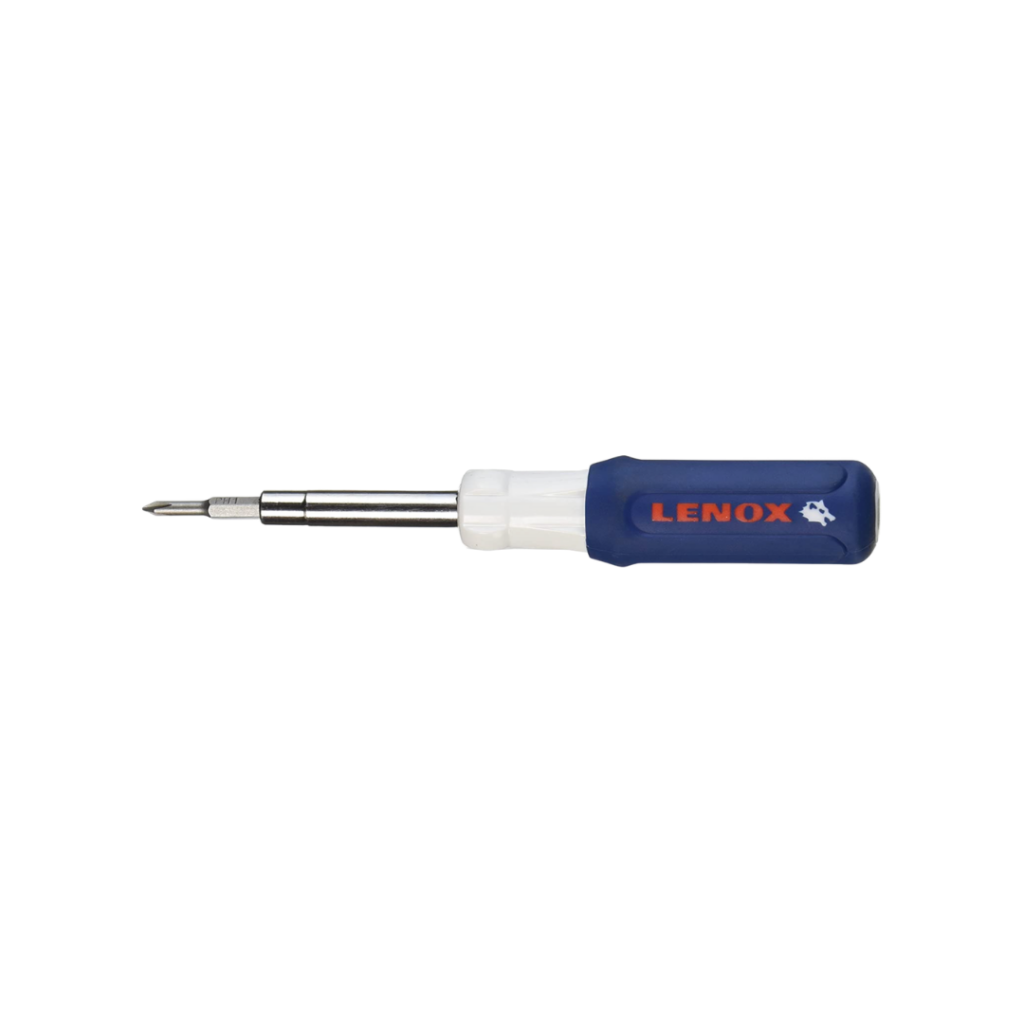
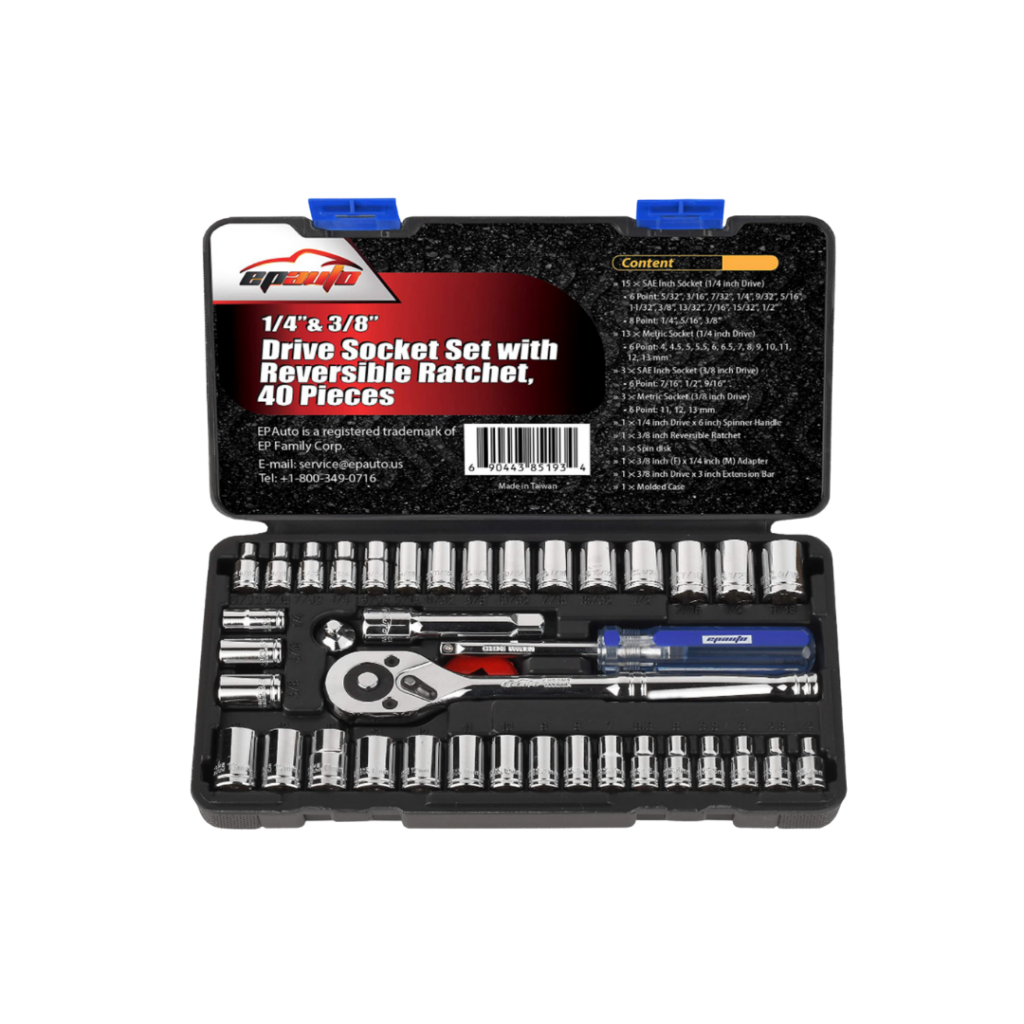
2. Disassemble the bike
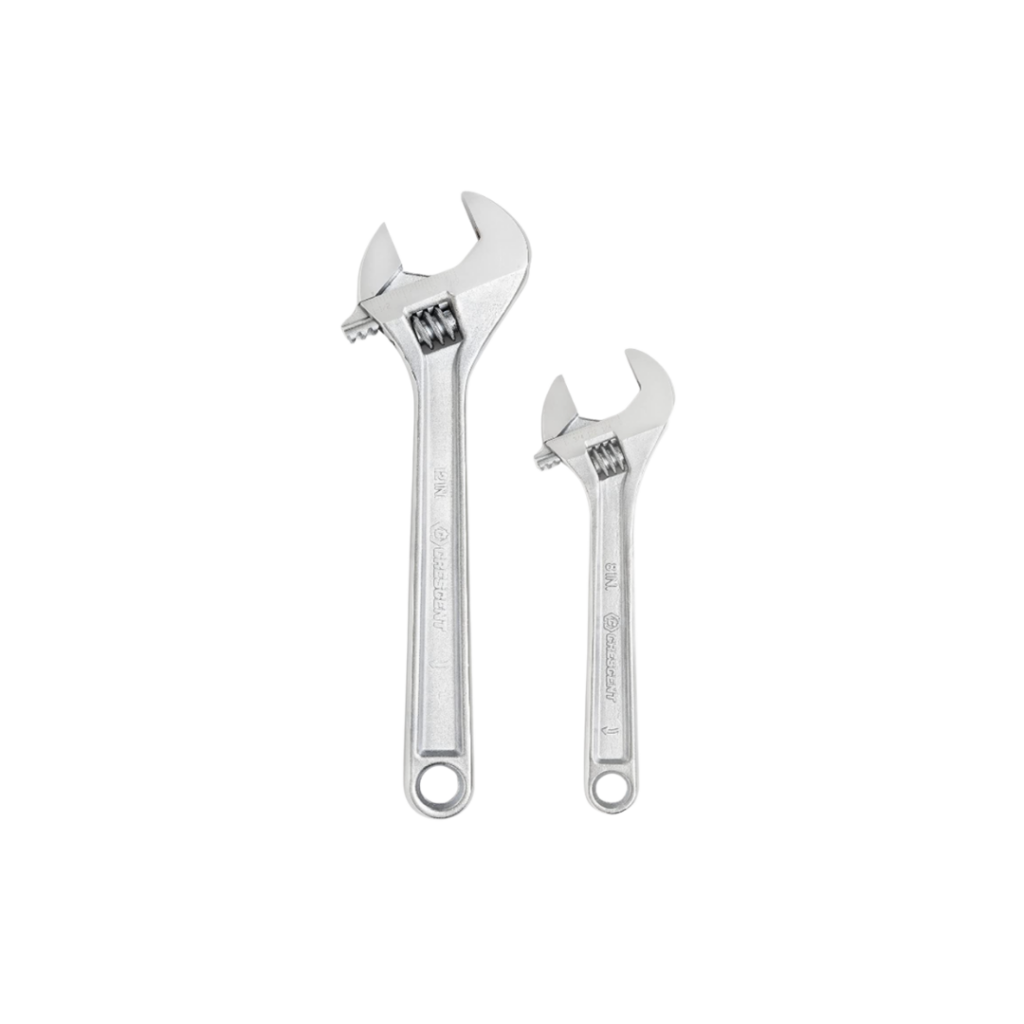
This part is pretty intuitive, honestly. Wherever you see bolts and screws, start twisting. Try to get it all the way down to the frame. Since ours is a cruiser, it was pretty simple and straightforward. If your bike has multiple gears, this will be a longer process. Here are all the tools we used to take it apart, piece by piece:
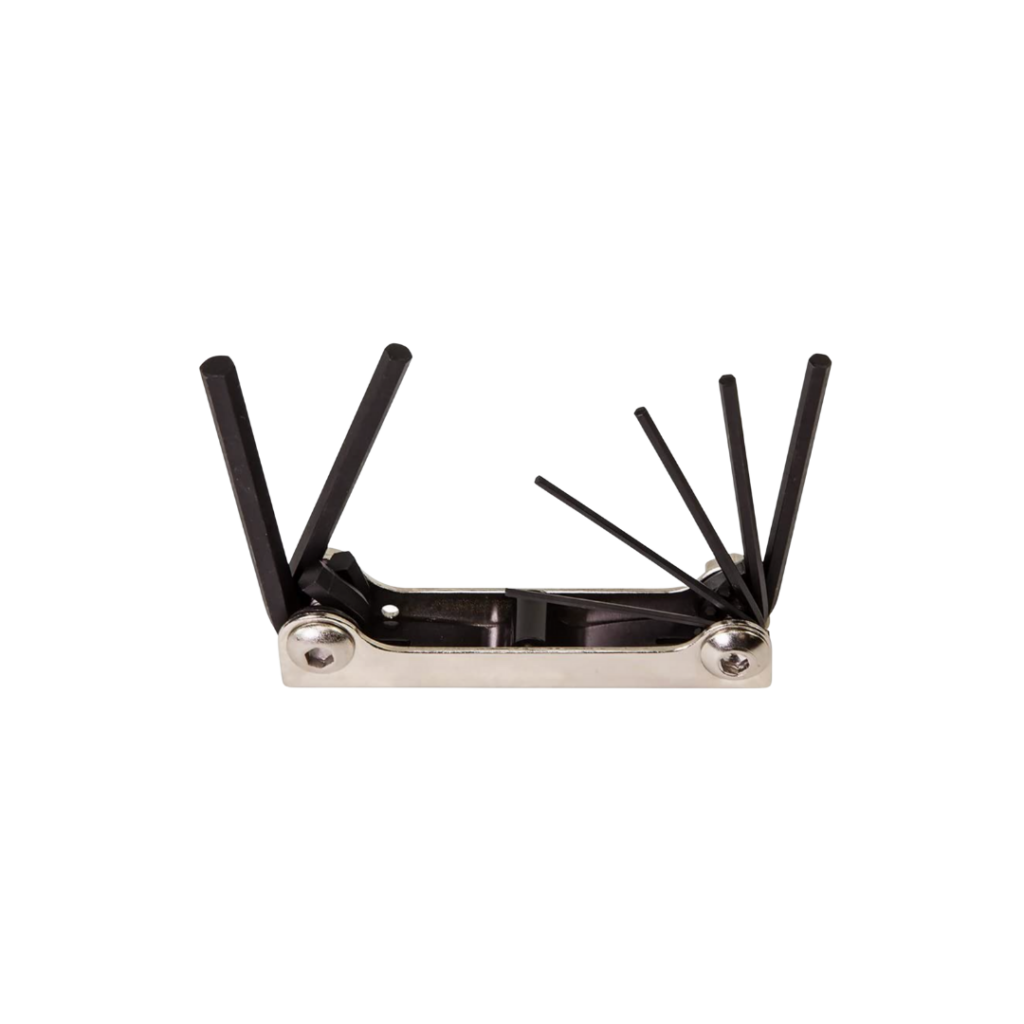

*Pro Tip* take a few photos of the bike before you disassemble it so you have something to refer back when you are reassembling.
For bonus points, label every single bike part with tape and a sharpie.
Ta-dah! Disassembled. Now we can get this party started.

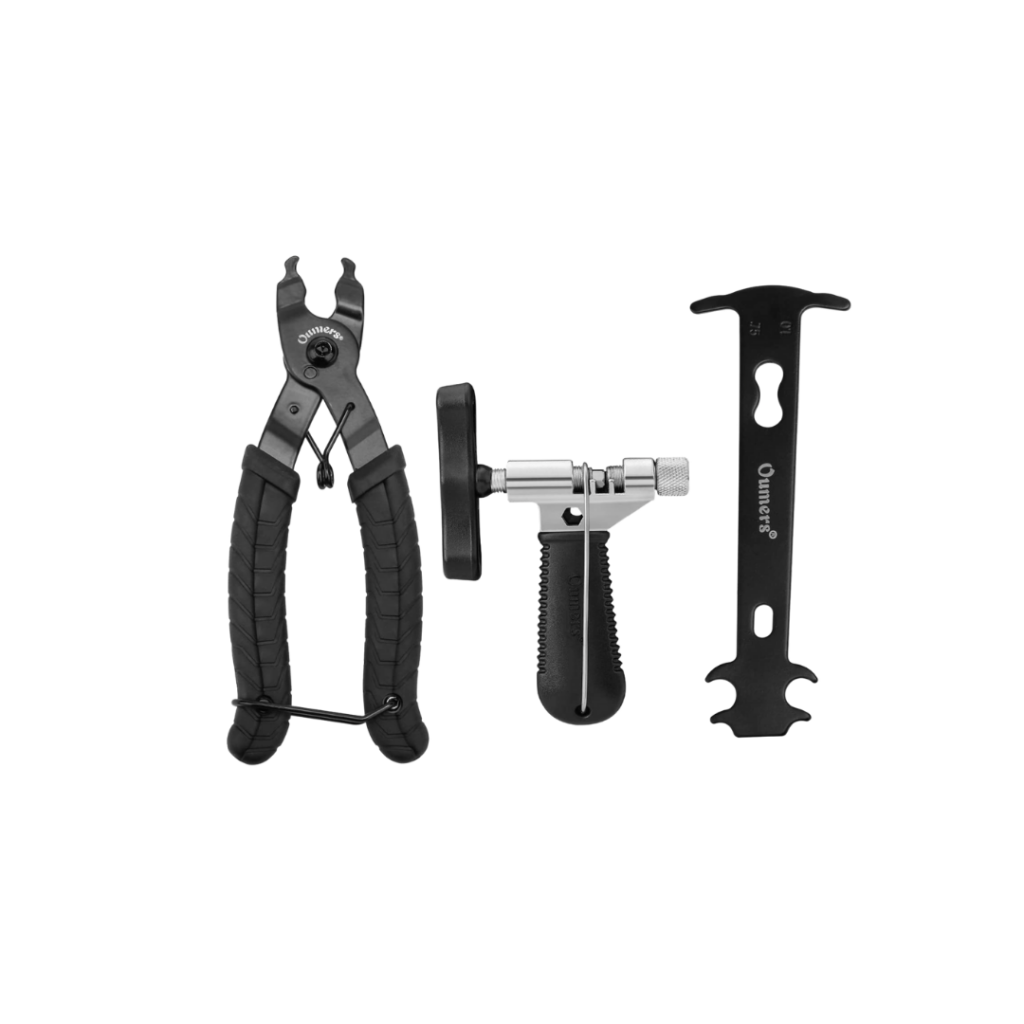
3. Clean the bike frame
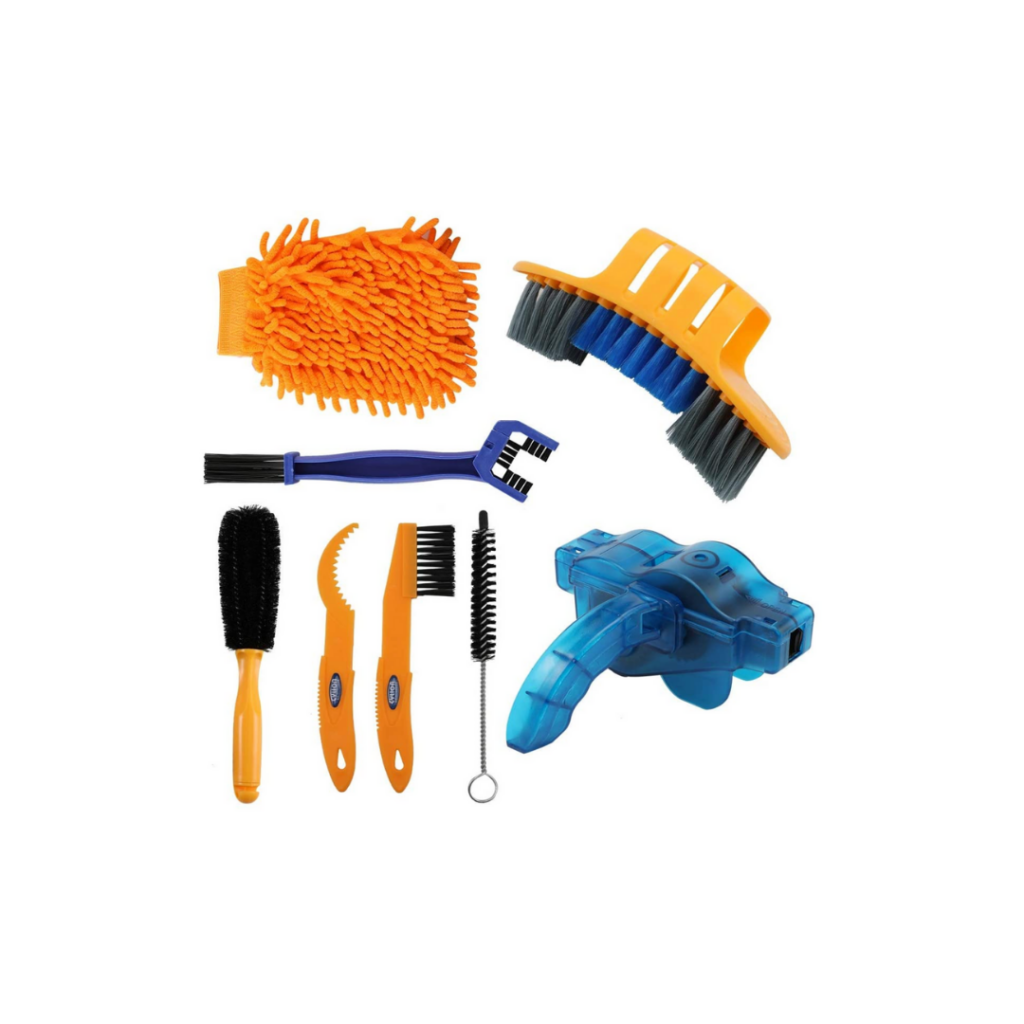
Make sure all stickers, dirt and residue are removed from the frame, and remove the bike chain with this bike chain removal tool. This bike was so dirty!
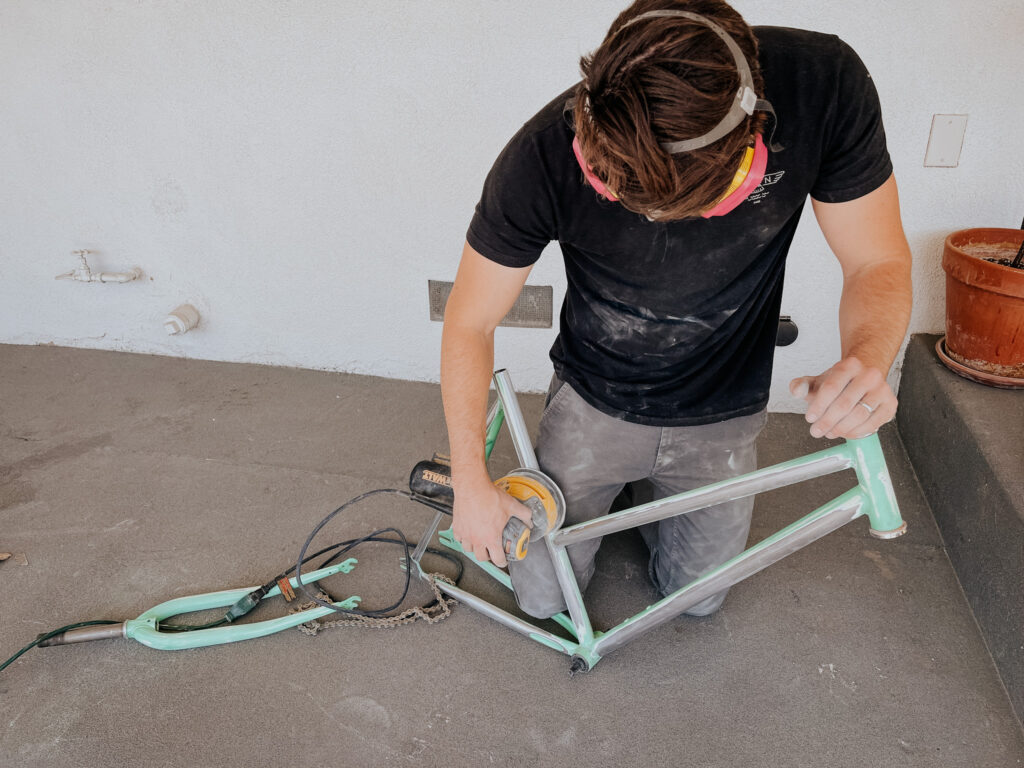
4. Sand the bike frame
There are a few different options here:
– Take it to a powder coating business and pay to have them sand blast the frame (we were quoted $280 for same day service)
– Use a strong paint stripper
– Sand it down yourself (we sanded the bikes down ourselves with 80 grit orbital sand paper)
5. Wipe down frame one more time before painting
We usually use microfiber cloths for this.
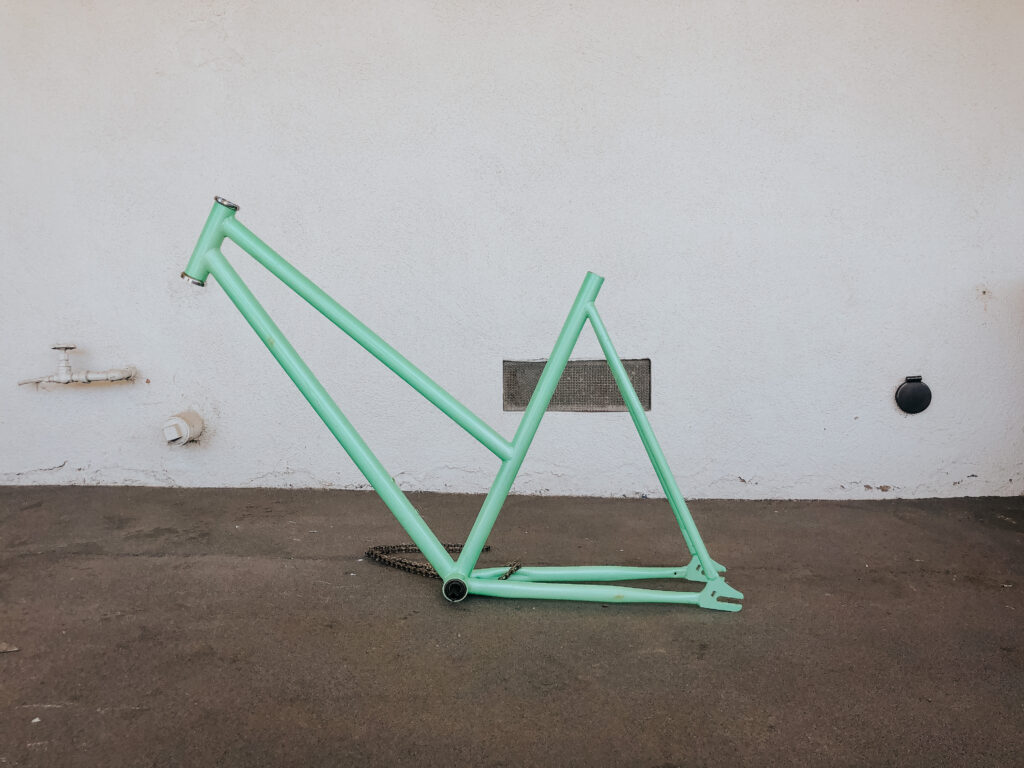
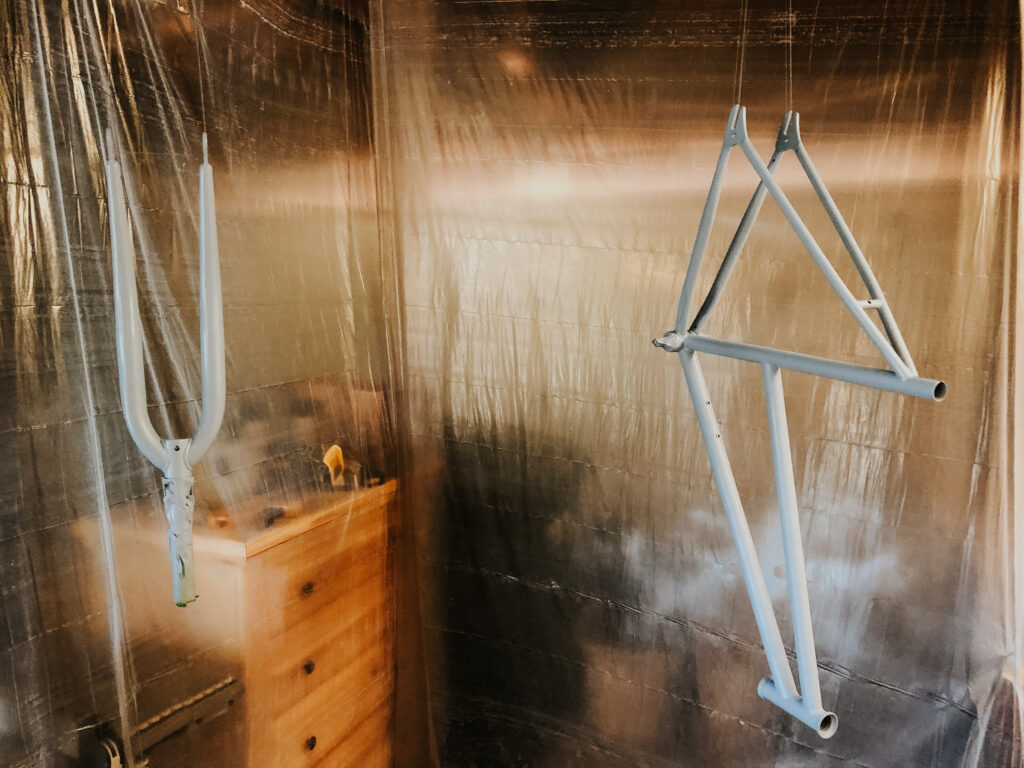
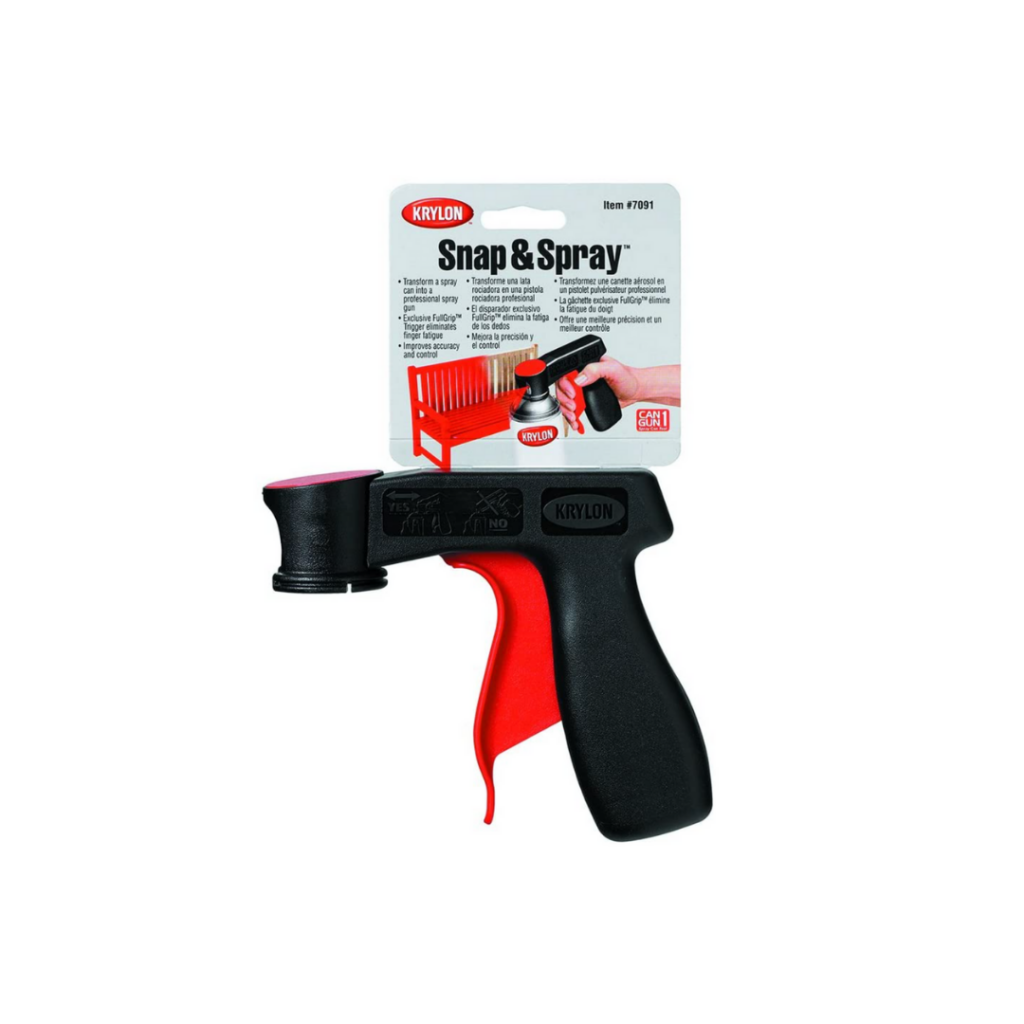
6. Paint
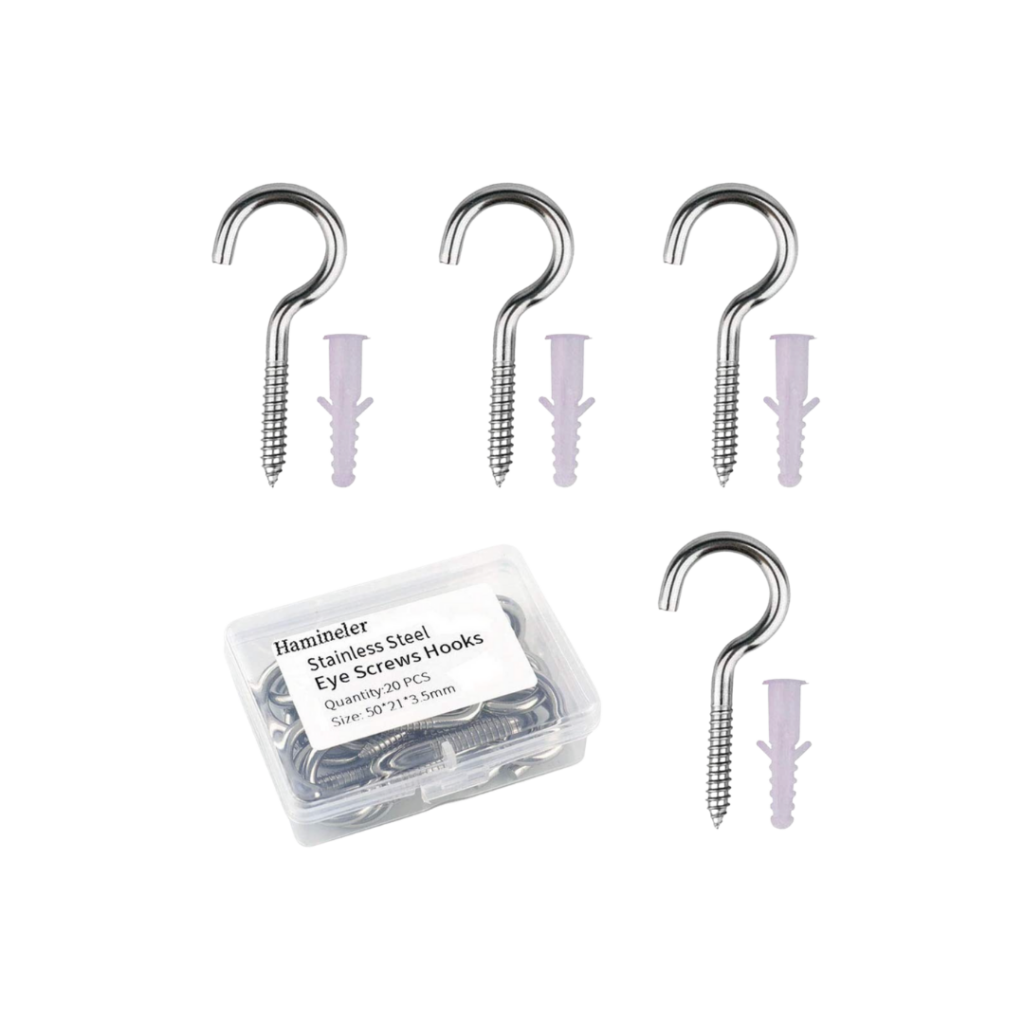
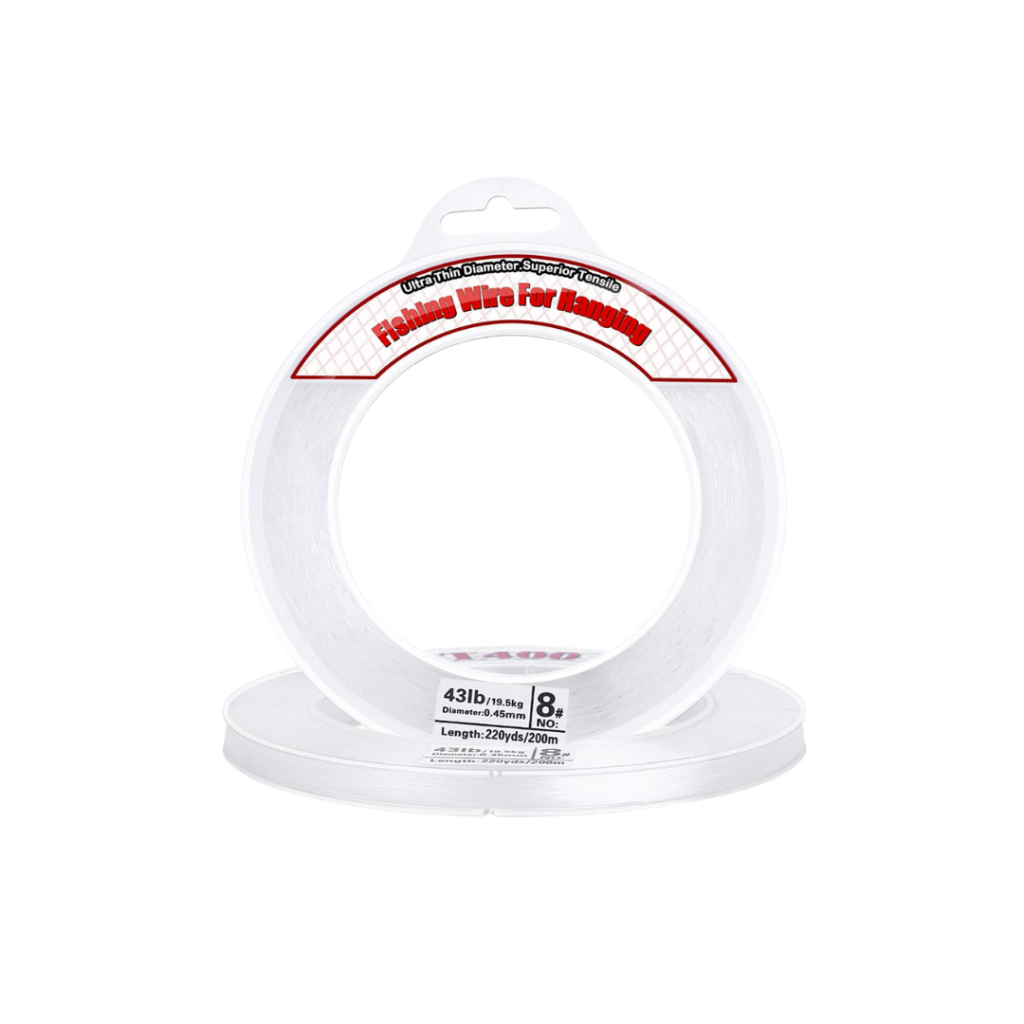
We wanted a clean paint job and so we decided to hang the bike frame from hooks in the ceiling with fishing wire.
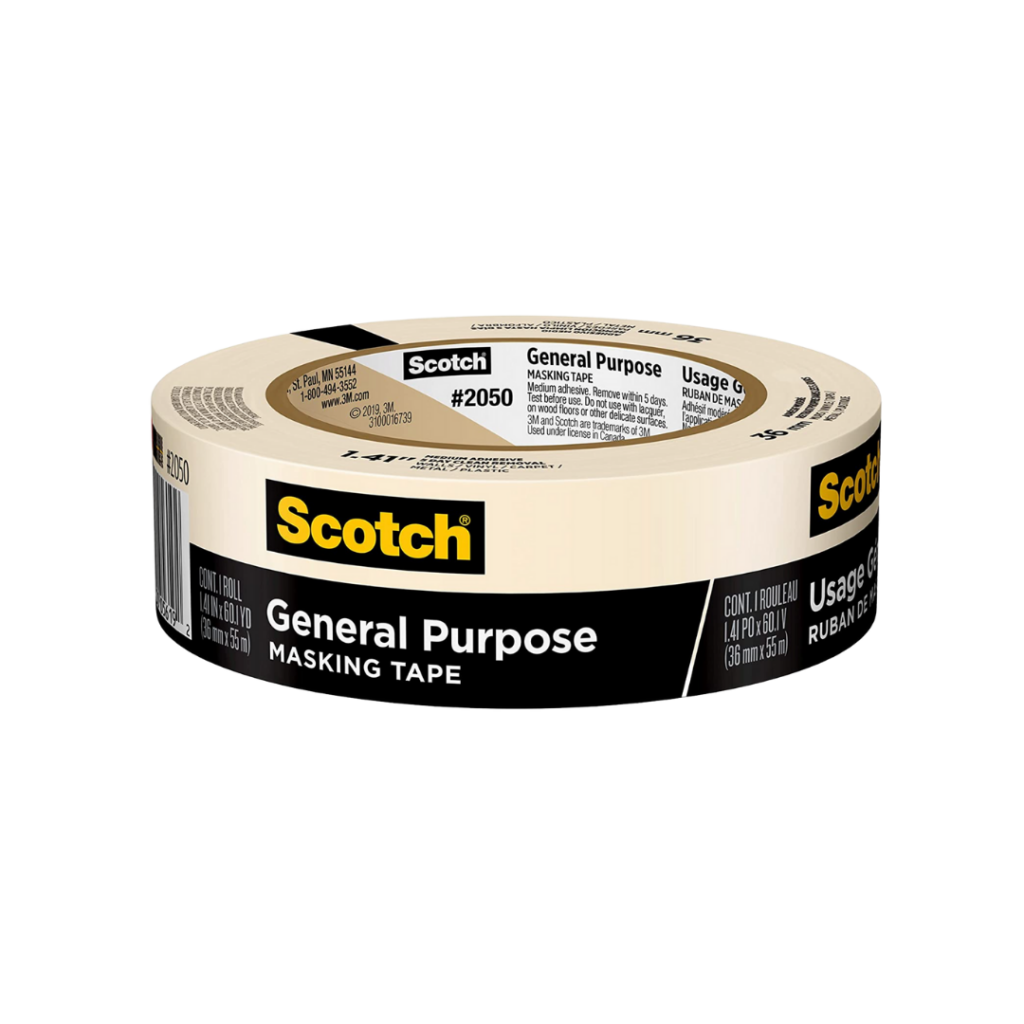
– we then made a little painting studio by hanging up plastic drop cloths with masking tape
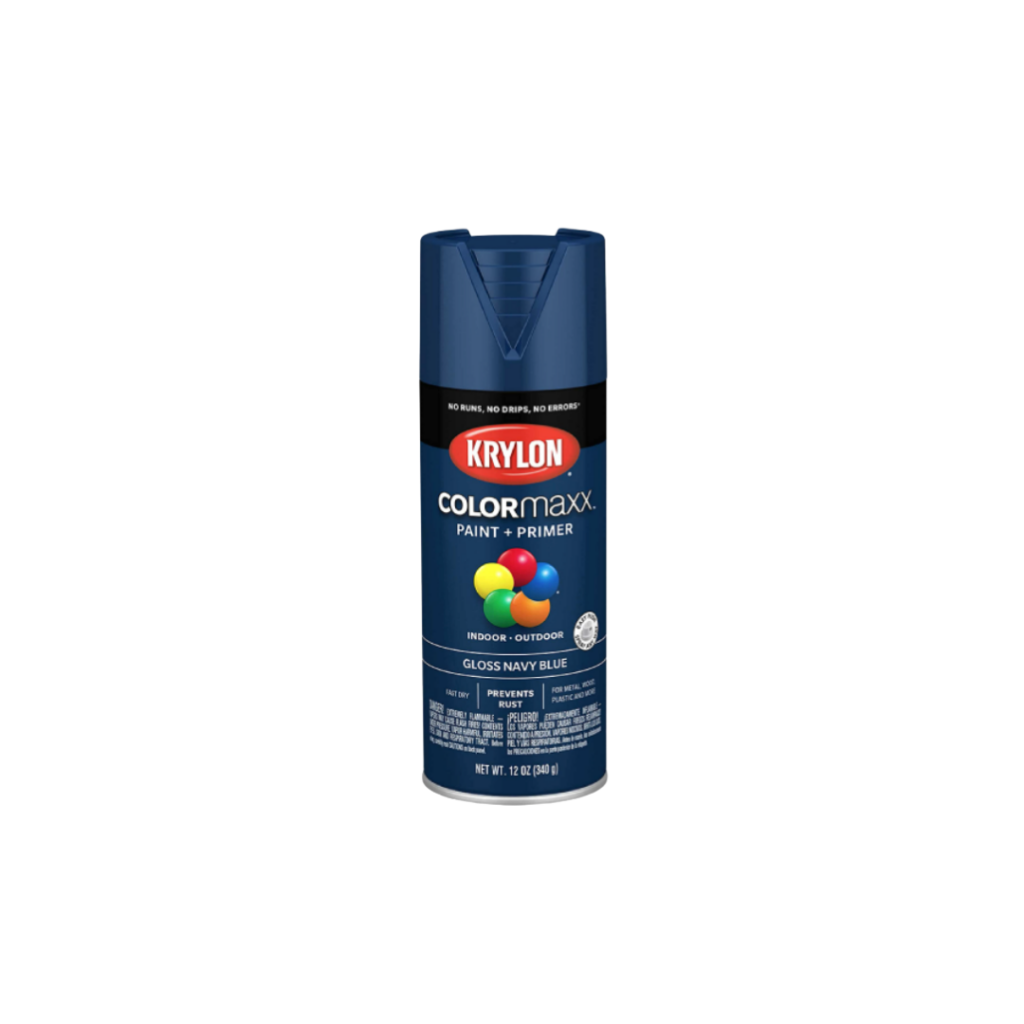
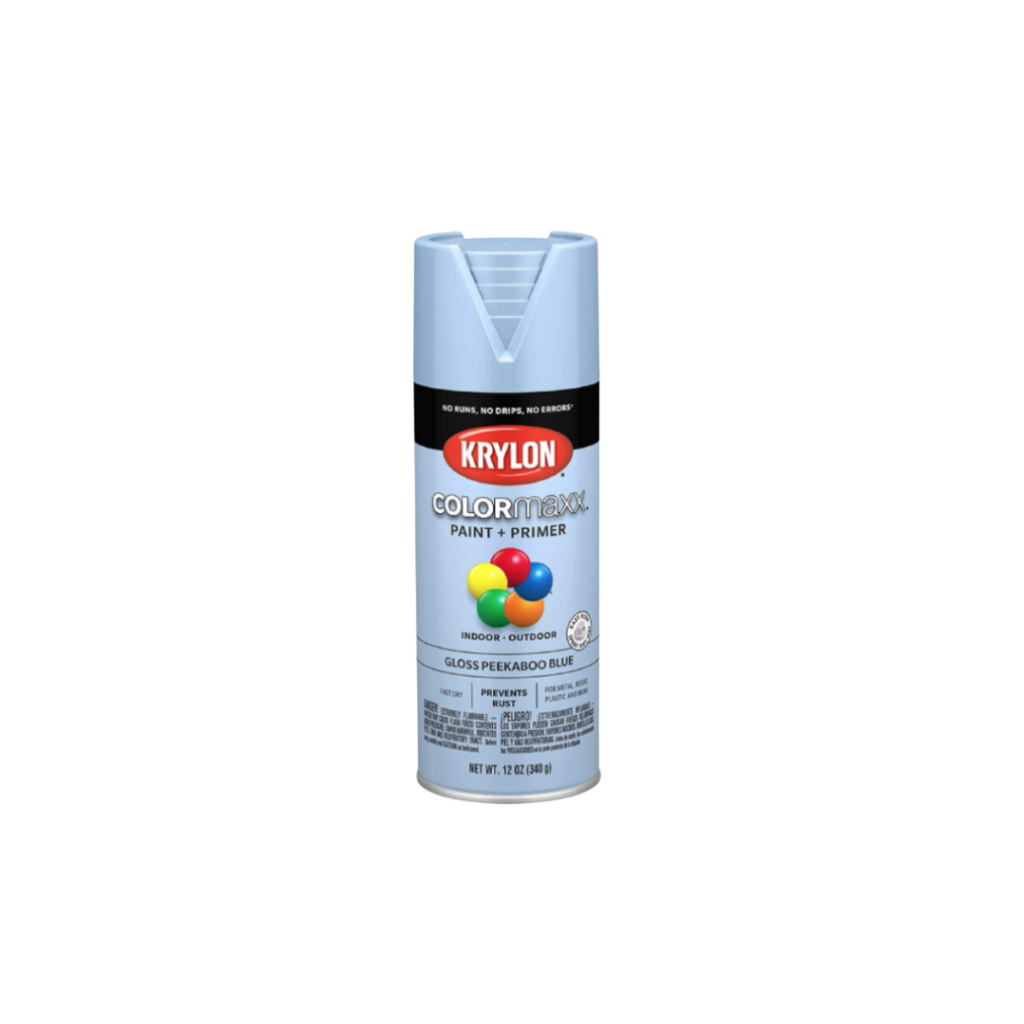
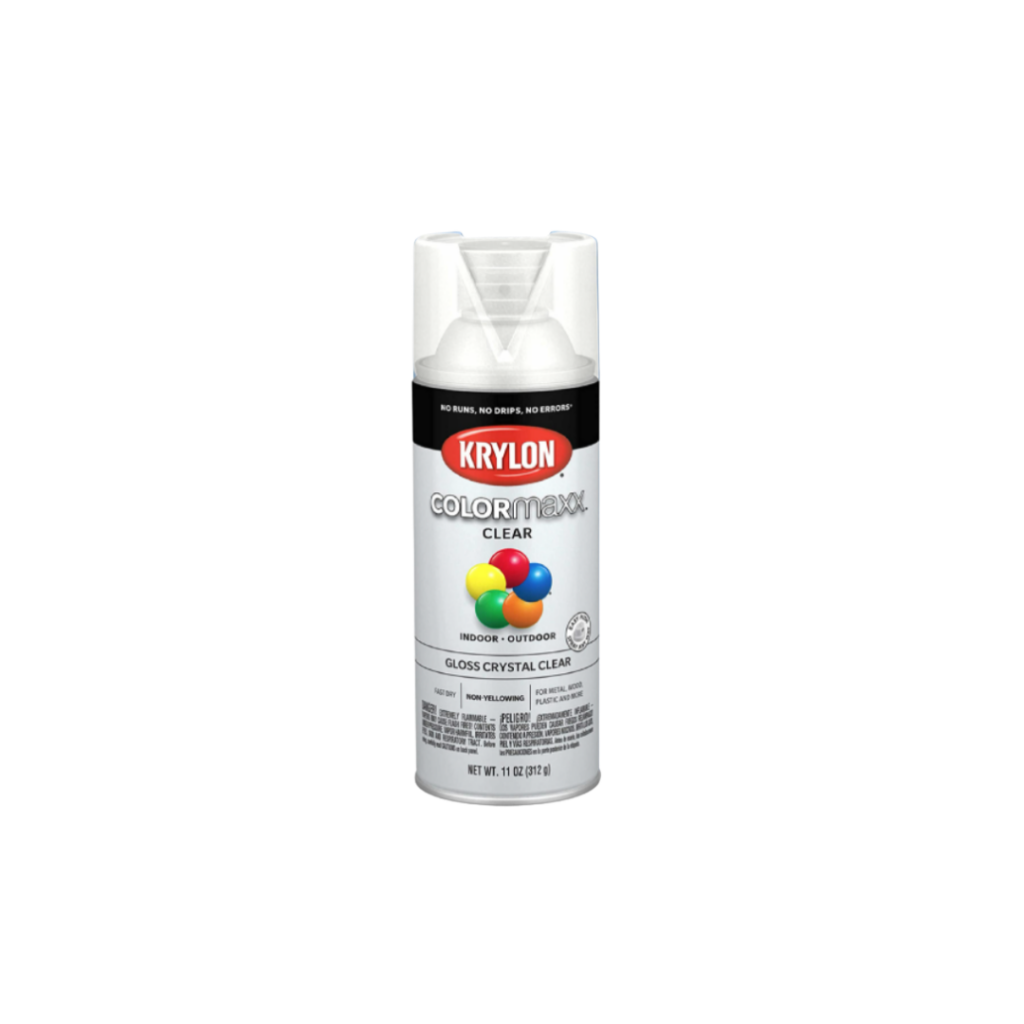
– for Sarah’s bike we used Krylon Peakaboo Blue in gloss with Krylon Crystal Clear Coat in gloss
– for Jake’s bike we used Krylon Navy Blue in gloss with Krylon Crystal Clear Coat in gloss
Here’s the paint process
– paint first coat
– wait two hours
– paint second coat
– wait two hours
– paint first coat of clear coat
– wait an hour
– paint second coat of clear coat
– wait an hour before handling the bike frame


7. Clean bike hardware
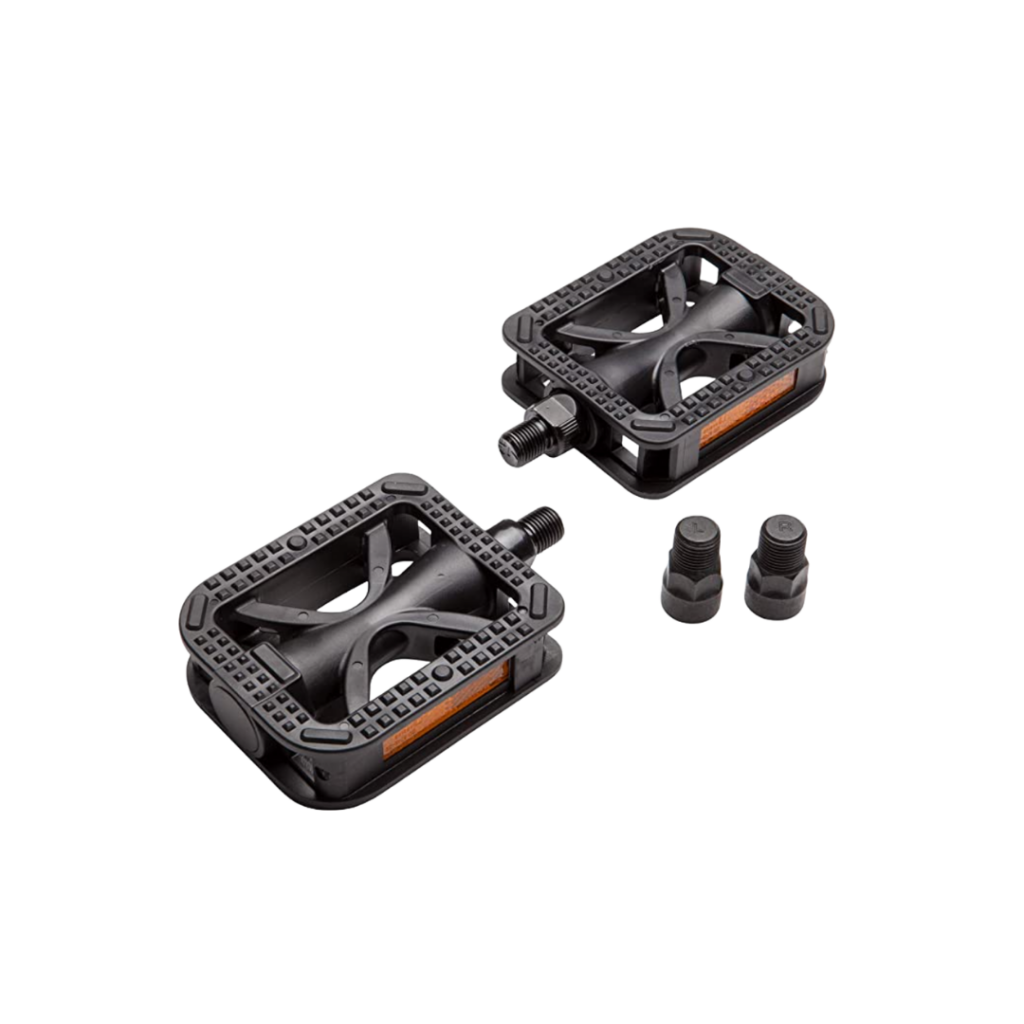
– clean and degrease the chain, pedals, gears, tires, etc.
– a great time to do this would be in between paint coats


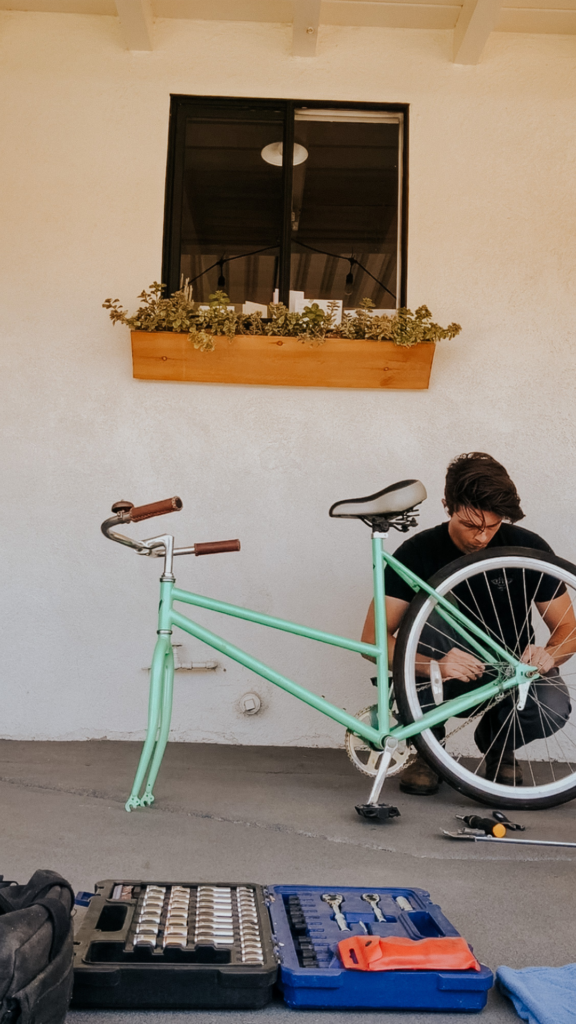
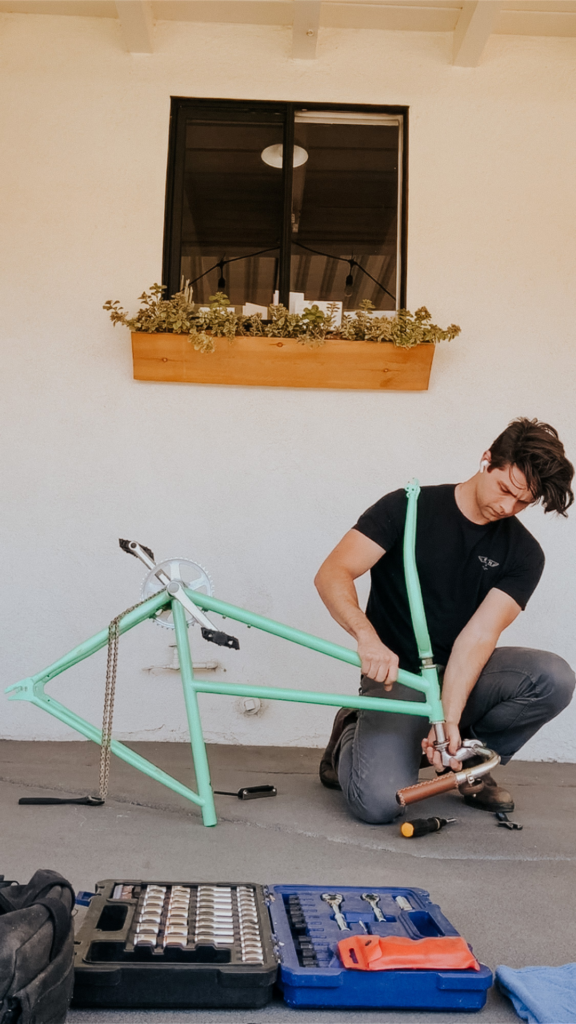
8. Reassemble Bike
– refer back to the photos or notes that you took before disassembling the bike
– lube the bike chain
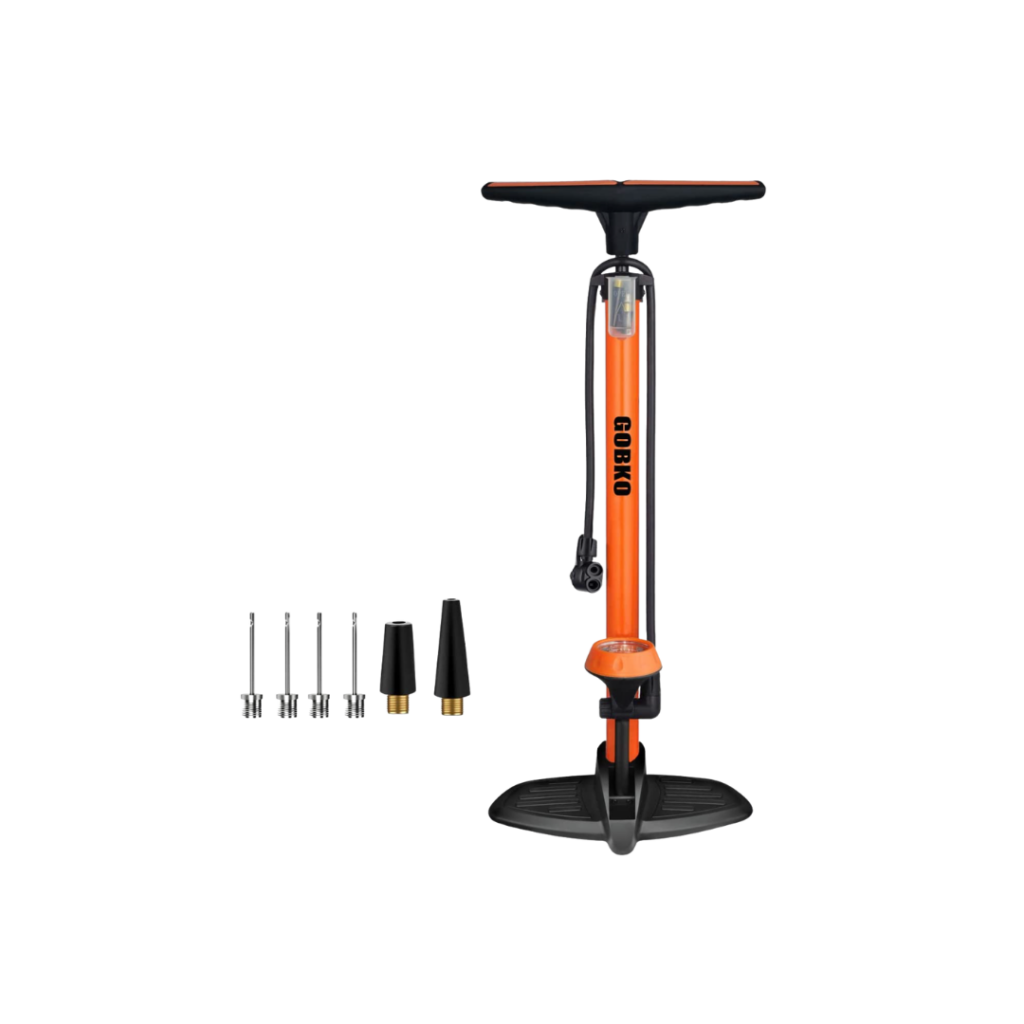
– replace the tire tubes
– pump up the tires to the correct PSI (you’ll find the PSI range on the outside of the tire)
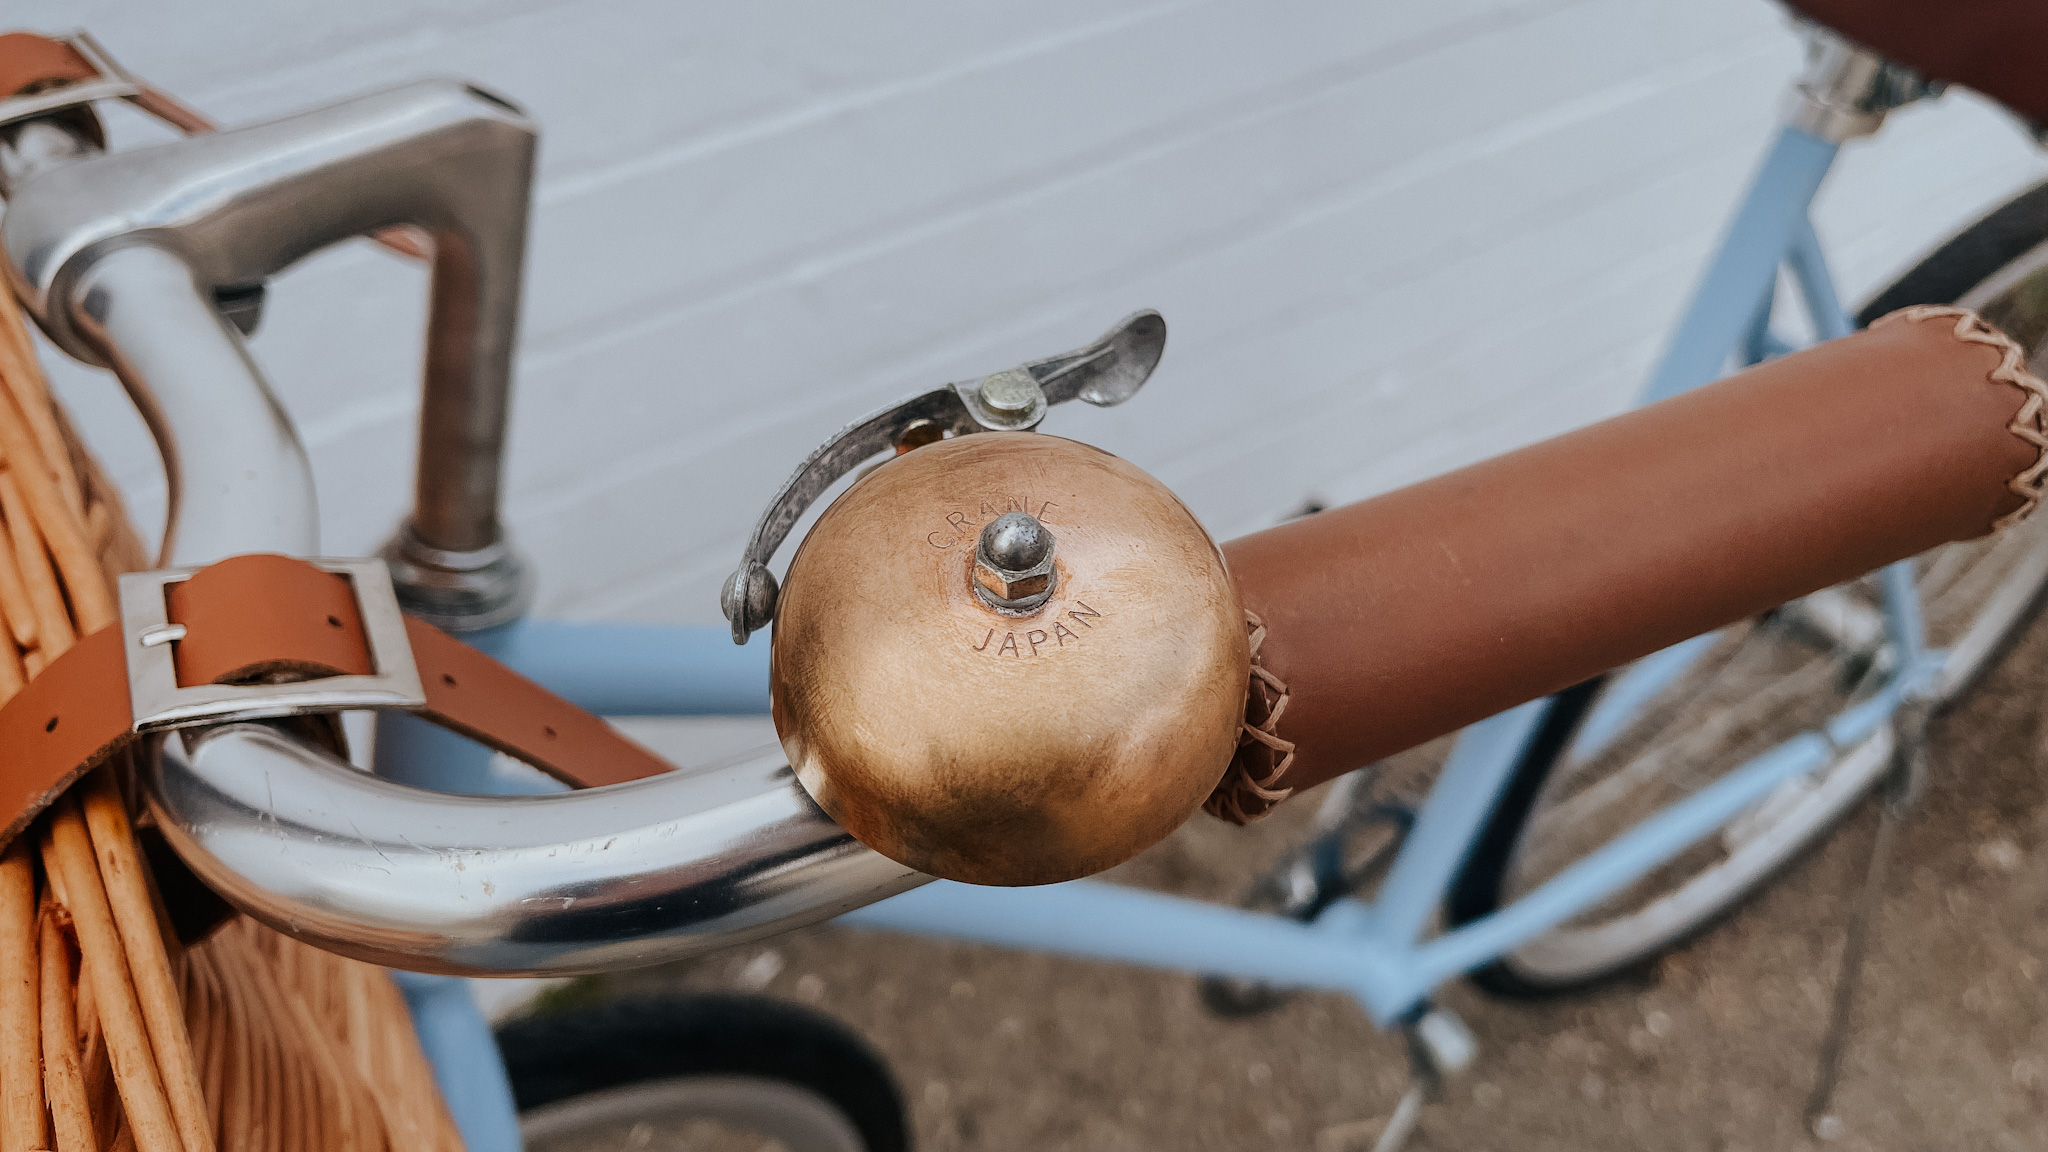
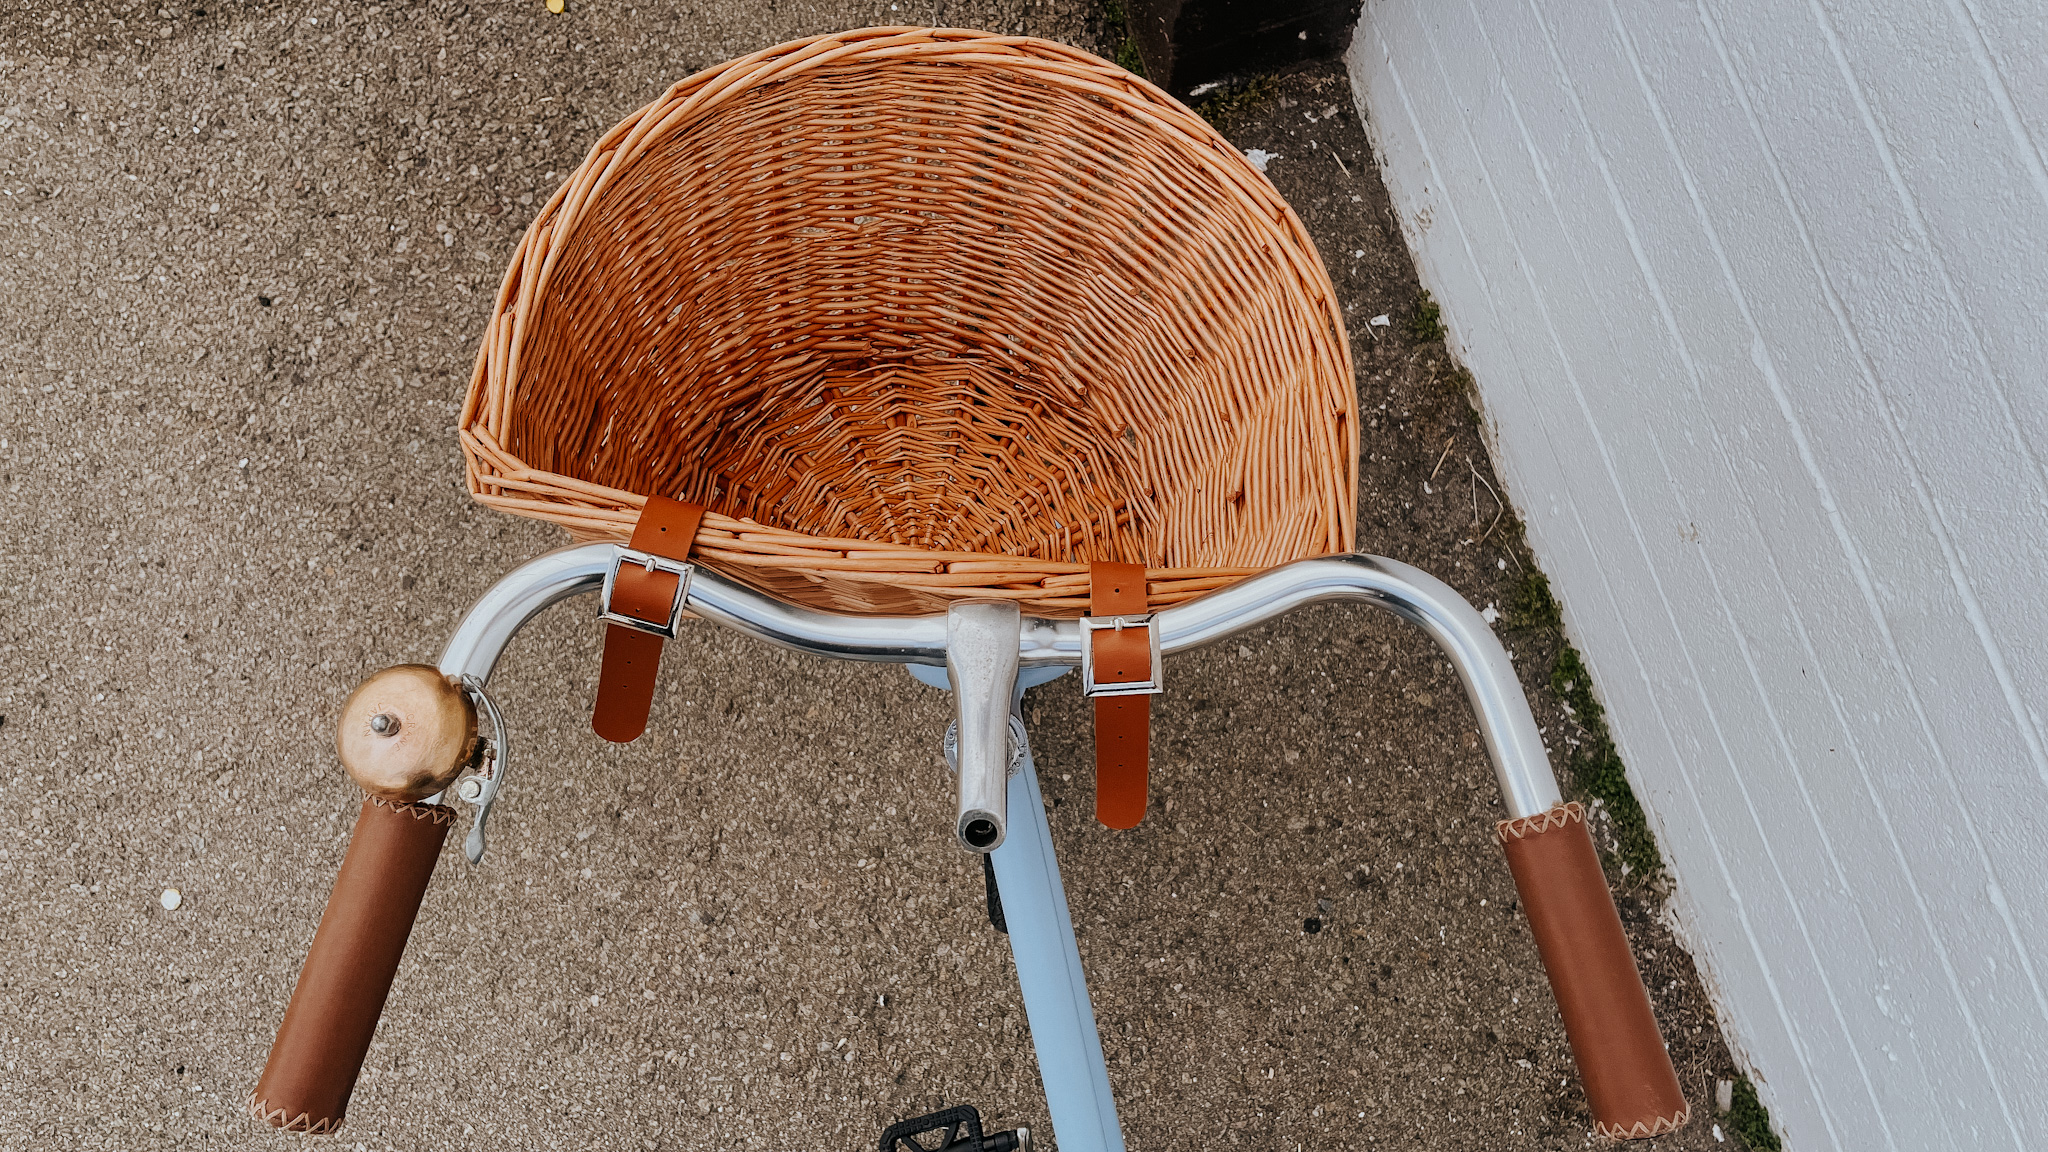
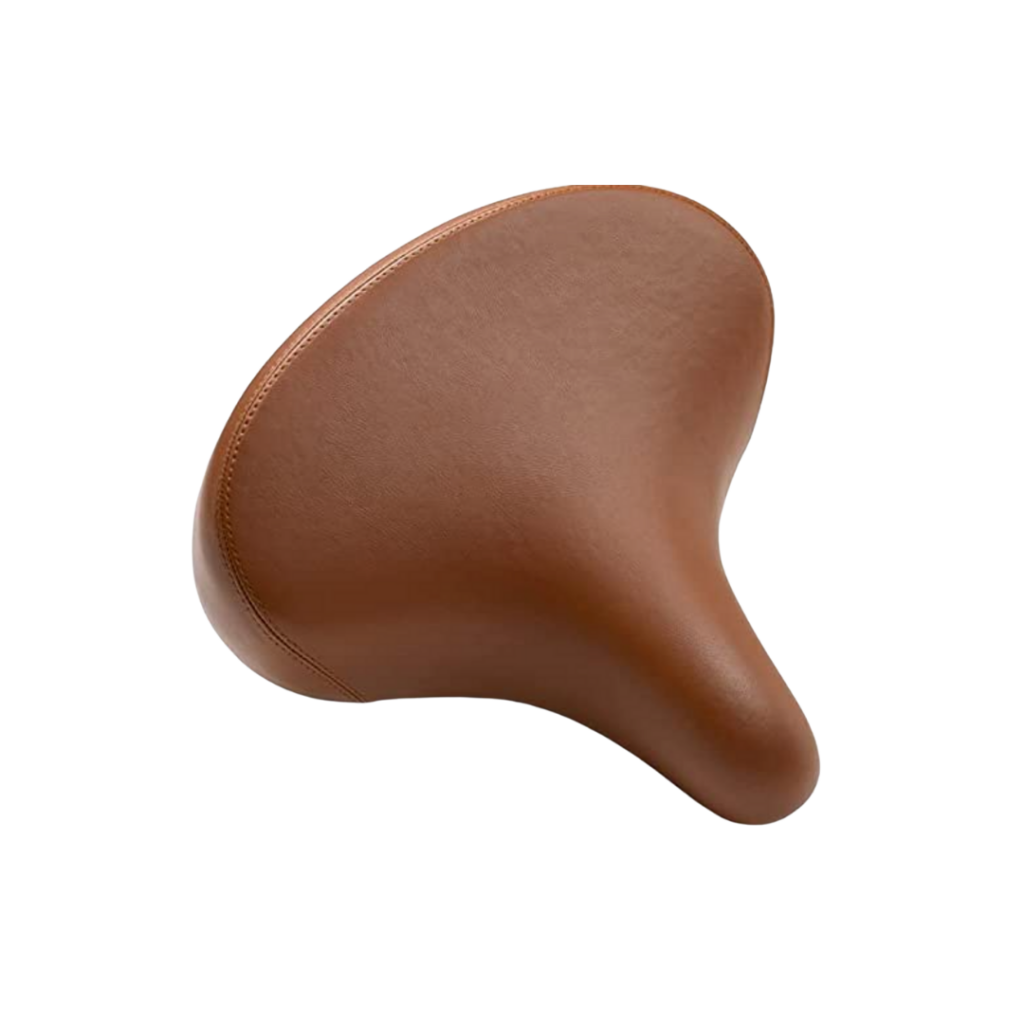
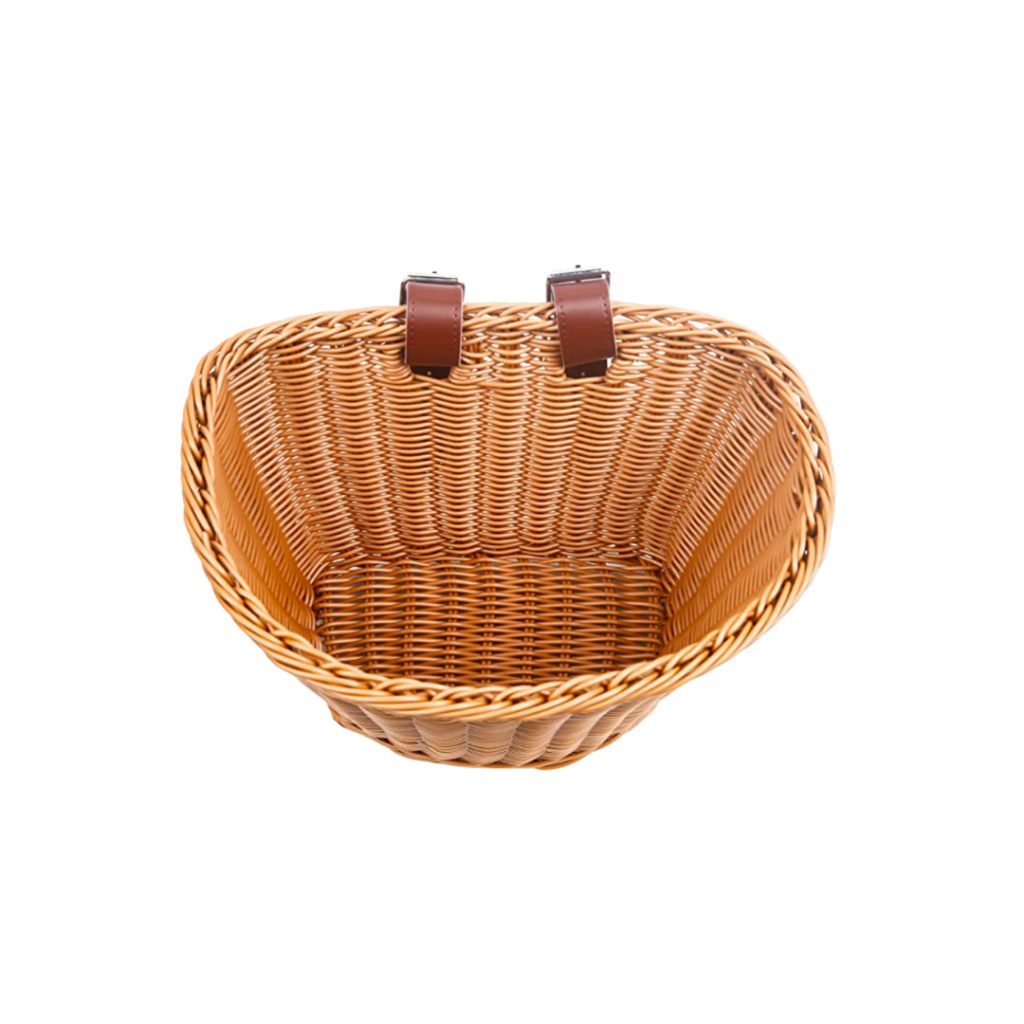
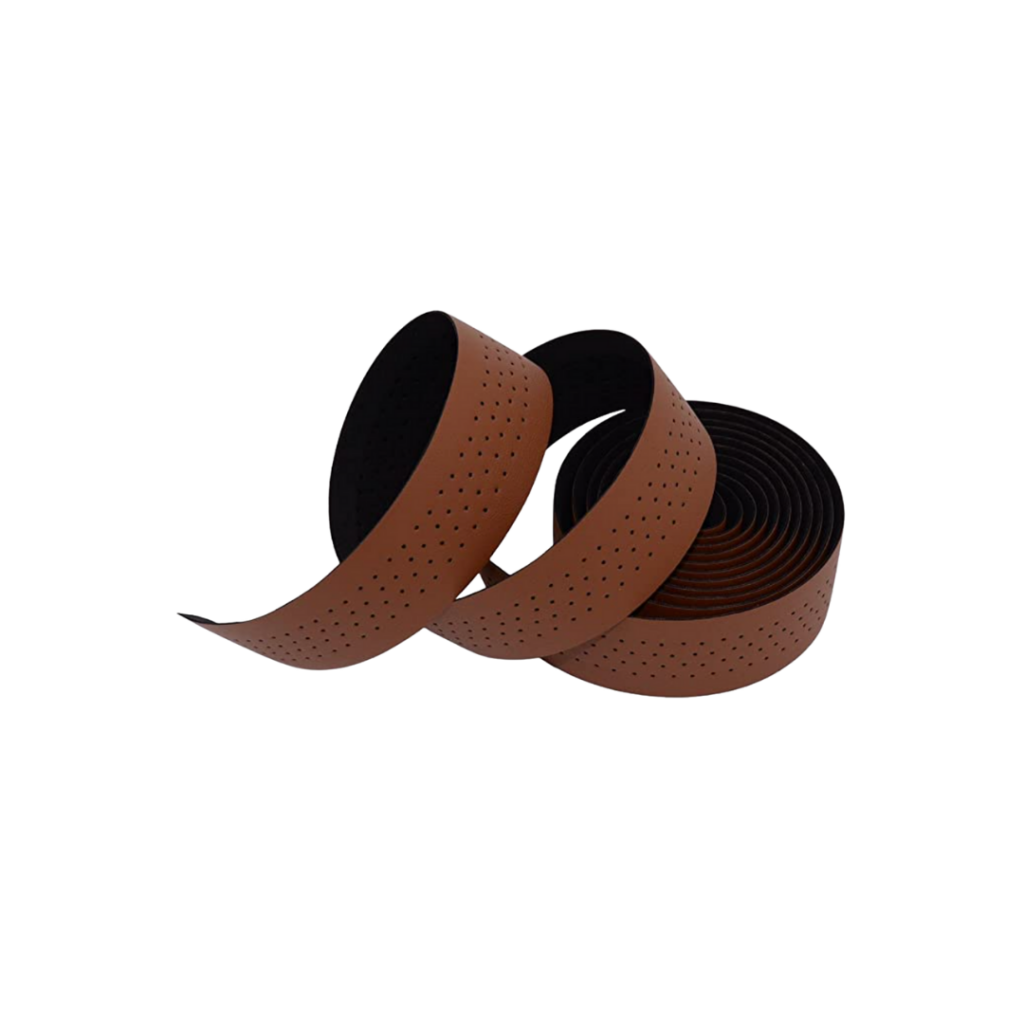
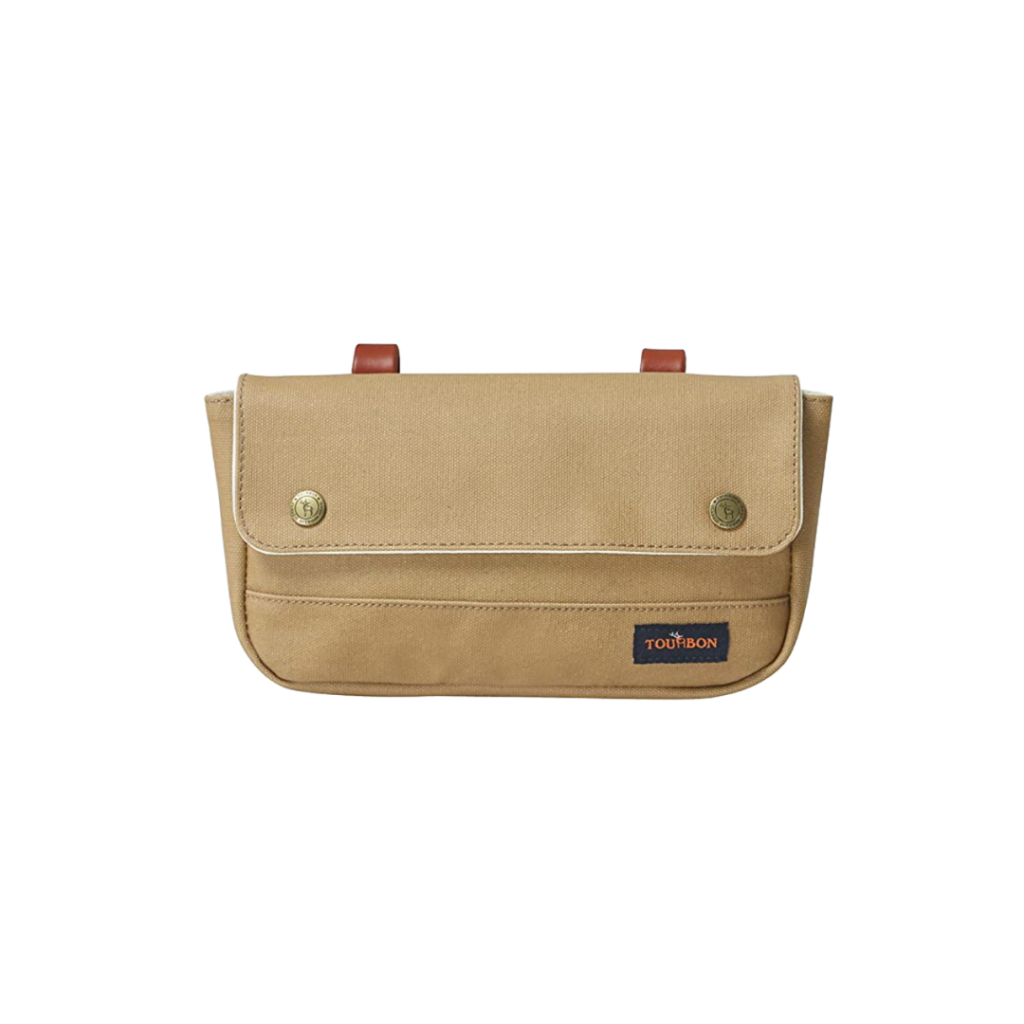
– put on bike accessories (handles, basket, bell, etc.)
– and your bike makeover is done and you’re ready to ride
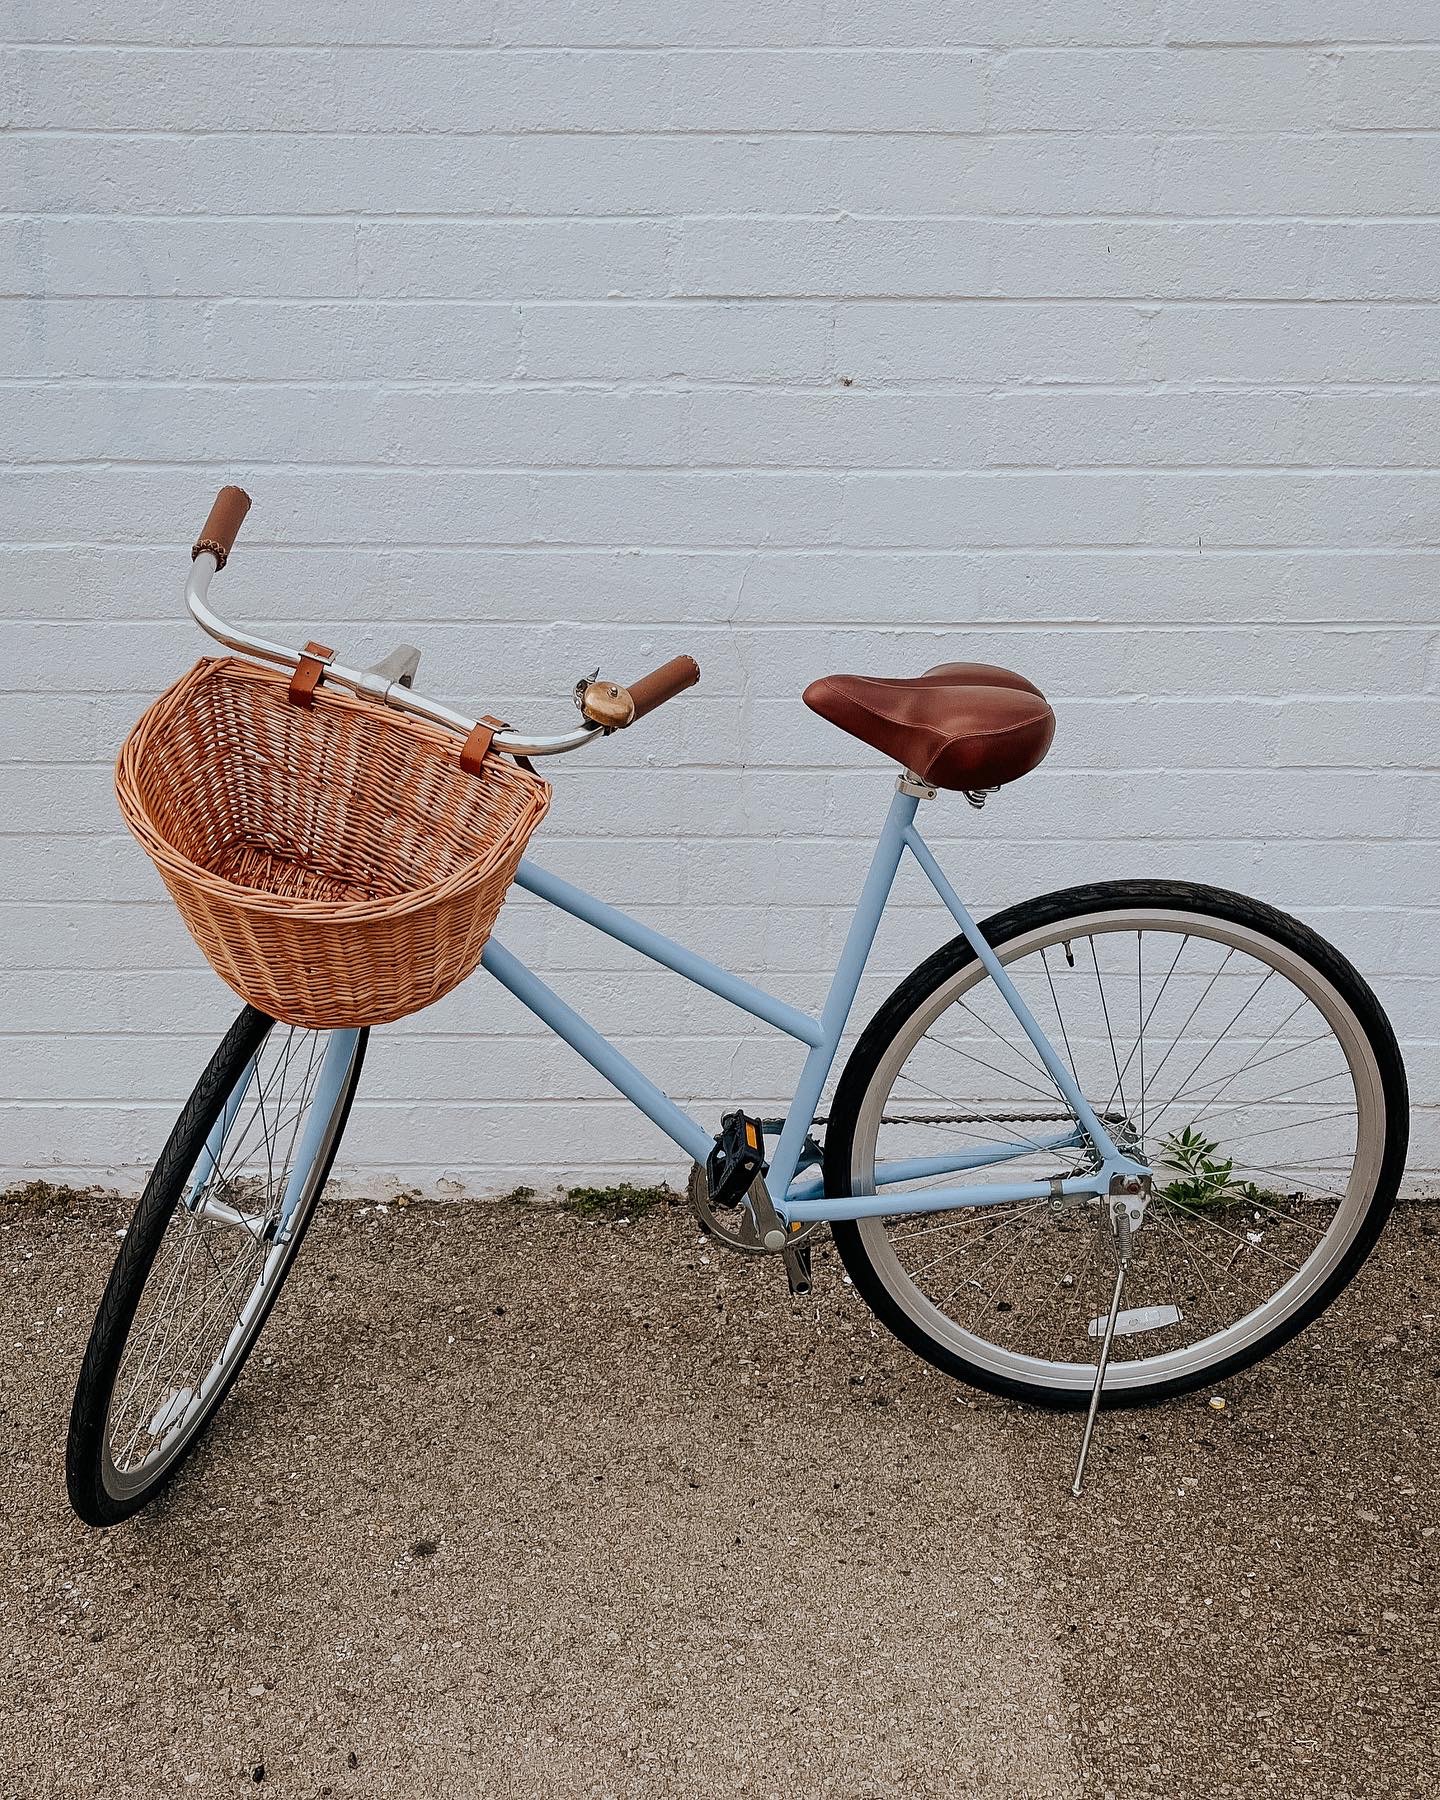

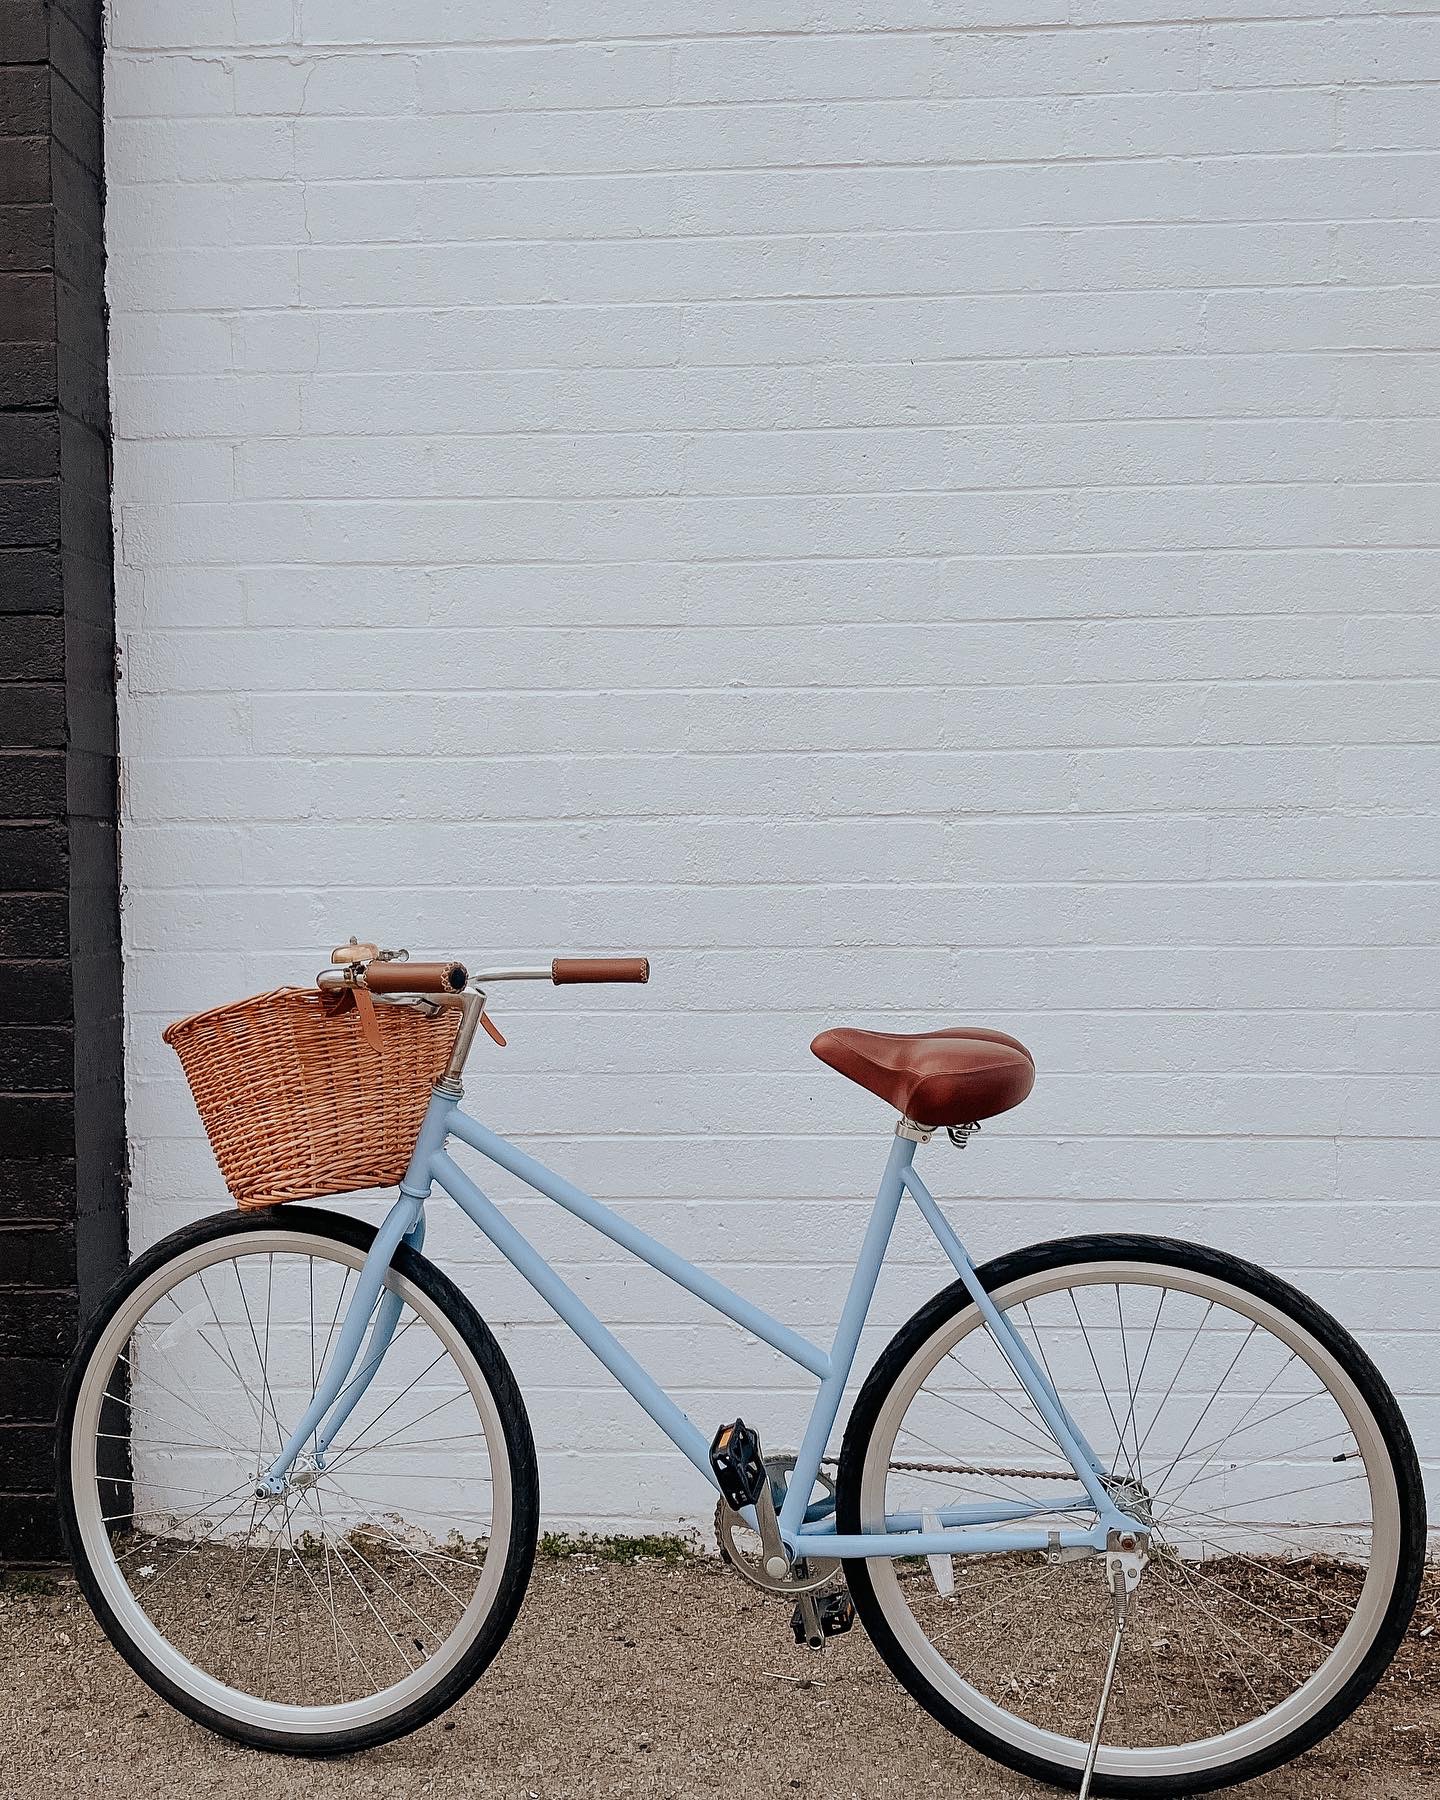
Sarah’s Bike


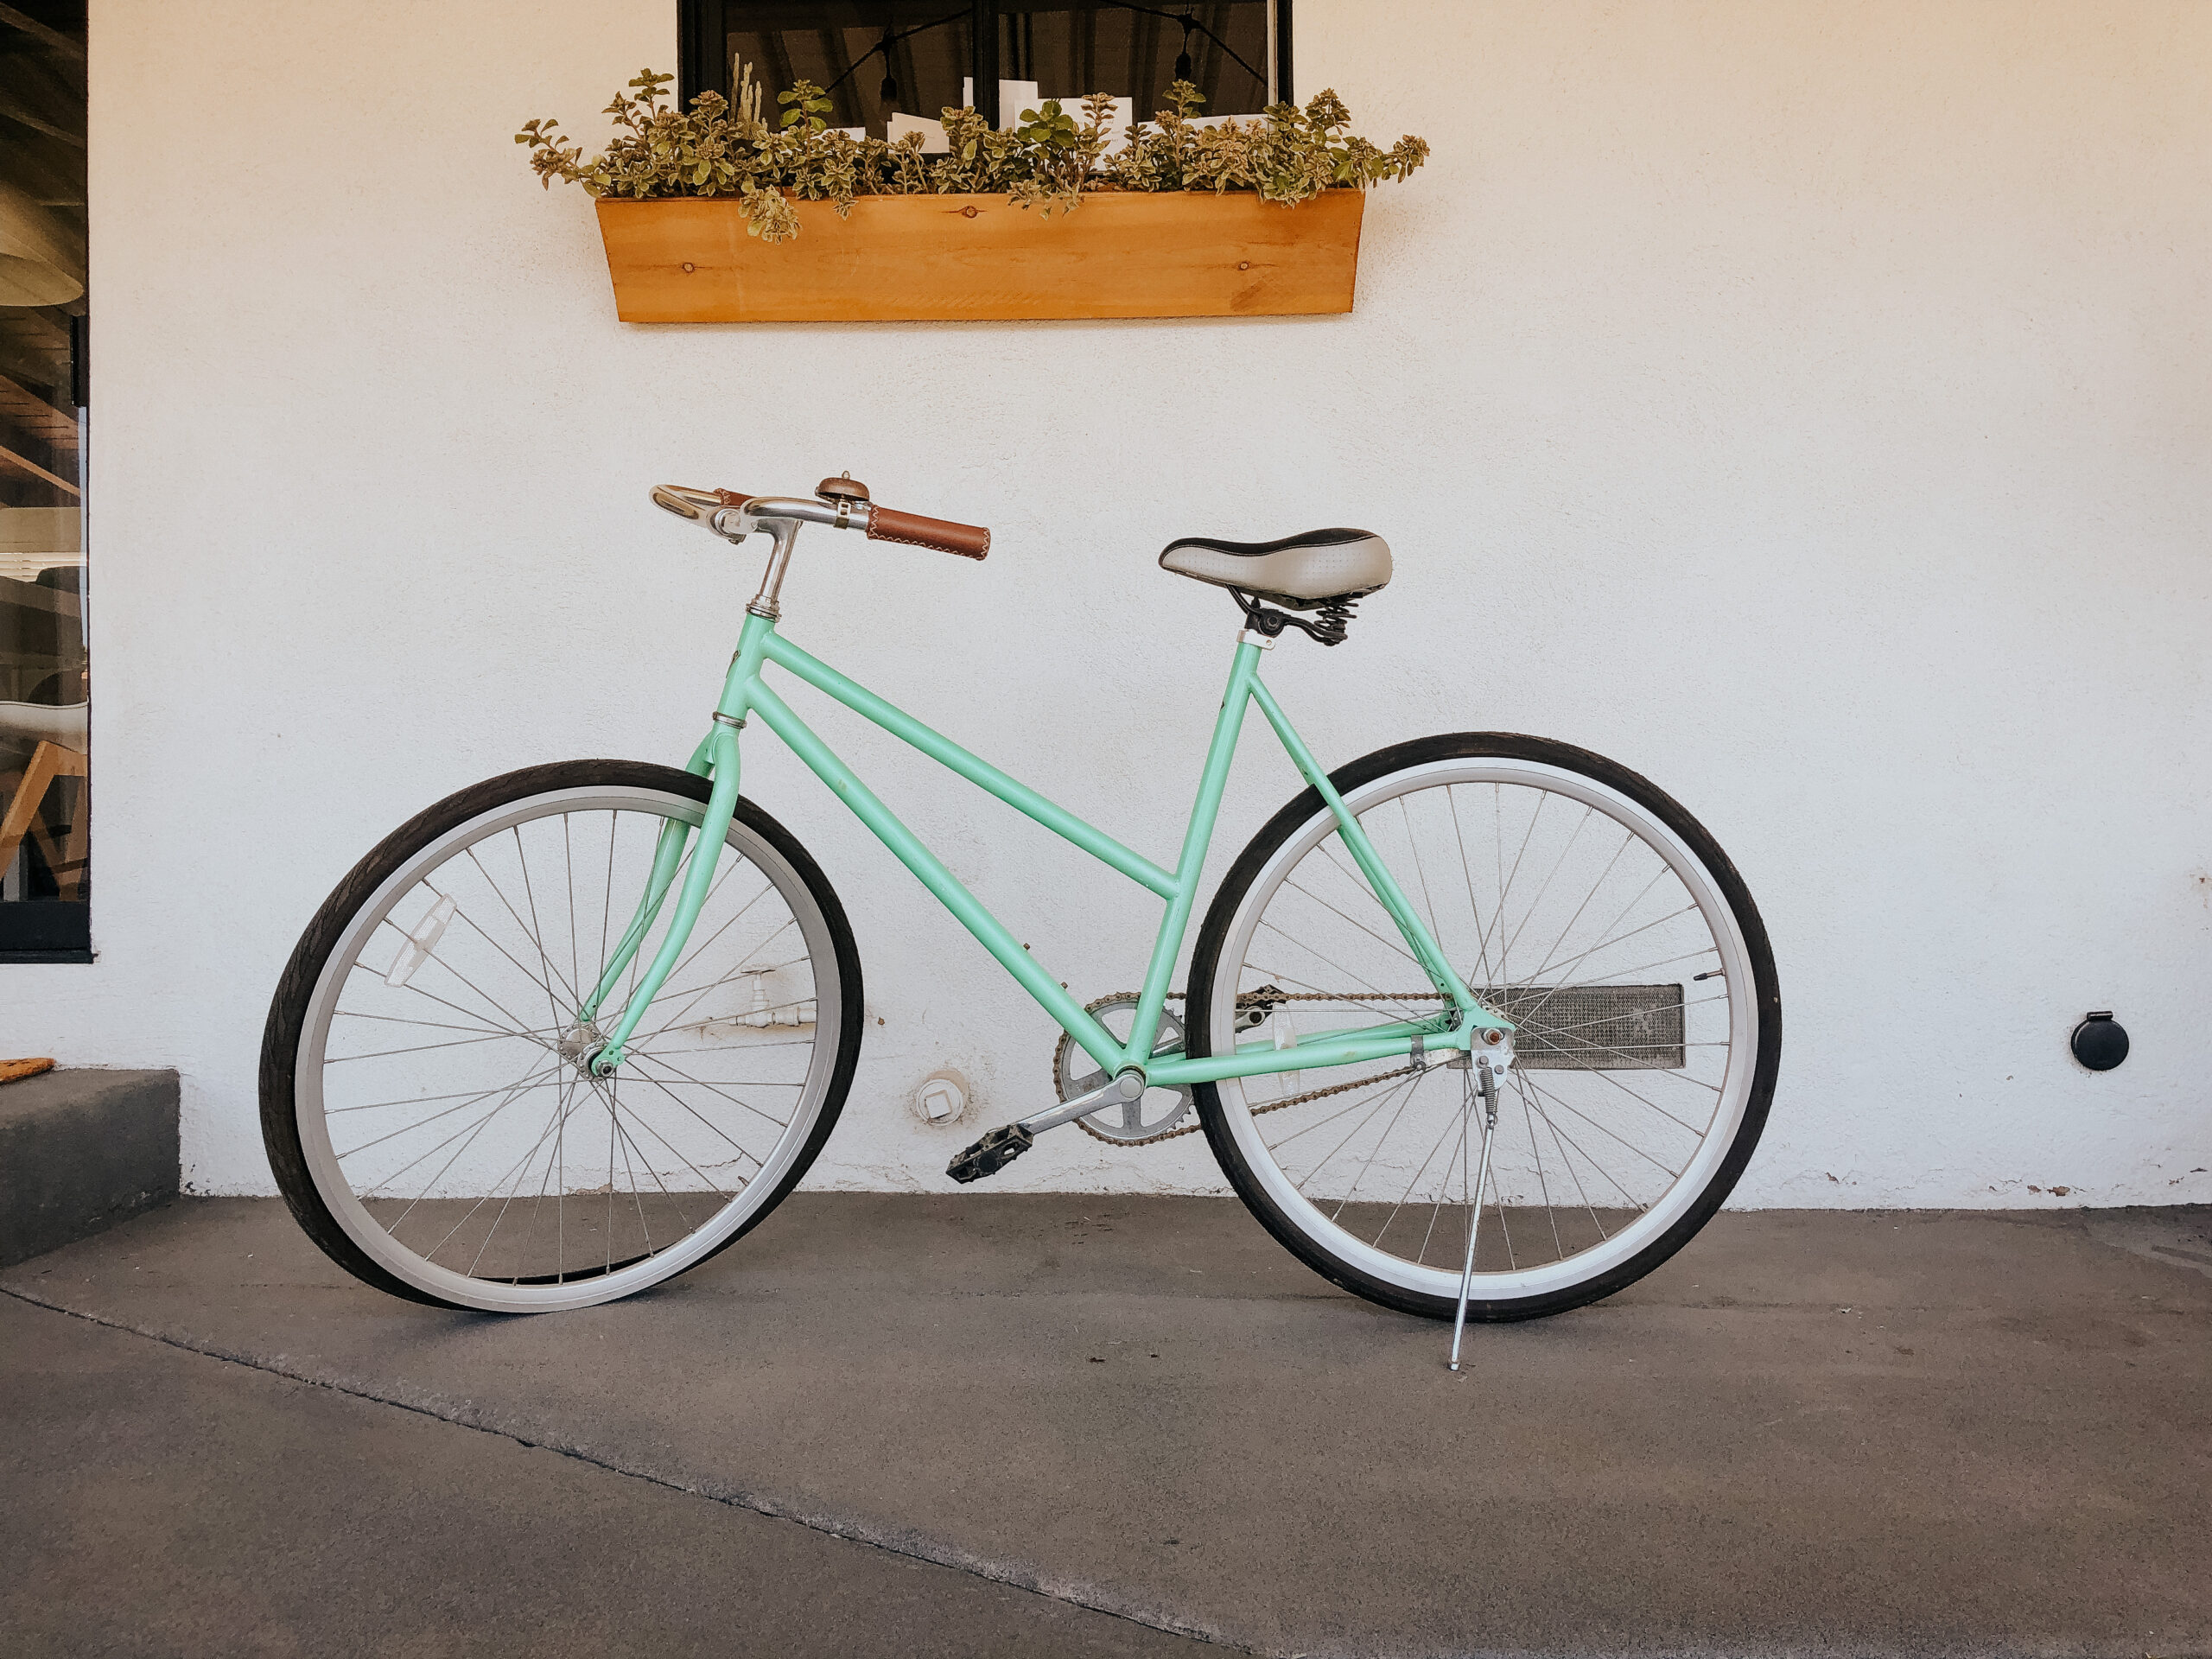
Jake’s Bike


Check out our other DIY projects here!
Comments