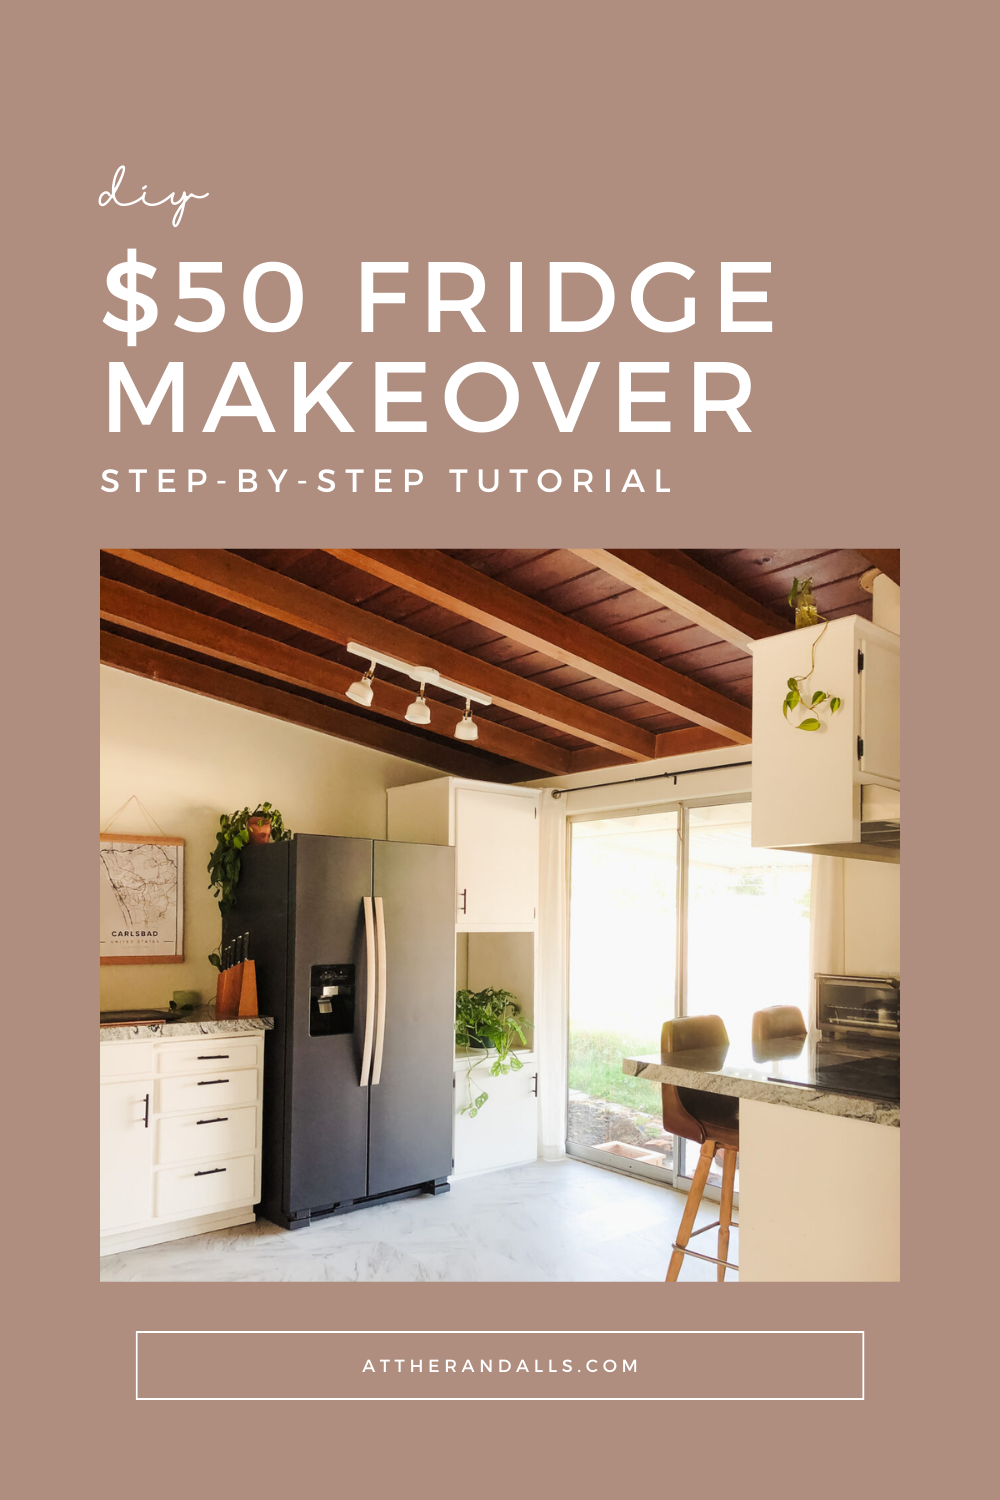
I did a $50 fridge makeover with just paint. (And three years later…I don’t regret it!)
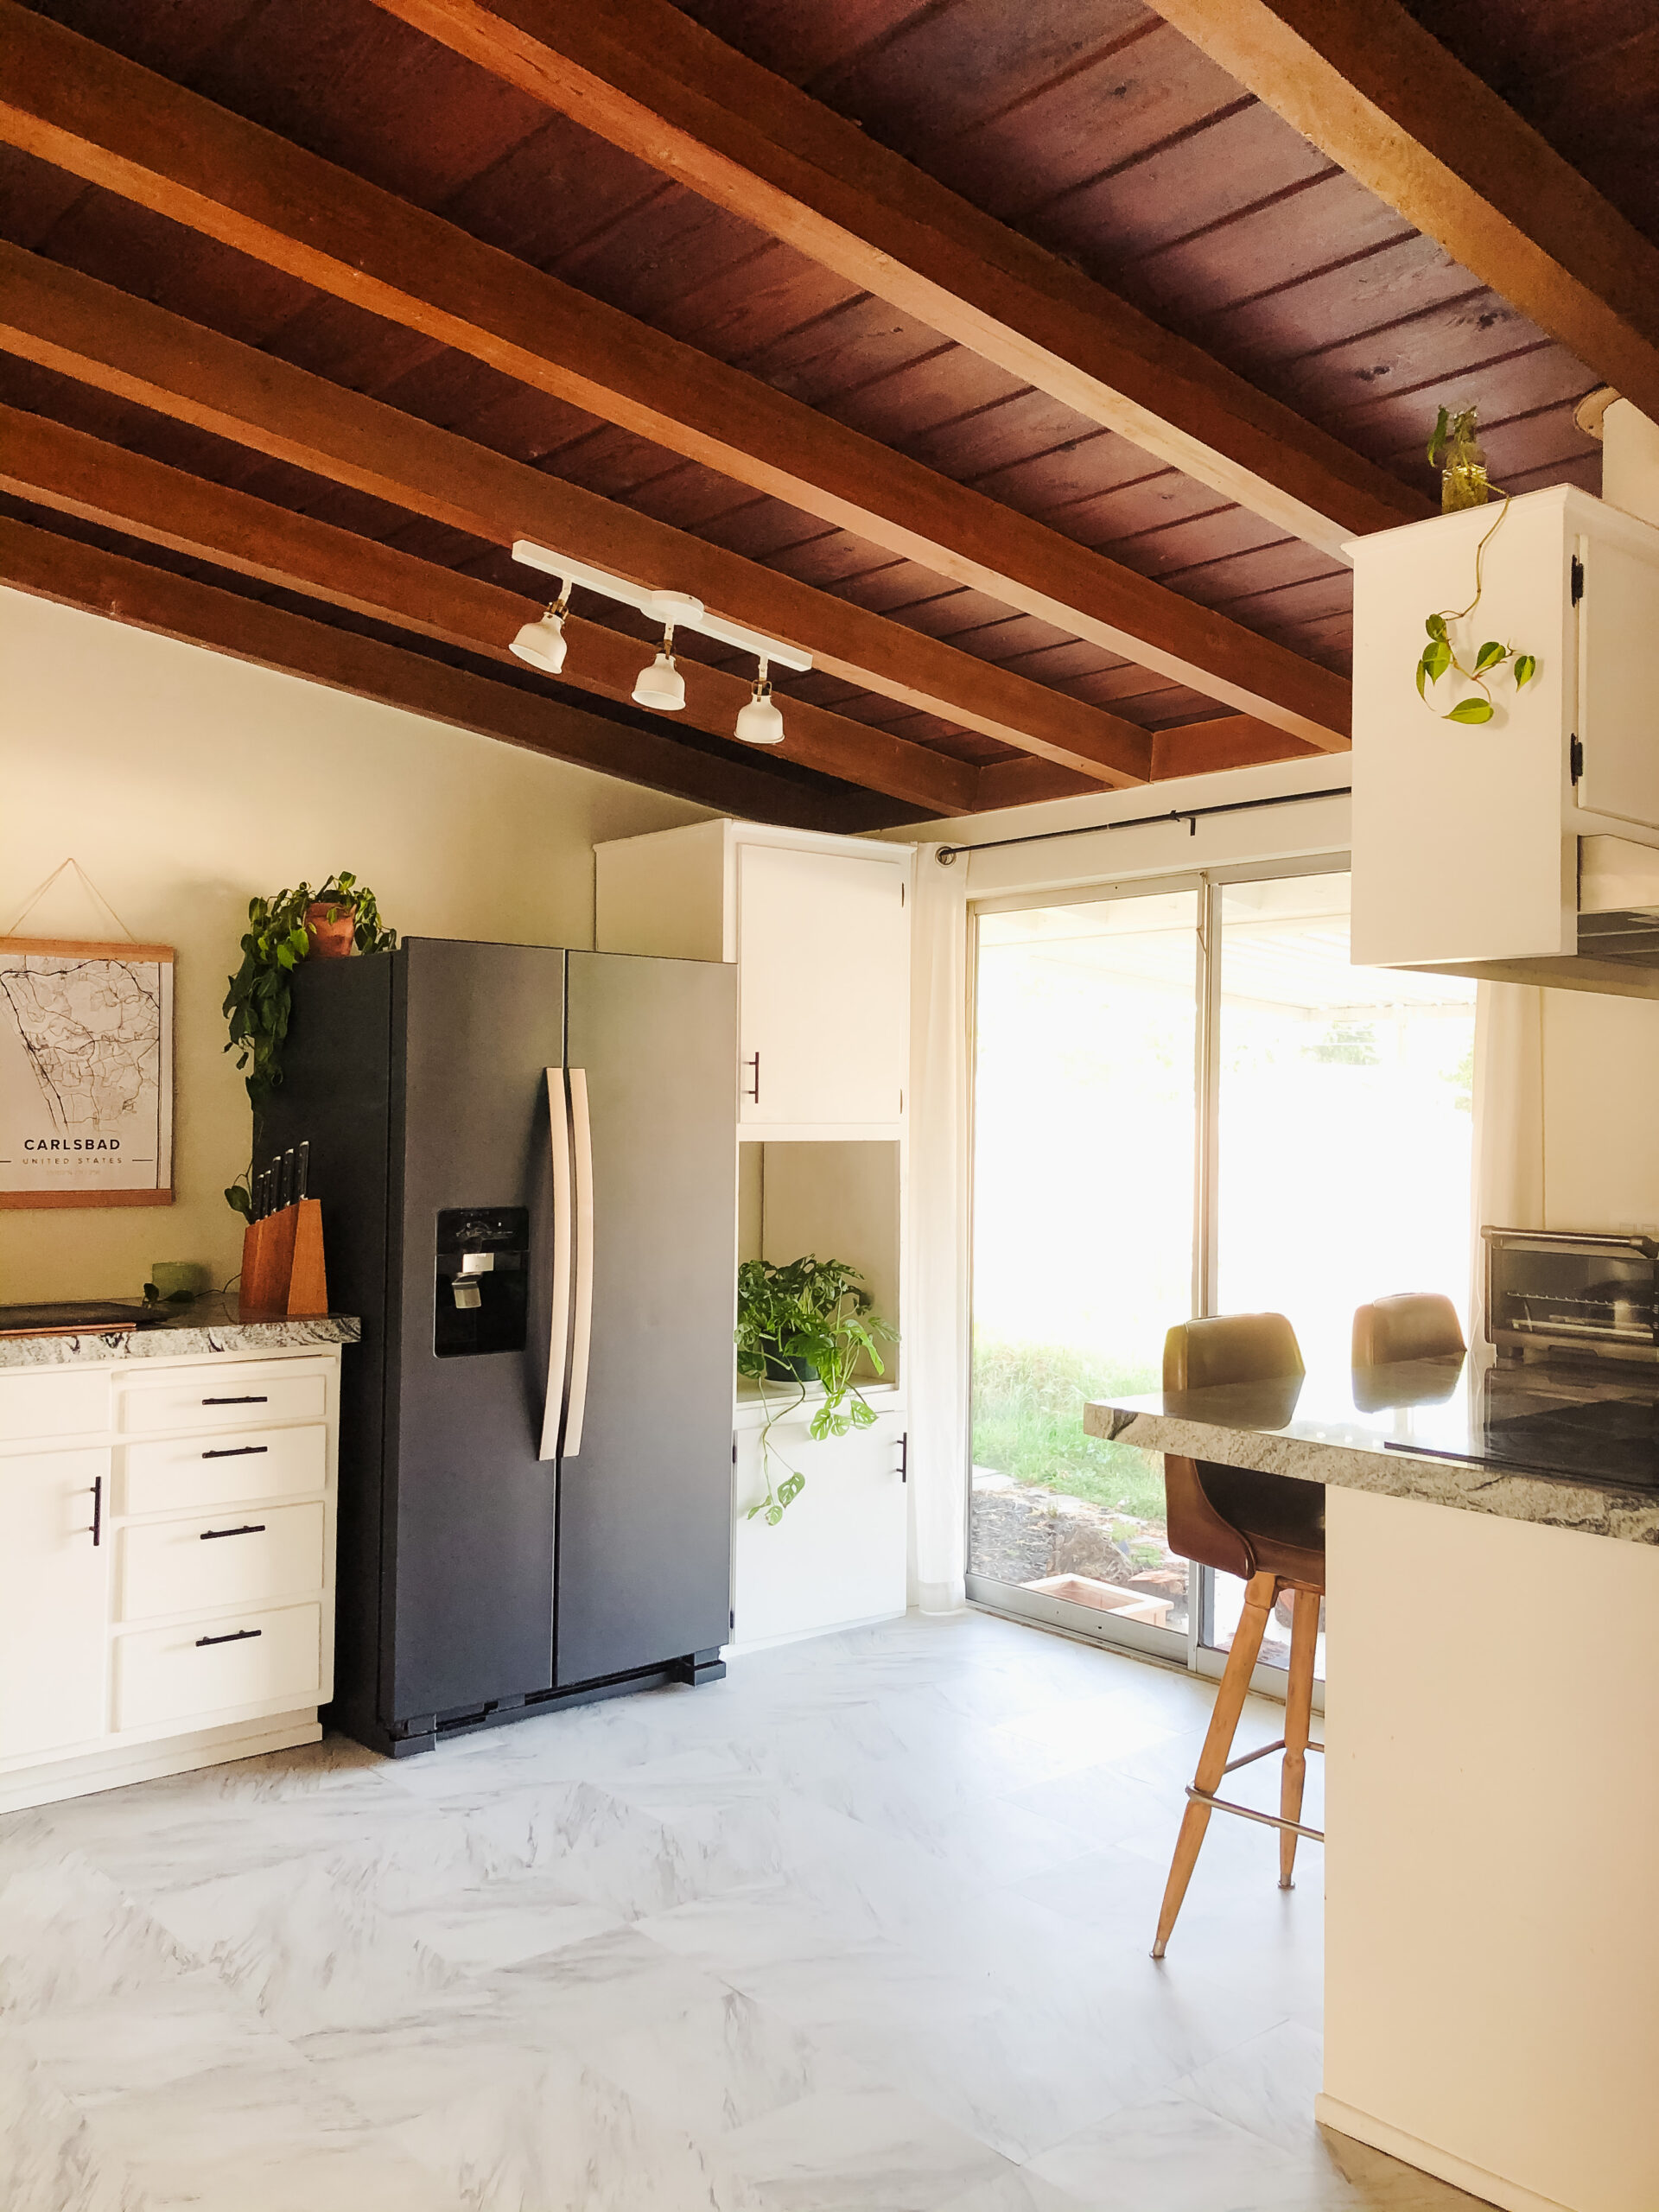
Fridge Makeover Supplies:
1. Rustoleum grey aluminum primer
2. black paint in matte finish (I linked it in “Carbon” because you can have this paint delivered to you. If you go in to the store, ask for “Tricorn Black”) I went with the matte finish because I wanted that subtle, no sheen look.
3. metal primer spray paint
4. champaign mist spray paint
I recommend this specific brush and this roller frame, extra rollers, and tray. You’ll also need sandpaper.
Remove handles with an Allen wrench. Take off the fridge logo (“Whirlpool” or whatever brand- it’s usually just a sticker that looks like it’s metal.)
Scratch up your fridge with sandpaper (just the front, unless the sides of your fridge are also metal.) This is where you feel like you are doing something wrong…but don’t skip this step!
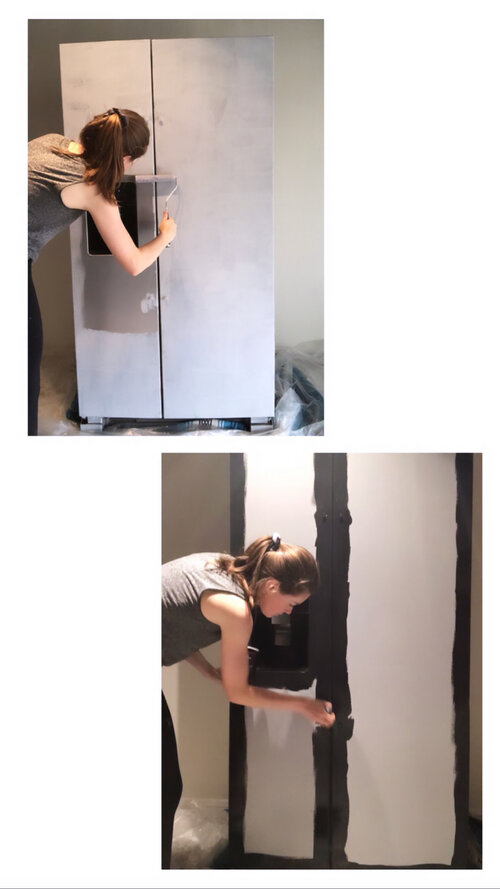
I applied 2 coats of primer and 5 thin coats of black paint (letting them dry for an hour between each coat). I only did two coats of paint on the sides because they are not “high traffic” areas.
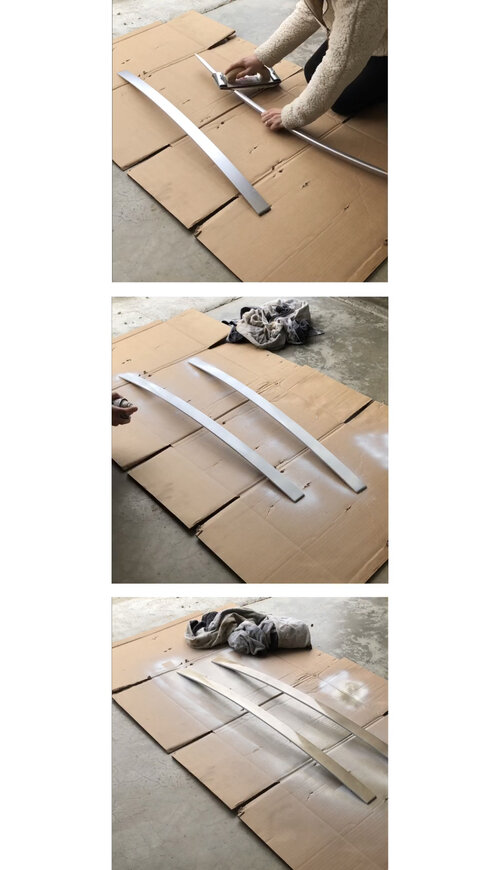
For the handles, I did the same process: sand, 2 coats of primer, multiple layers of paint.
That’s it! If you try it, tag @sarahellenrandall on Instagram so I can see!
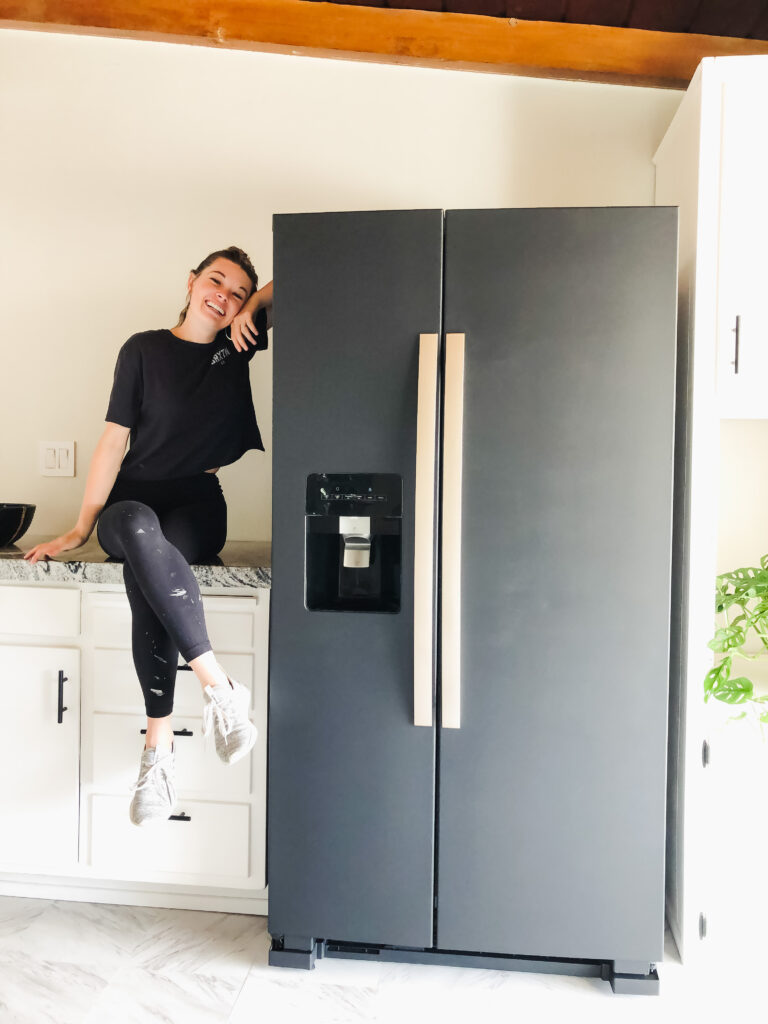
UPDATE: We are remodeling our kitchen, so the fridge is now in a new home. It held up great over the years! No major scuffing or scratching (keep in mind, we have no kids or dogs). I would clean it with a wet microfiber cloth, and I think I did paint touch ups one time in the 3 year timeframe. When it was time to get rid of it, I listed it on OfferUp for free, because I wasn’t sure who would want a painted fridge. Someone came within two hours to take it.
Comments