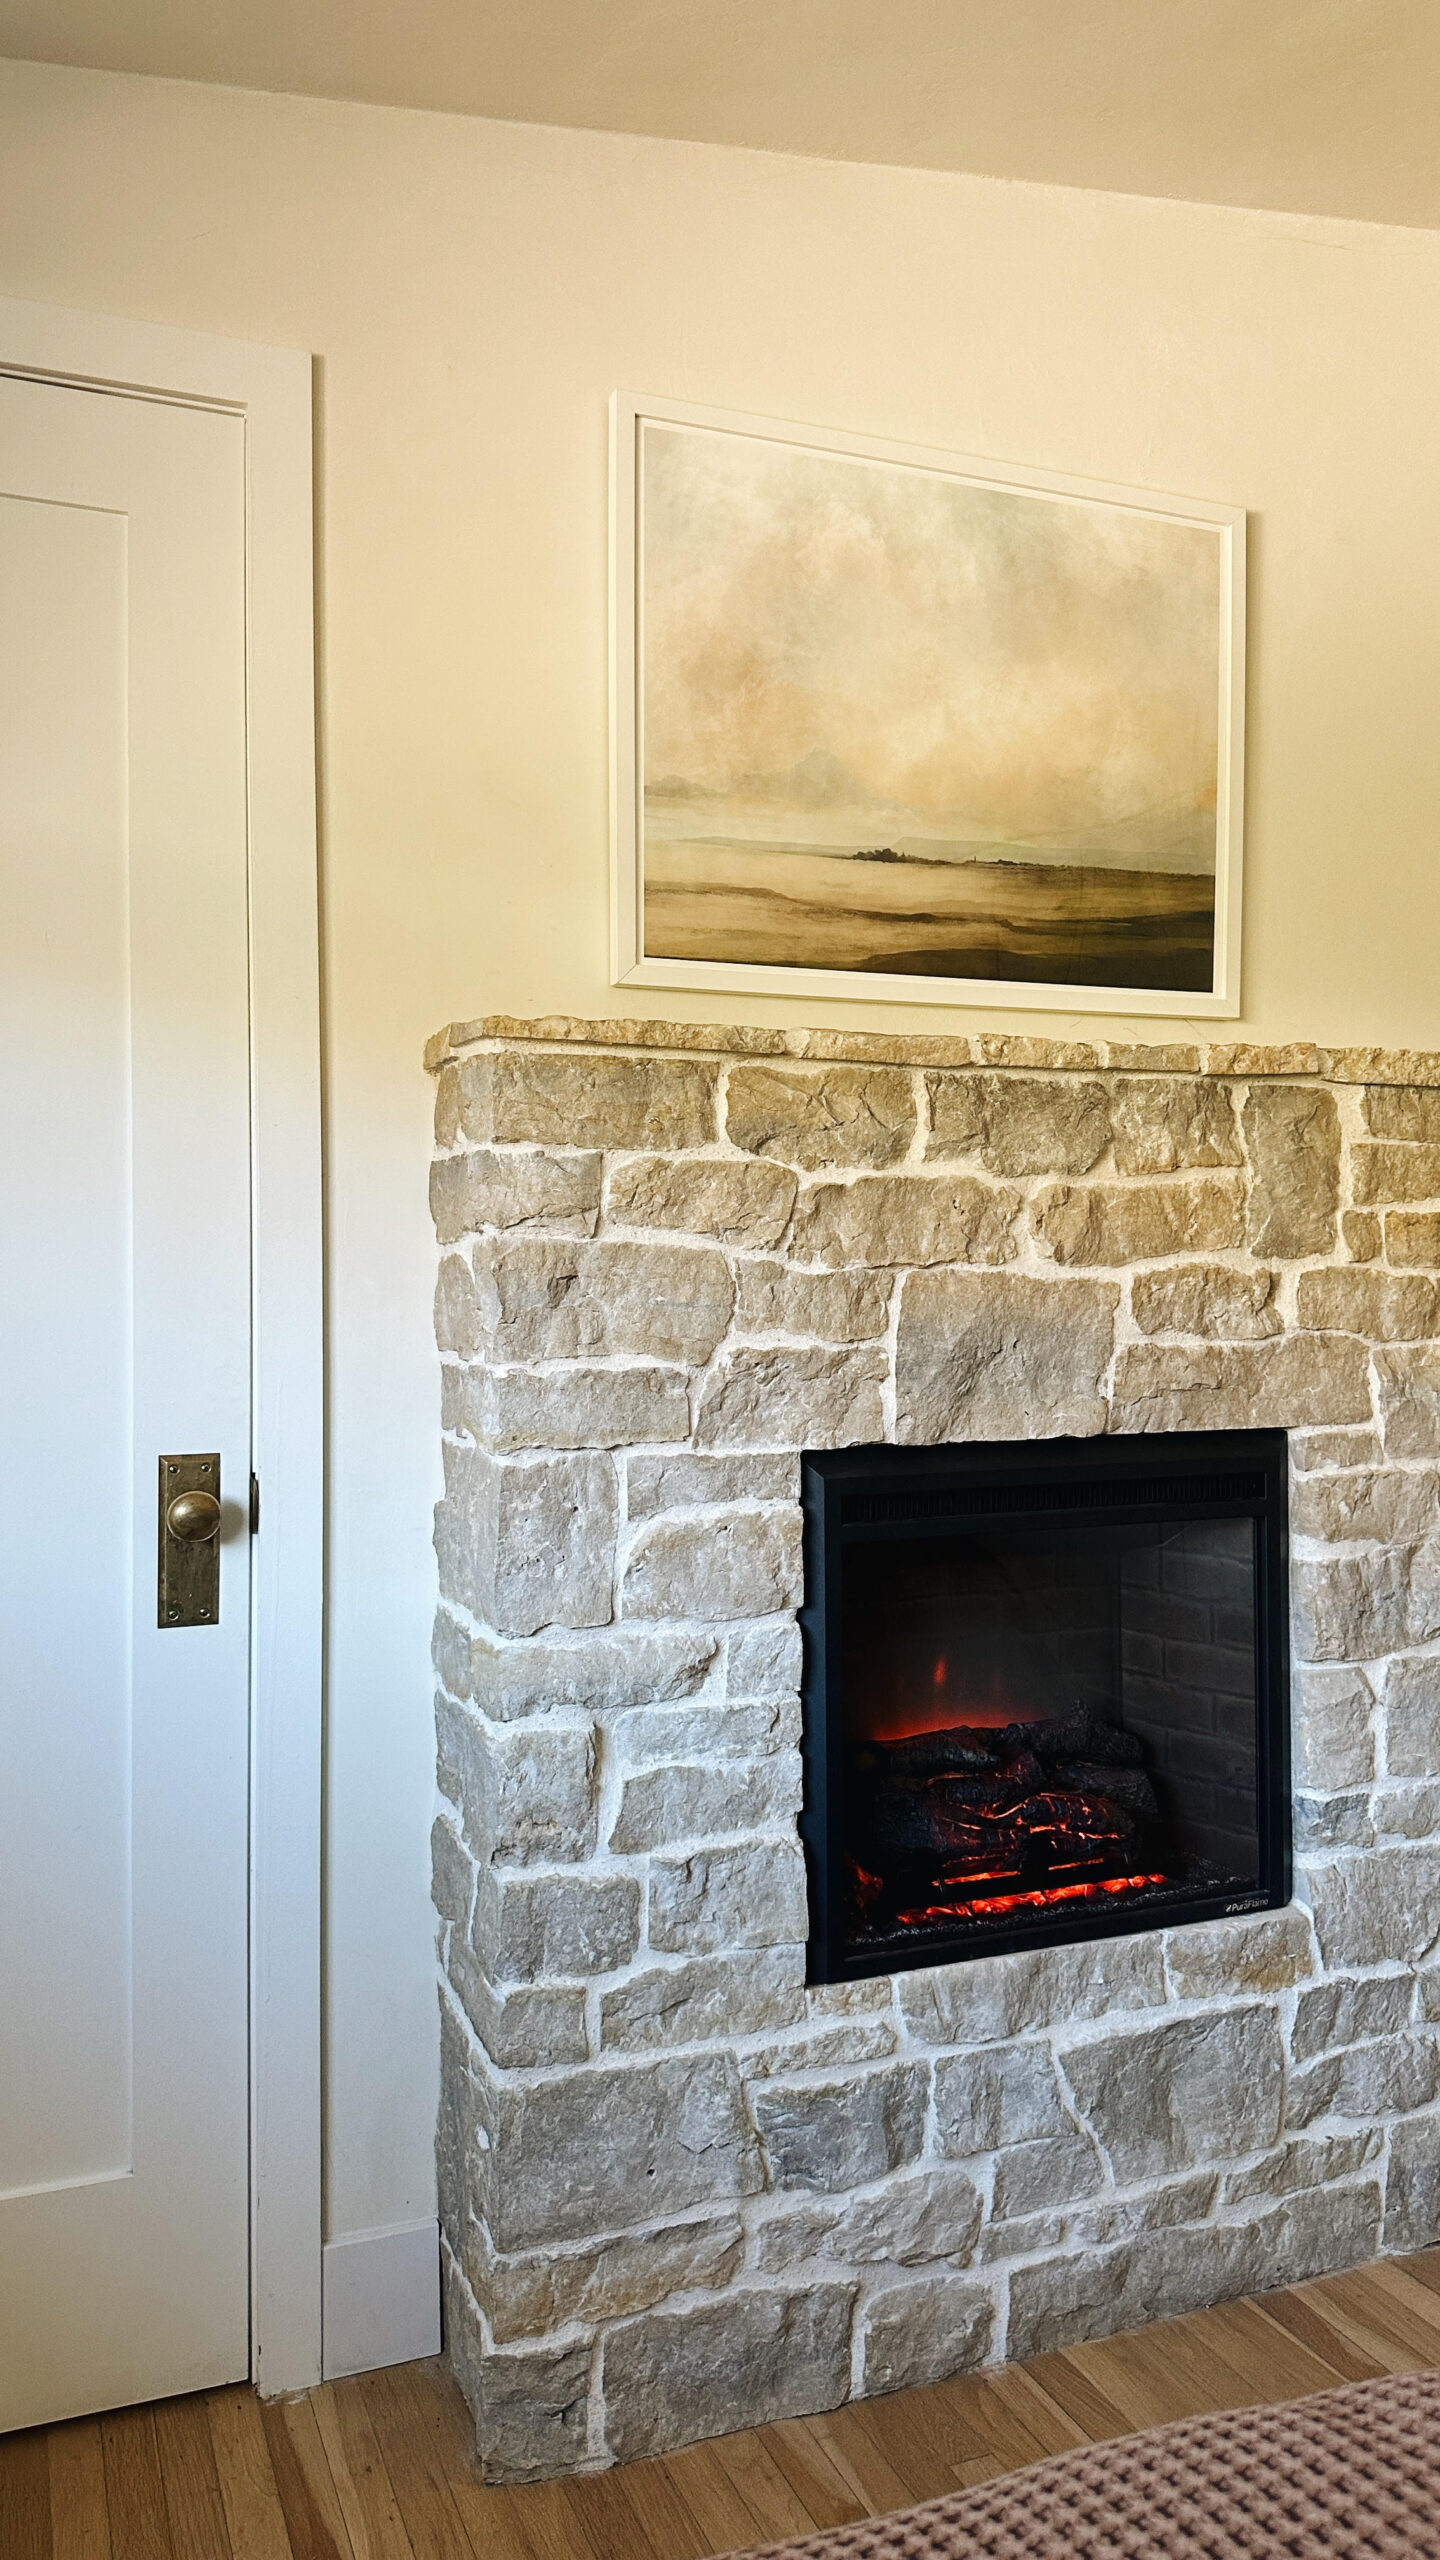
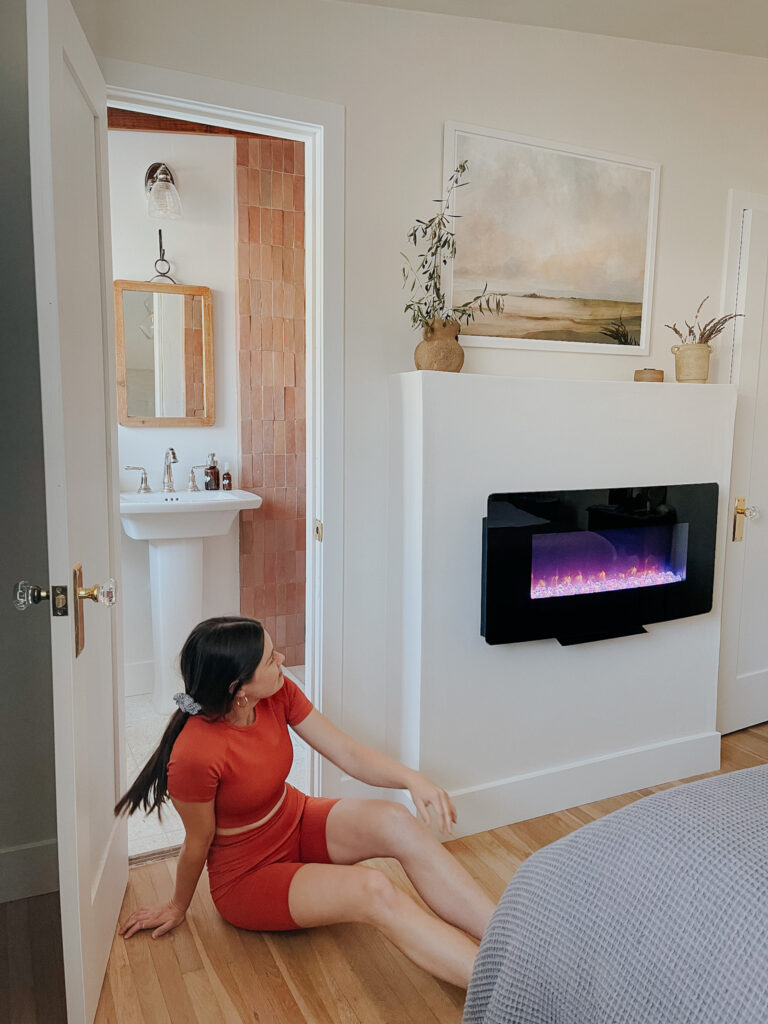
Remember the electric fireplace Jake and I built in our bedroom a few years ago? If not, you can see that here in this blog post. We put the old fireplace together in 2021, but never completely loved it. We were expecting an electric insert that was inset, and this one bumped out from the wall. It wasn’t a great use of space and we thought we could design something better. As we’ve been working on our bedroom makeover, Jake & I both felt like our DIY skills have immensely improved since then. So, we updated it! There are so many other projects we want to do around the house, we almost moved past this to start working on different things…and I’m so glad we took the time to make it better. Here is the new an improved version:
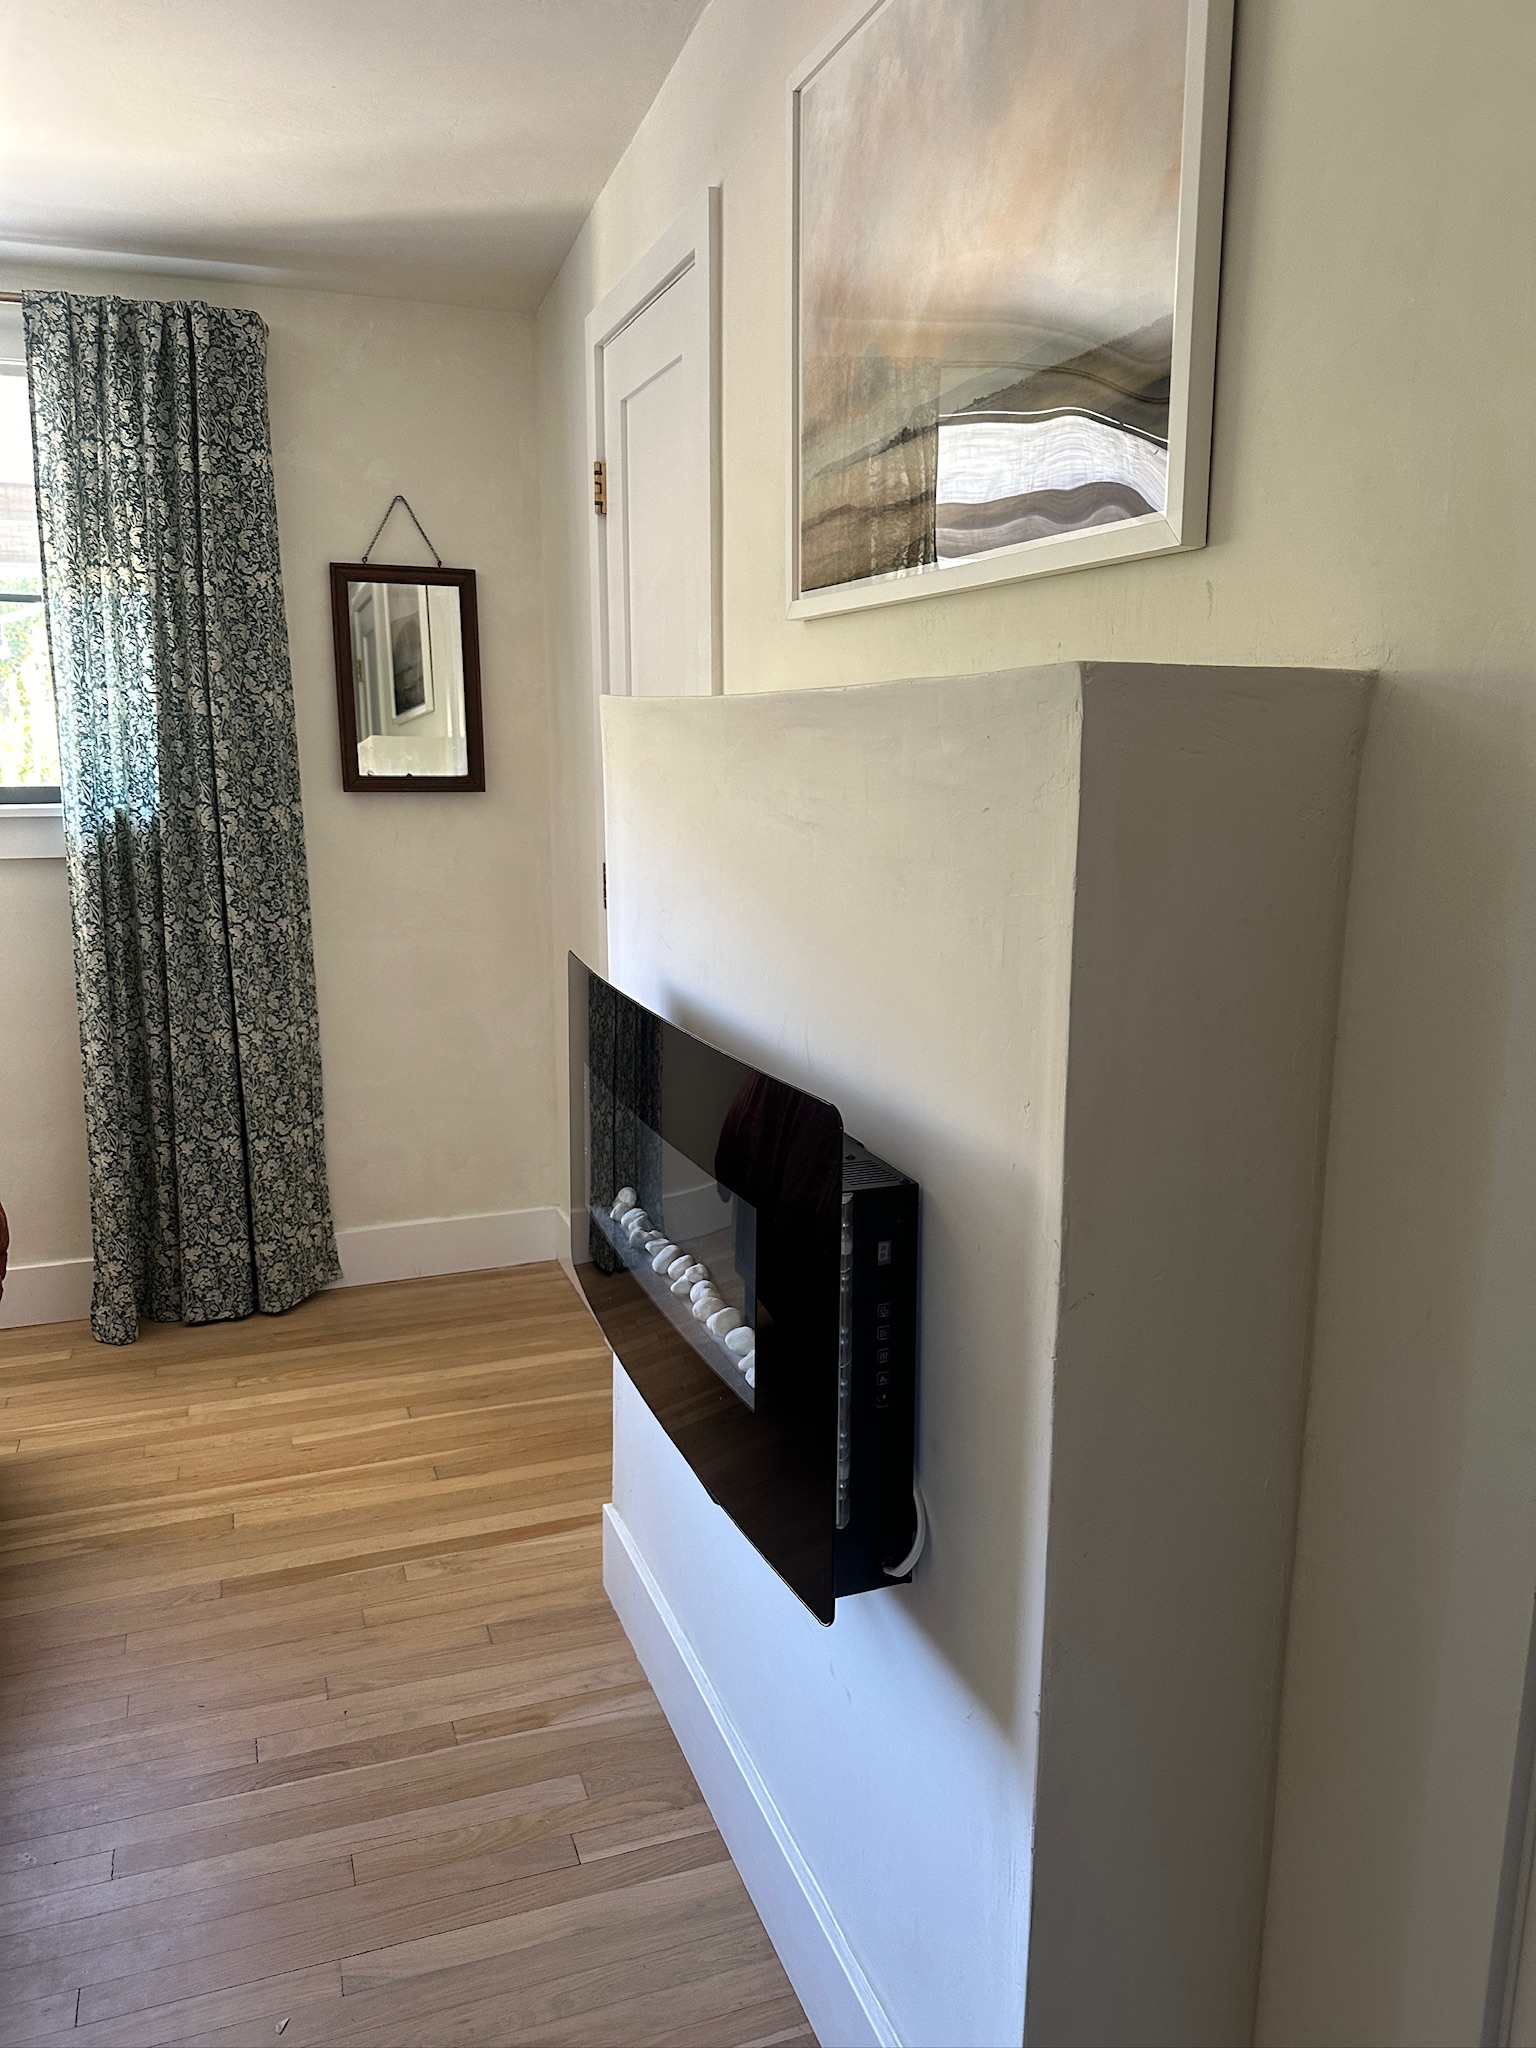
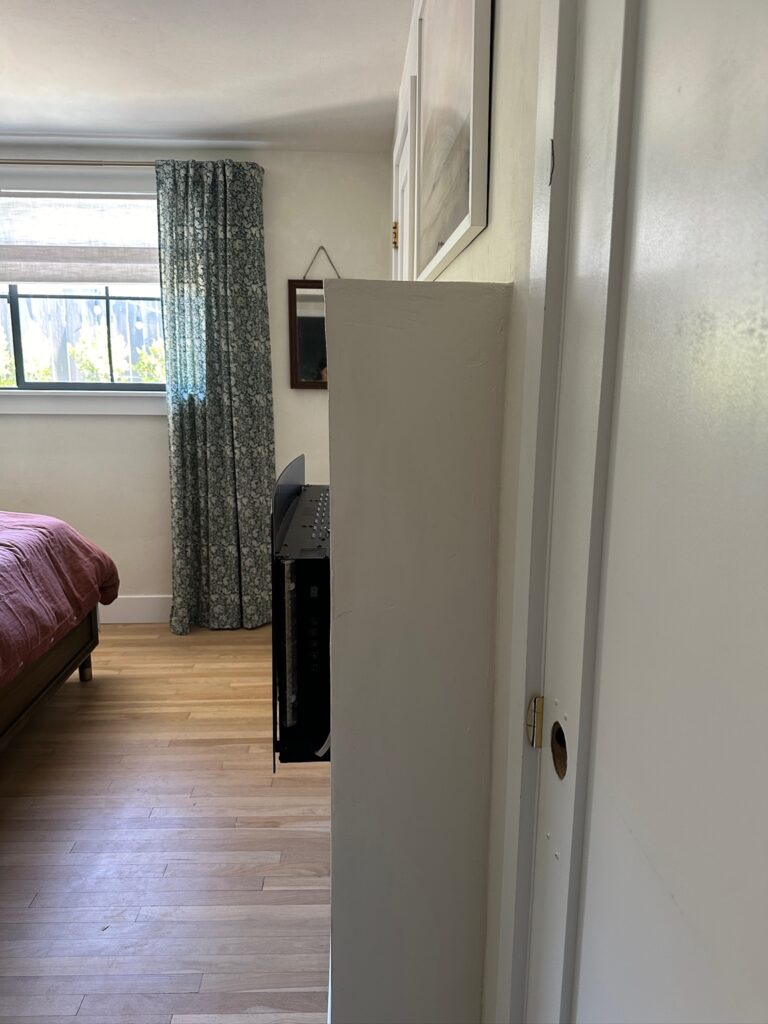
Here’s what it looked like before. It was a bit uneven. We actually thought this was going to be an inset fireplace when we ordered it….it’s not. We want a fireplace in here that is fully inset and we want to do a bit more of an intricate design. So, here we go!
As you can see, it stuck out pretty far from the wall. This is already a fairly small primary bedroom so it just took up more space than we wanted.
Demo & Framing
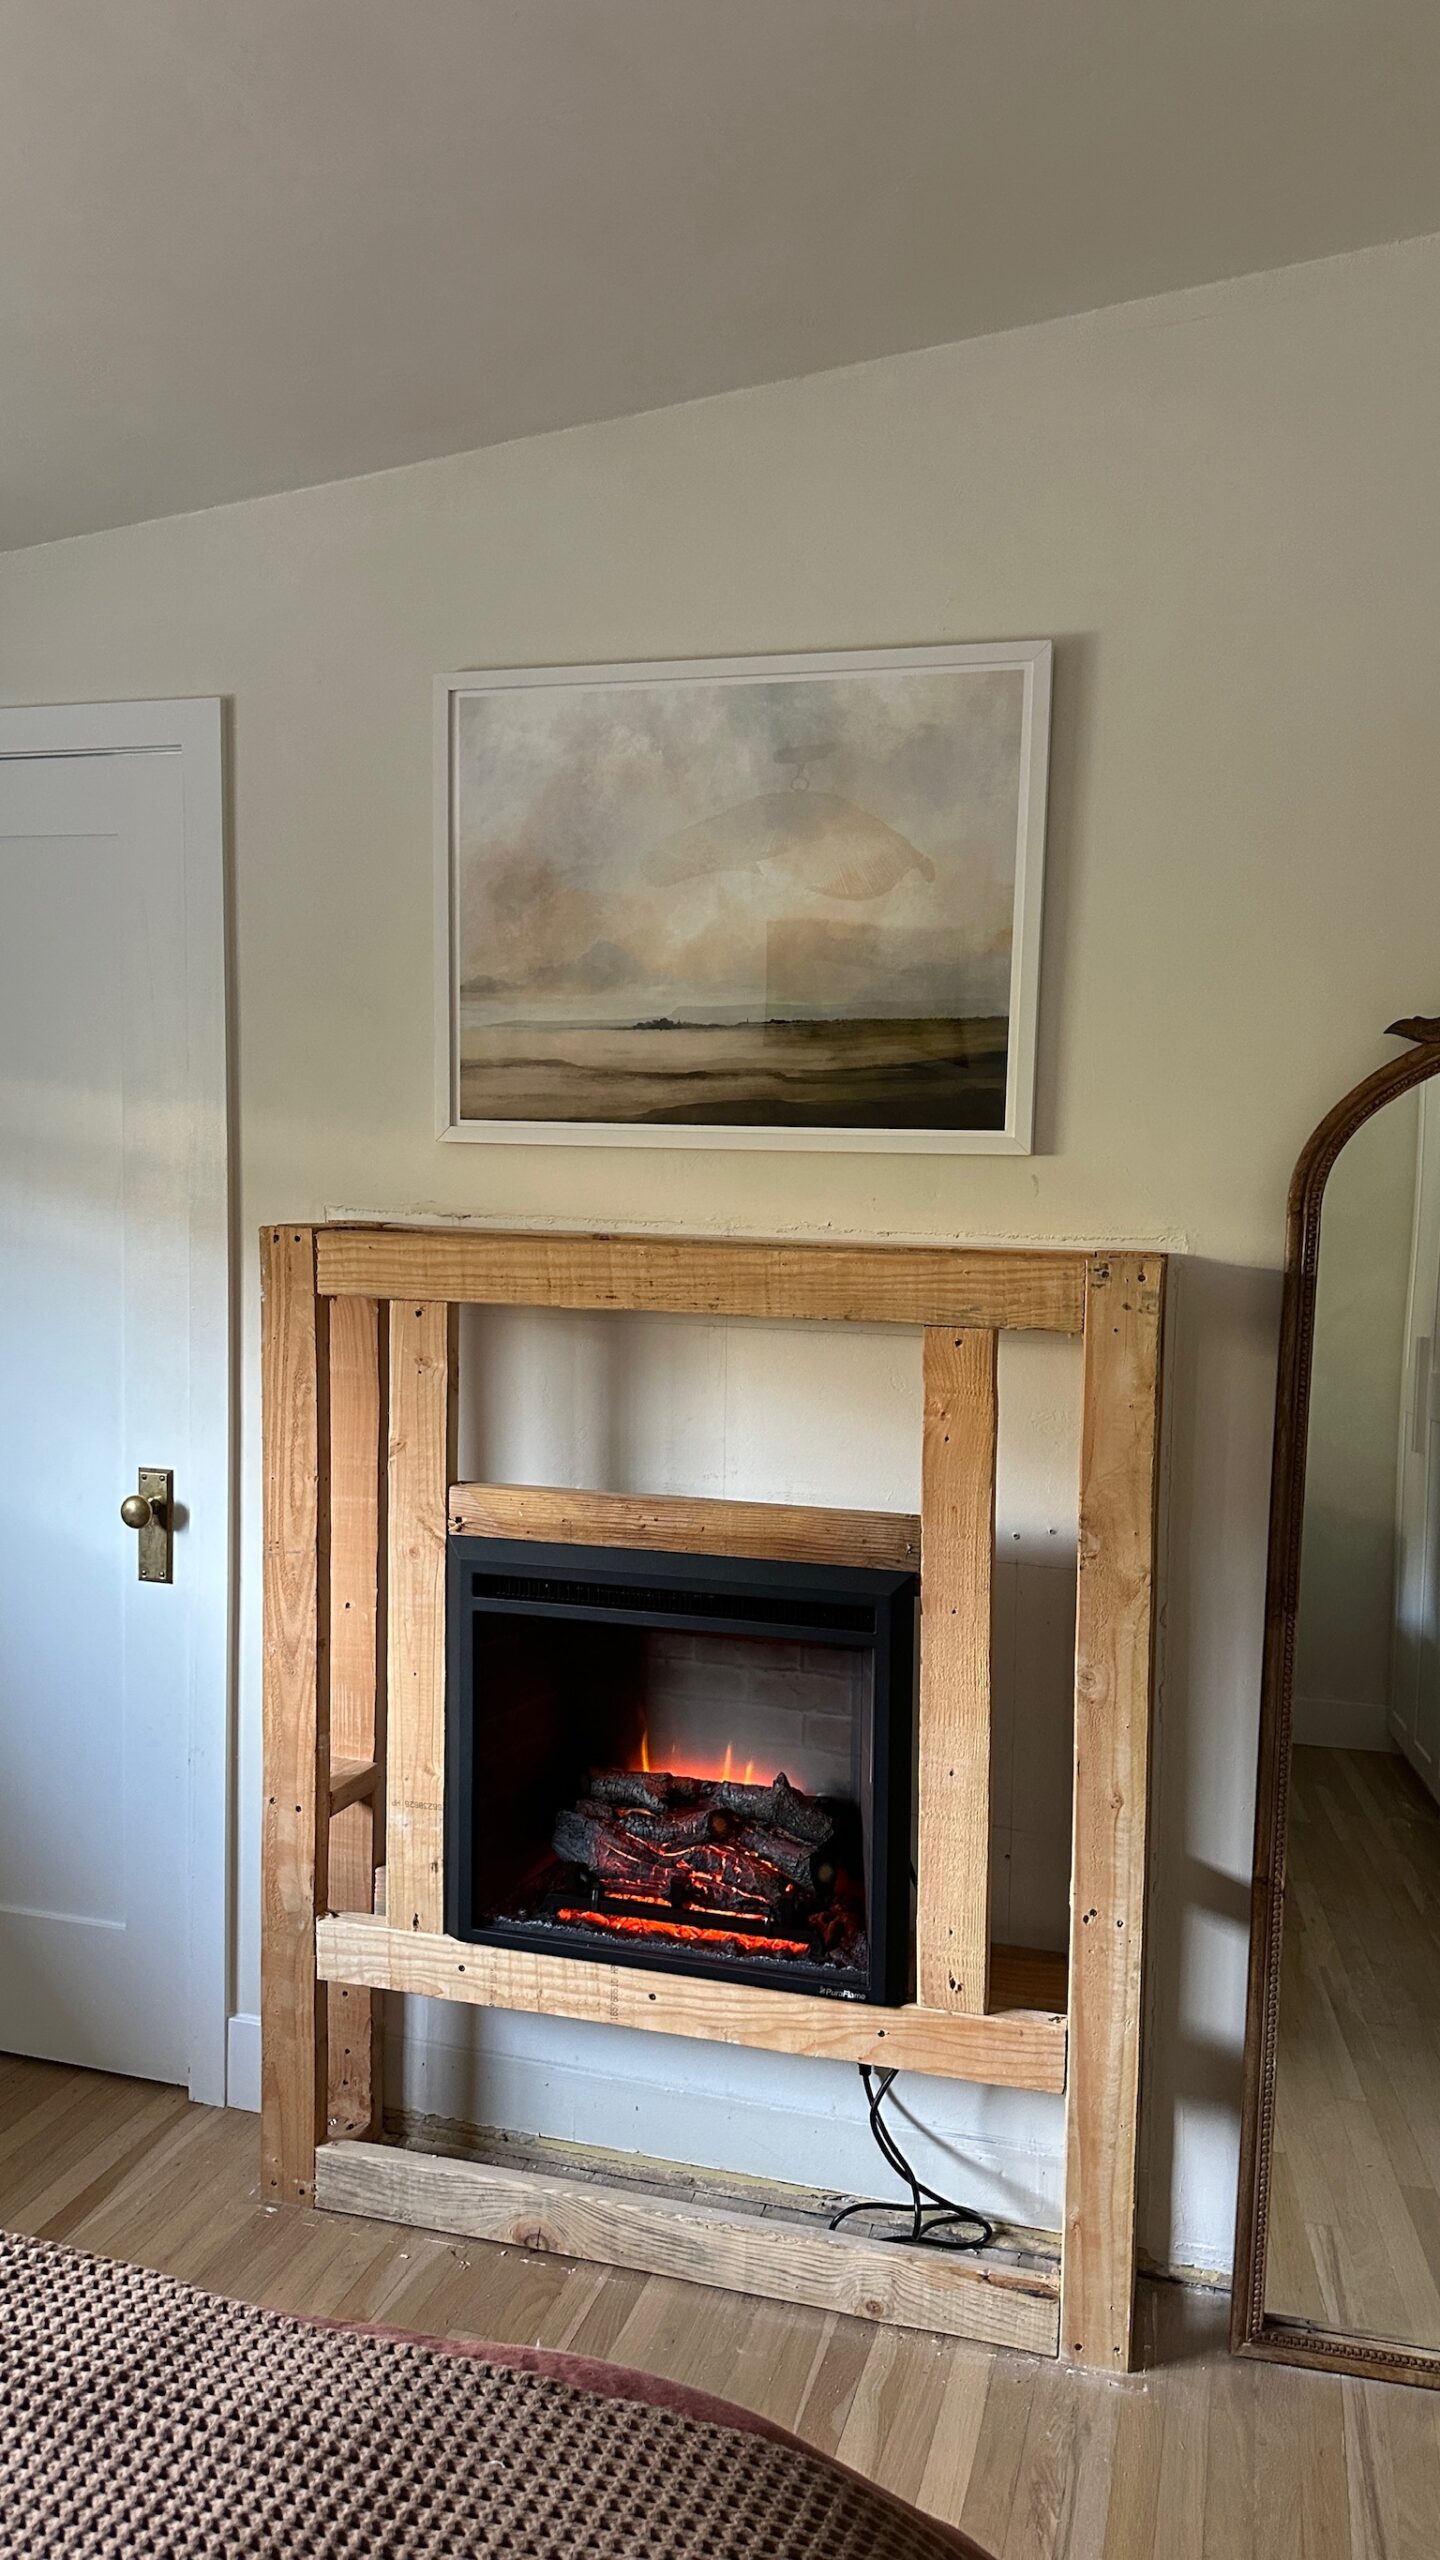
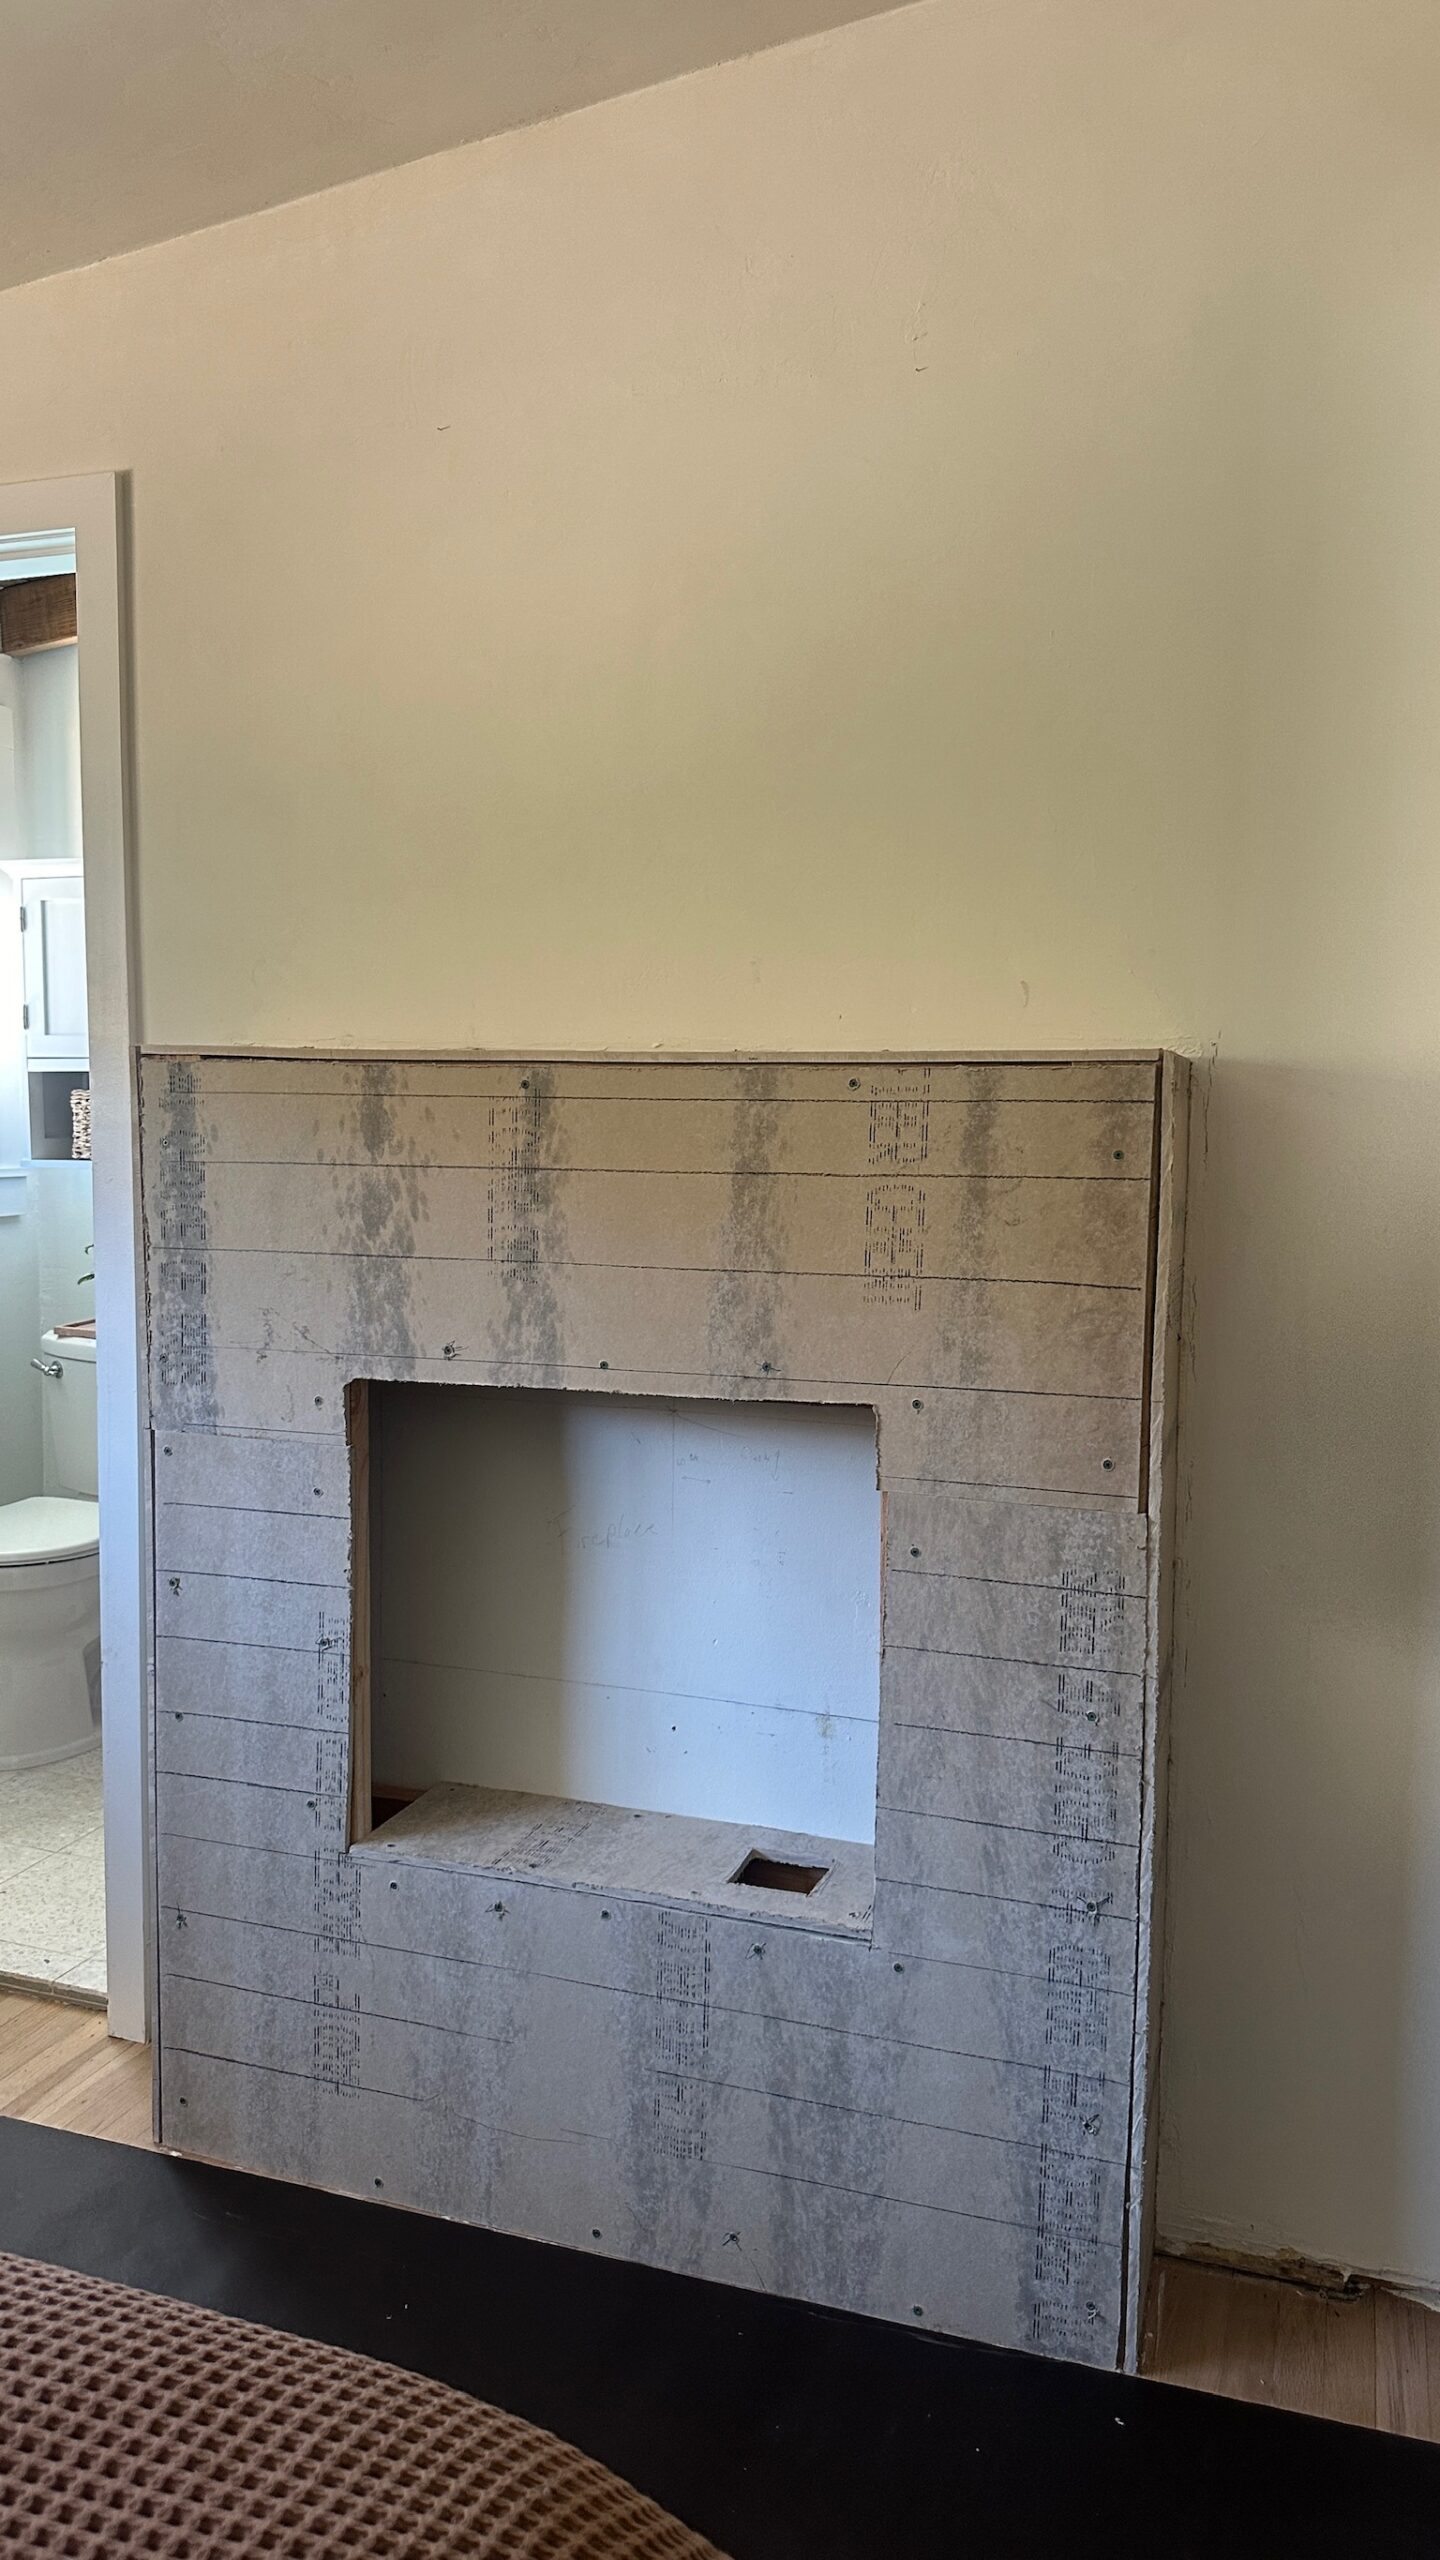
I cut into the drywall here and removed the fireplace. Then, I took a mallet to all the drywall and ripped it out all the way down to the base of 2×4’s we made. It wasn’t too difficult! Then we built a new frame out of 2×4’s!
Inspiration
I was leaning toward stone for this fireplace. So, I went to a building supply store to see what my options were! I was inspired by my friend Hannah Westby’s blog. Se used limestone on her fire place and in her kitchen and I absolutely love it.
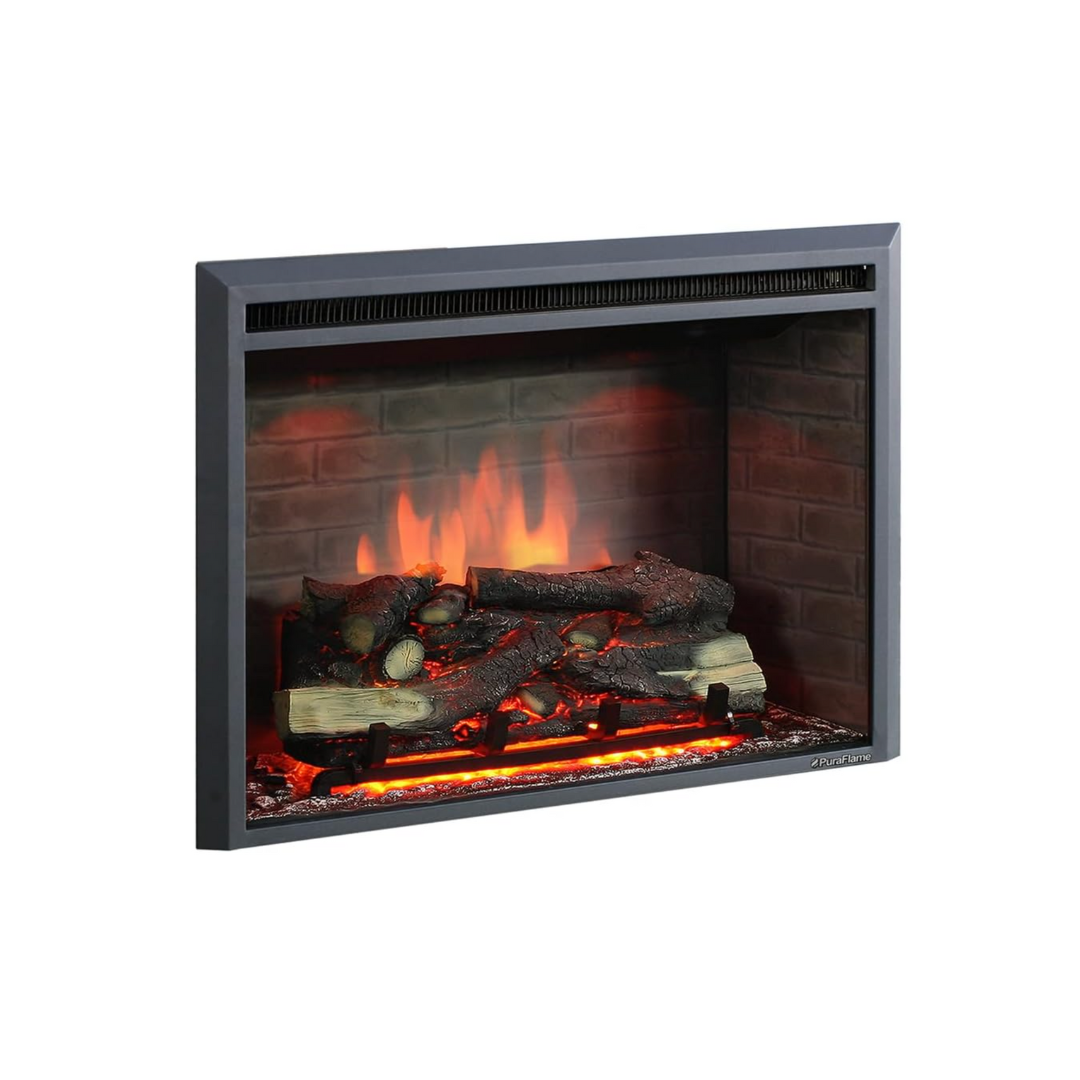
Then, we got a totally new insert for the actual fireplace and I love it! I found it on Amazon and I already like it more because :
a) It looks way more legit than the last one
b) it sits flush in the frame
Look at this limestone! I couldn’t wait to see it in our space. (also look how legit these corner pieces are)
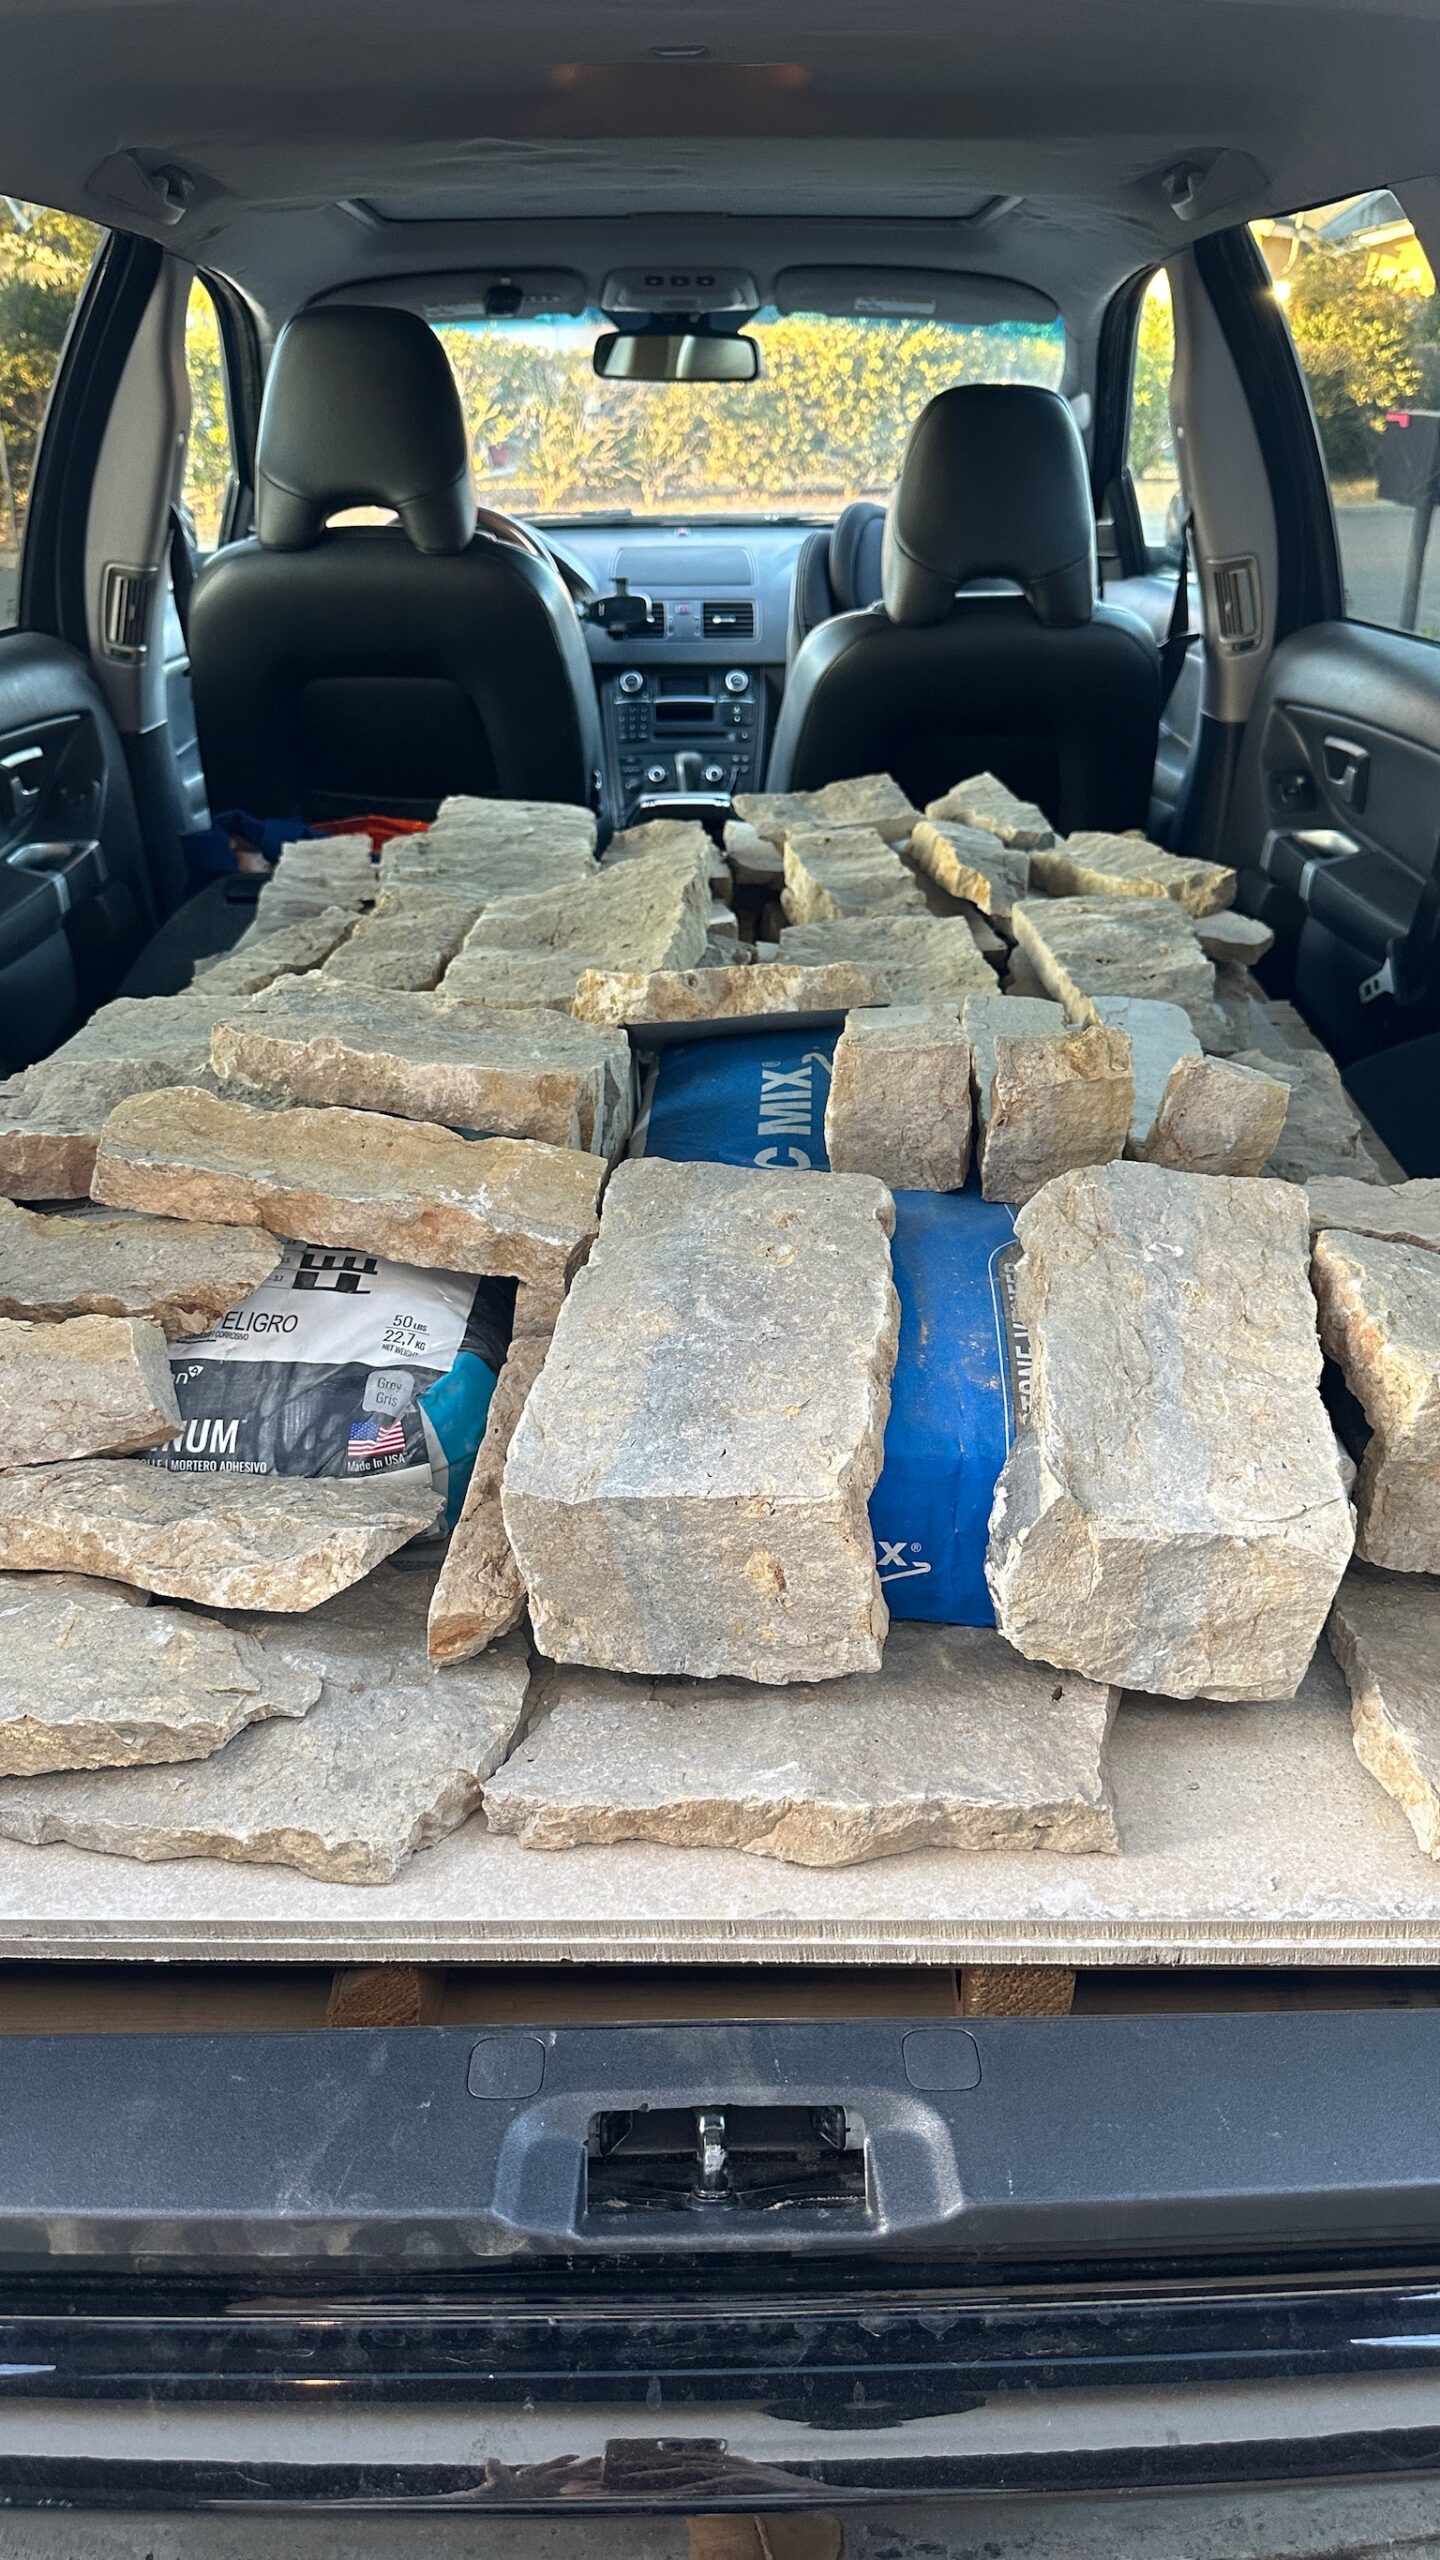
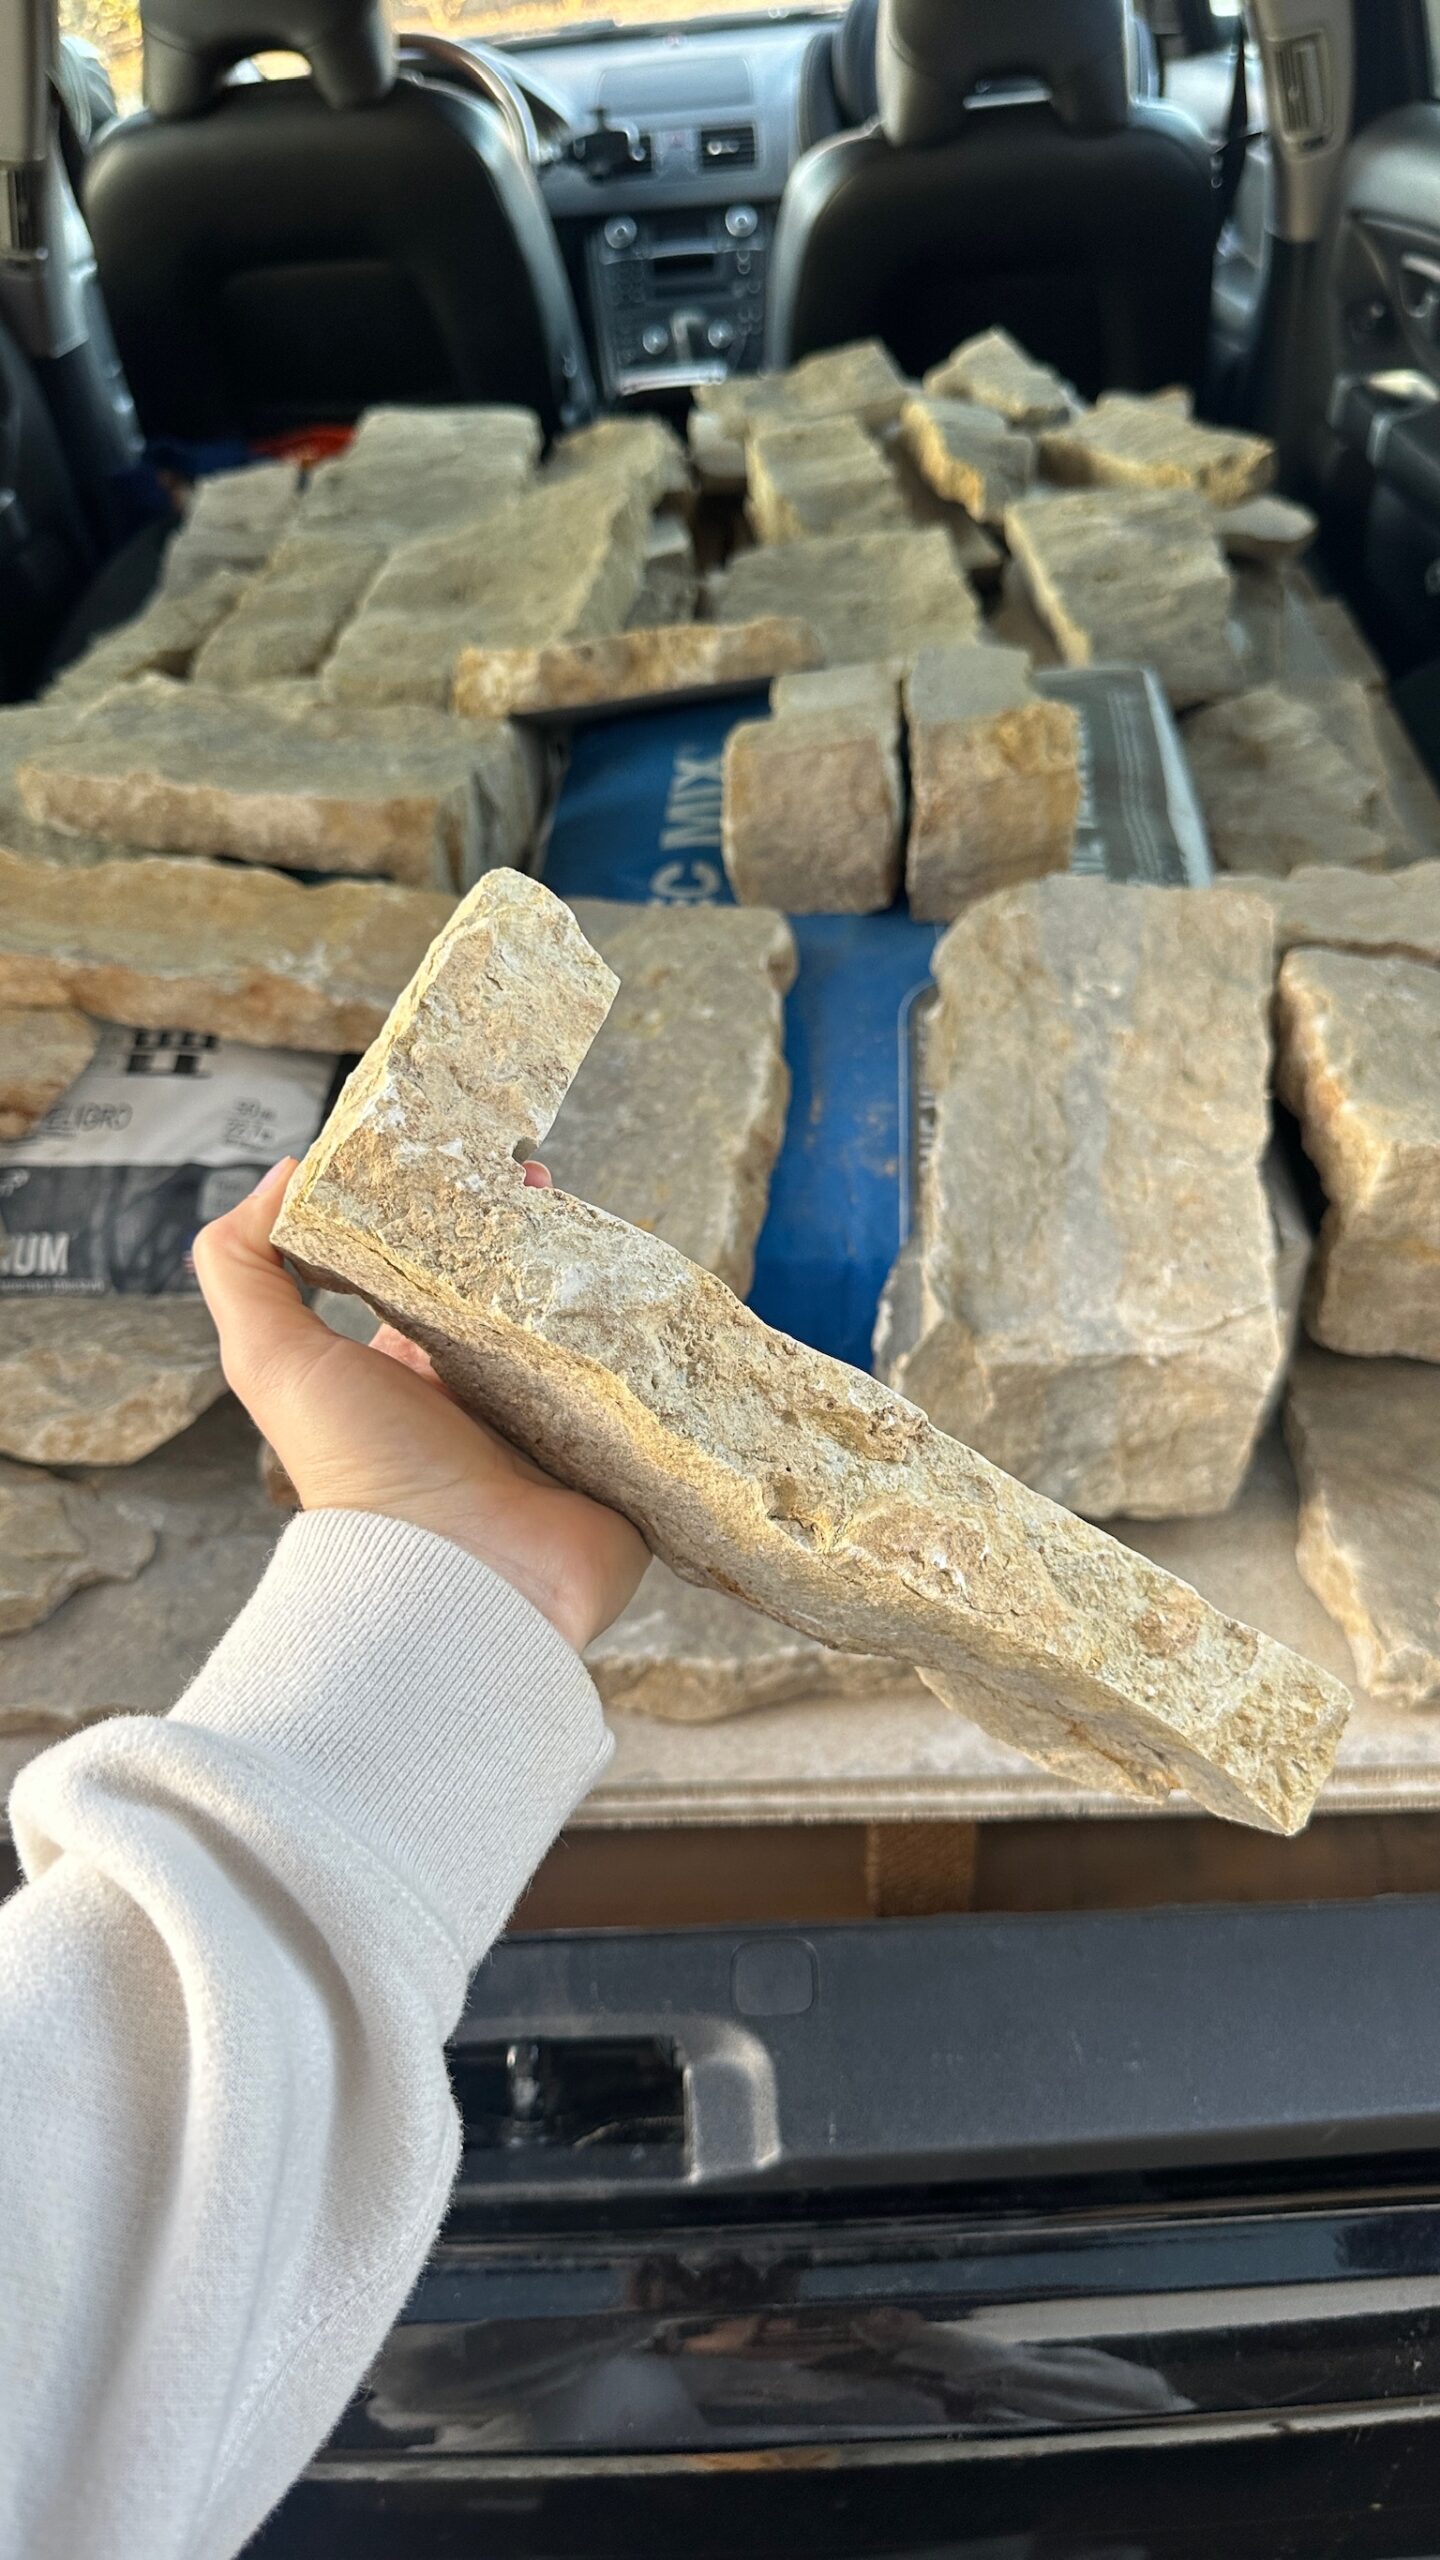
We hired out for this project because it requires skills and tools that we don’t have. Our mason has been doing this for 30+ years – he really knows what he’s doing!

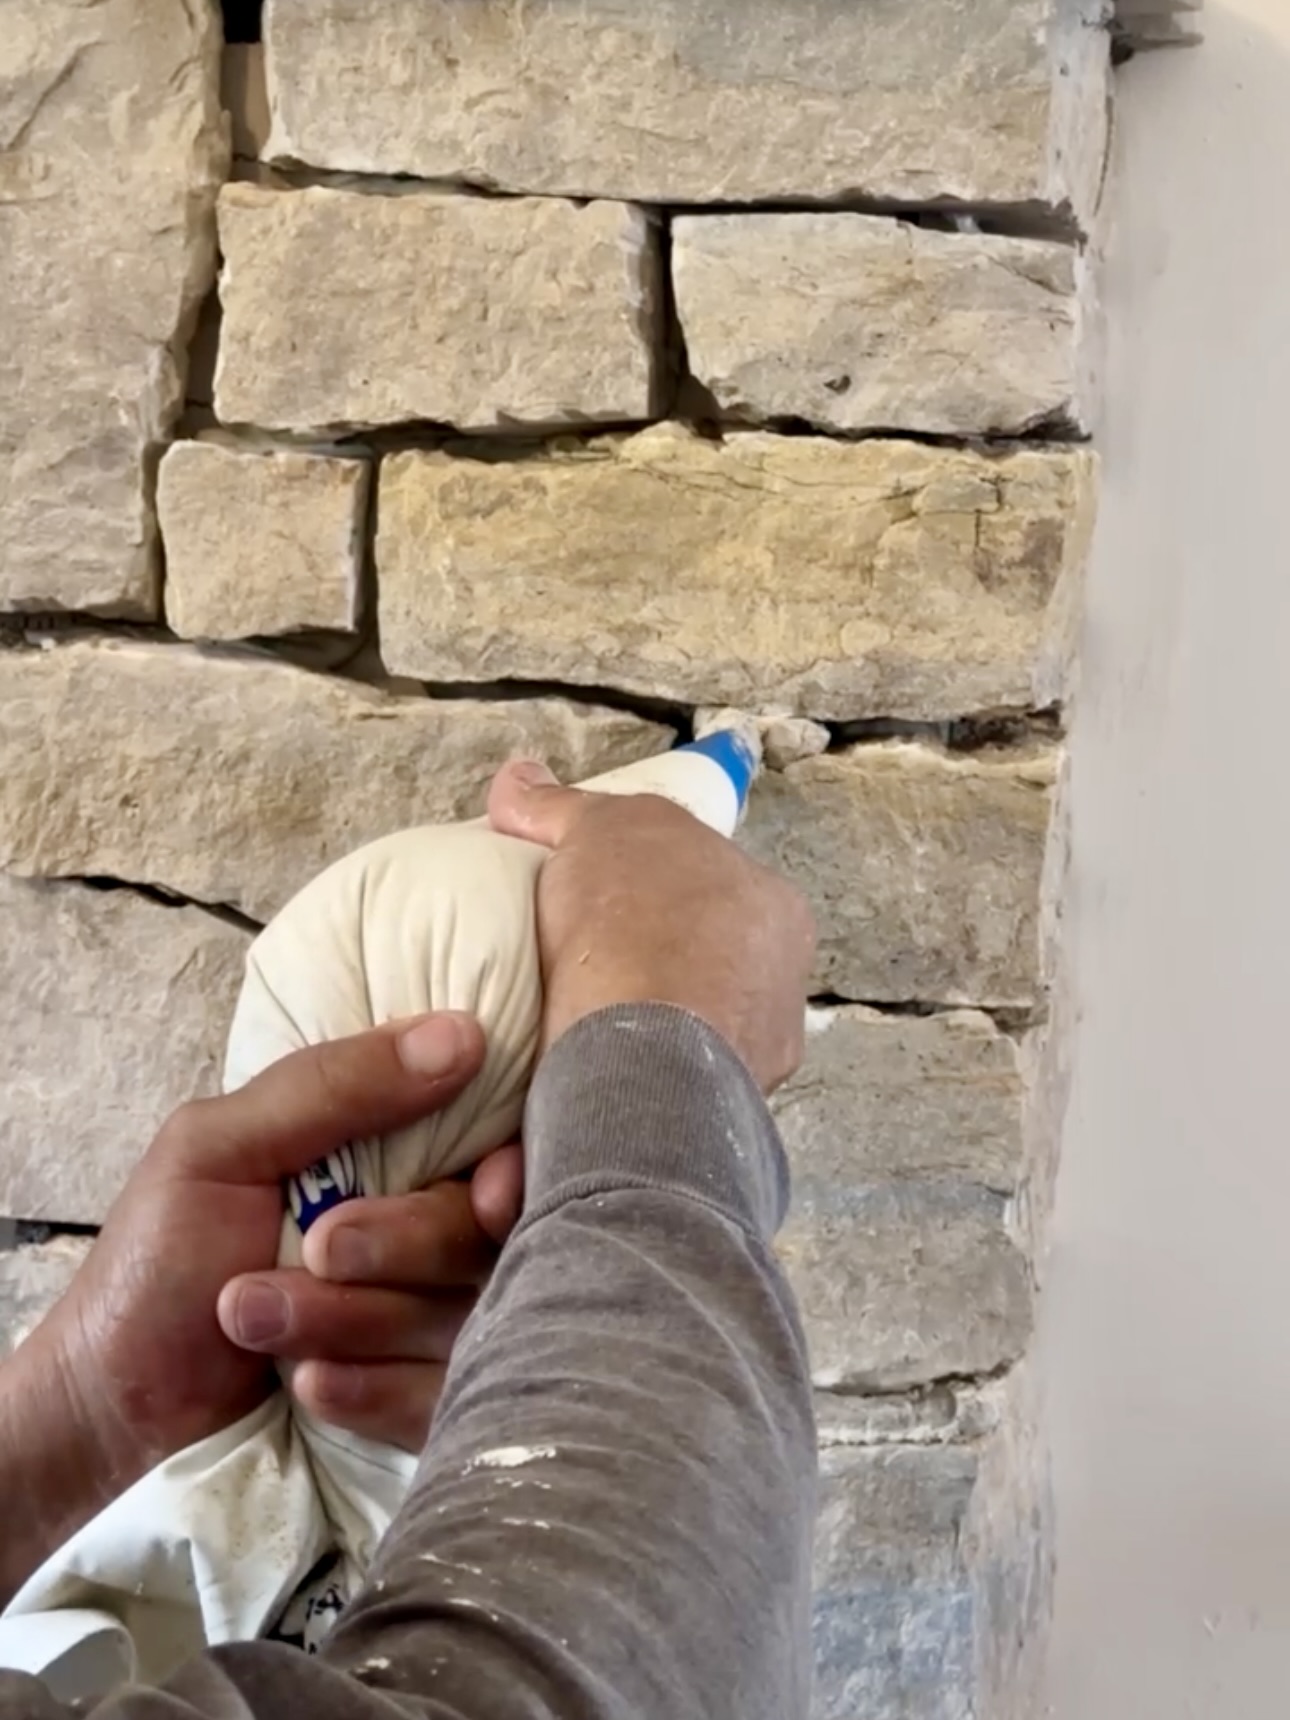

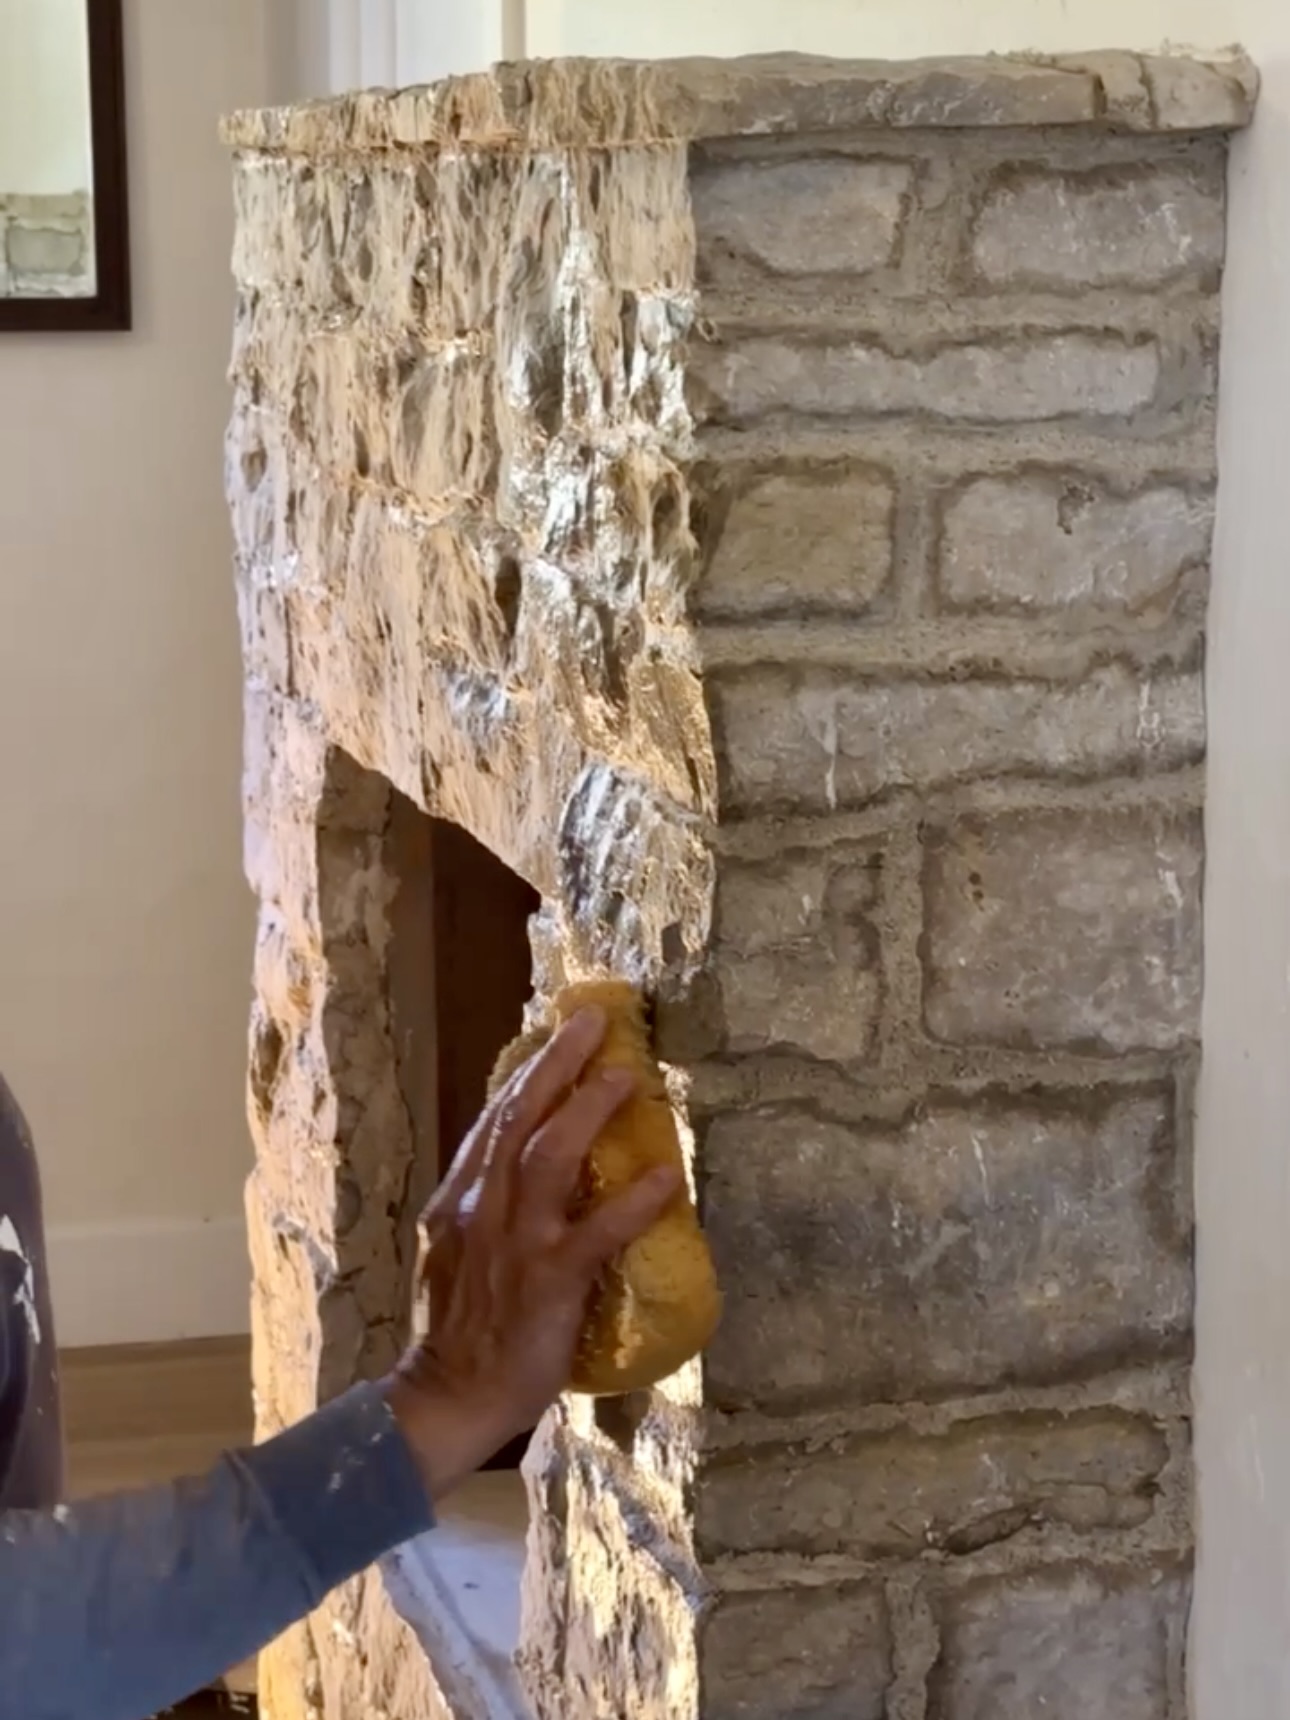
I’m so glad we took the last month to work on this. It really takes our room to the next level!
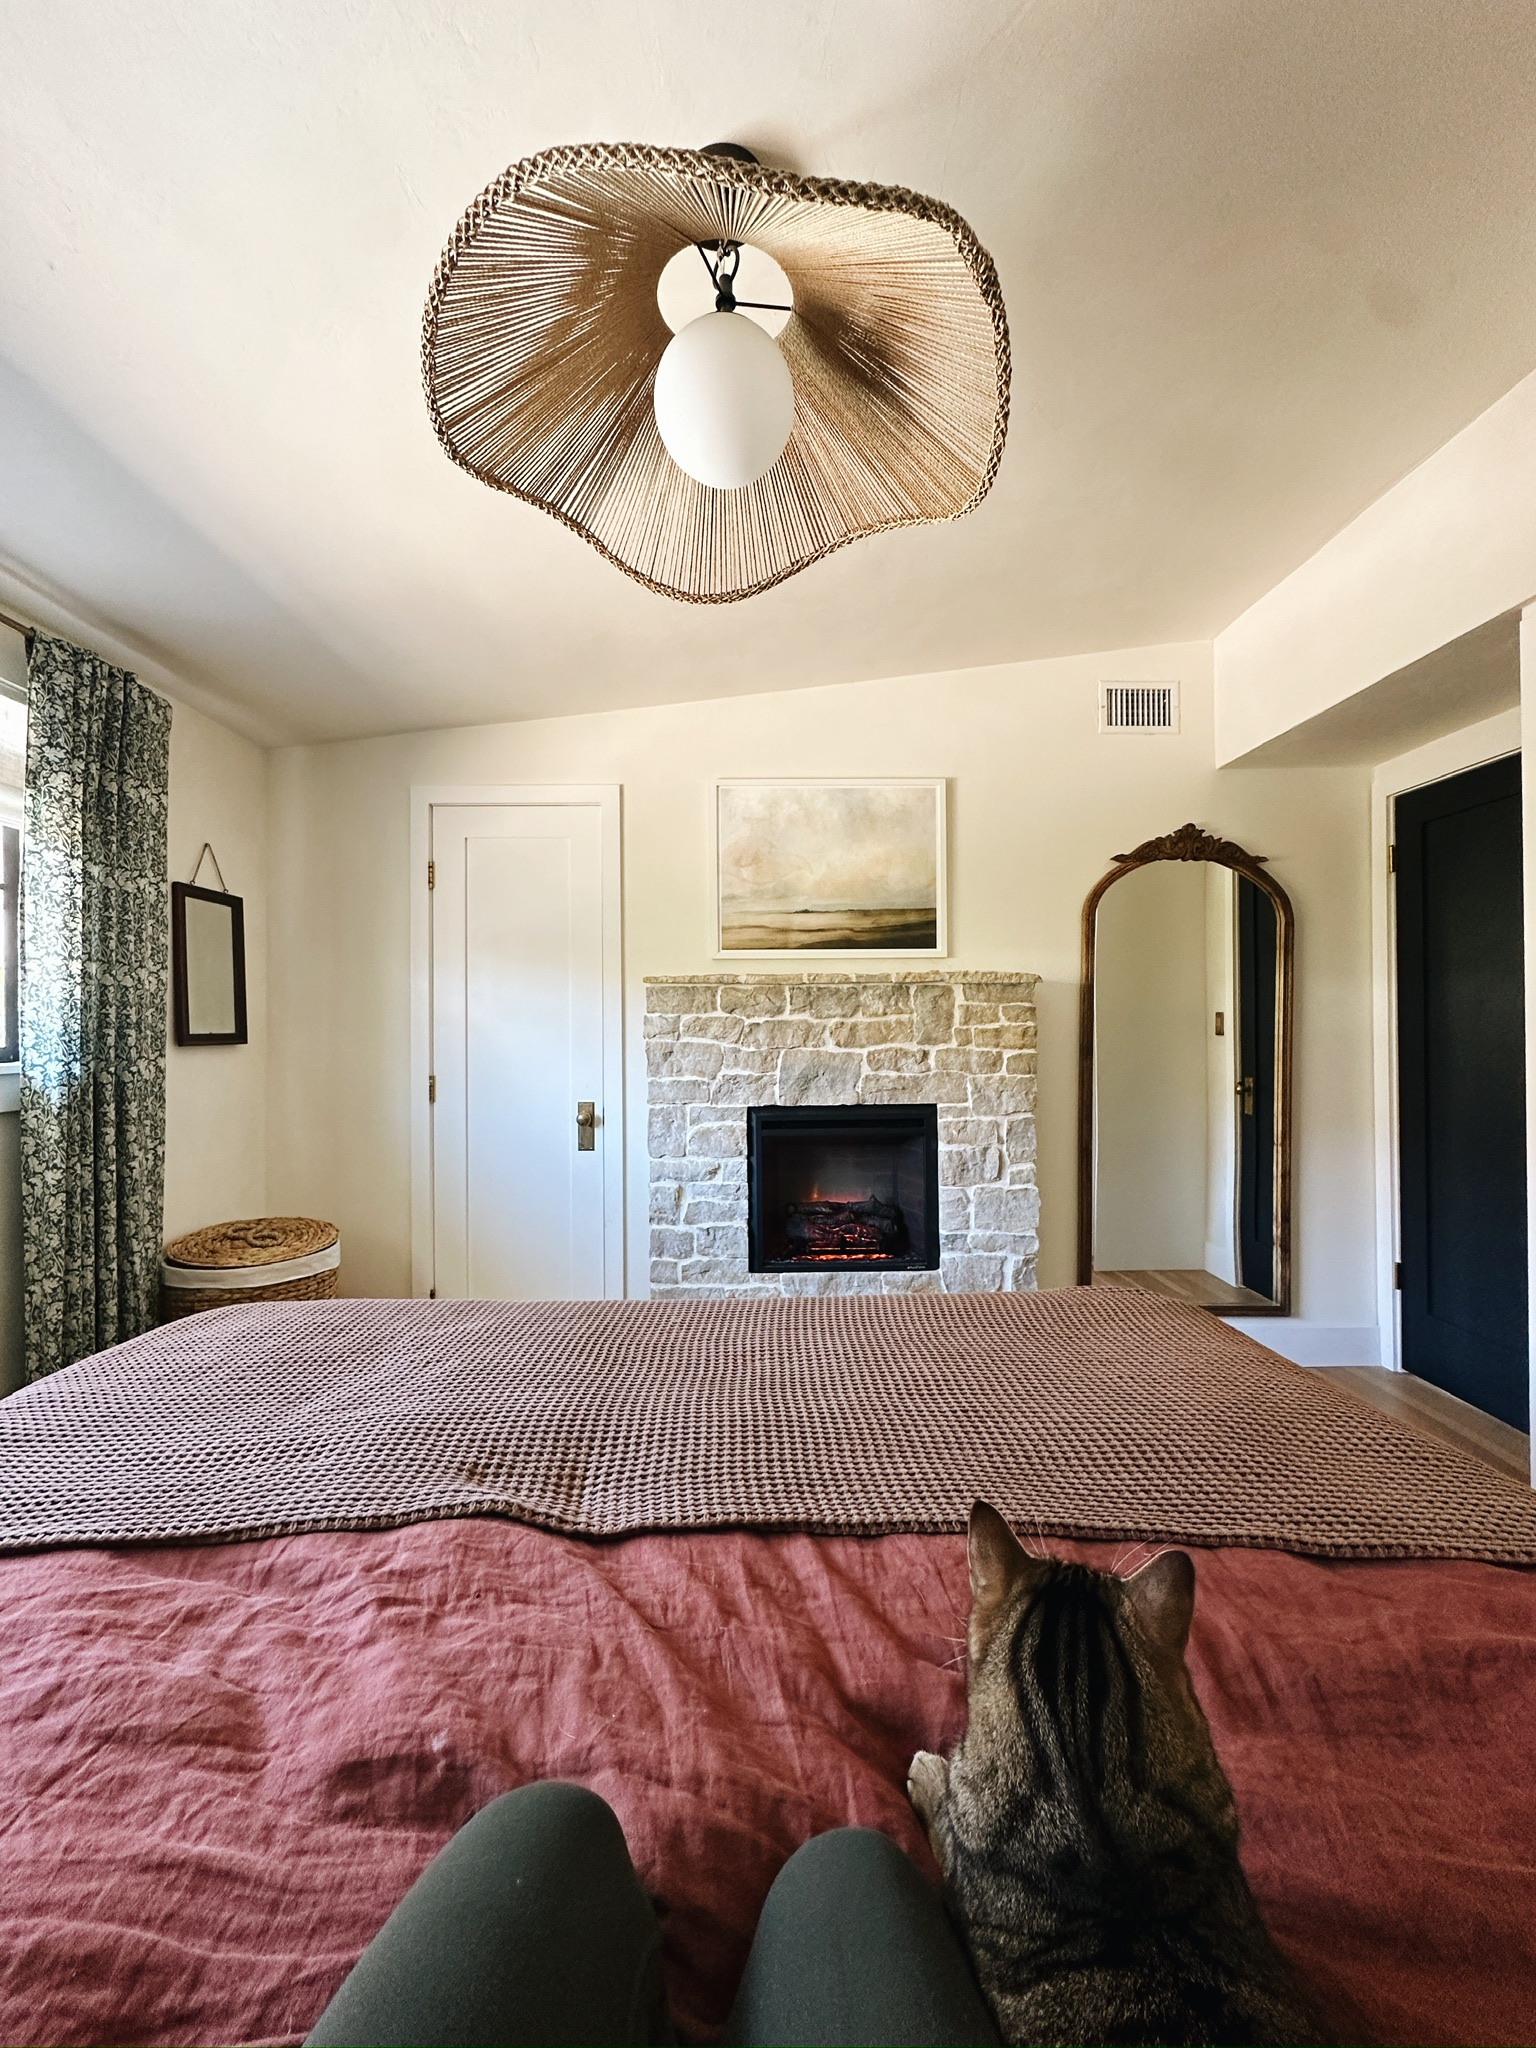
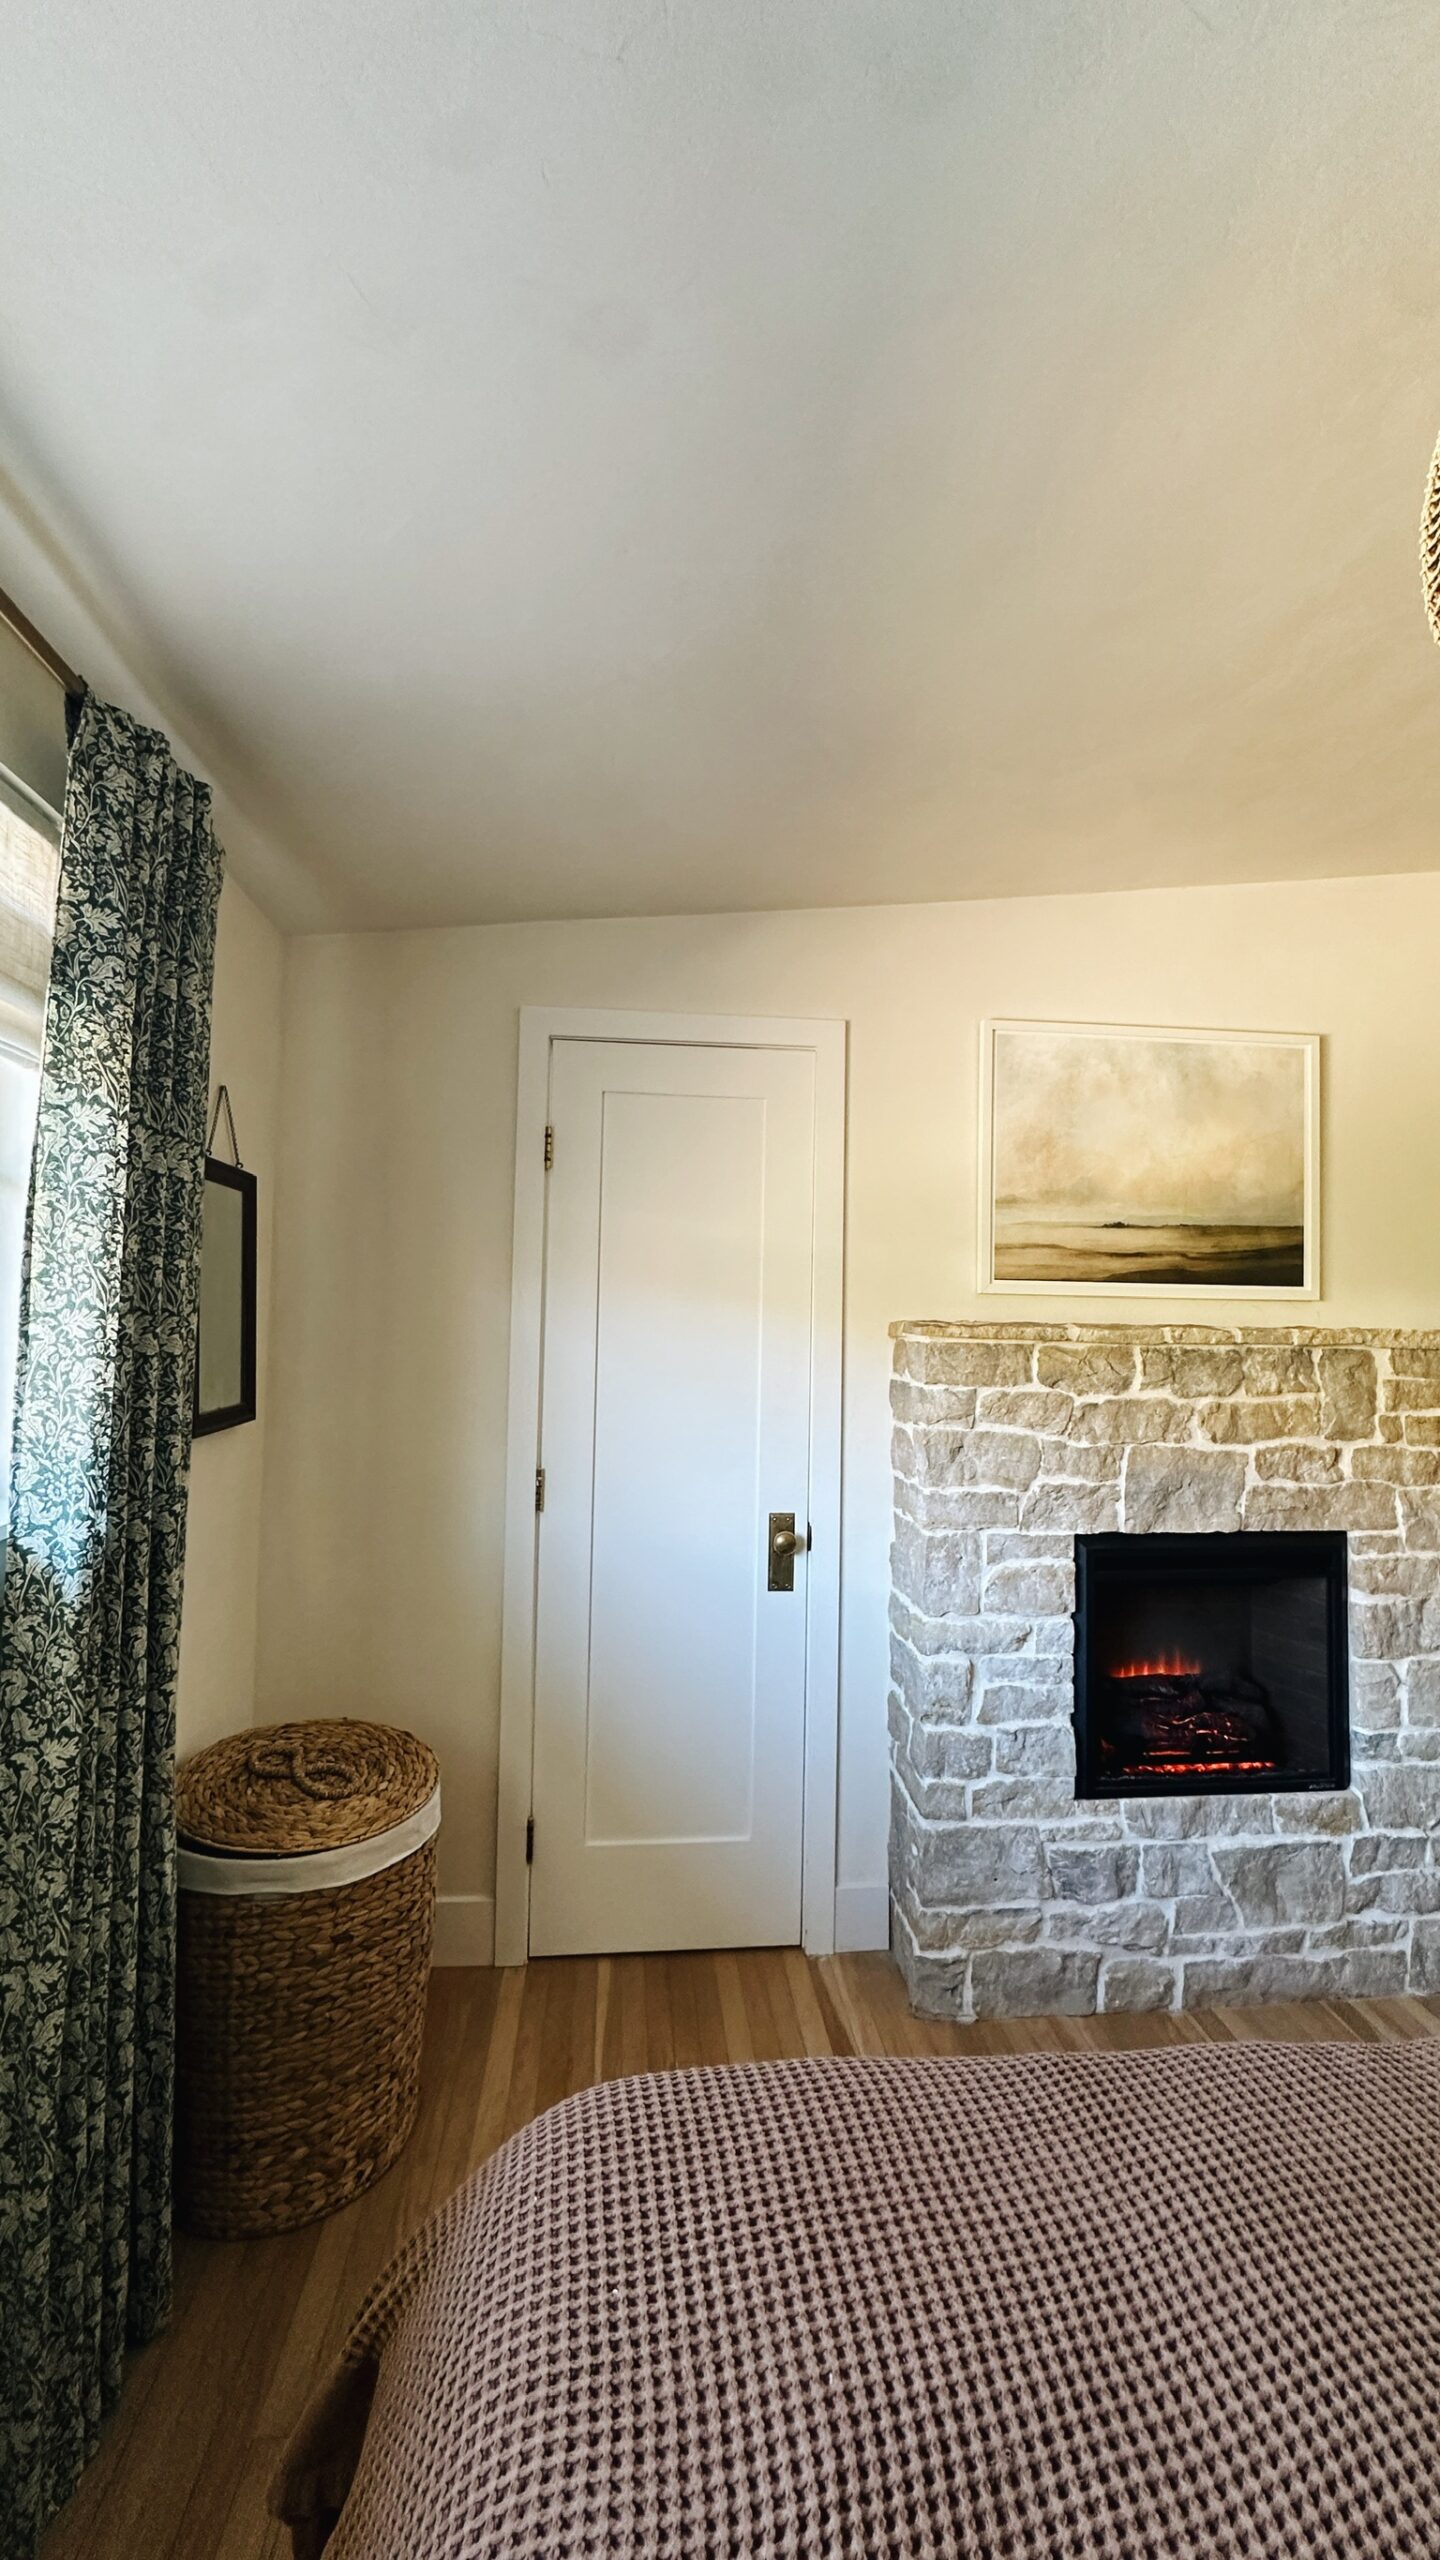
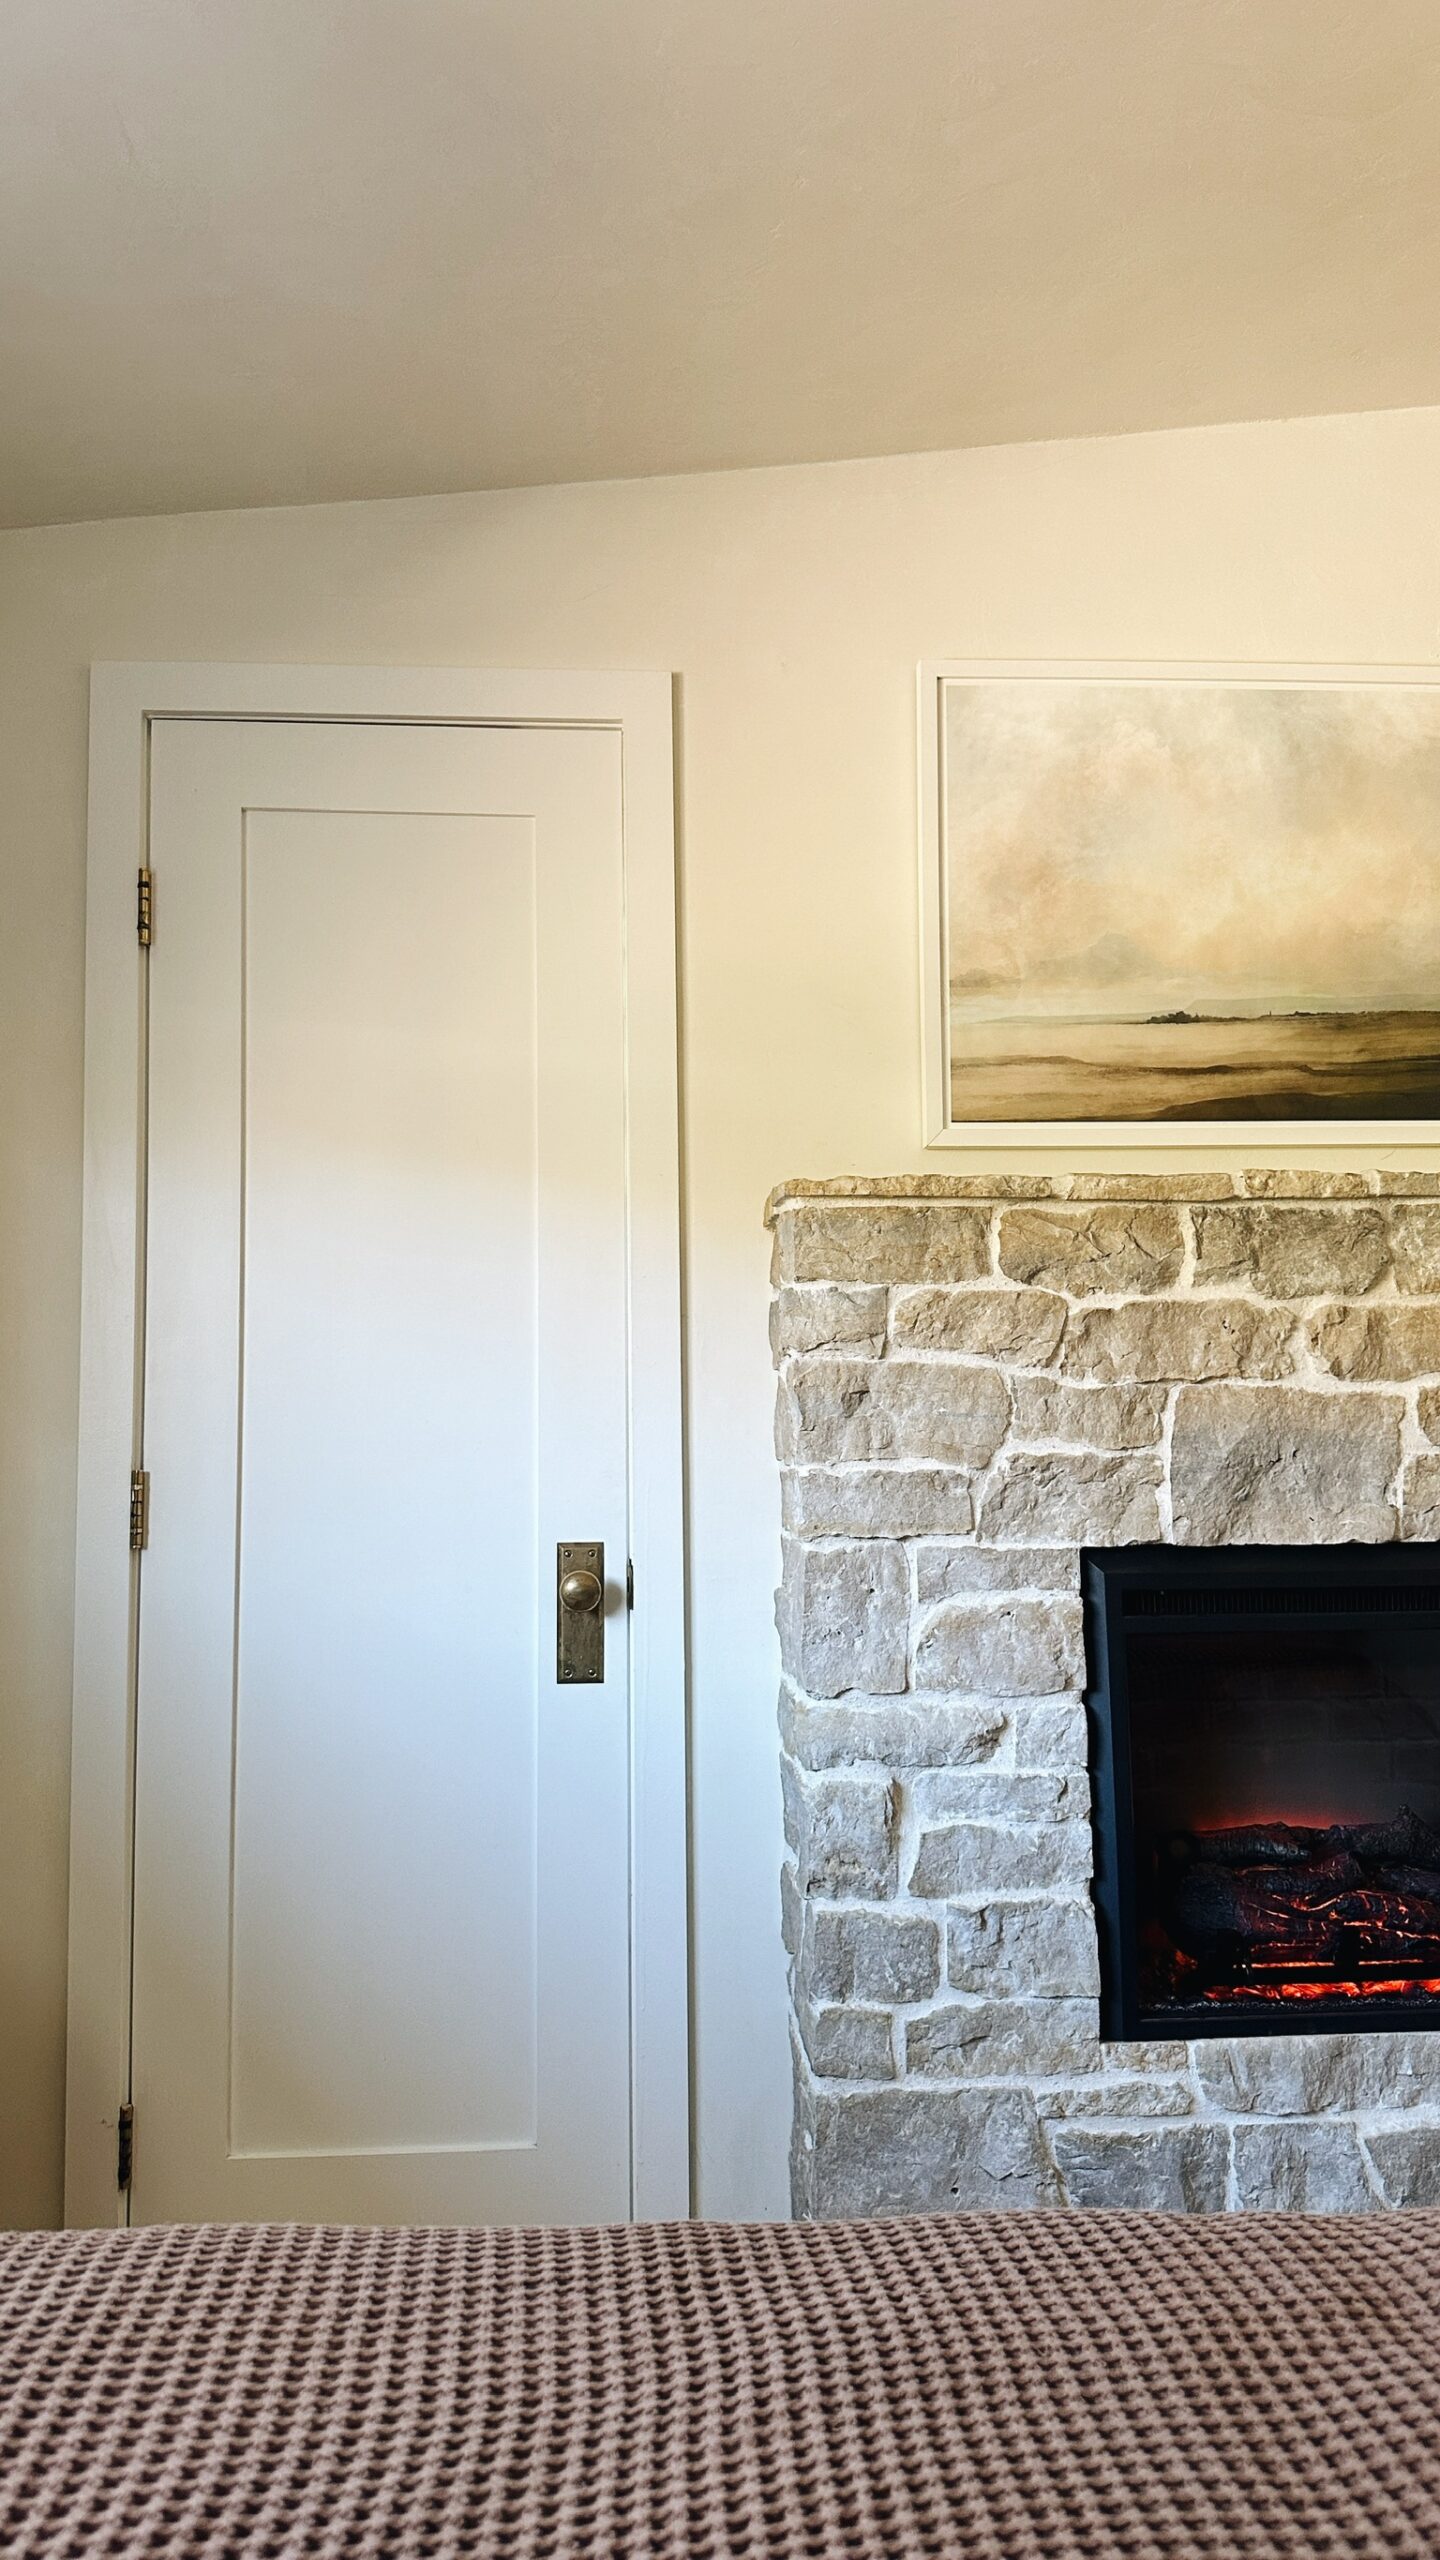
Now, we really LOVE our room. This makes us smile every time we walk in.
Cost Breakdown
- flat Sydney limestone $285.69
- corner Sydney limestone $144.00
- Laticrete 254 PLTM thinset “platinum multipurpose” $54.65
- Stone veneer mortar $18.55
- Hardibacker board $47.90
- Grout (OBP Plus Tuscany Buff #50) $11.55
- Masonry Grout Bag Blue Tip $4.26
- total materials: $566.60
- Electric fireplace insert $269
- Labor $1,000
all in cost: $1,835.60
A few things worth noting: the stone-cutting saw we needed was over $1,000 alone, so it was definitely worth it for us to hire out the labor this time. Also, this electric fireplace puts out great heat! Since we have solar, it will be free for us to to run the heater in our room now, potentially lowering our gas bill a bit in the winter.
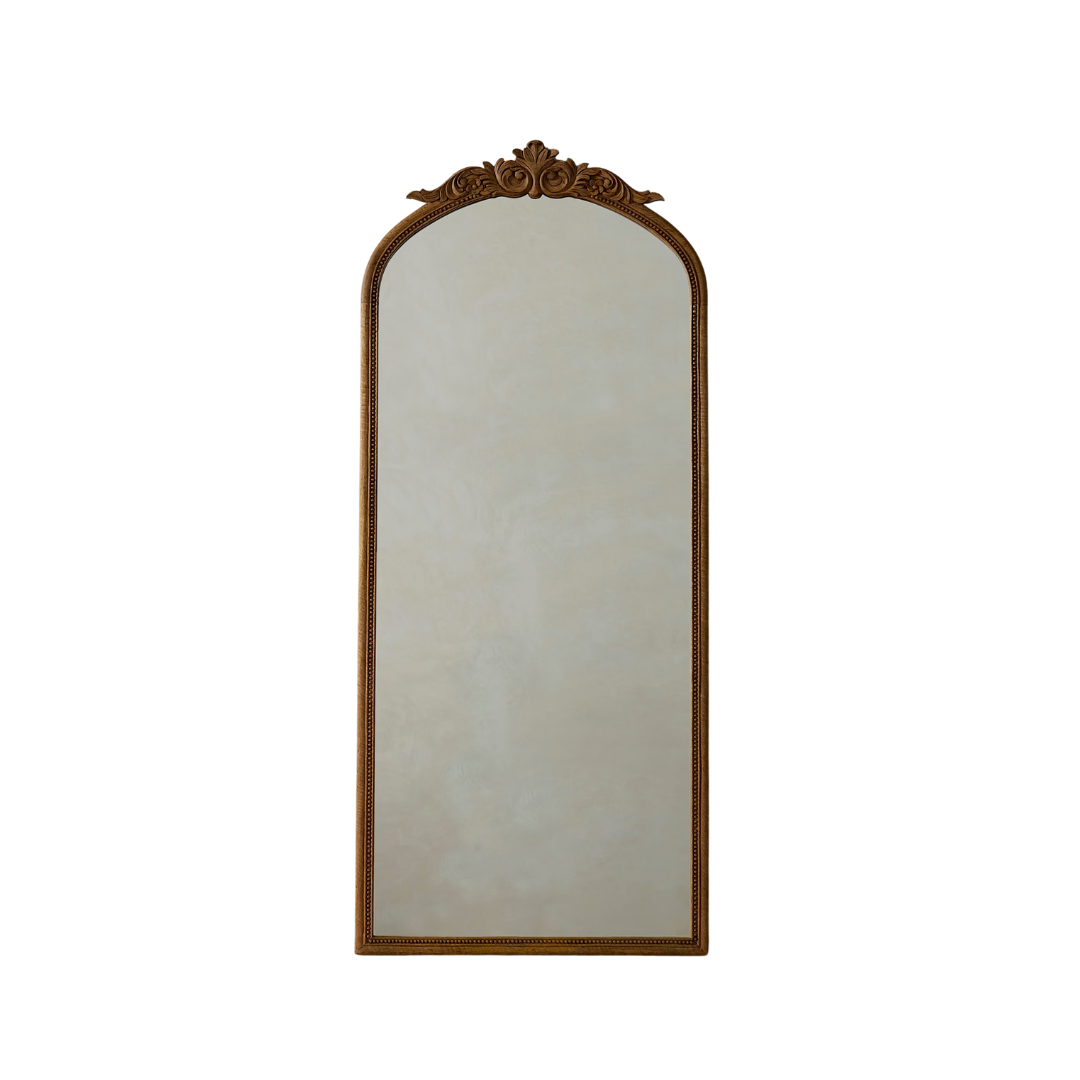
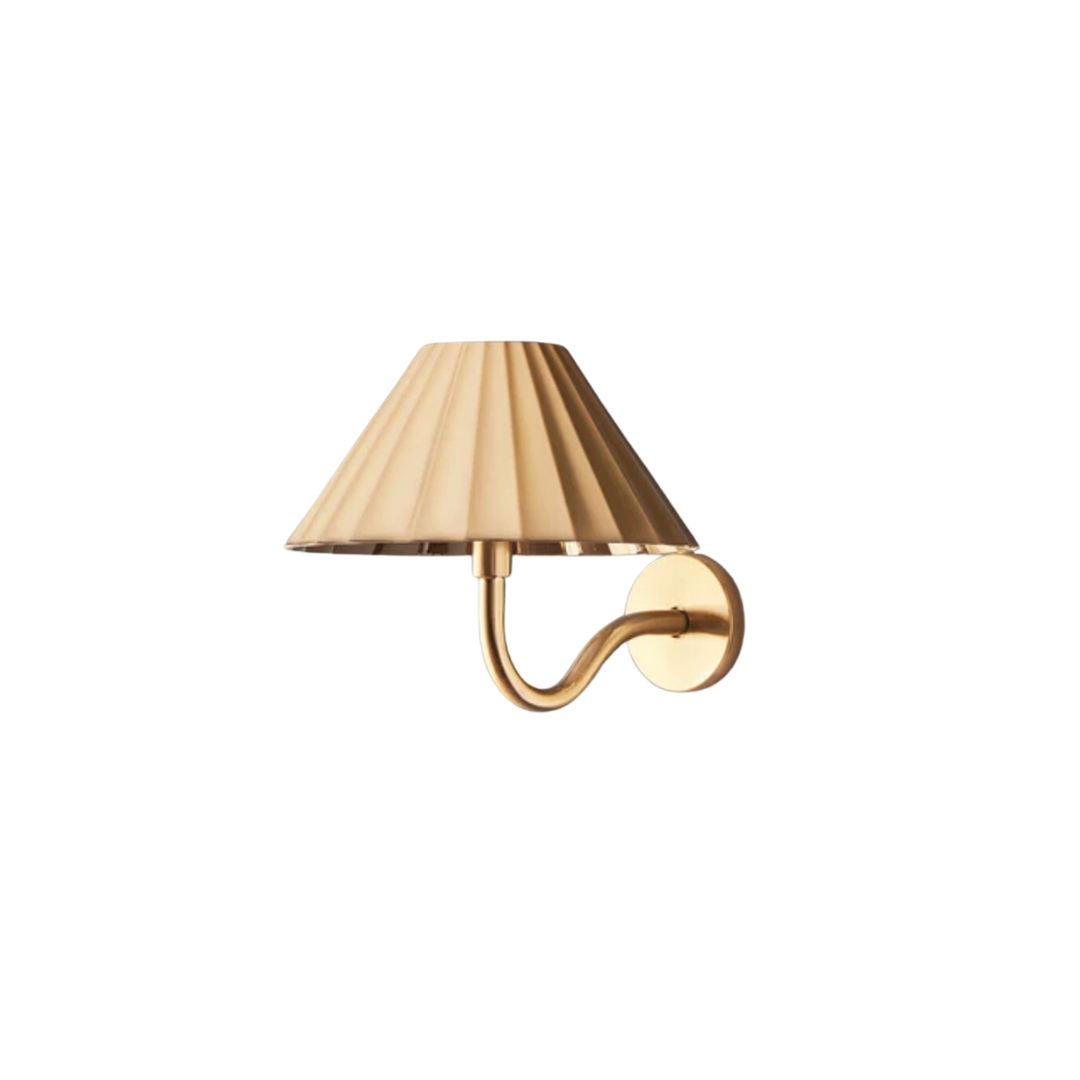
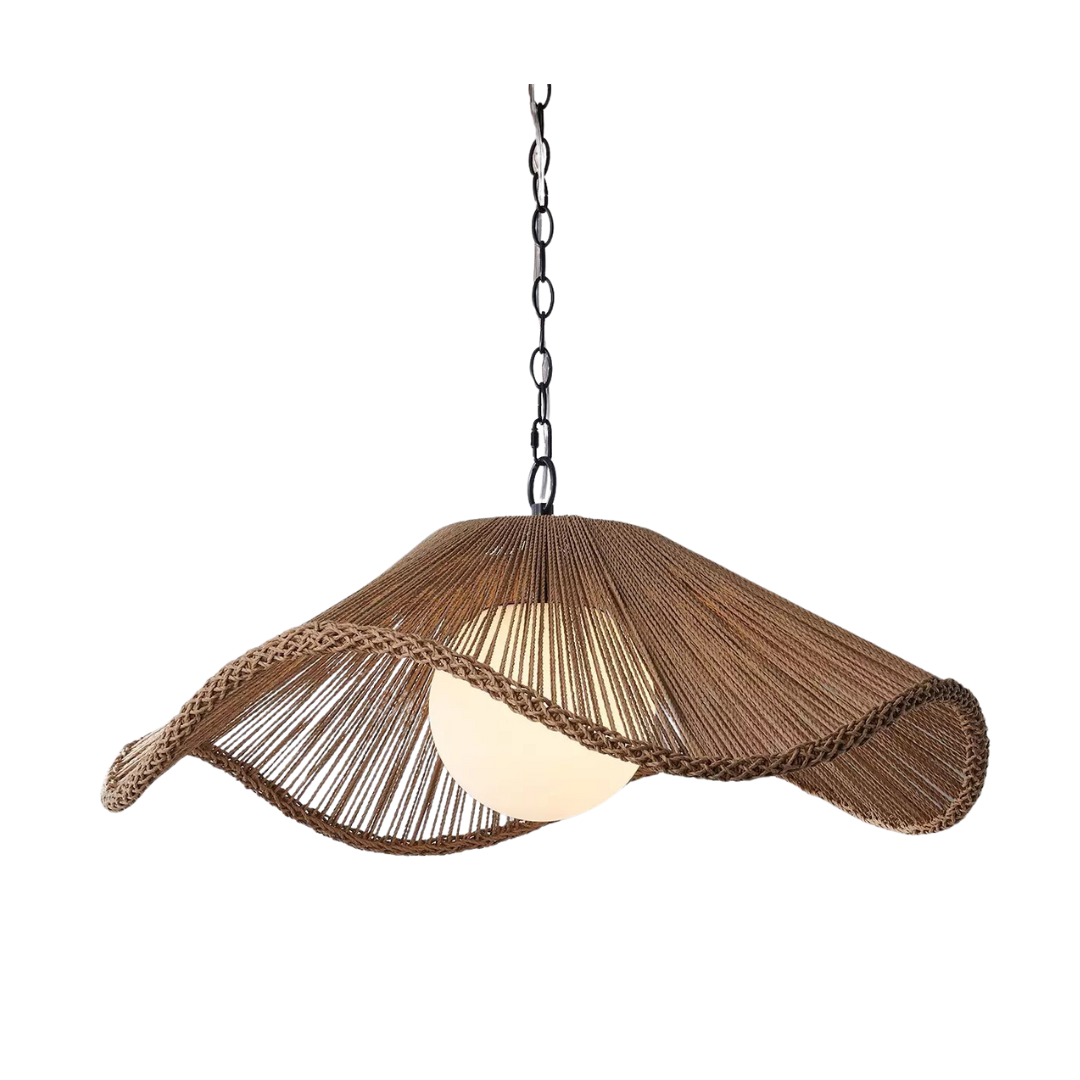
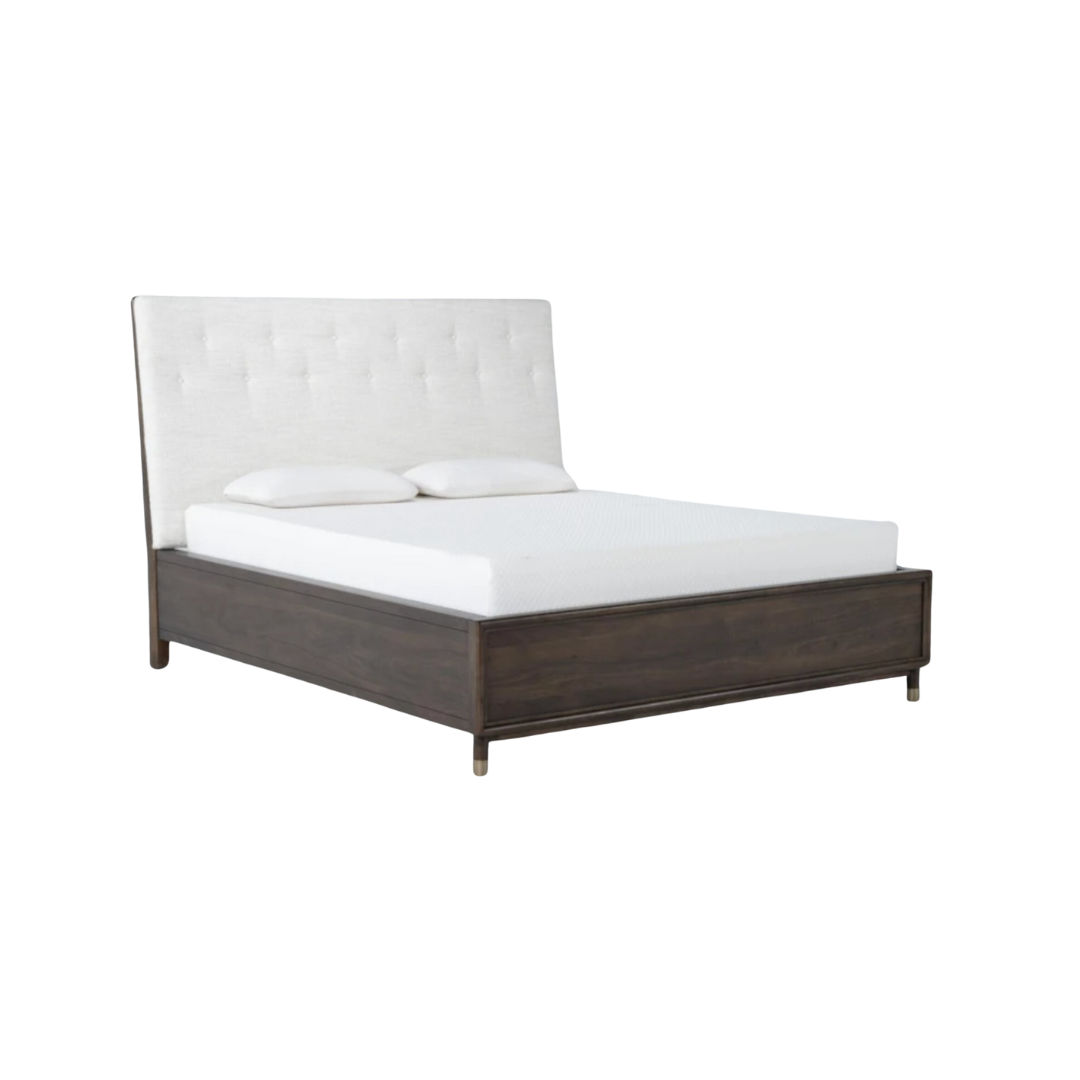
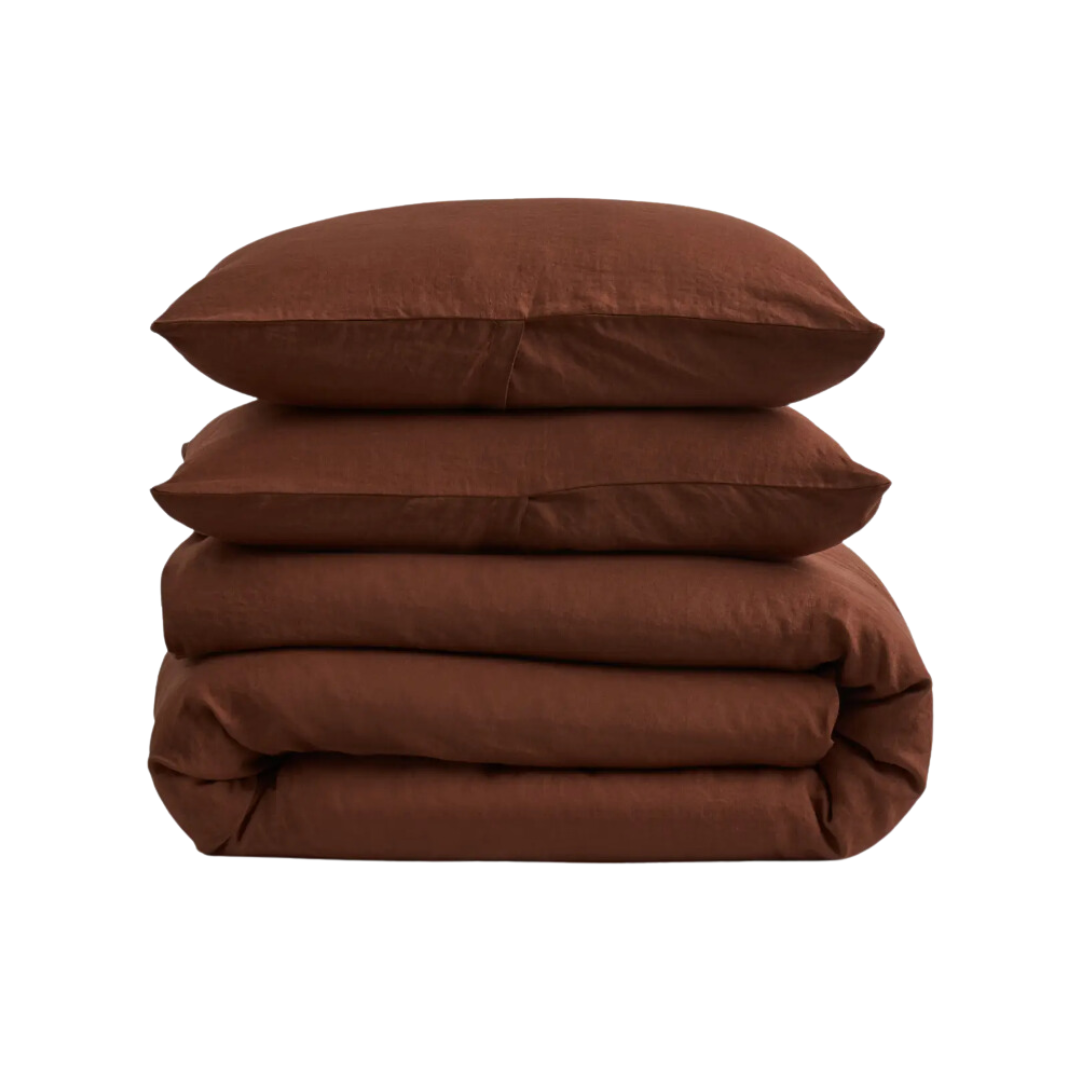
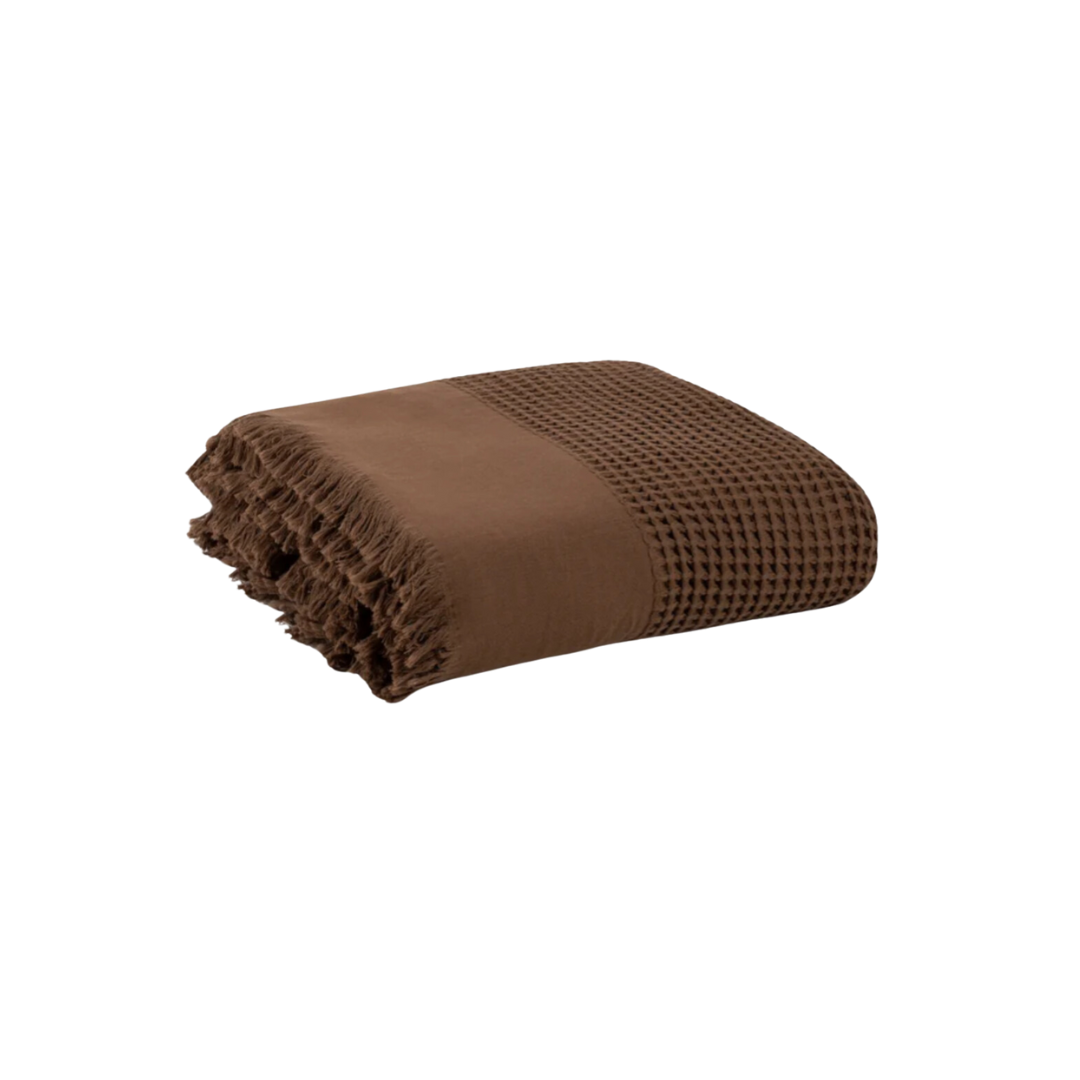
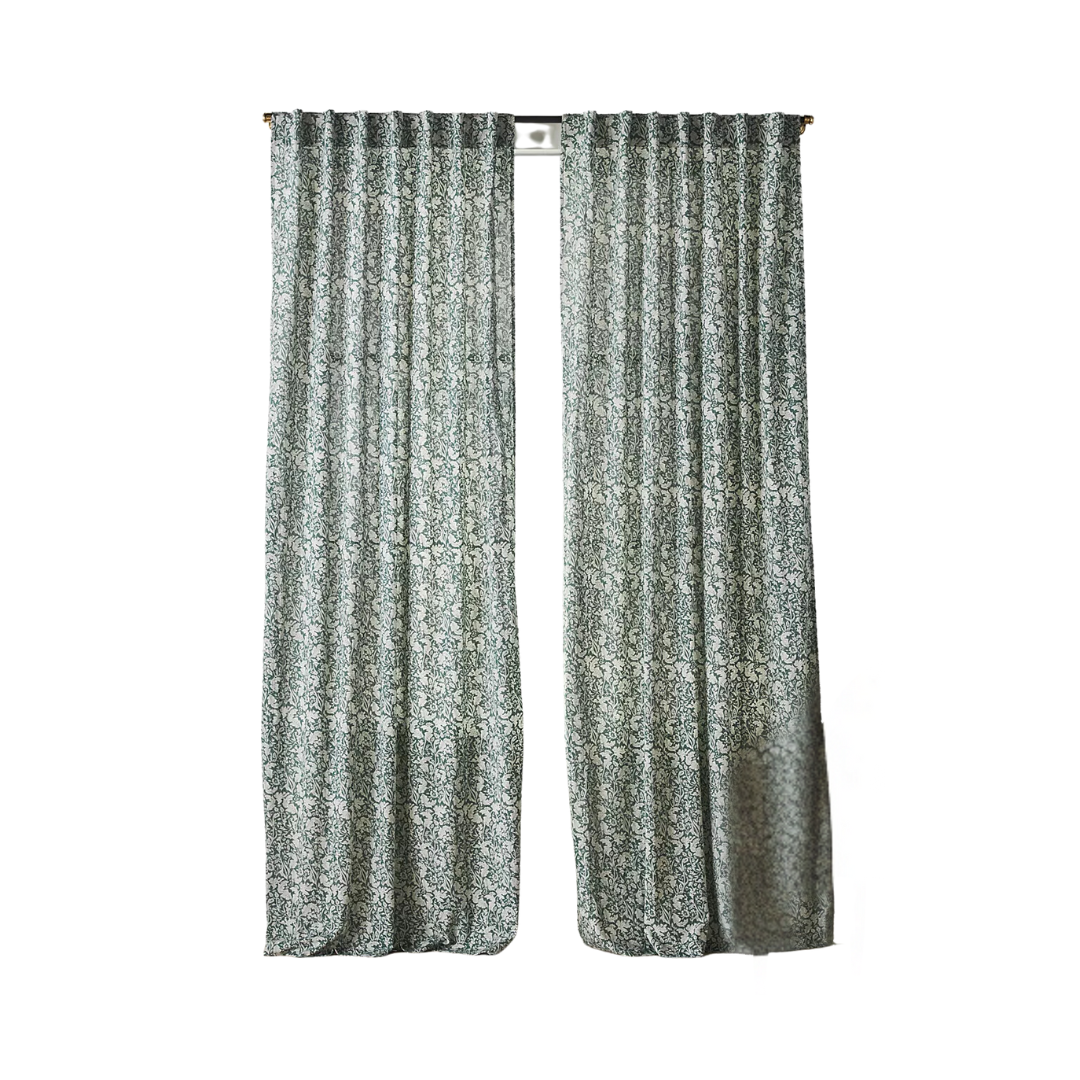
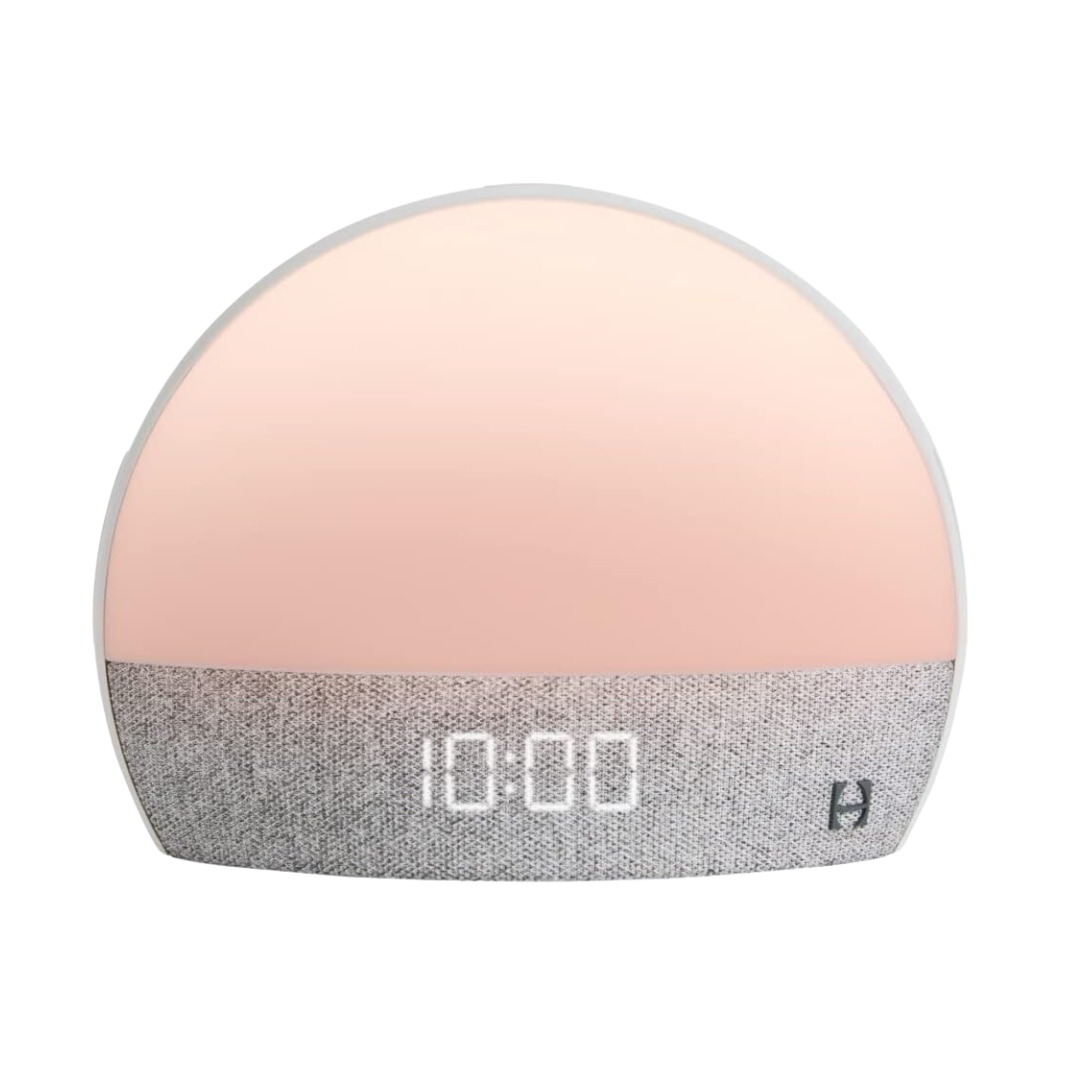
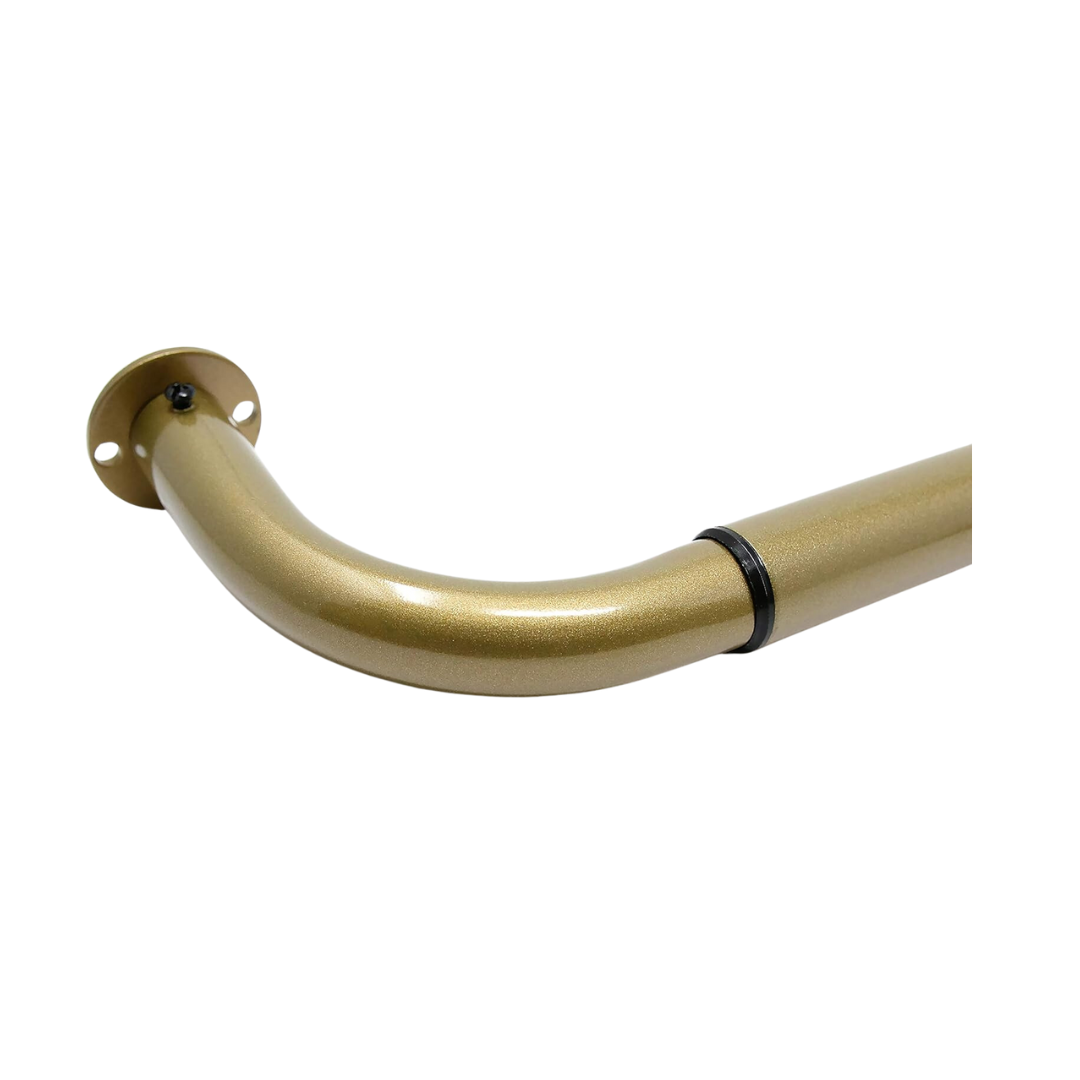
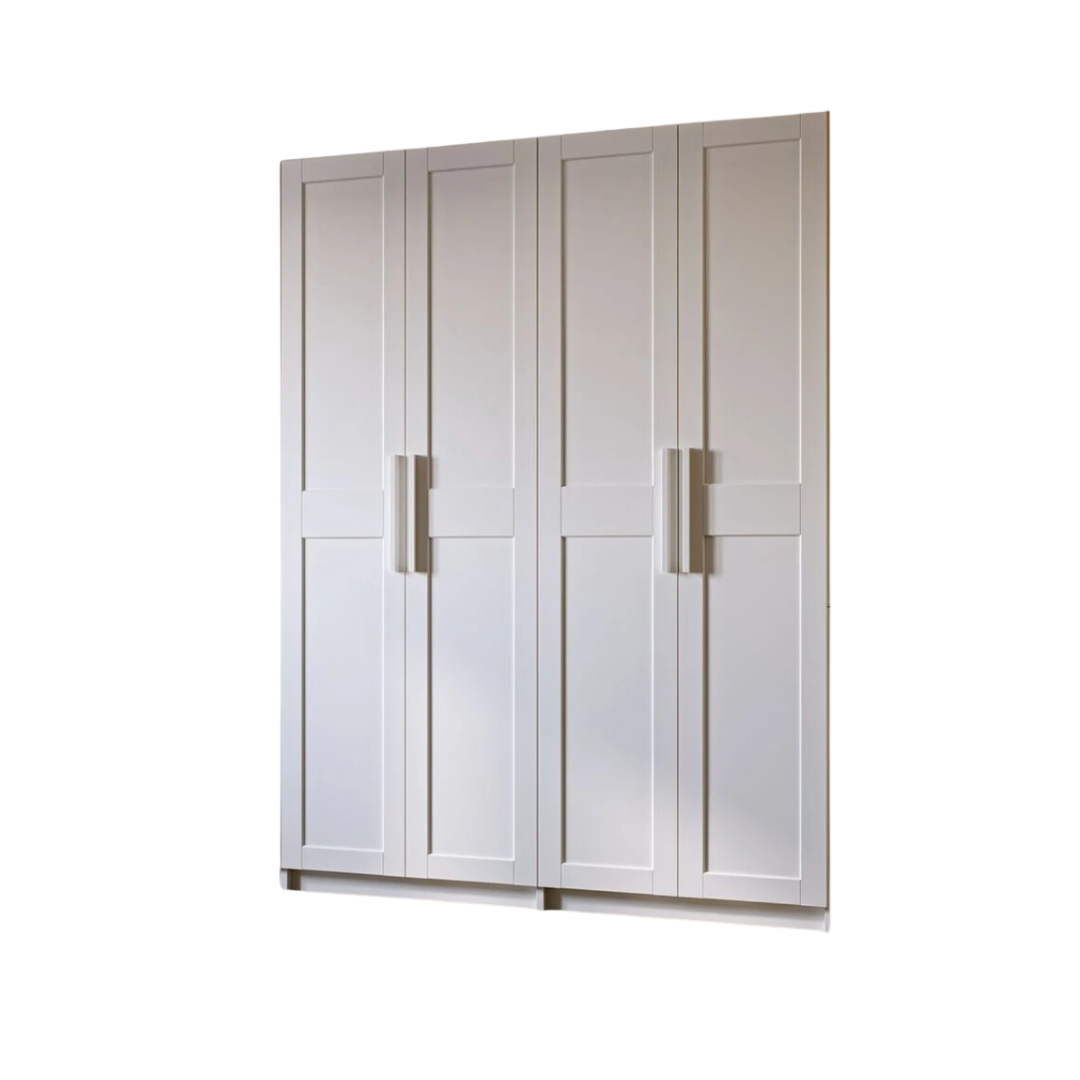
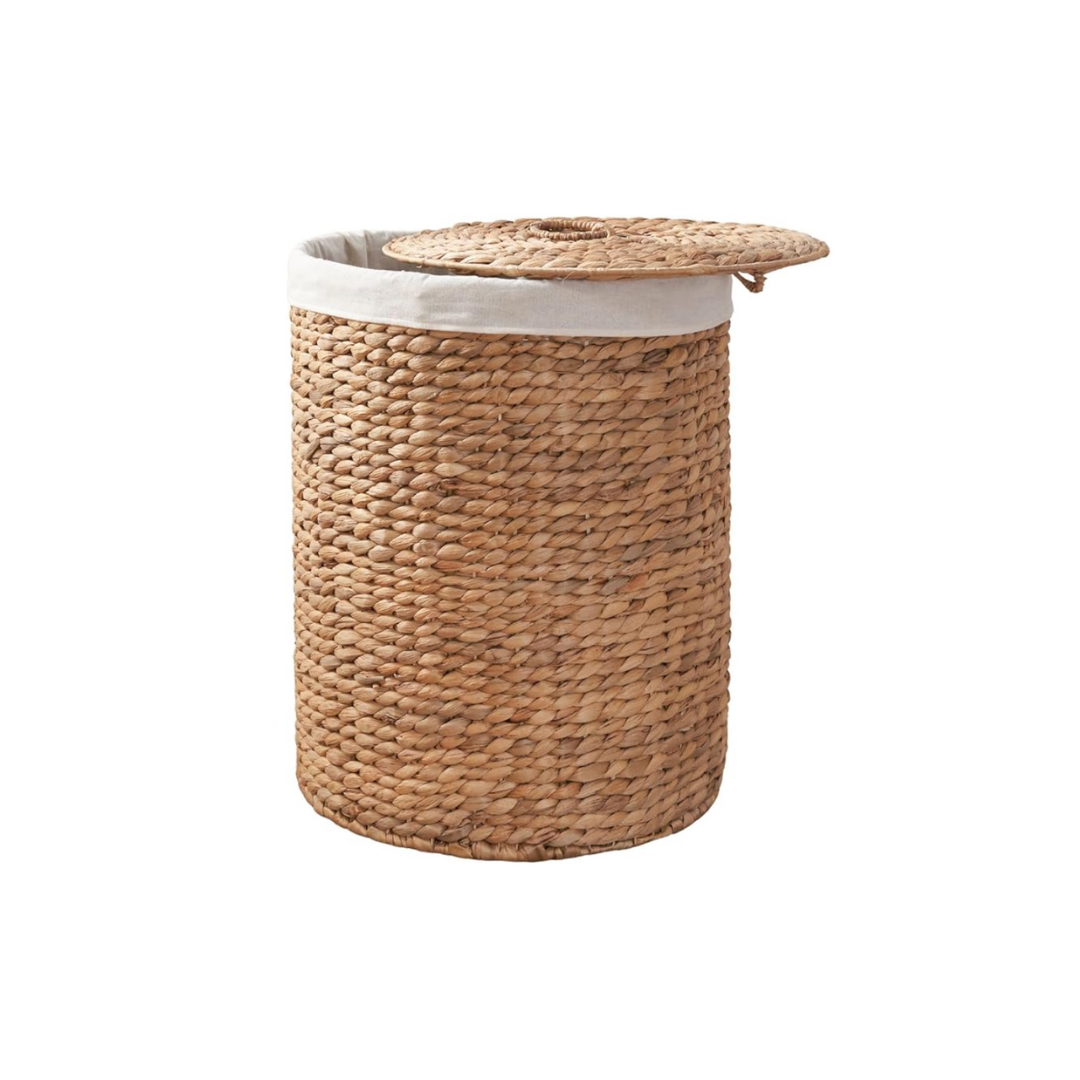
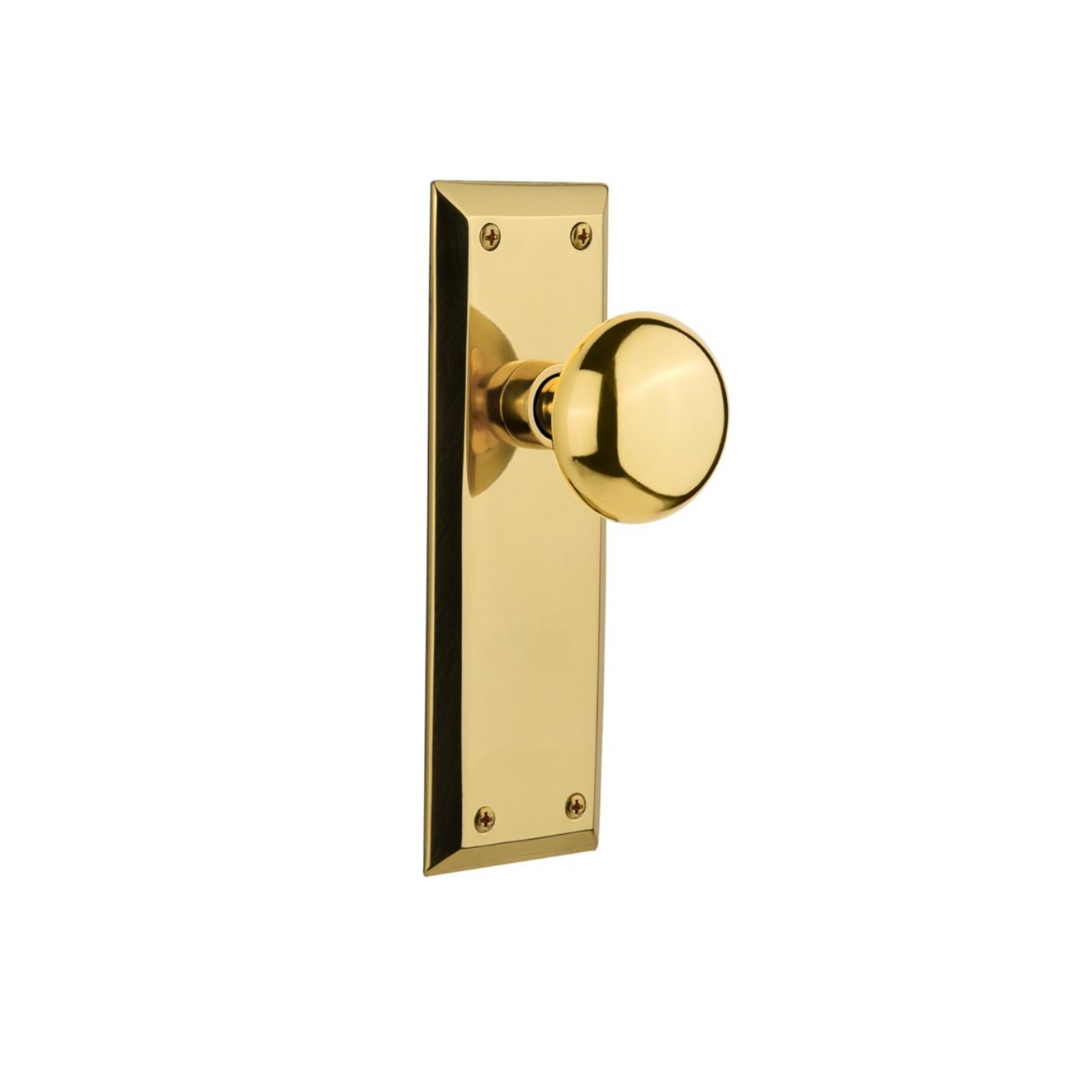
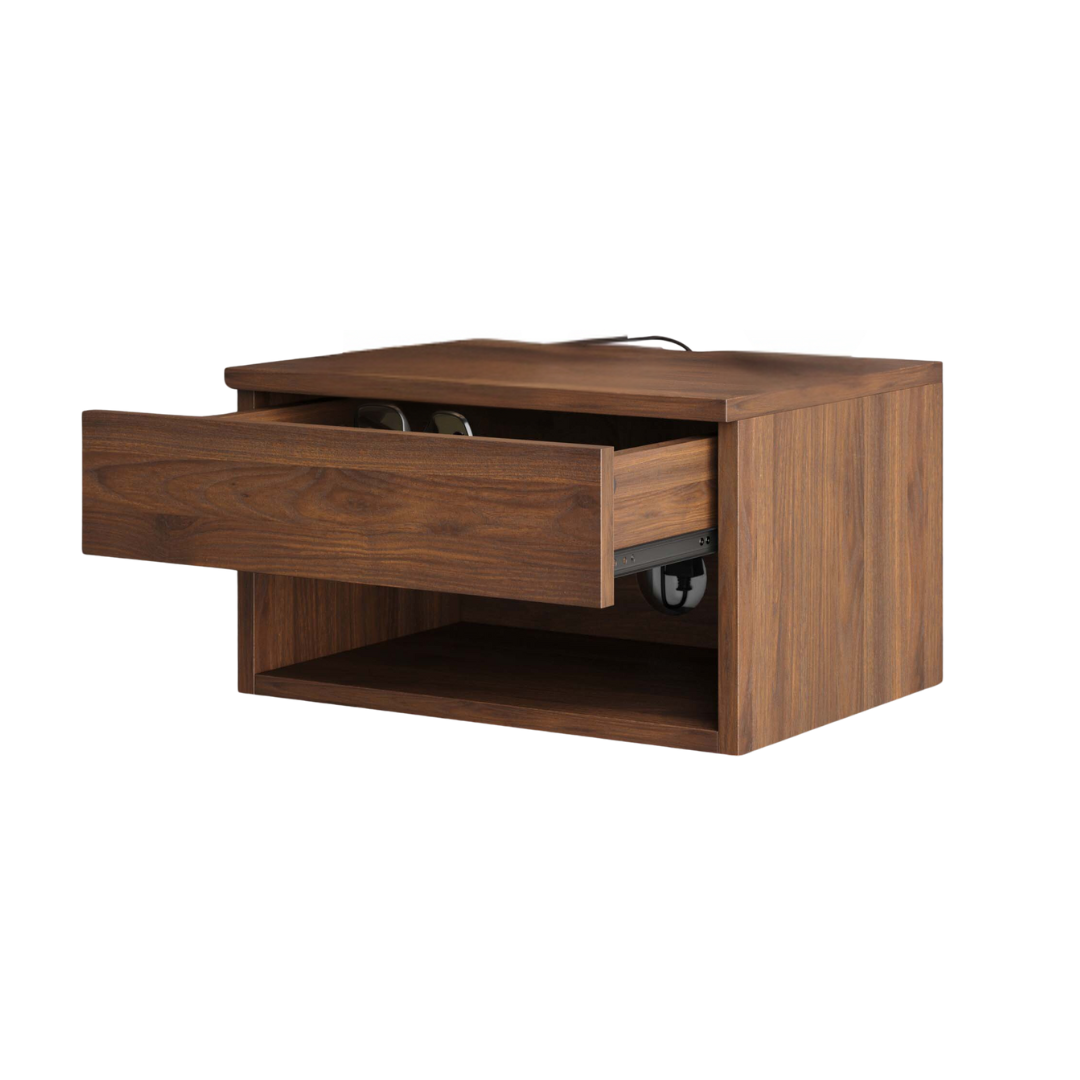
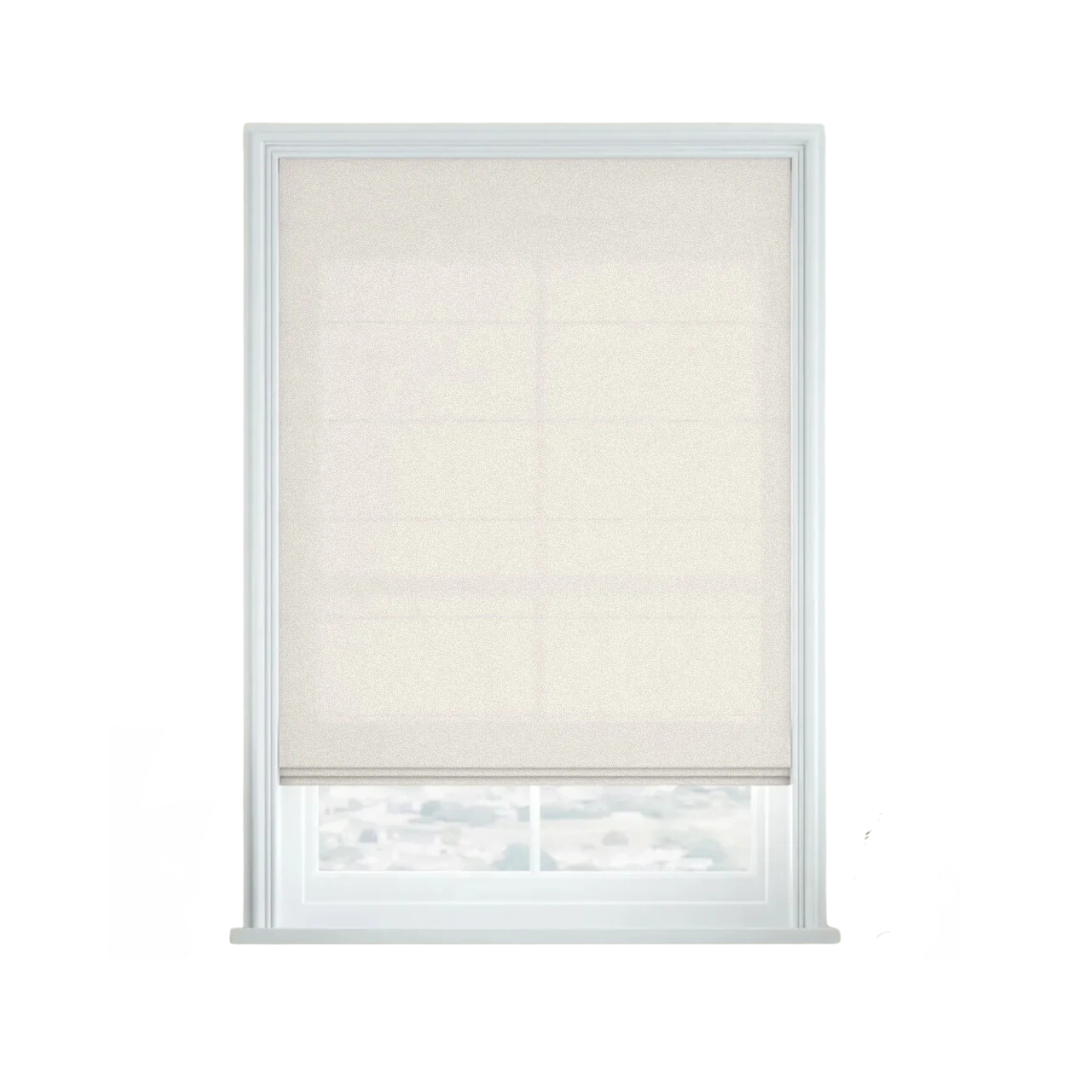
Here’s all the decor we have in our room:

Comments