
We’ve been wanting to put an electric fireplace in our bedroom for quite some time now. We finally gave in and here’s how we did it!

1. Plan your design
Planning your space and having some sort of vision for your project is key. You might have different ways of getting to your final reveal but having a vision of what you want the space to look like gives the project some sort of road map.
2. Take measurements
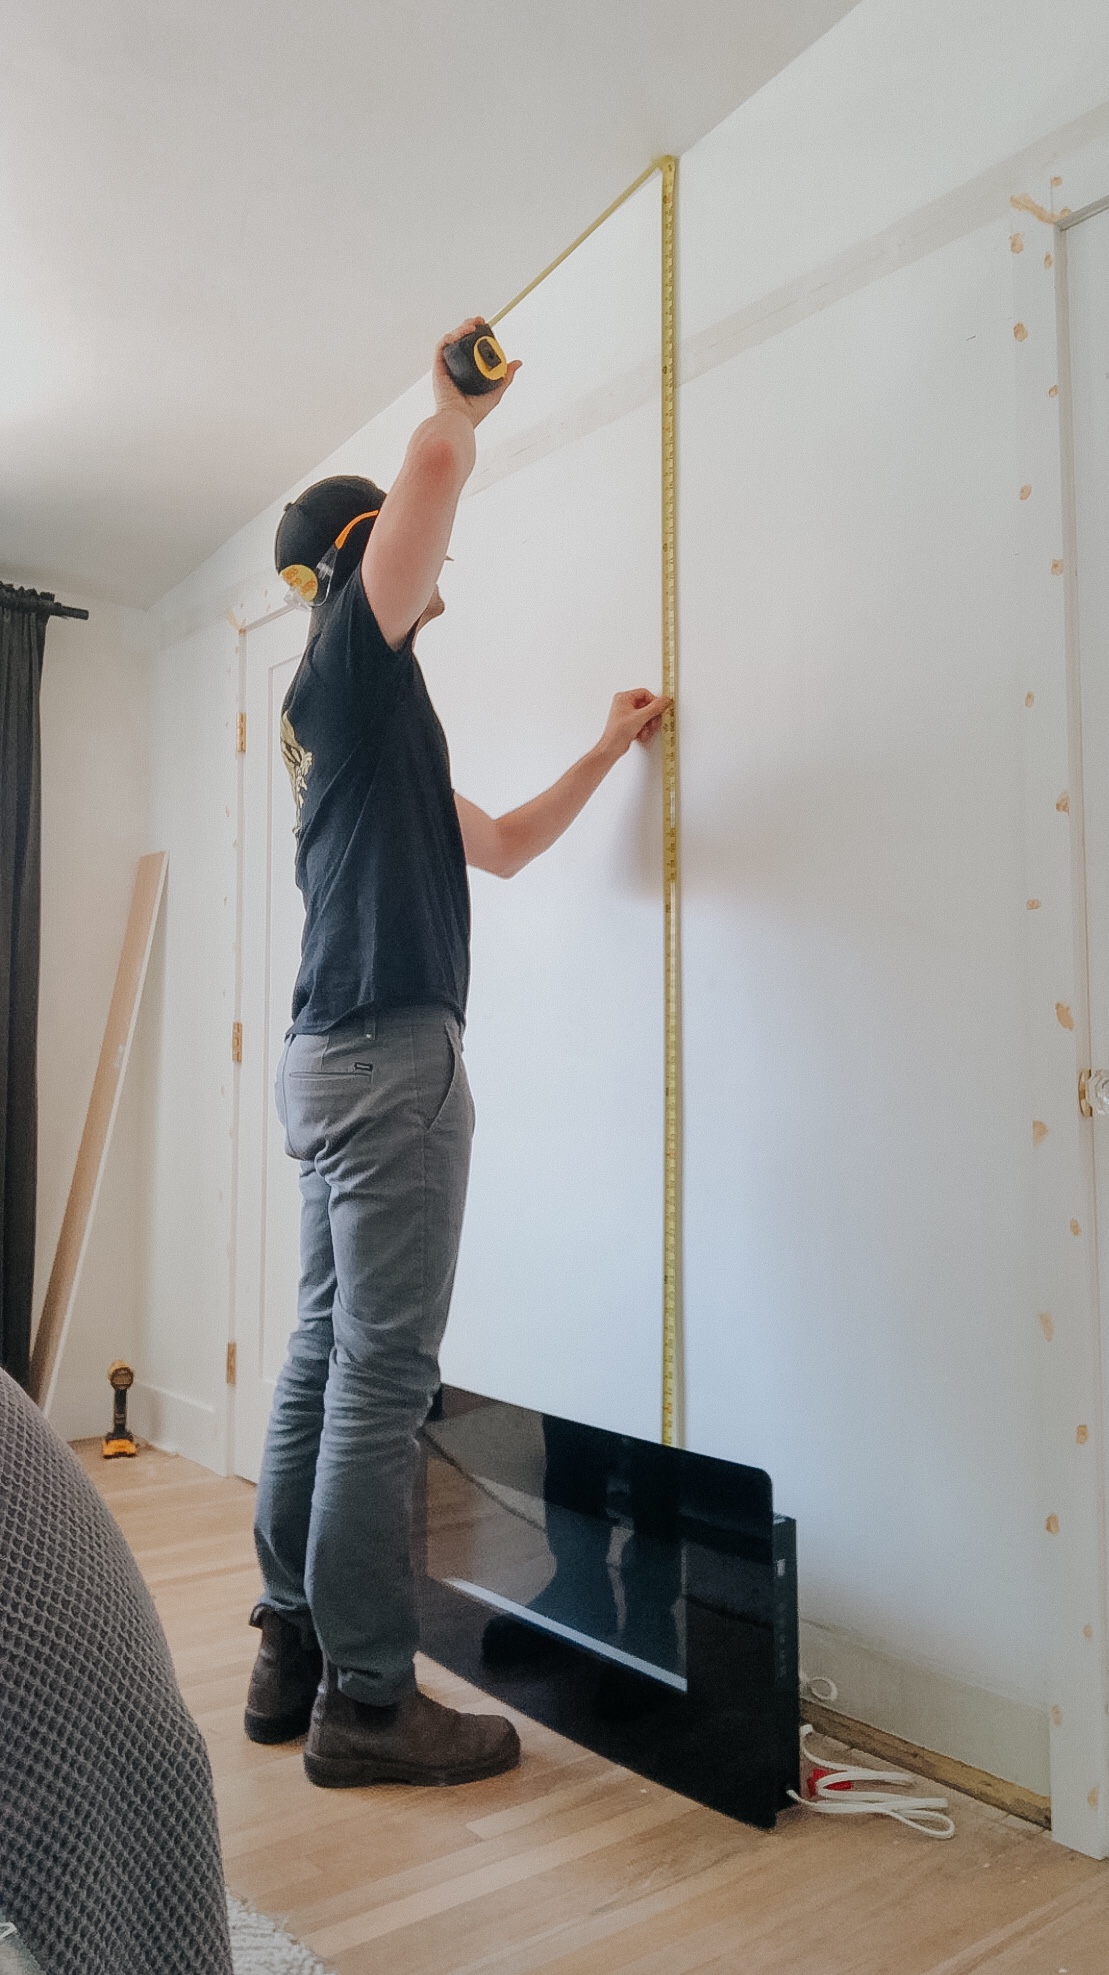
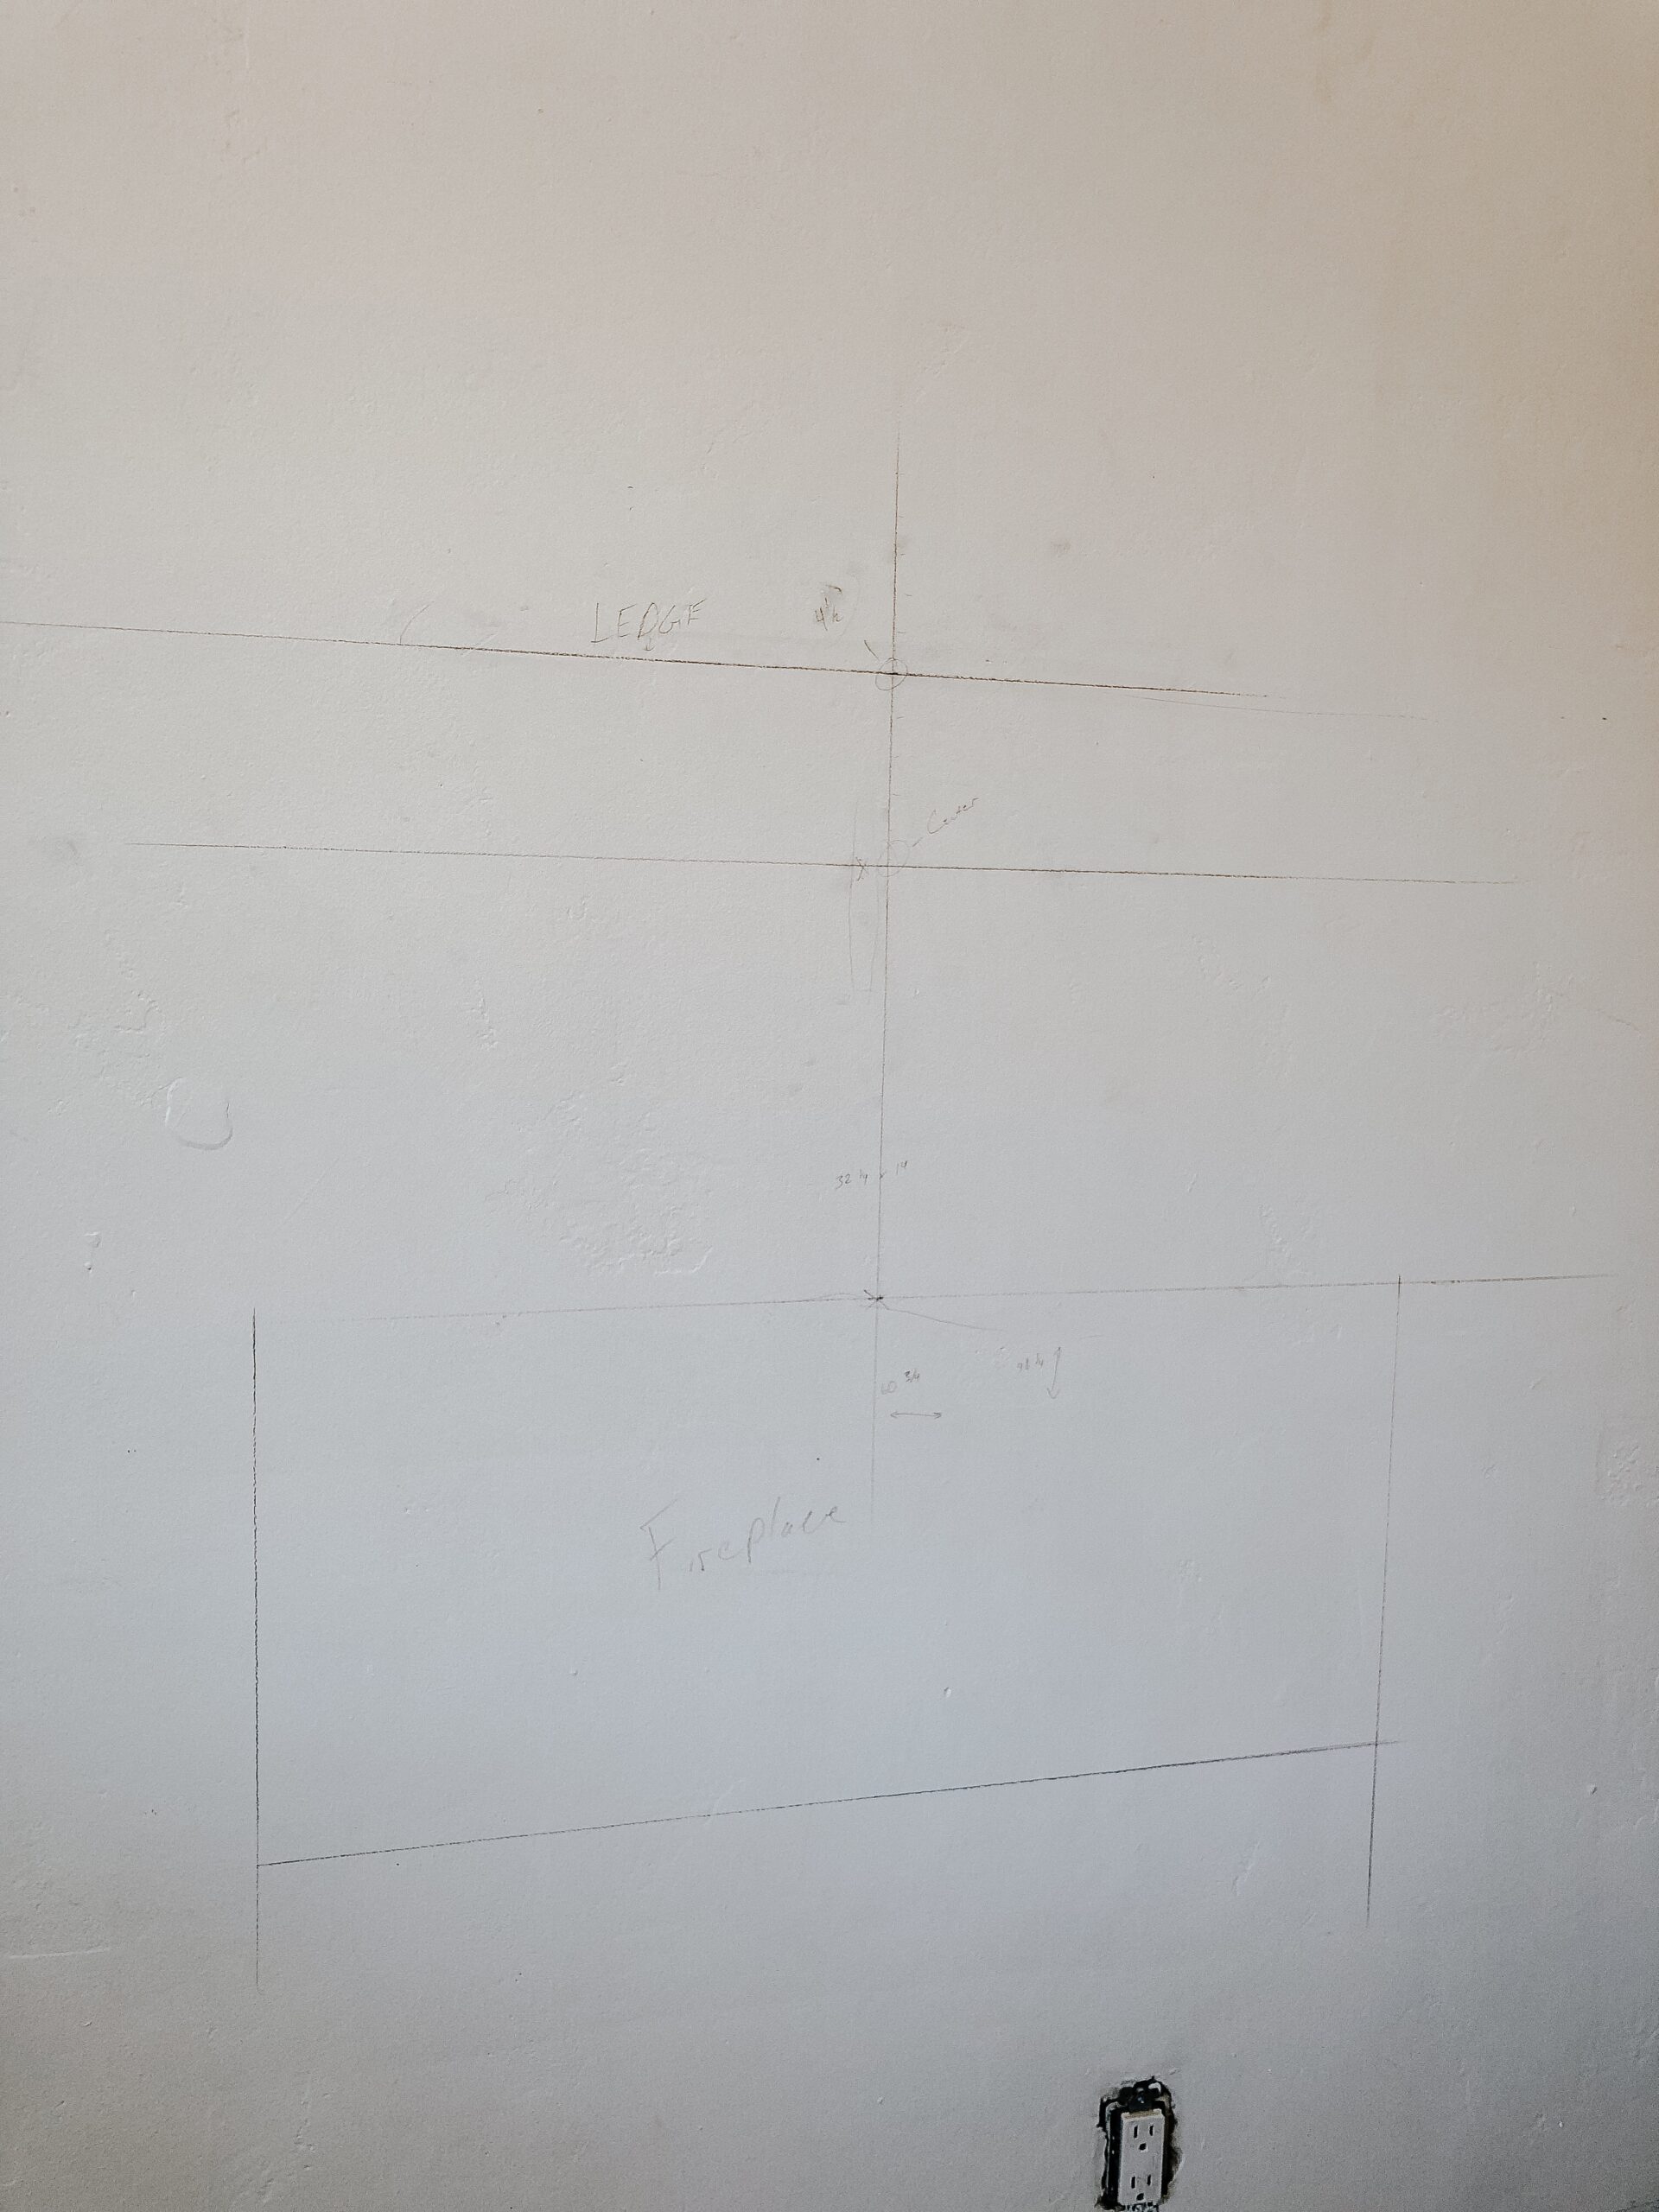
Not going to lie, this took me the longest amount of time to get right. I measured and measured and measured again. First, measured the height of the wall and the width between the two door frames and found the center of the wall. Then, I measured where I wanted the top ledge to go, the depth of the wall and where I wanted the fireplace to sit in proximity to the ledge. Needless to say, it took longer than I thought it would but I’m so glad I took the time to measure and get it right!
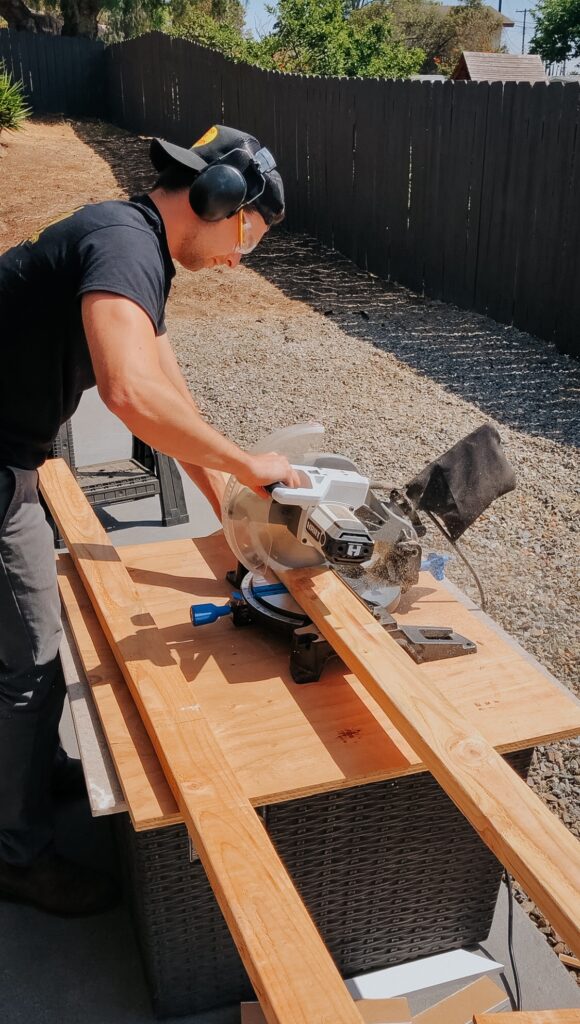
3. Purchase materials

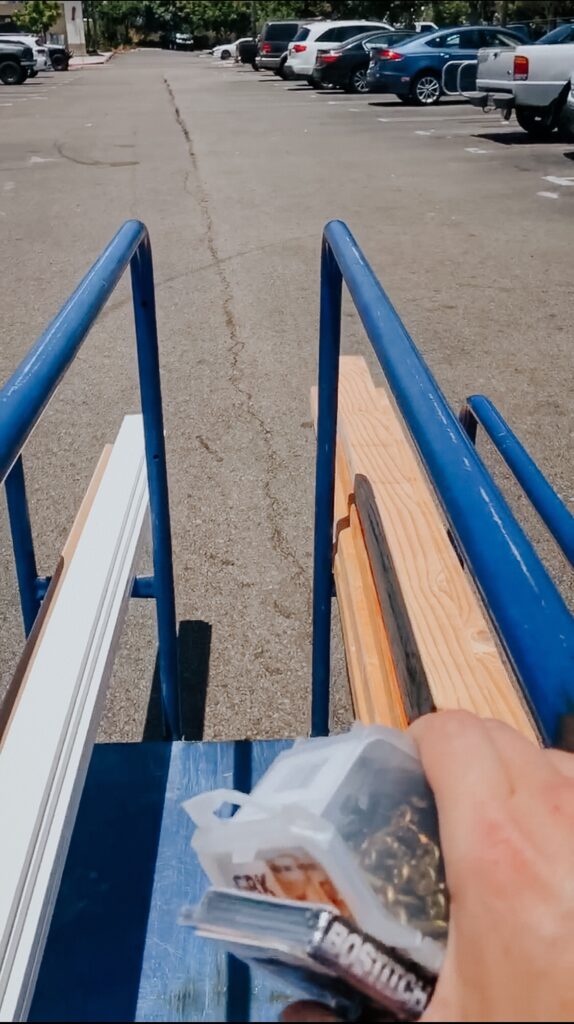
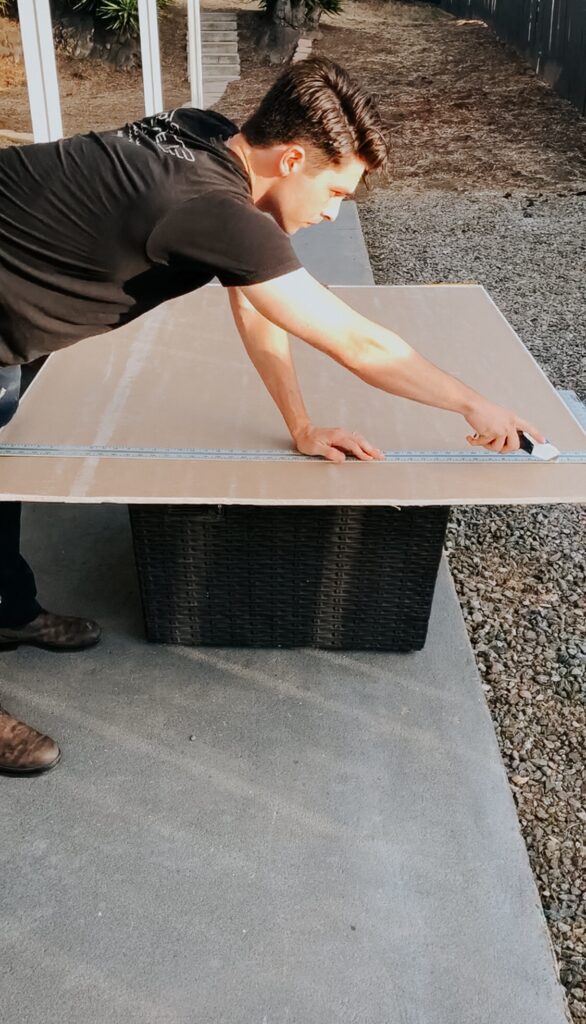
I went to Lowes and purchased five 2x4s, some GRK 2.5″ screws, half inch drywall, joint tape, corner bead, and some drywall screws. Some other things that we used for this project but already had were joint compound, joint knife, drop cloth,
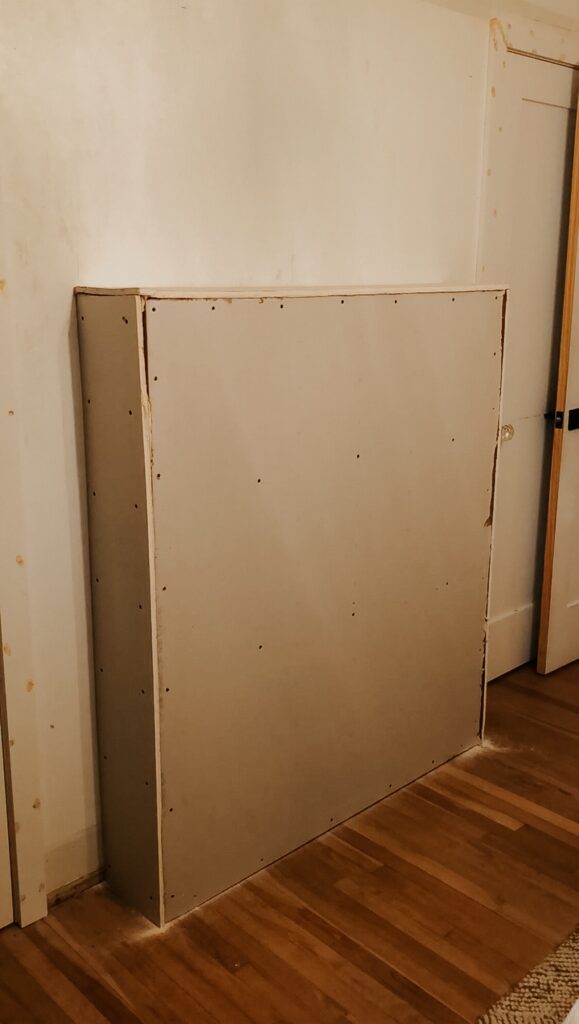
4. Start framing
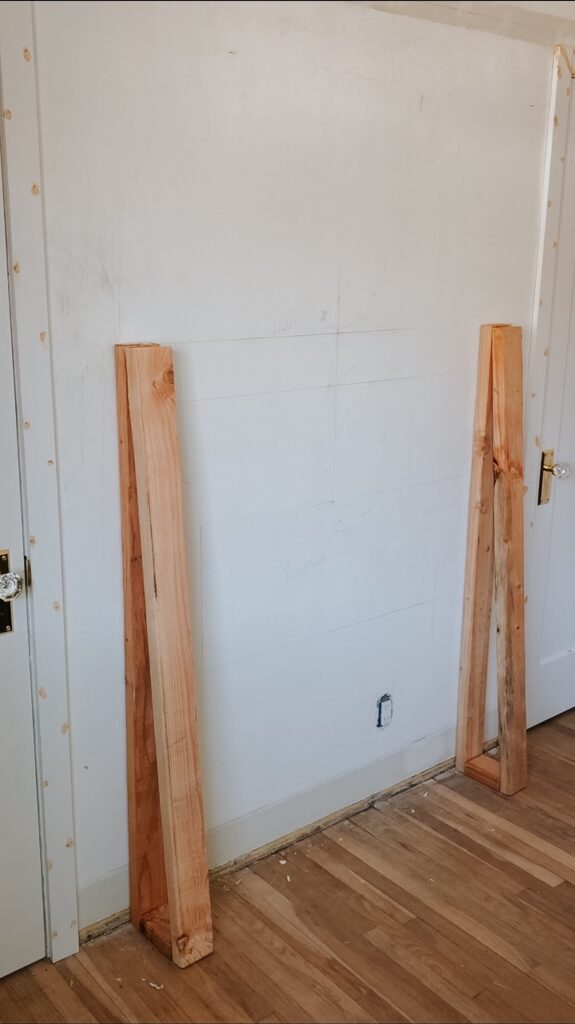
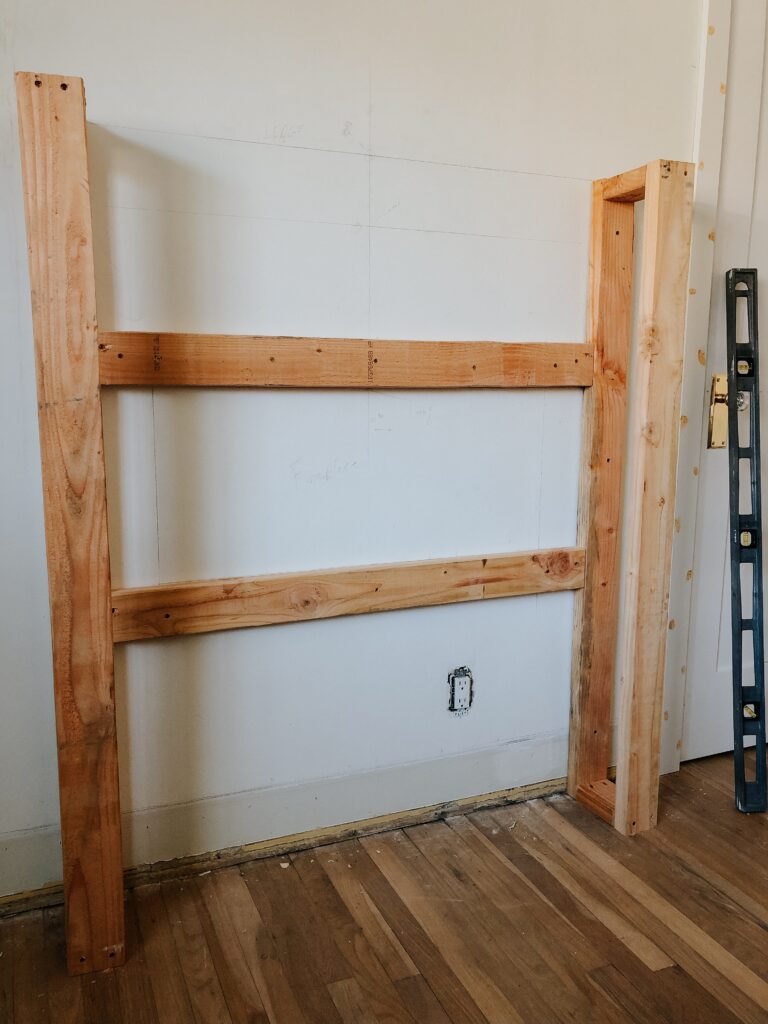


The tools that I used for the framing:

5. Hang drywall
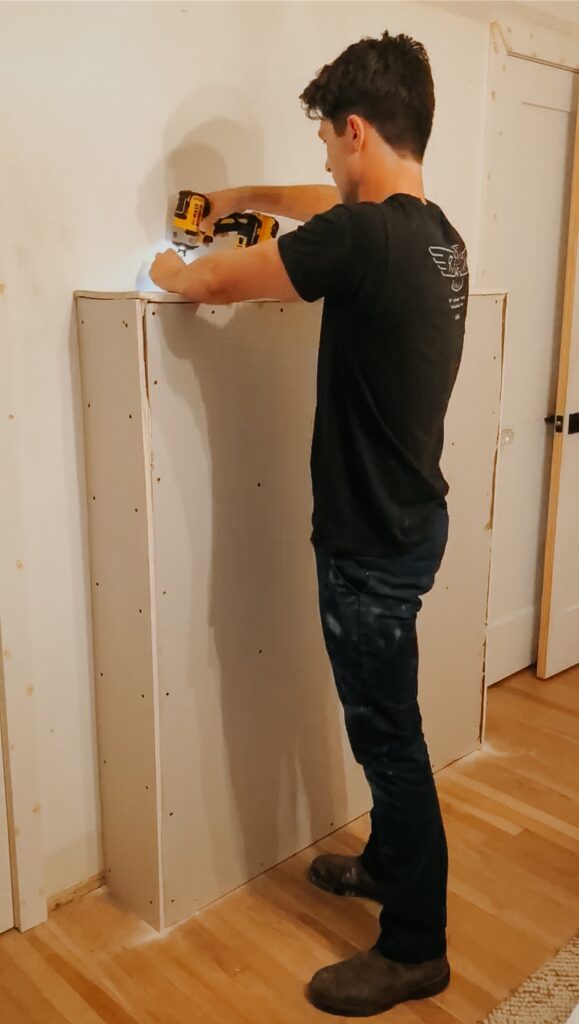
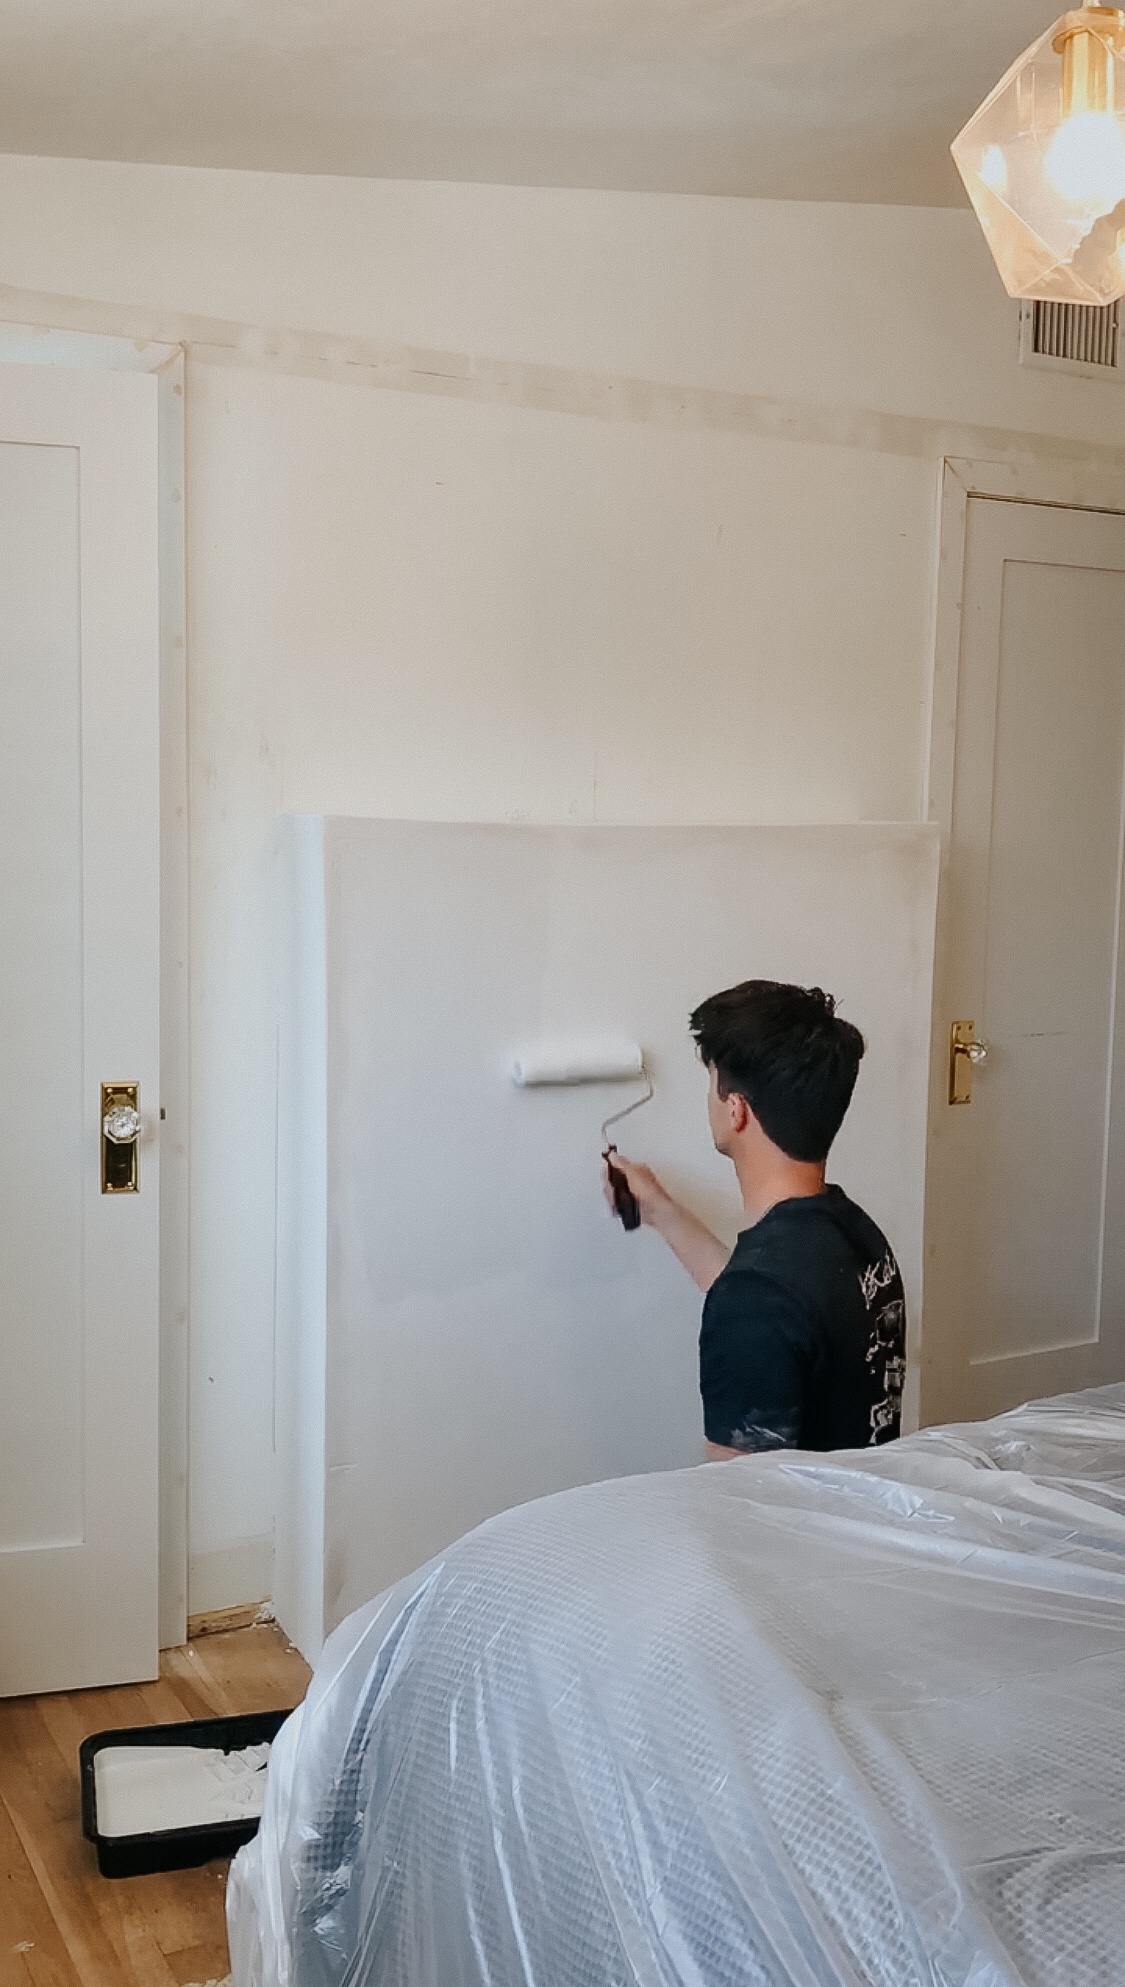
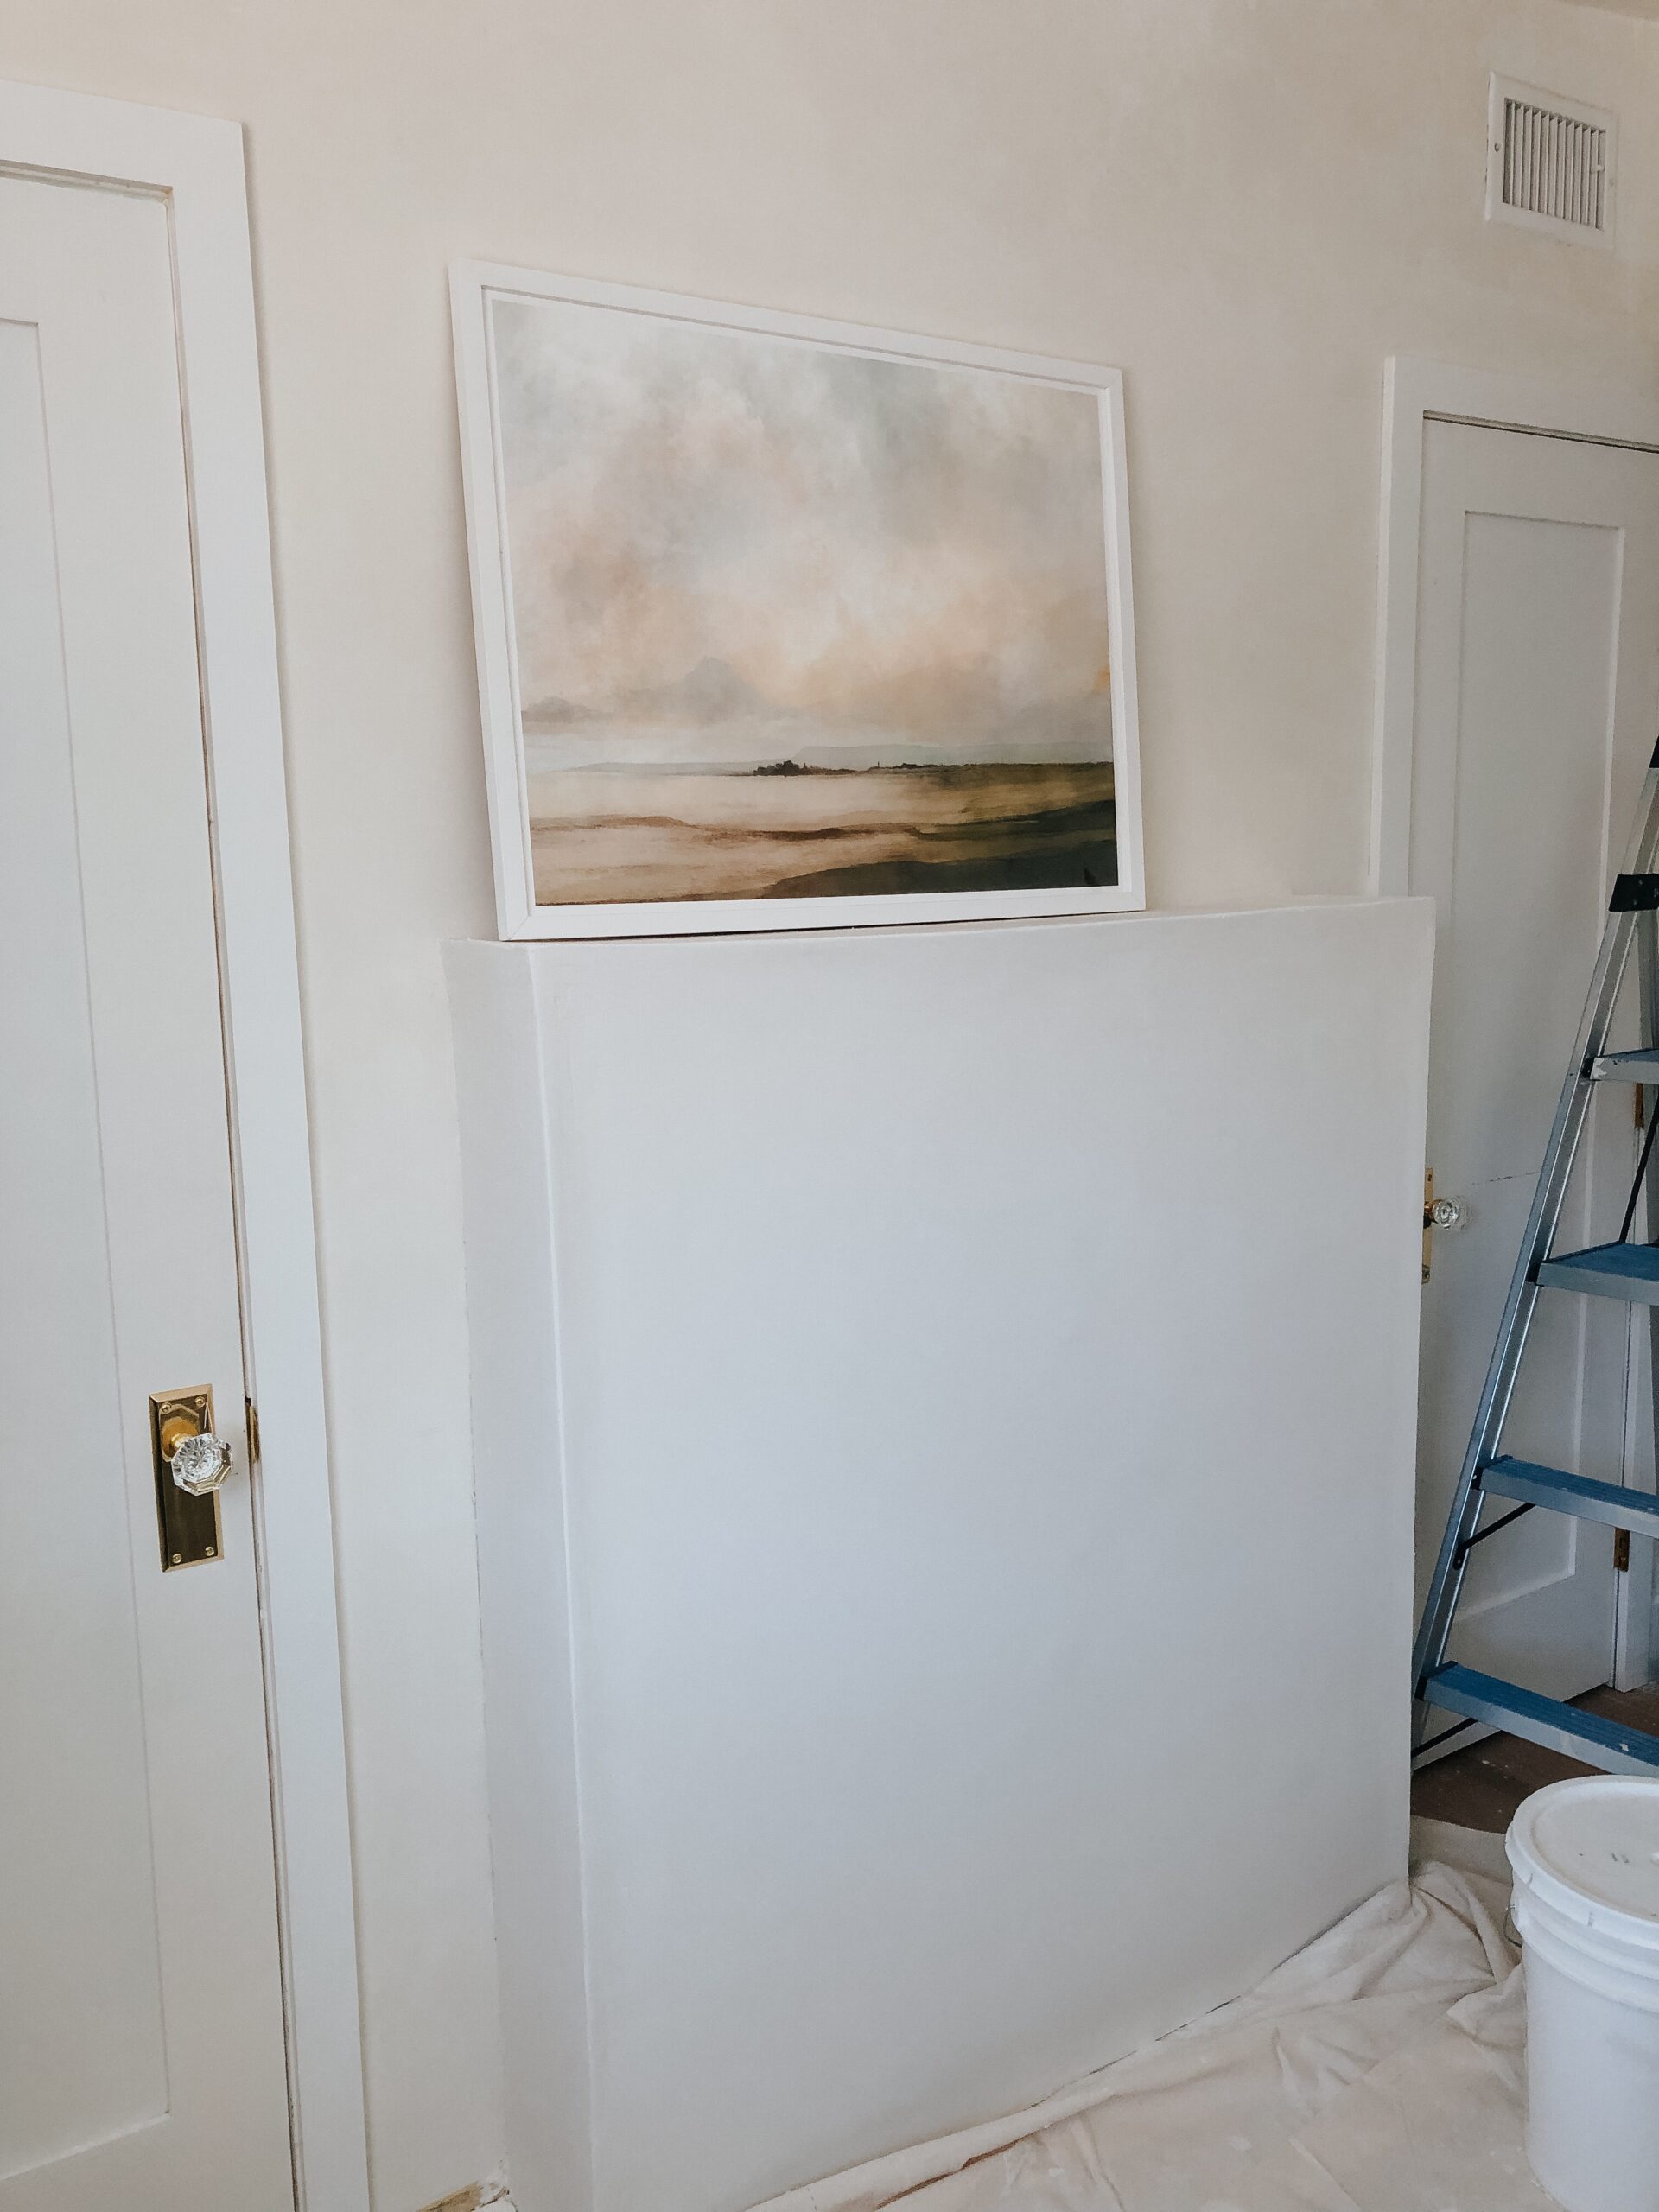
6. Mud, prime, & paint
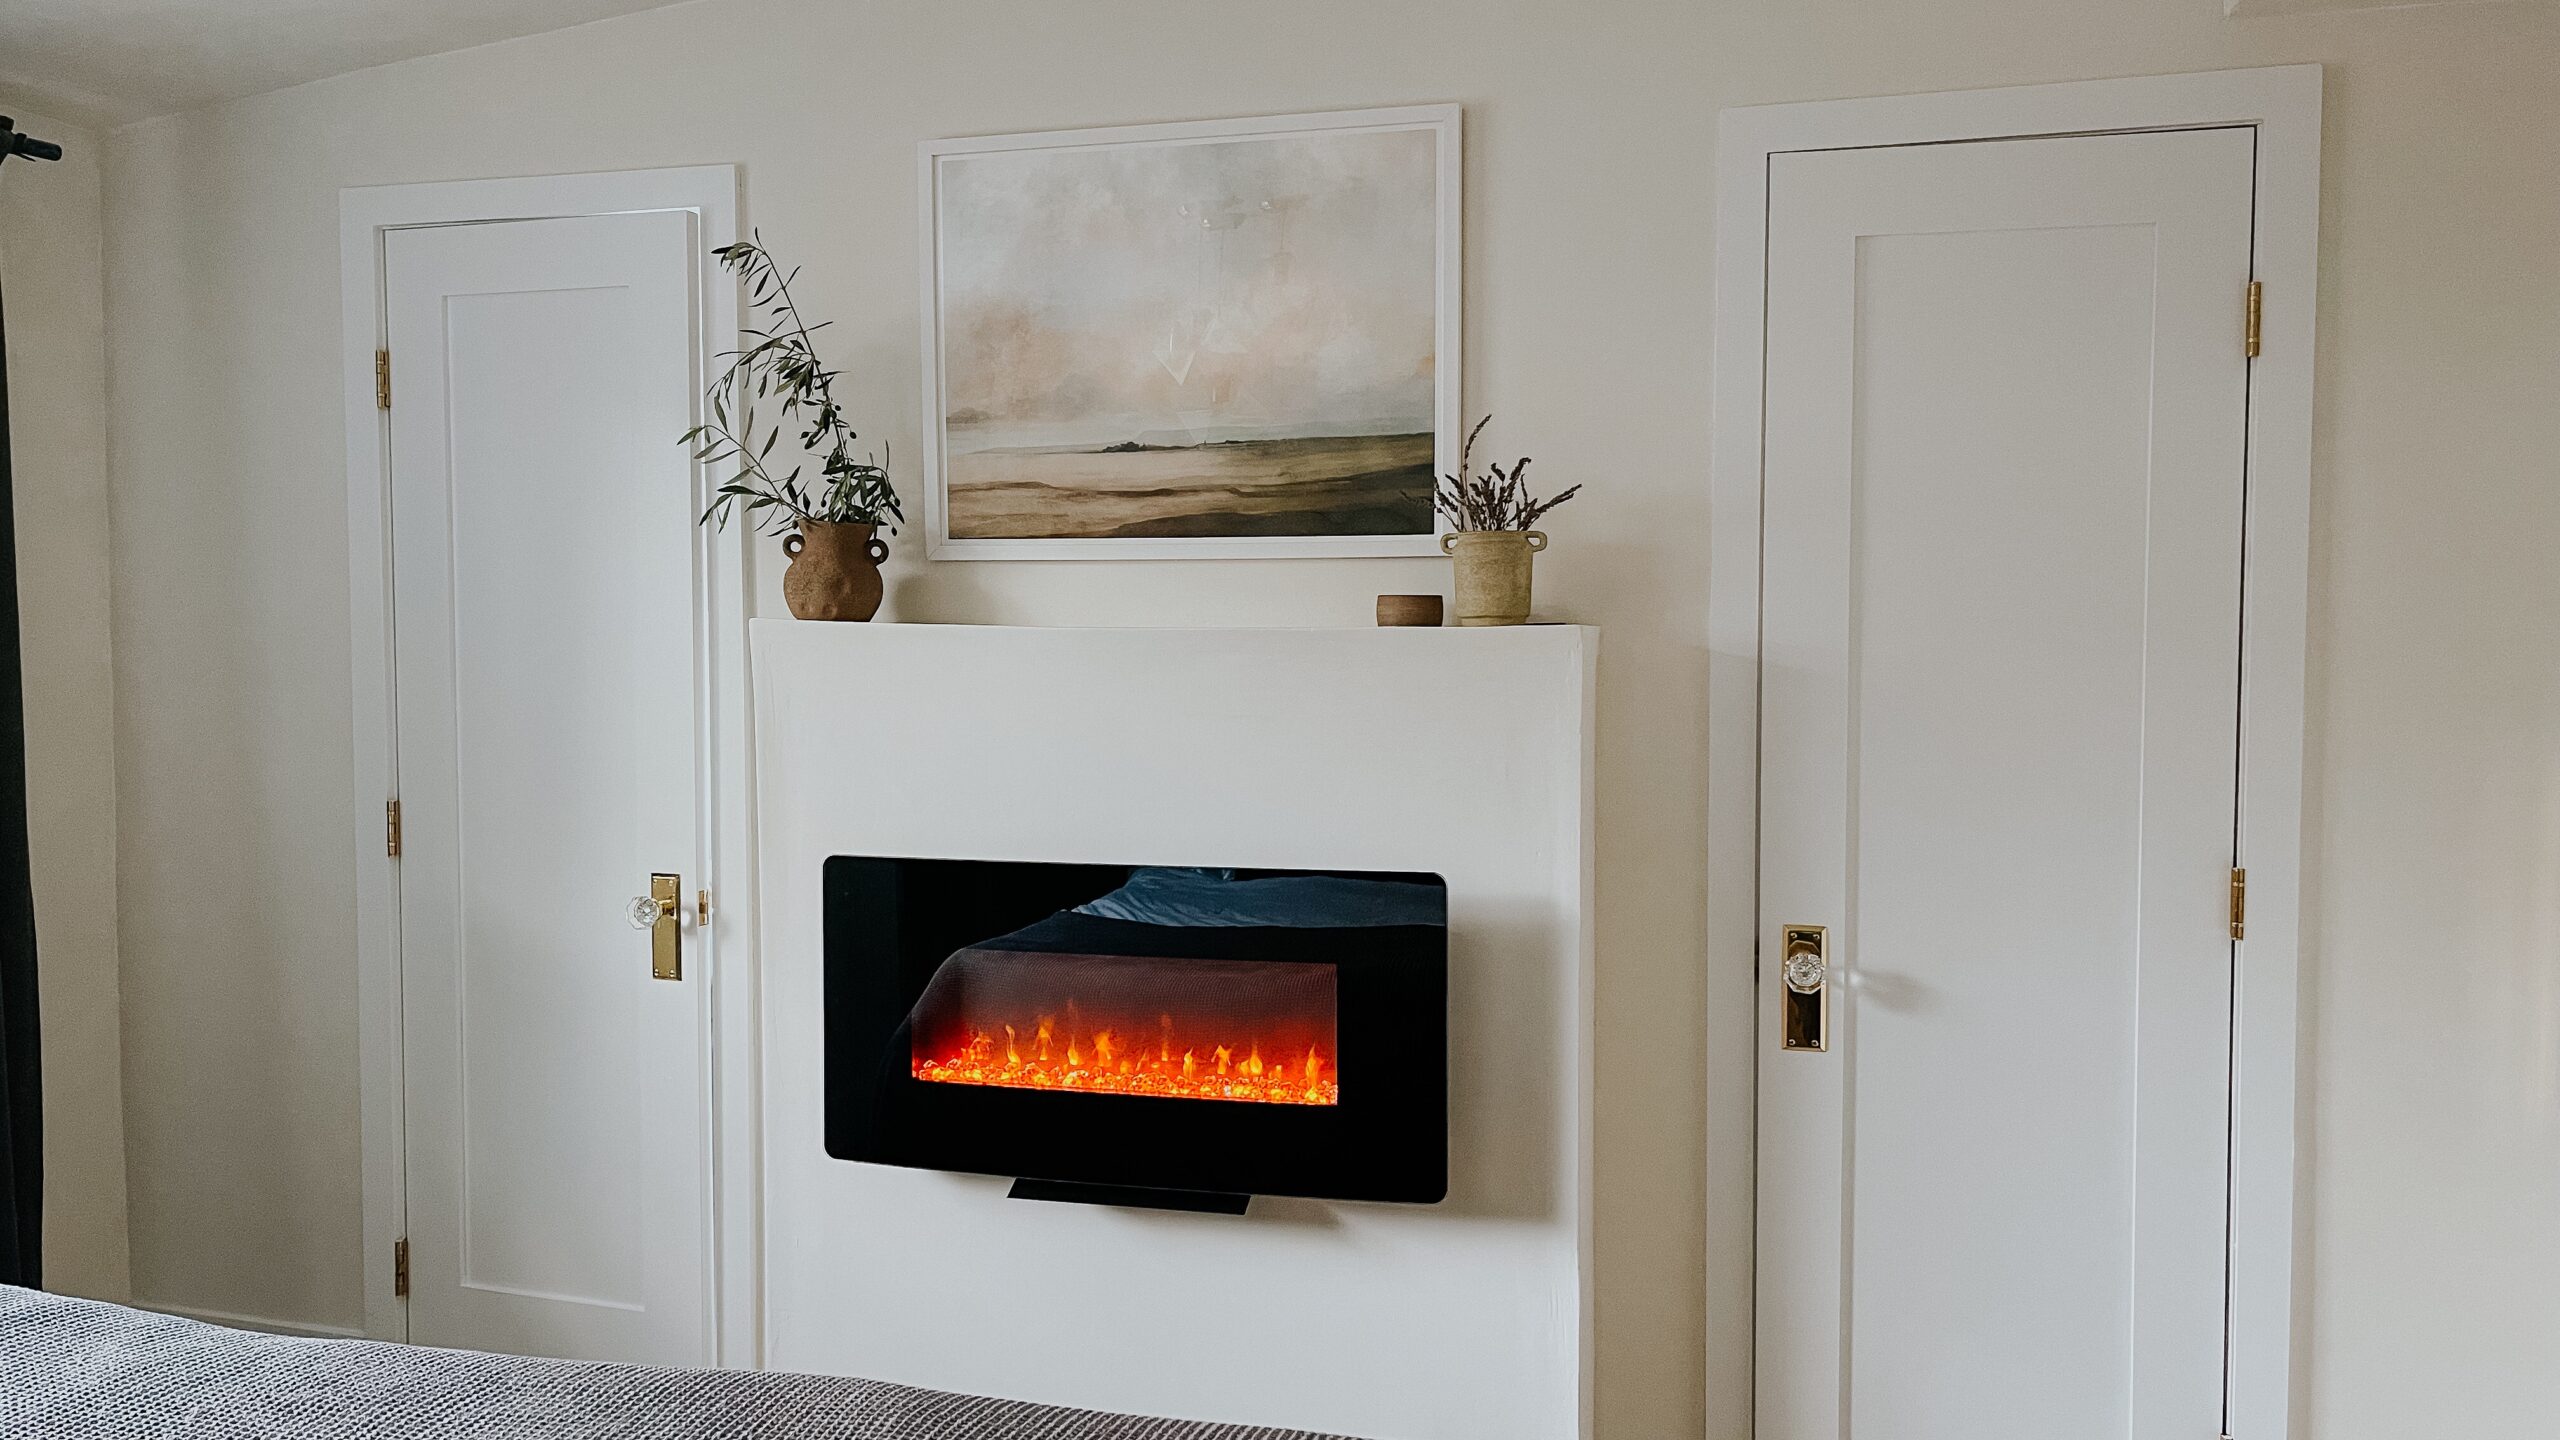
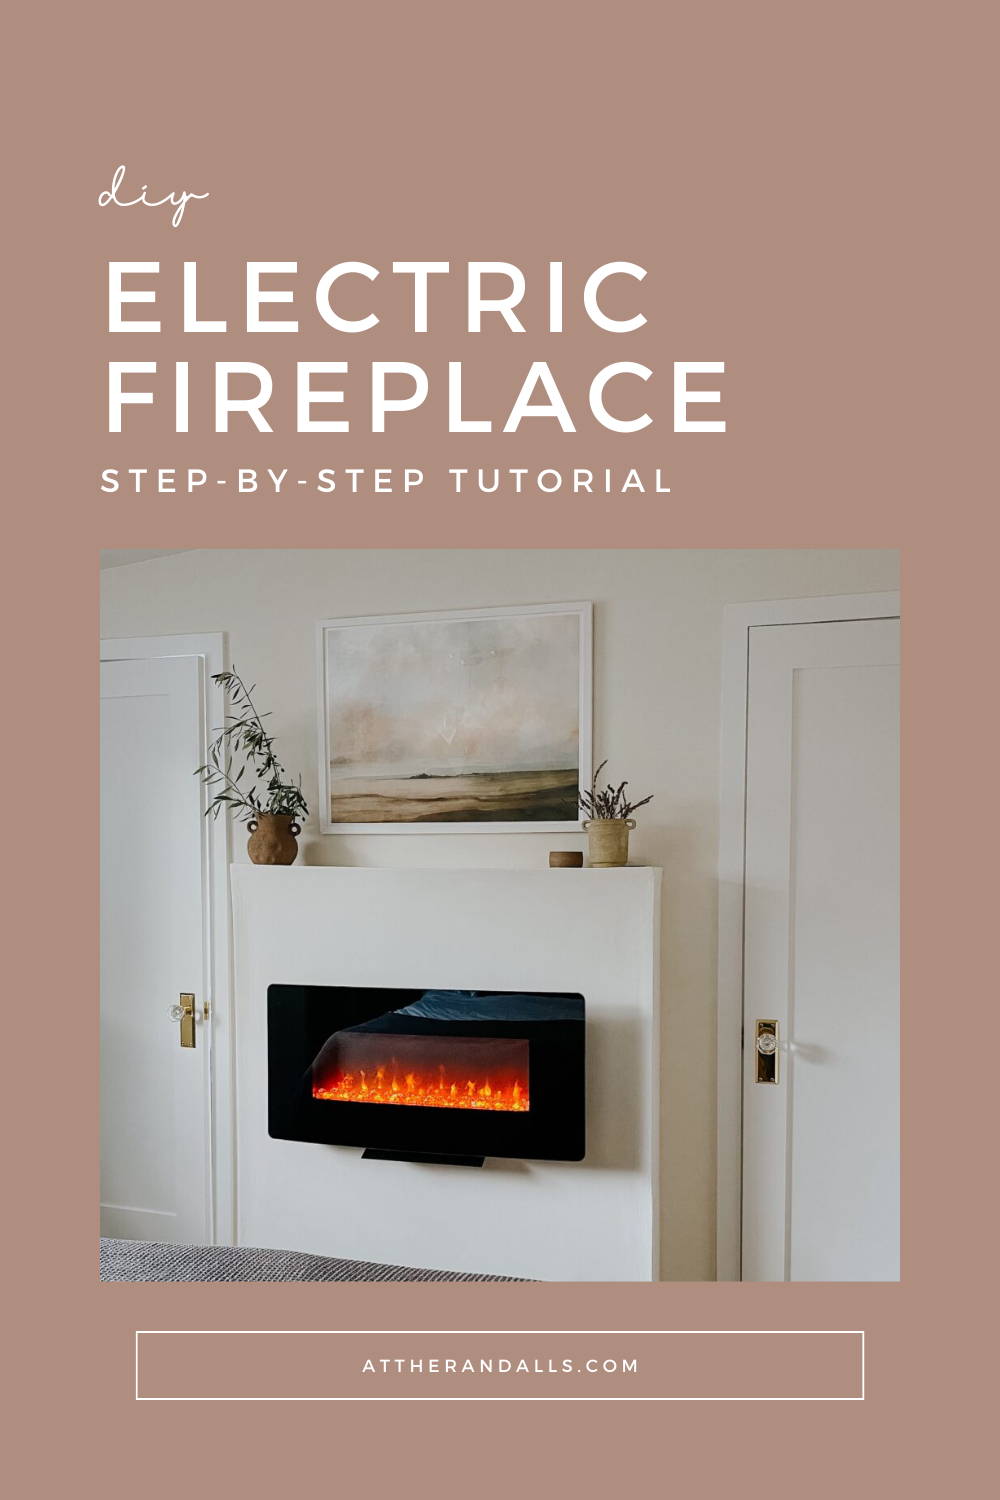
We love our new DIY electric fireplace! We gathered together some of our favorite electric fireplaces. You can see them all here!
Comments