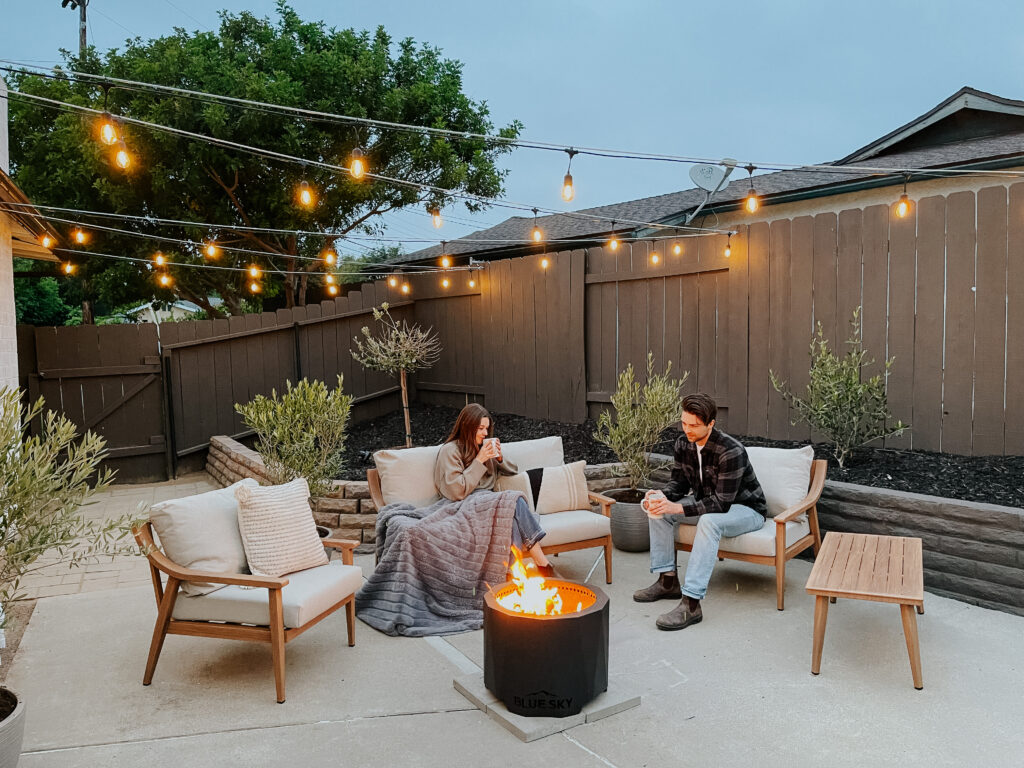
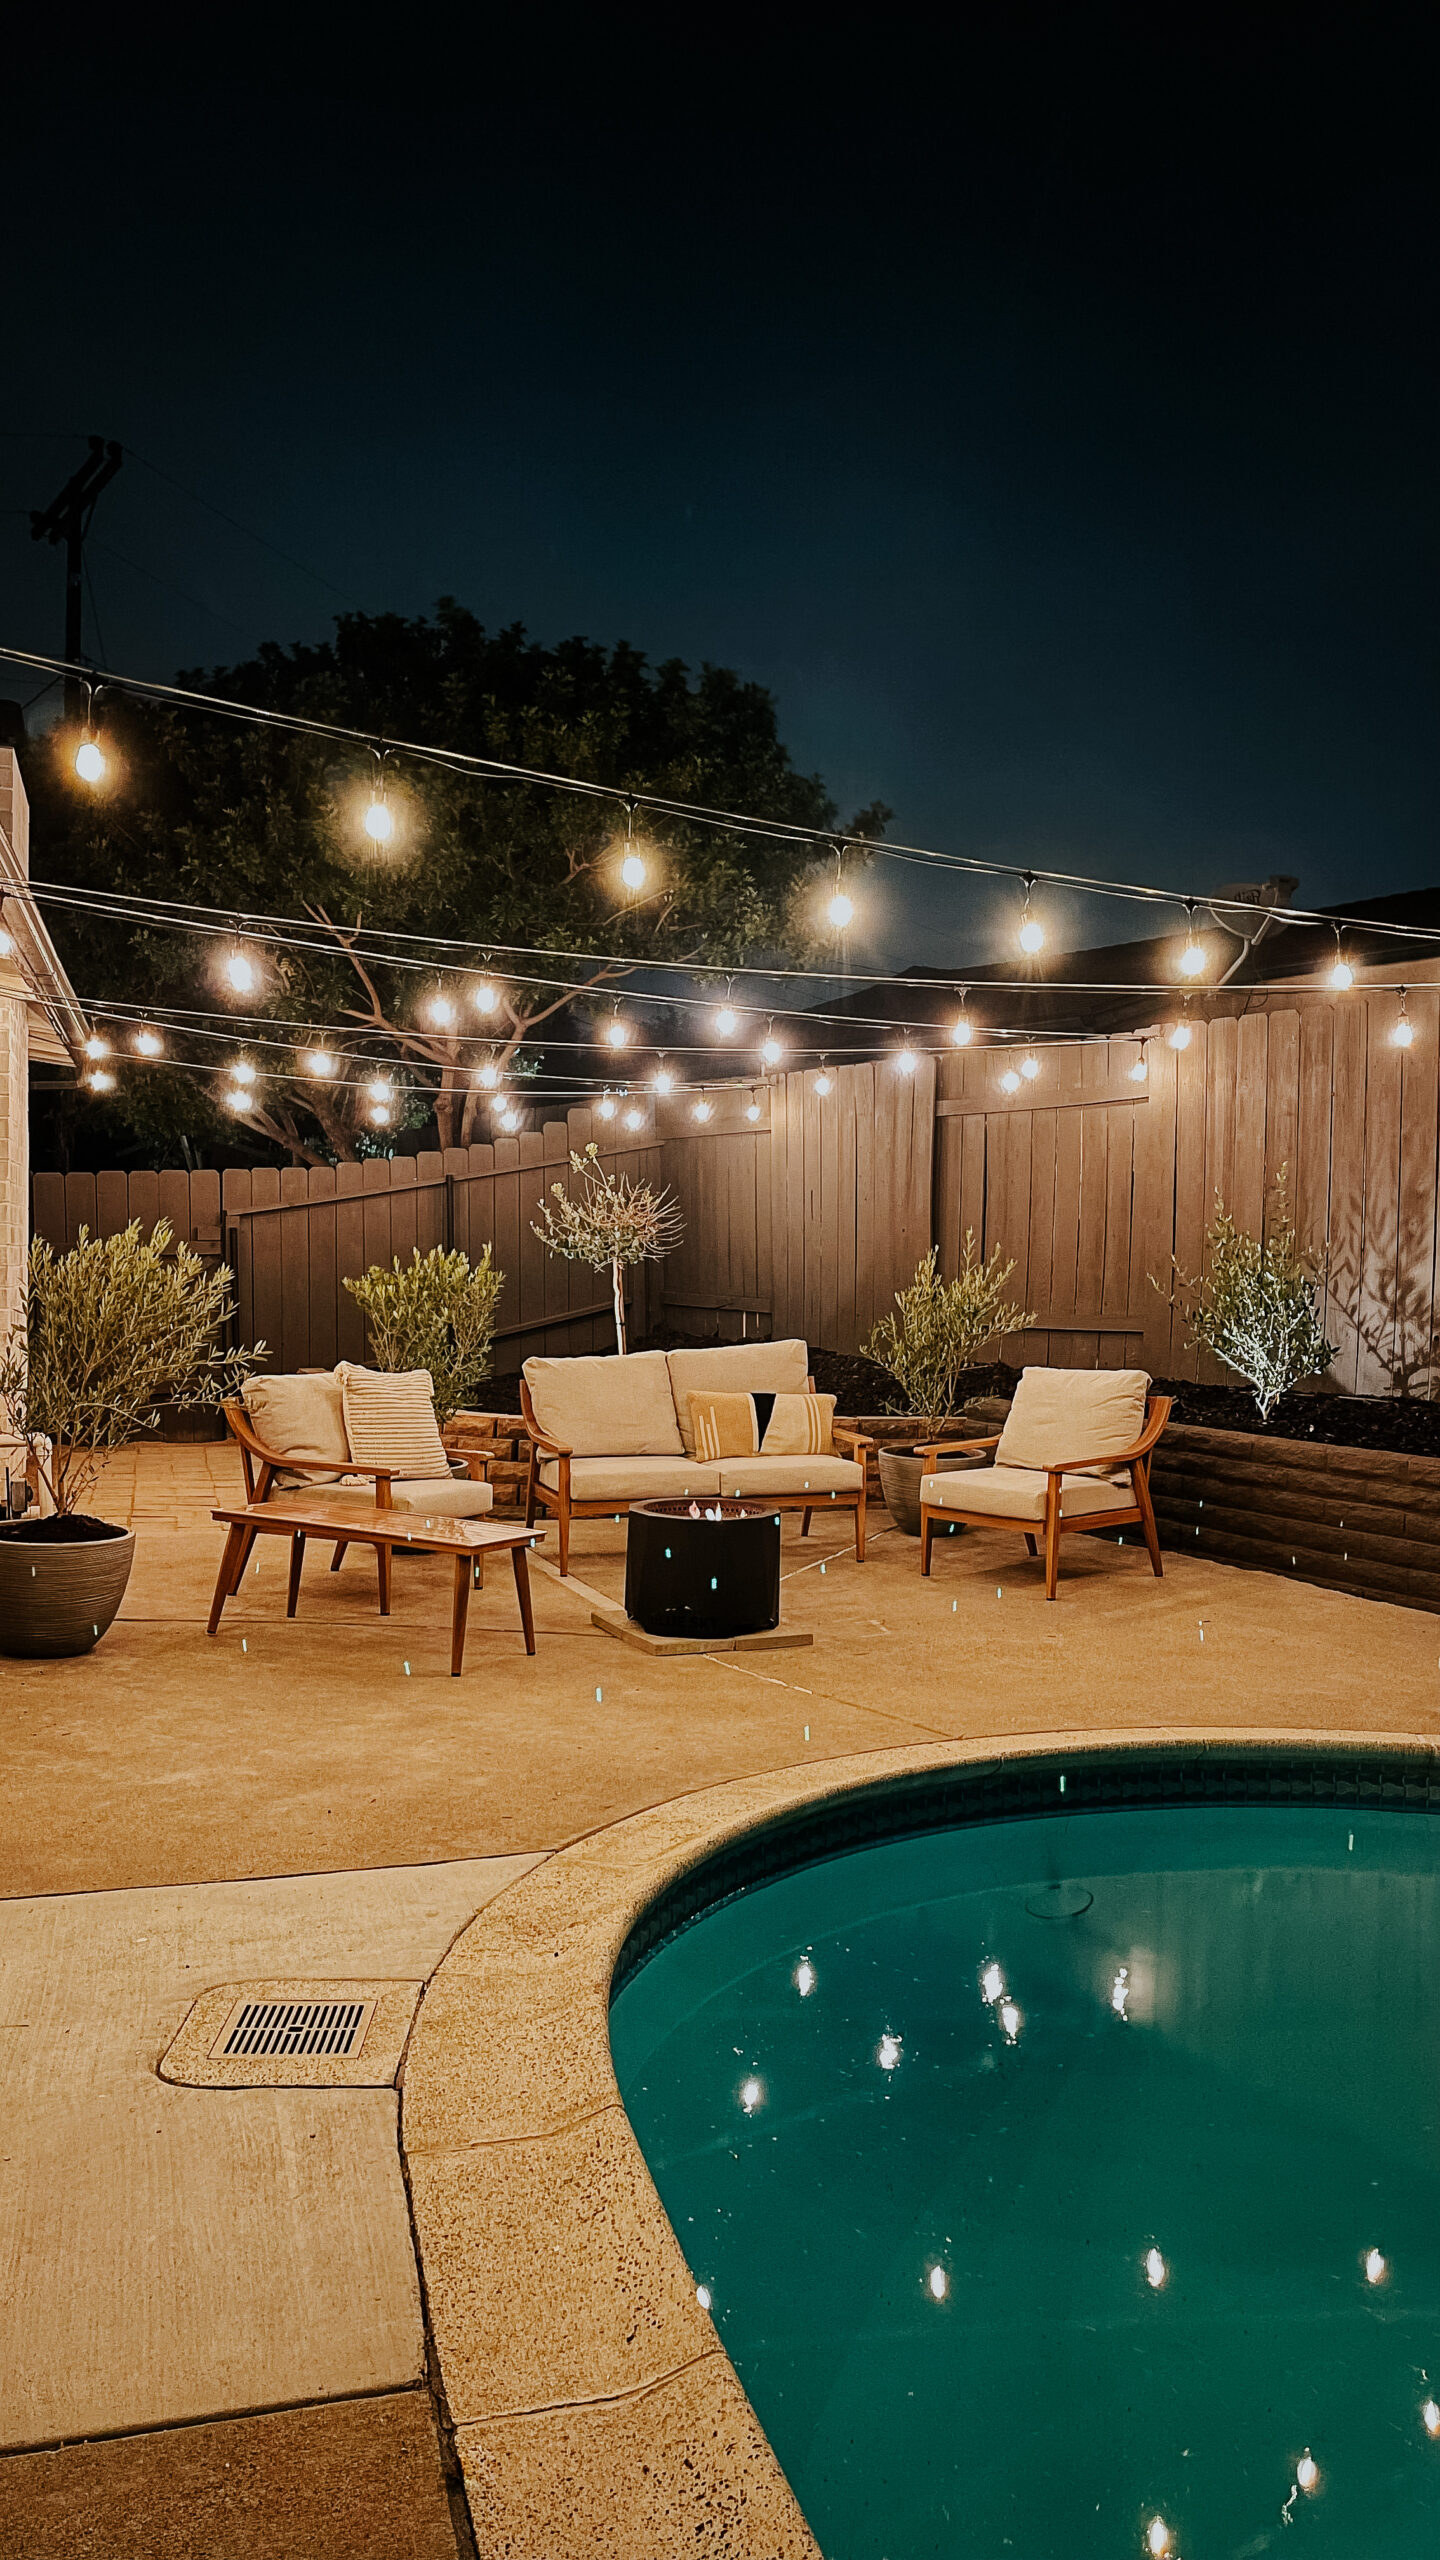
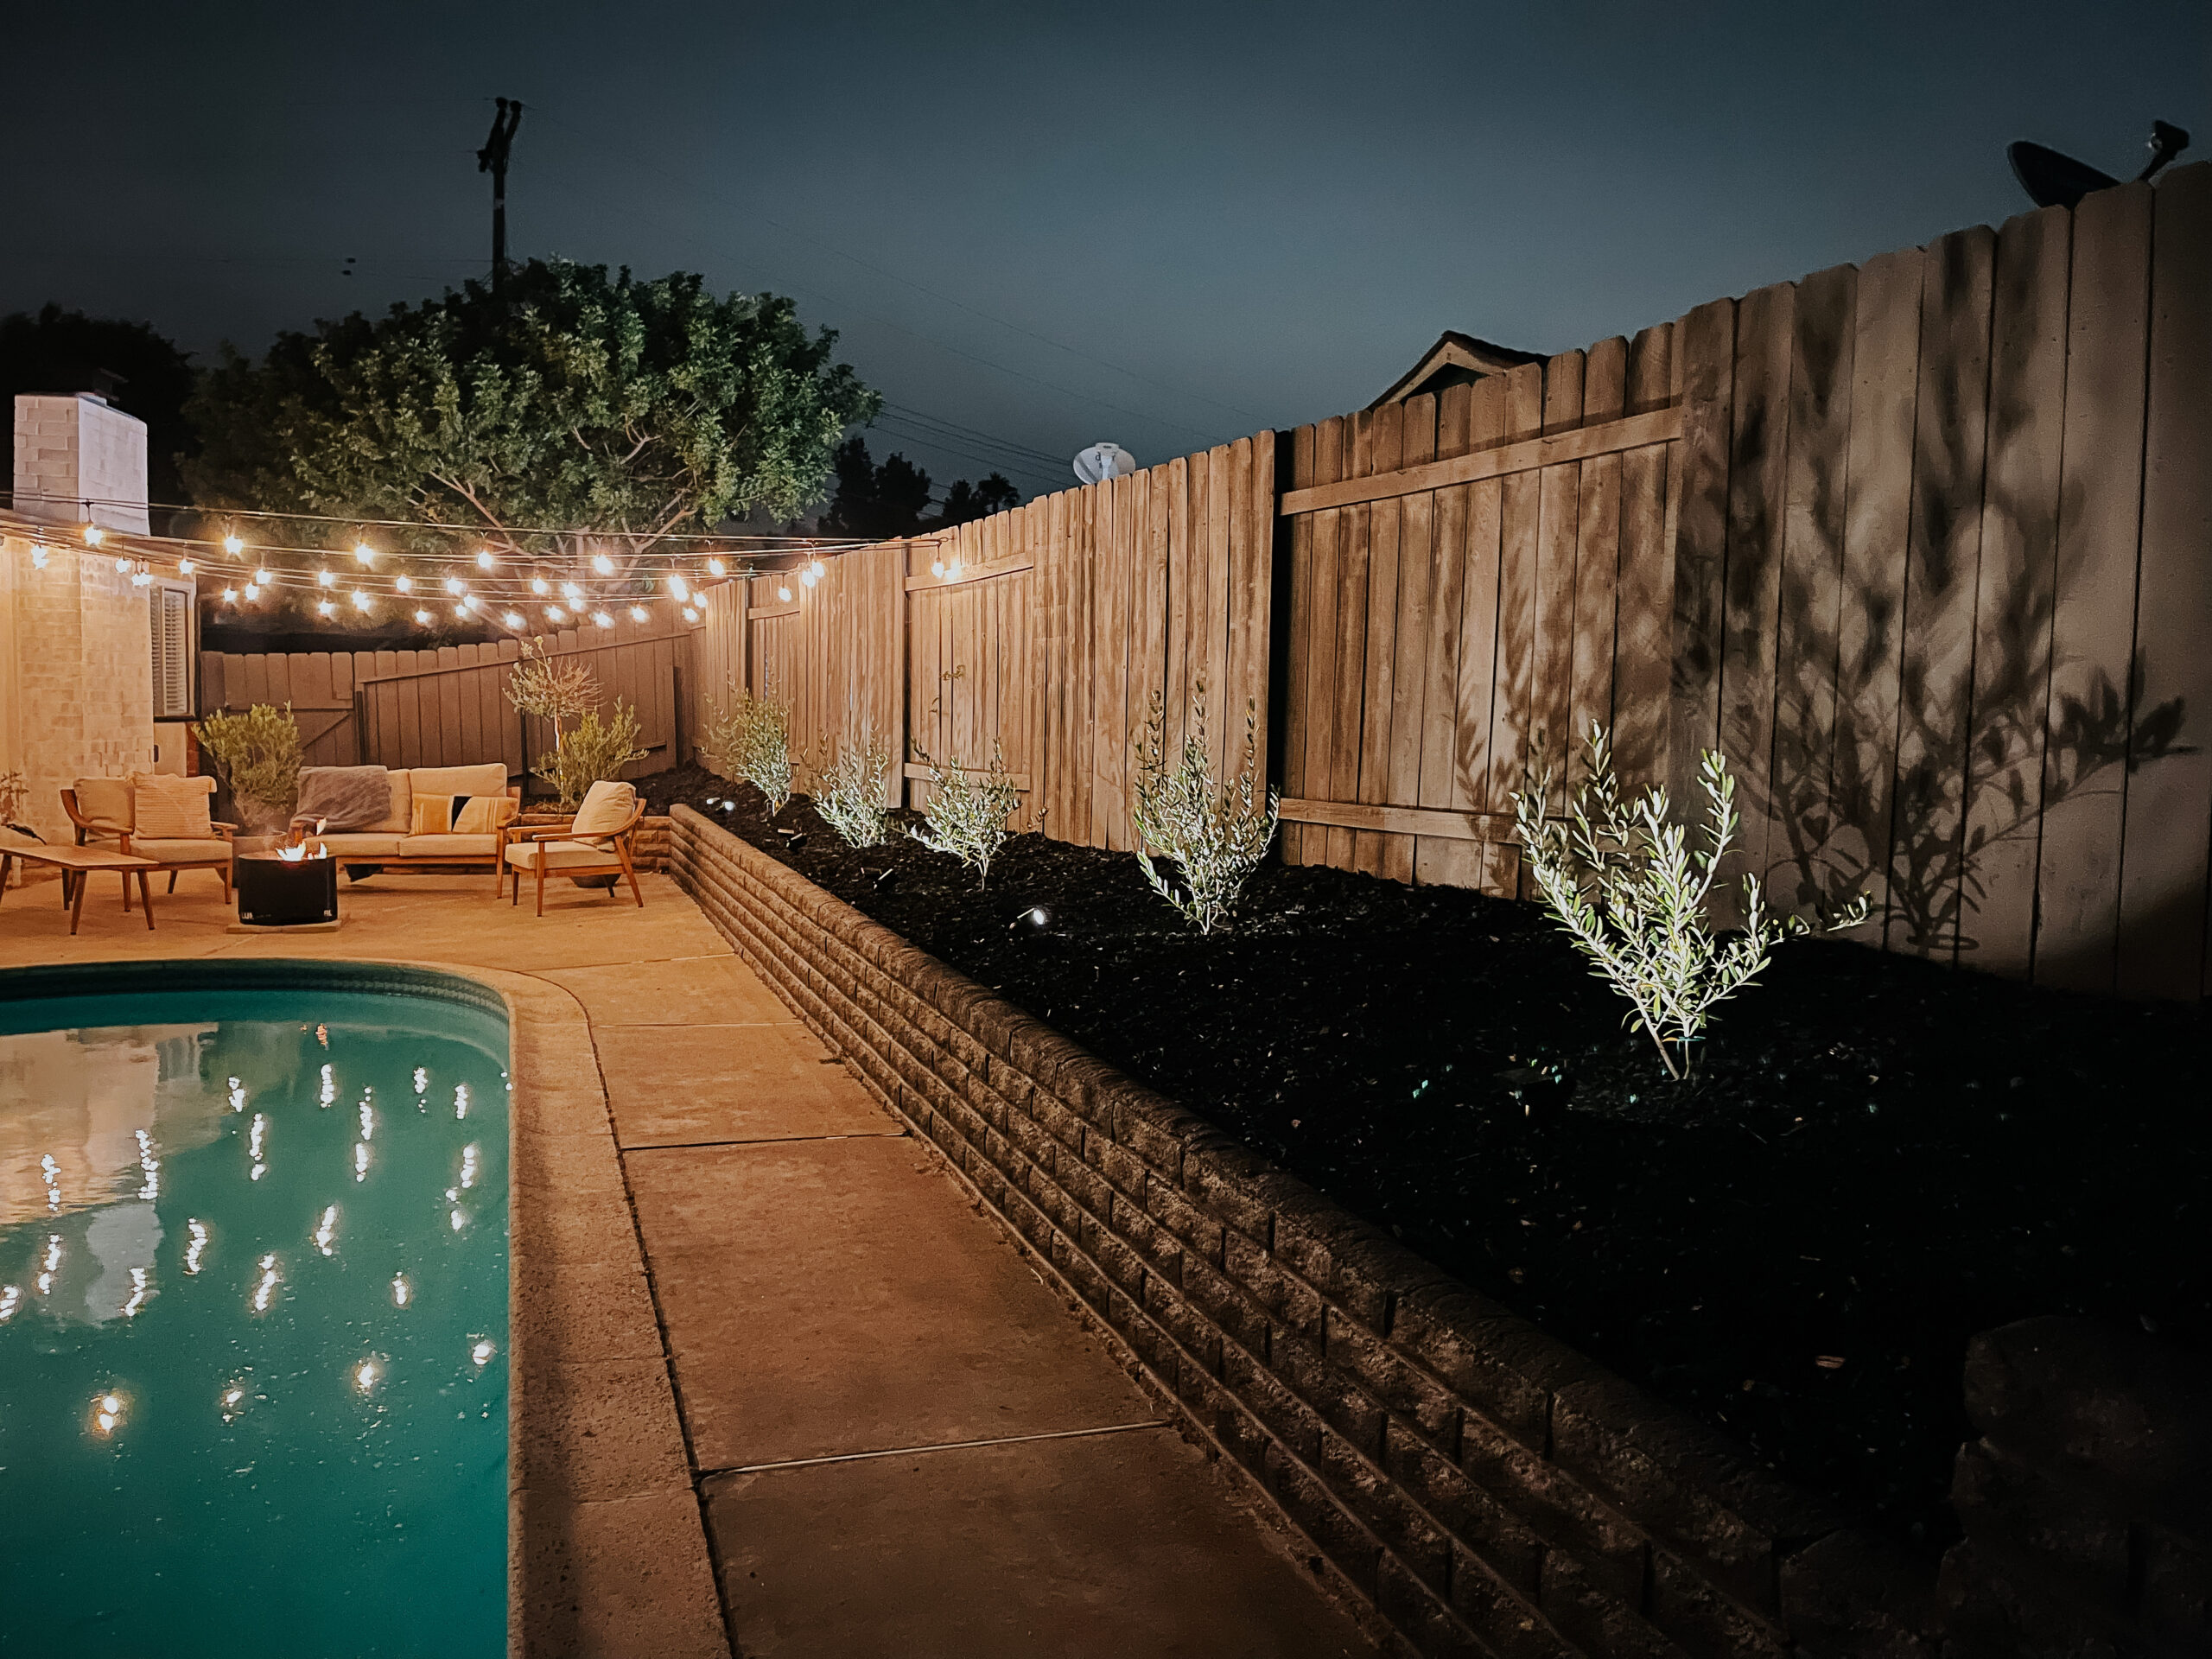
Hanging bistro patio lights over our pool patio was a total game-changer! Here are seven steps to help you bring the same magic to your own patio space.
1. Choose the type of design you would like
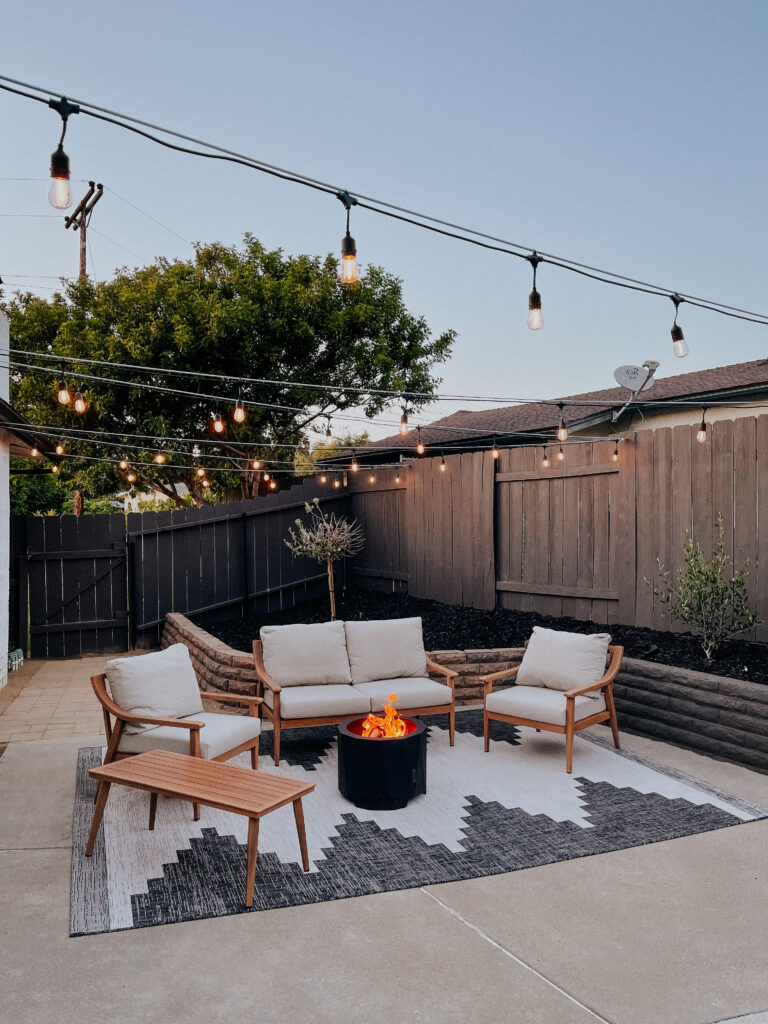
Depending on your space and what you prefer you can do a square pattern, a triangle pattern, an x pattern or a zig zag pattern. We chose a zig zag pattern for our design.
2. Measure your space
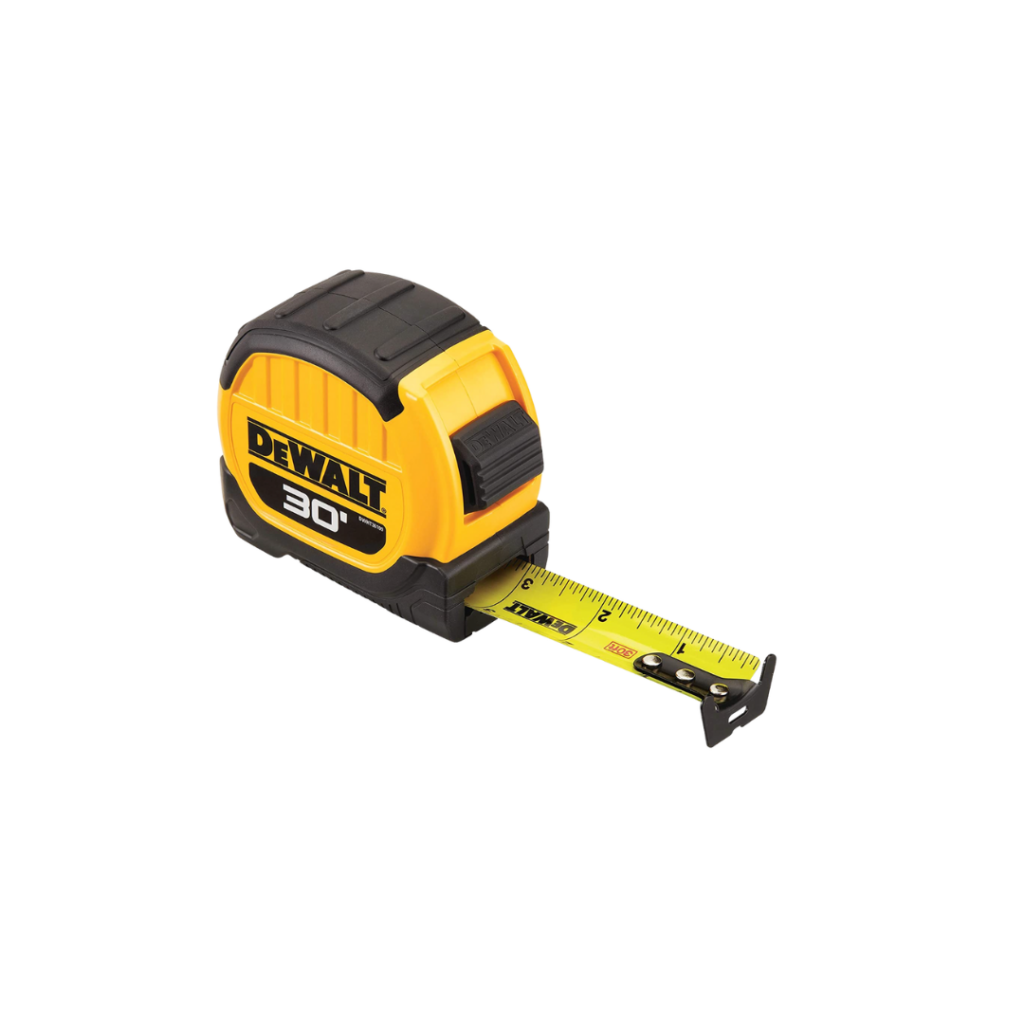
We have an outlet on the side of the house, so we decided that would be our starting point. We measured from the wood joist that was closest to the outlet, all the way to the opposite side of the patio where the fence is (where our second anchor point would be). I recommend measuring everything beforehand so that you can estimate about how much material you will need and so you don’t end up going back to Lowes two or three times like we did! 😉
3. Buy your materials
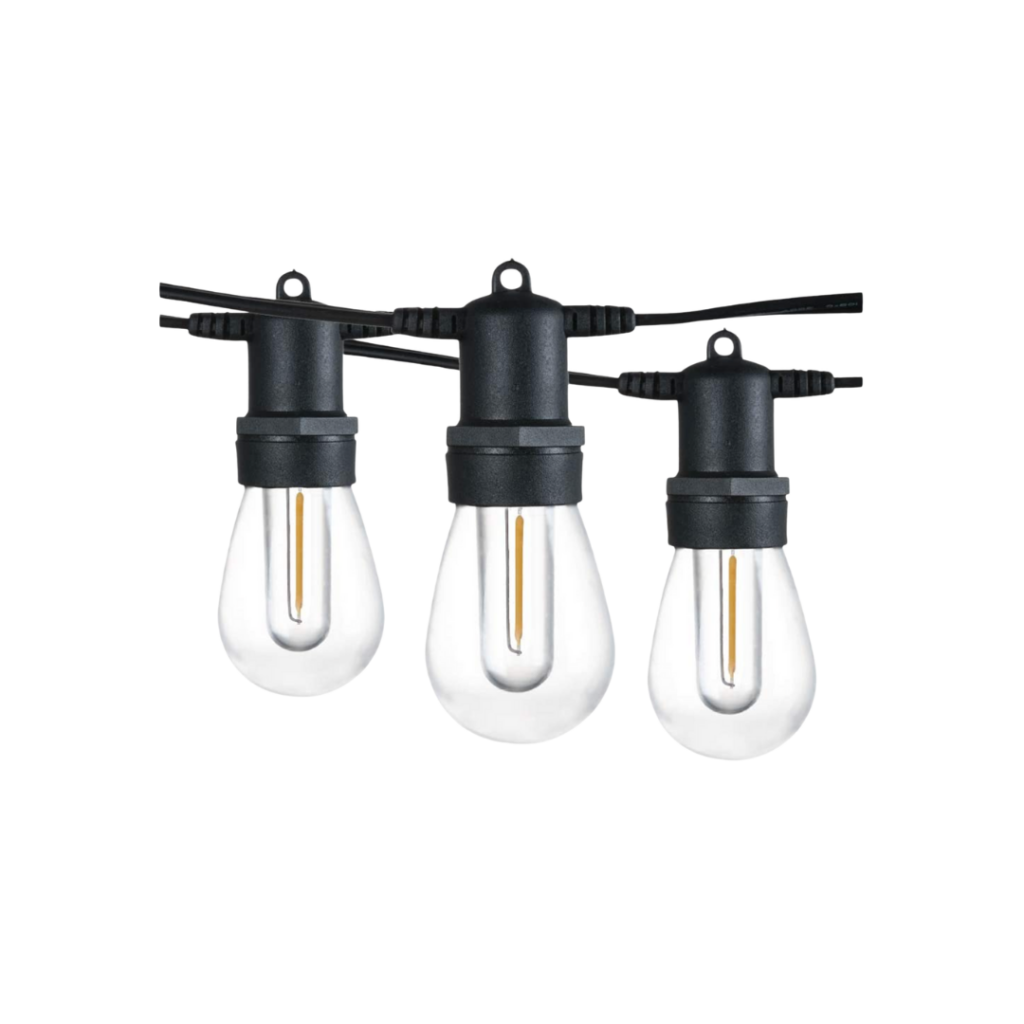
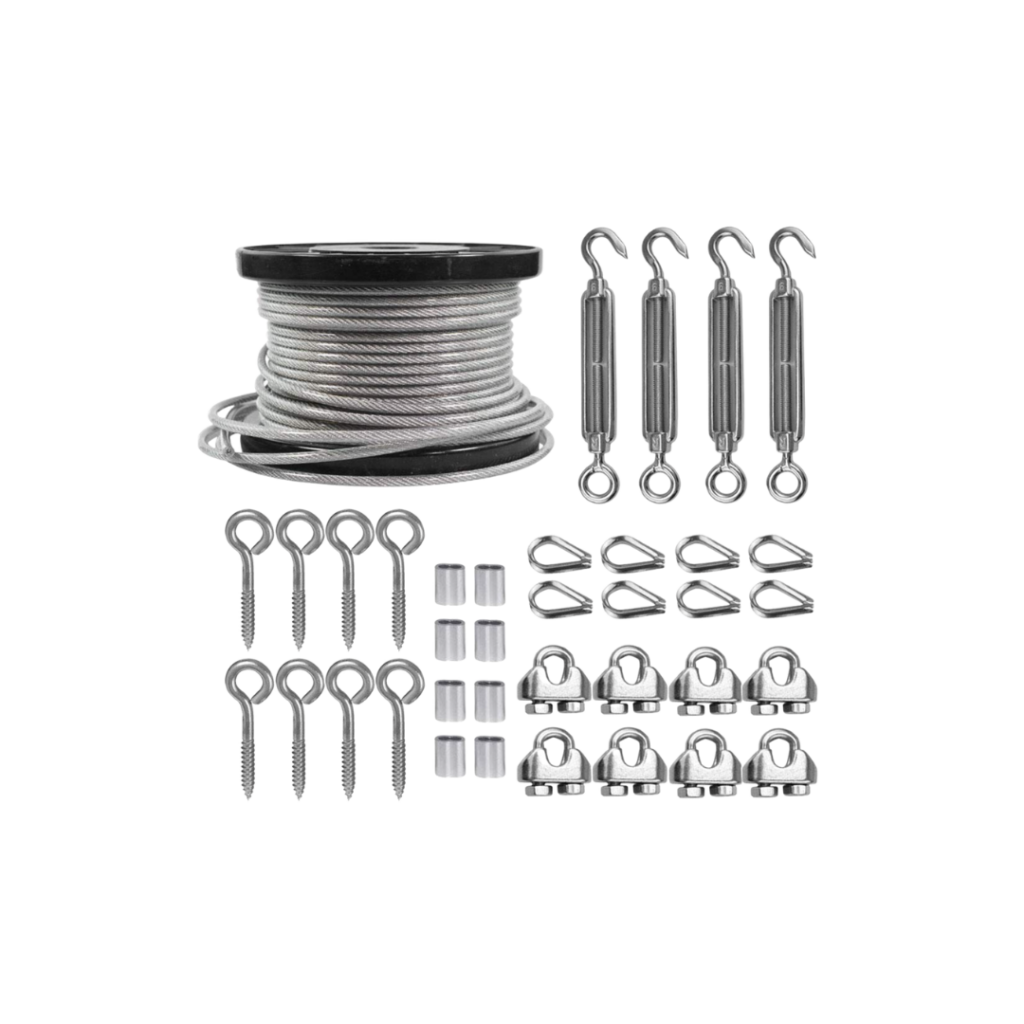
We bought out materials from Lowe’s, but we’ve put together all the materials that we used in a very easy to order Amazon package. Here’s what you’ll need.
4. Grab the right tools
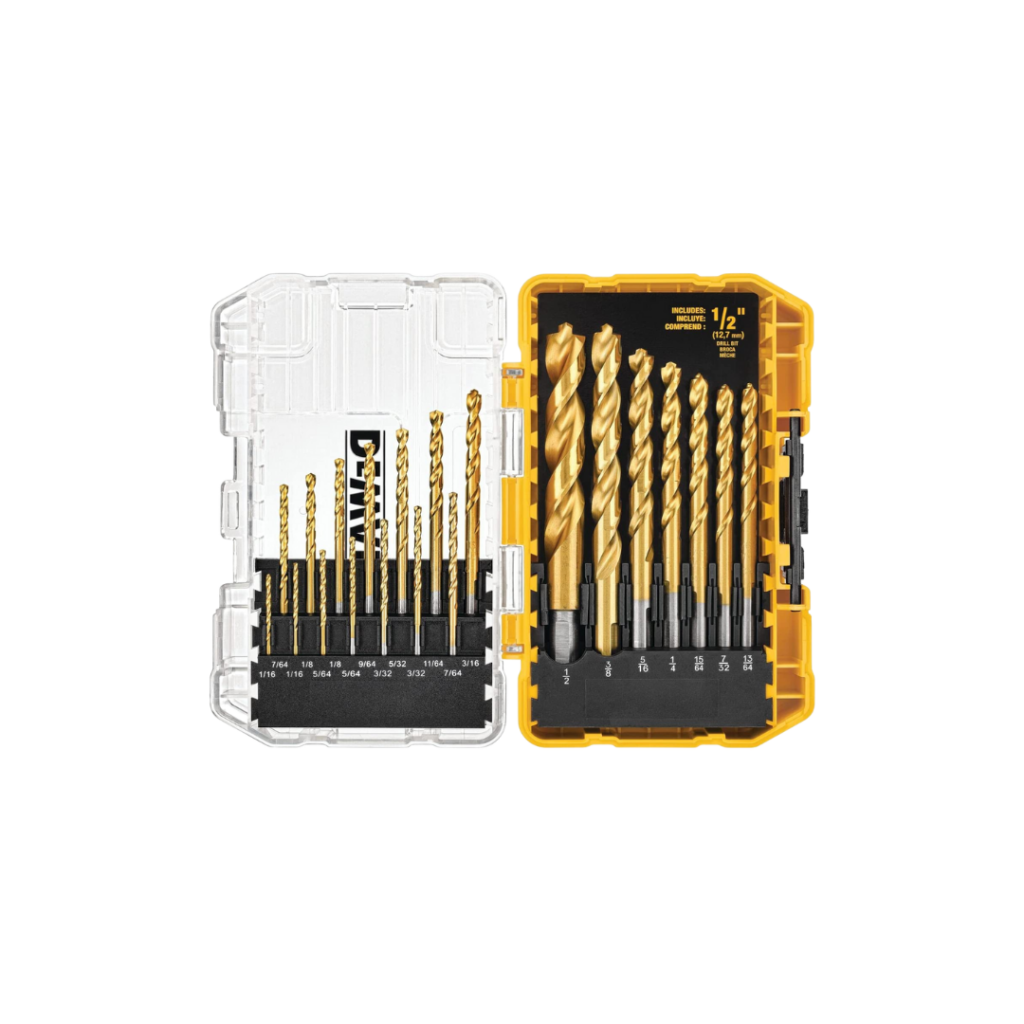
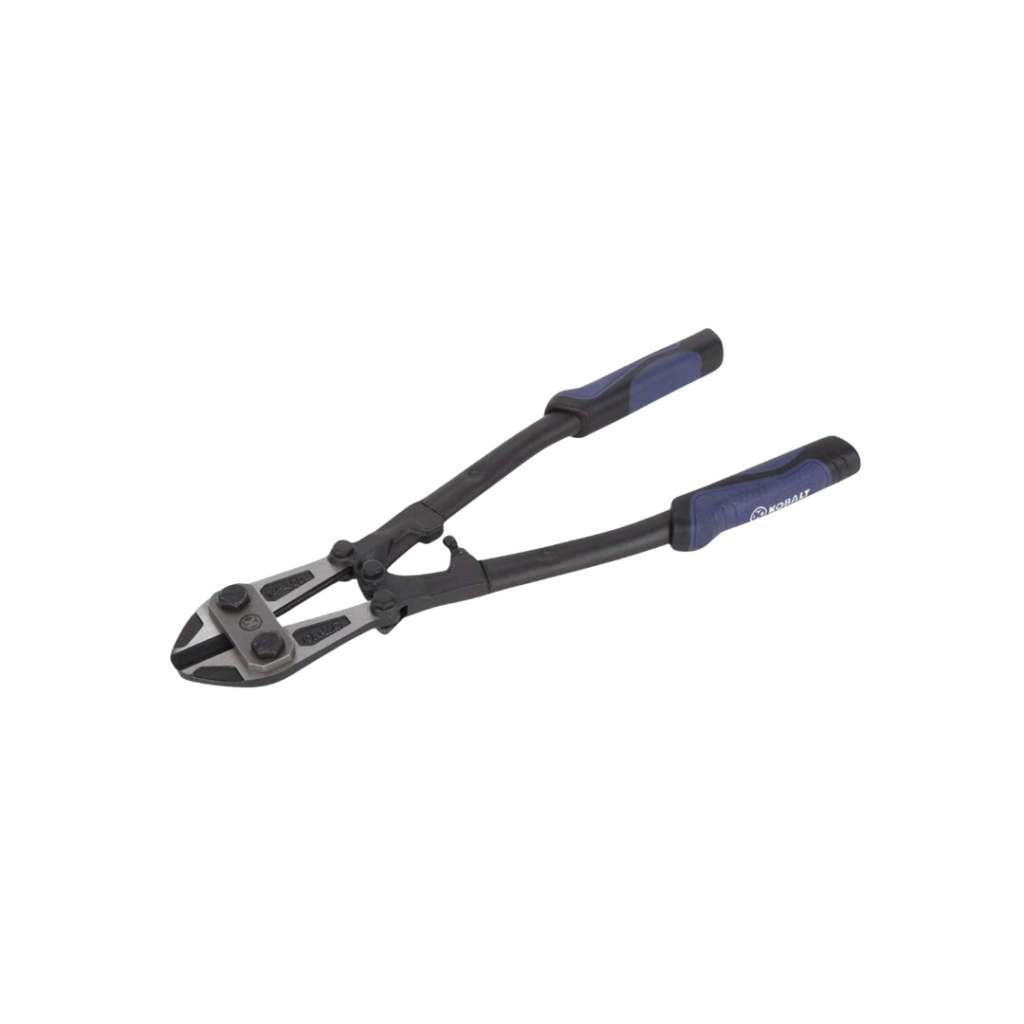
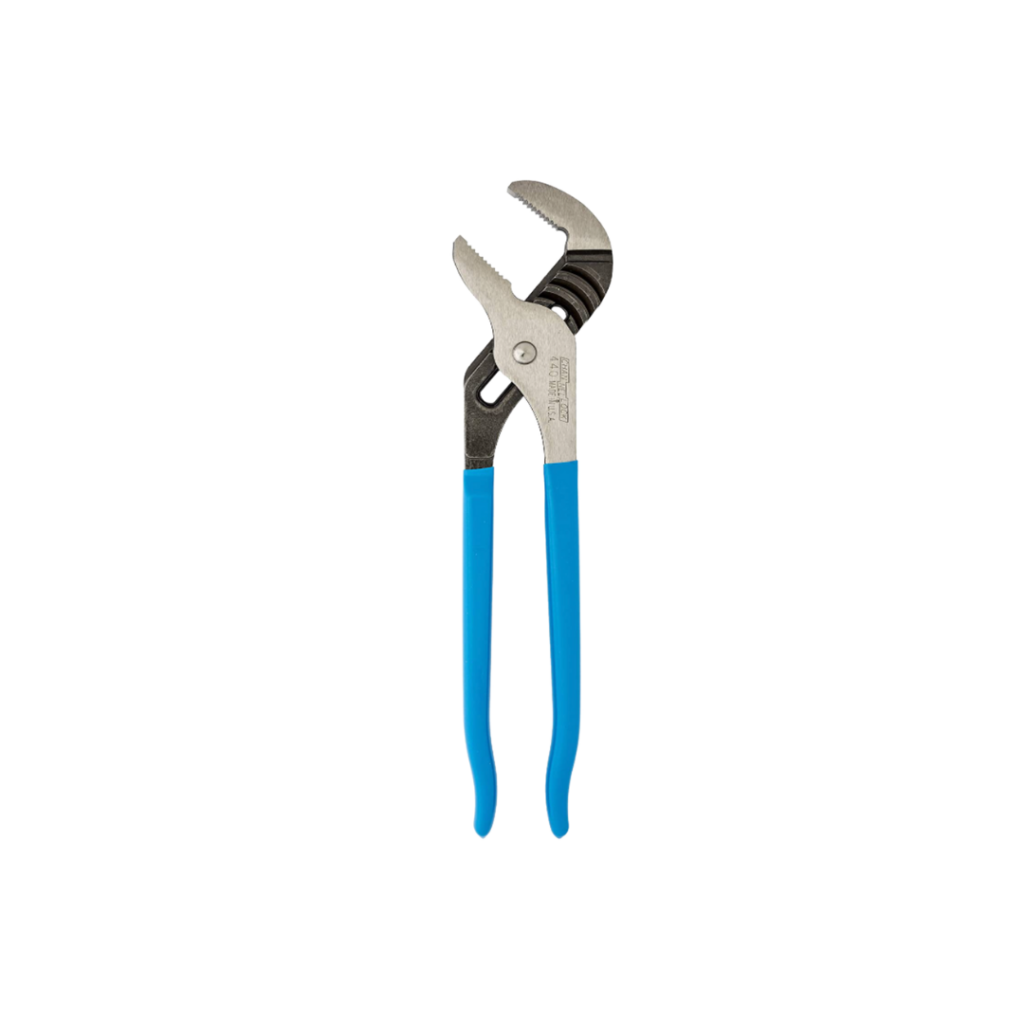
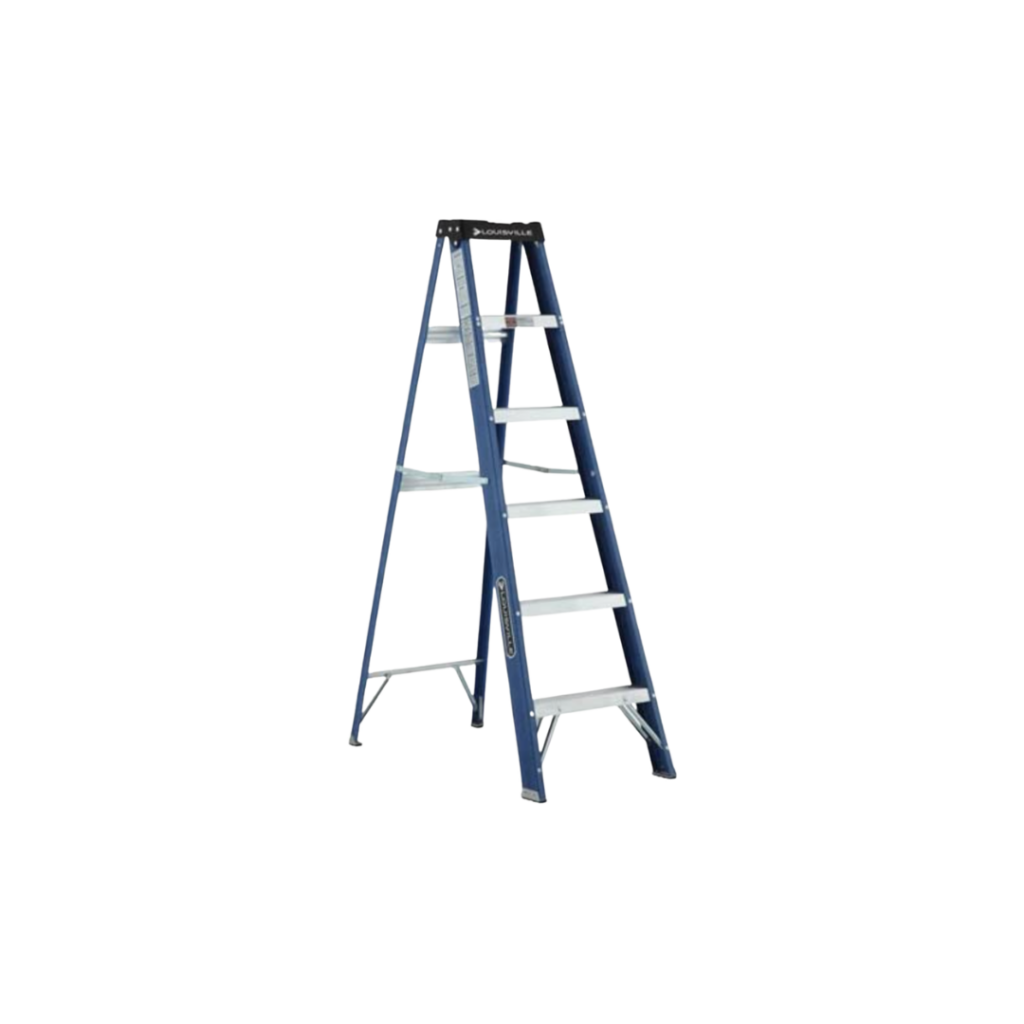
We used only a handful of tools for this project. Here are the tools you’ll need:

5. Drill and install your eye hooks
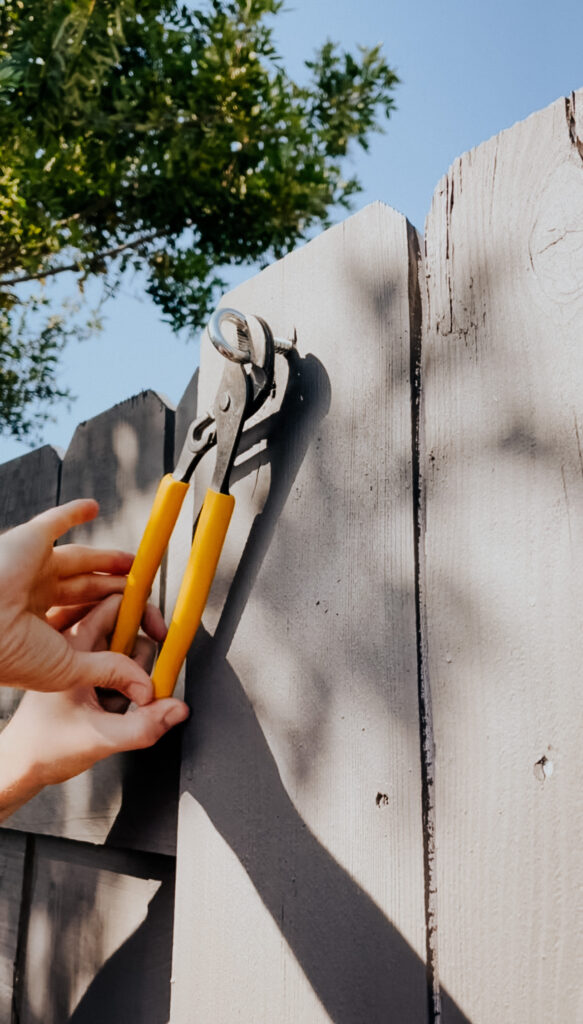
Use a drill to pre-drill holes for your eye hooks. Use channel locks to tighten your eye hooks in place.

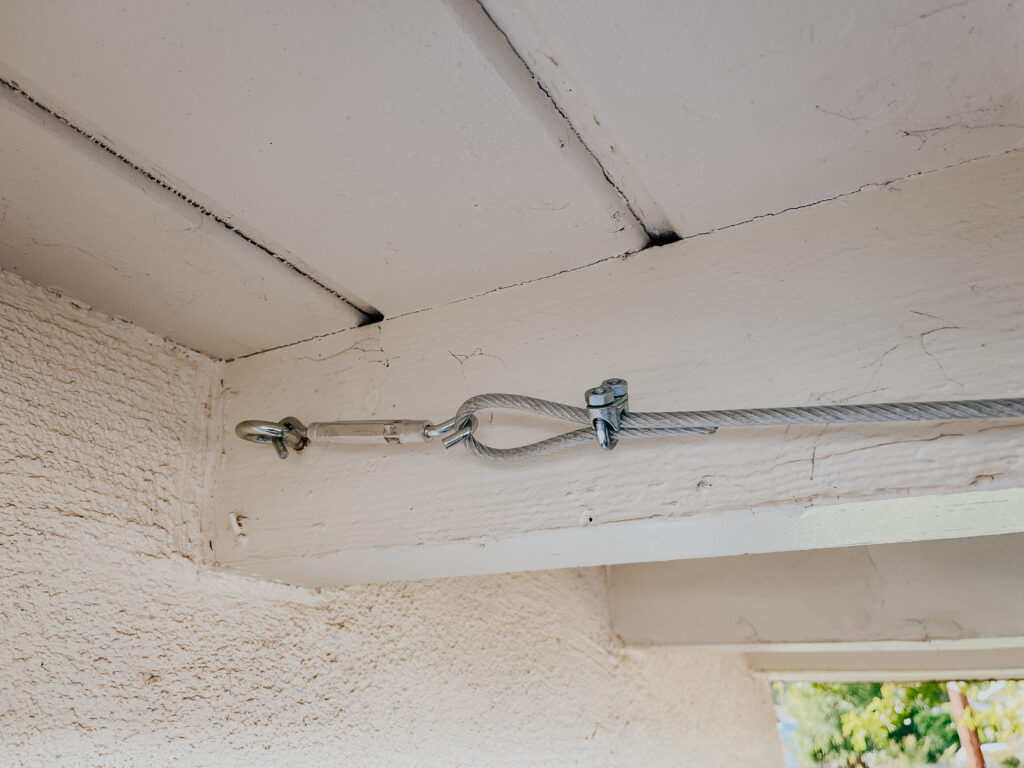
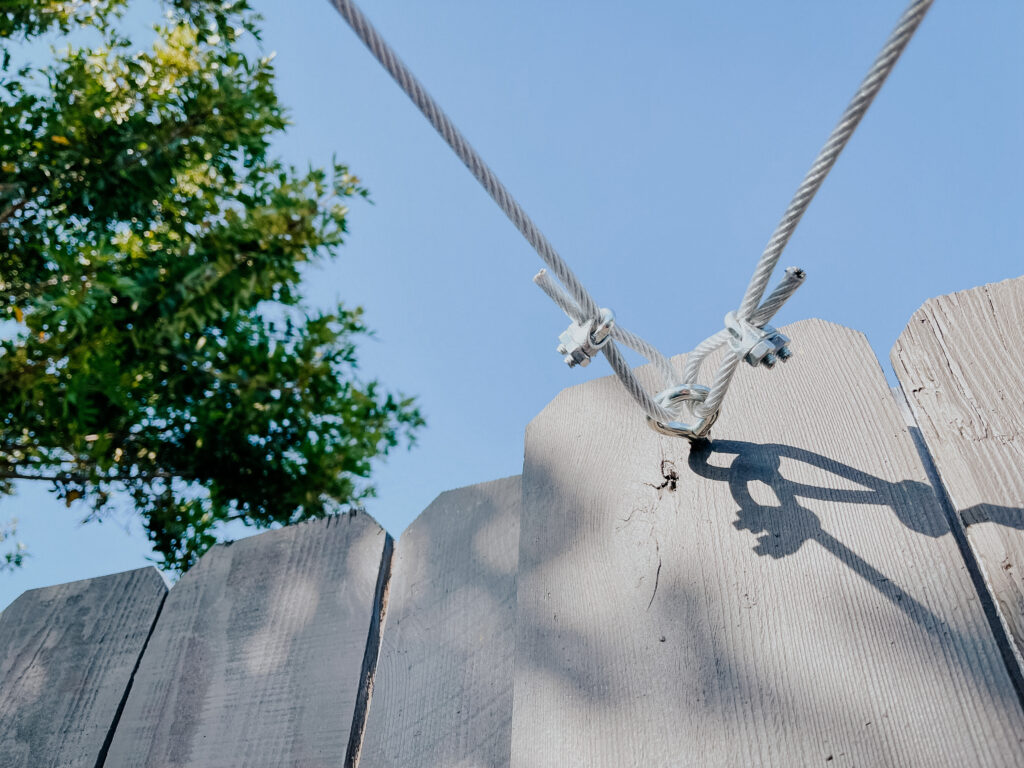
6. Run a line of steel wire
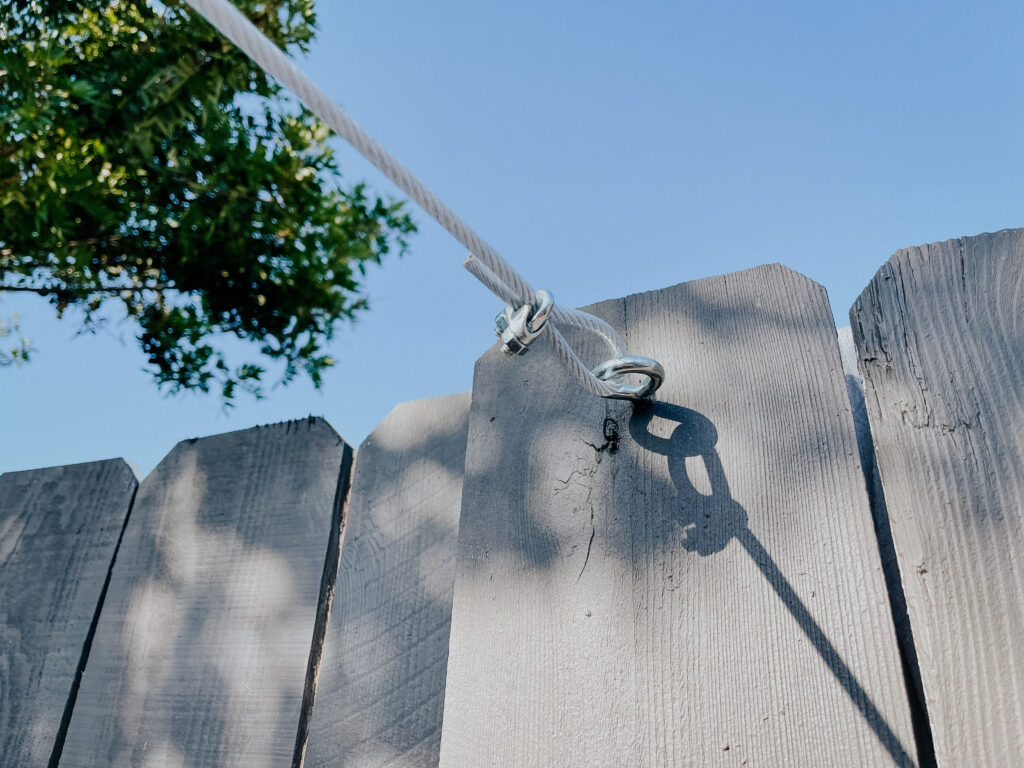
Run steel wire in the pattern you decided on and make sure your line is nice and tight. Here’s how it locks into the harware:
7. Attach your lights
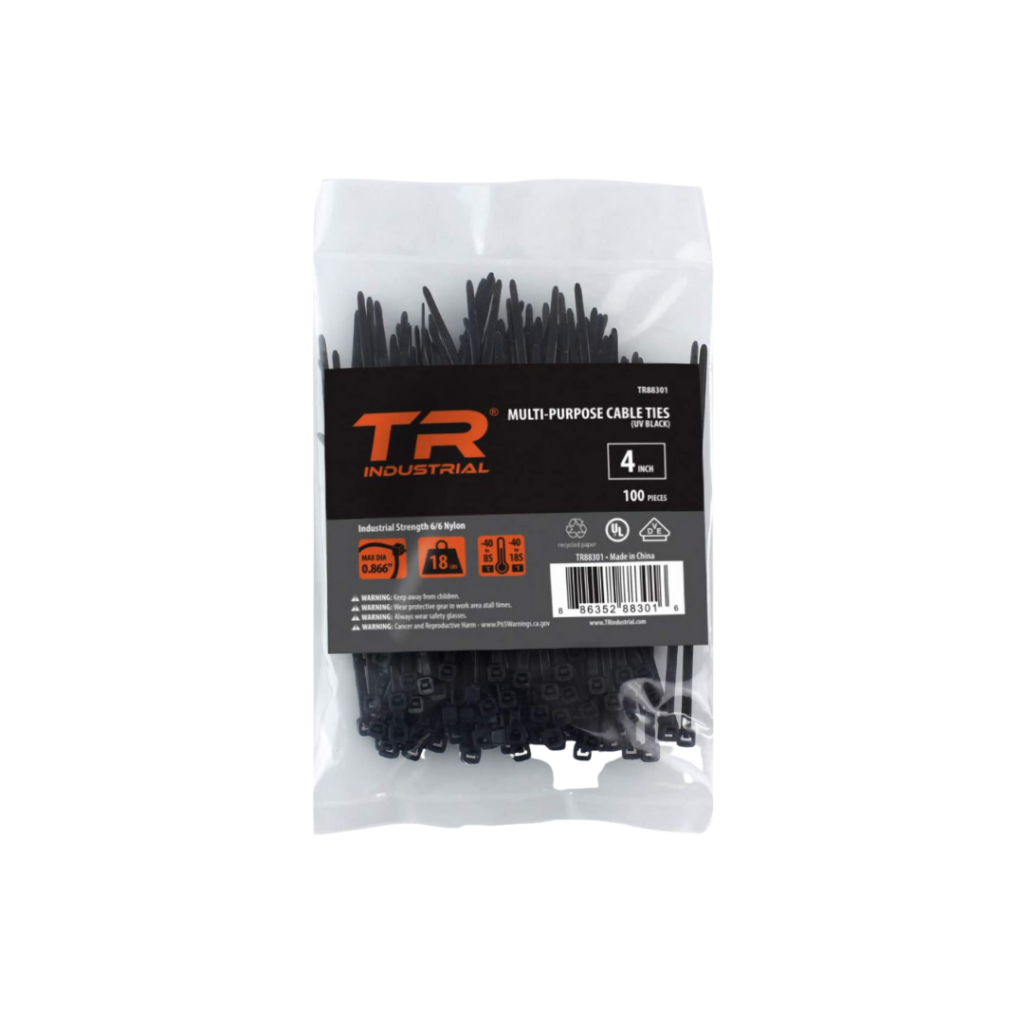
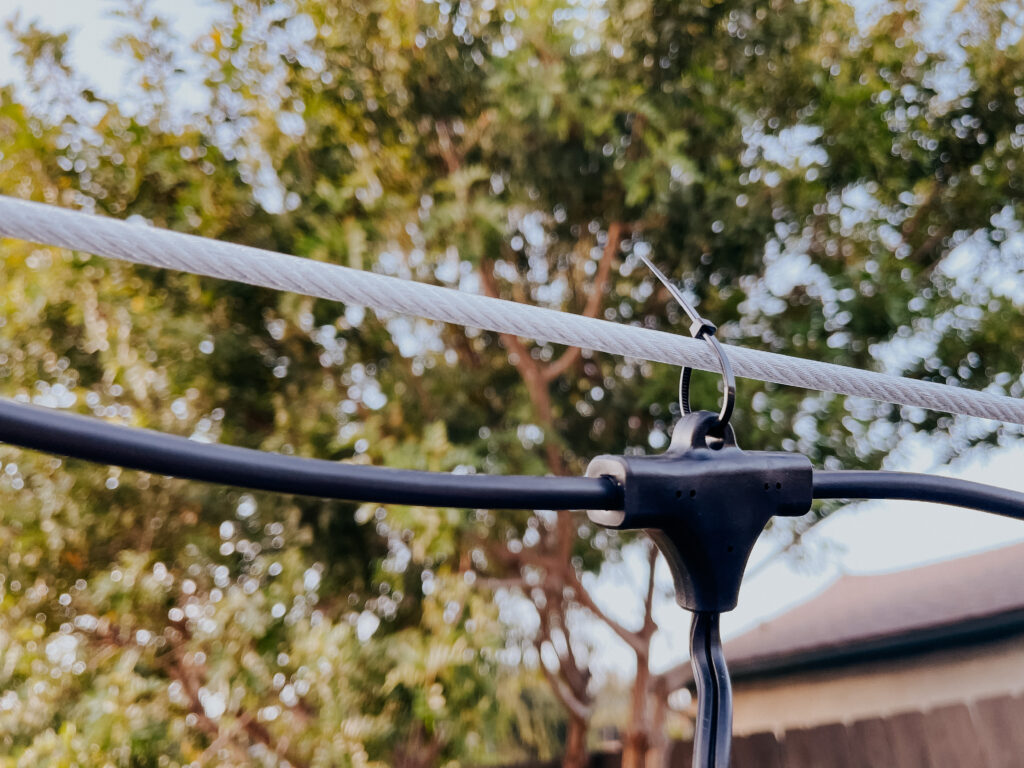
We used little four inch black zip-ties to attach our lights to our steel wire. Once you have all your lighting attached, pull your lighting tight, tighten down the zip-ties and cut the excess zip-ties.
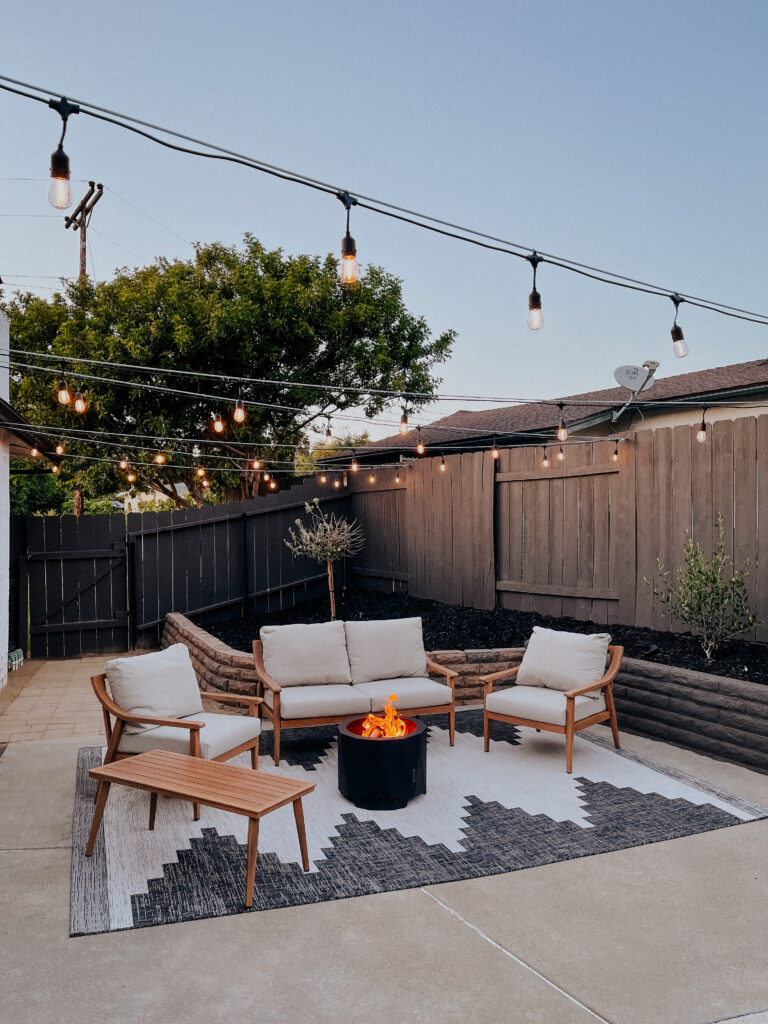
Thanks to these patio lights, we now have the perfect outdoor space to enjoy those summer nights!
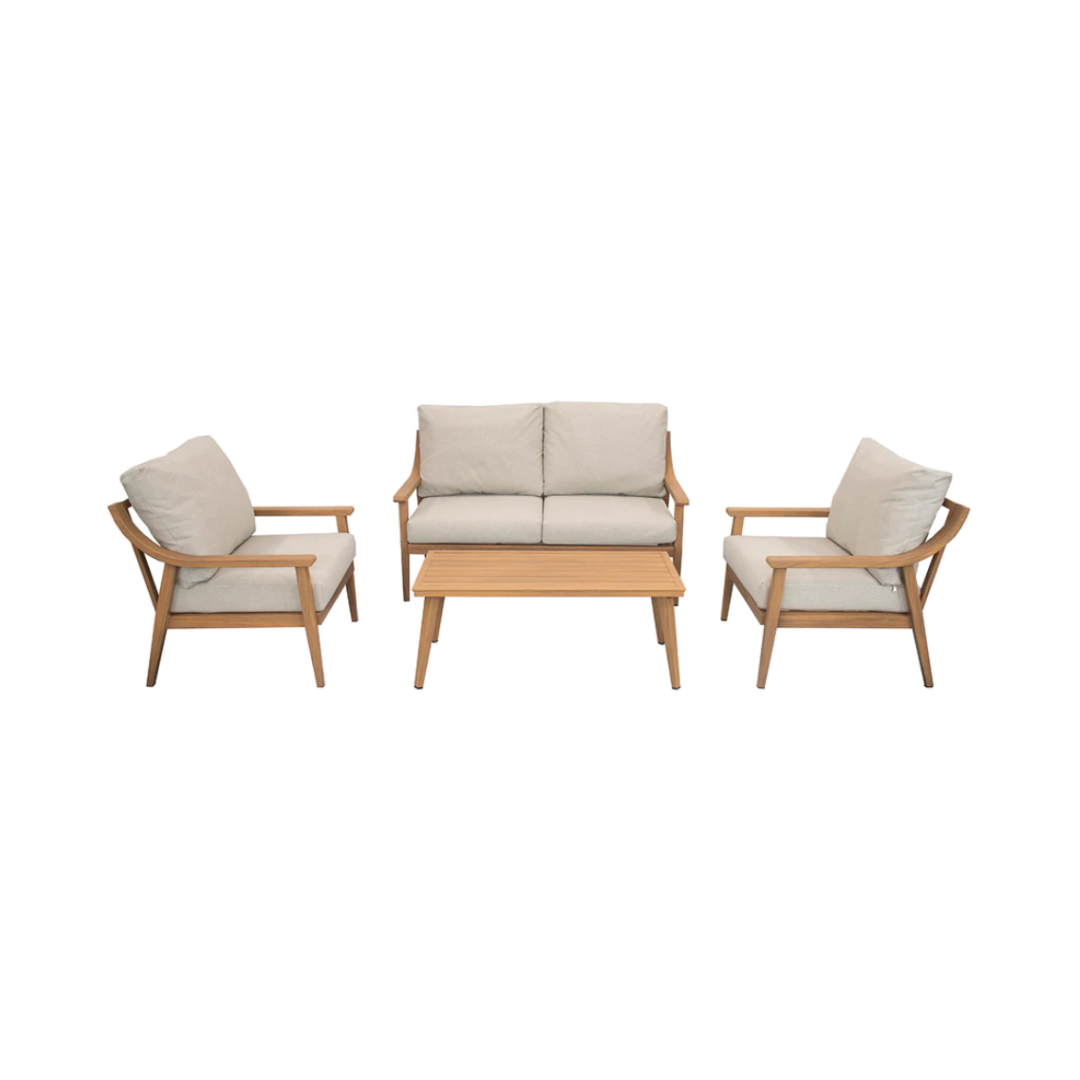
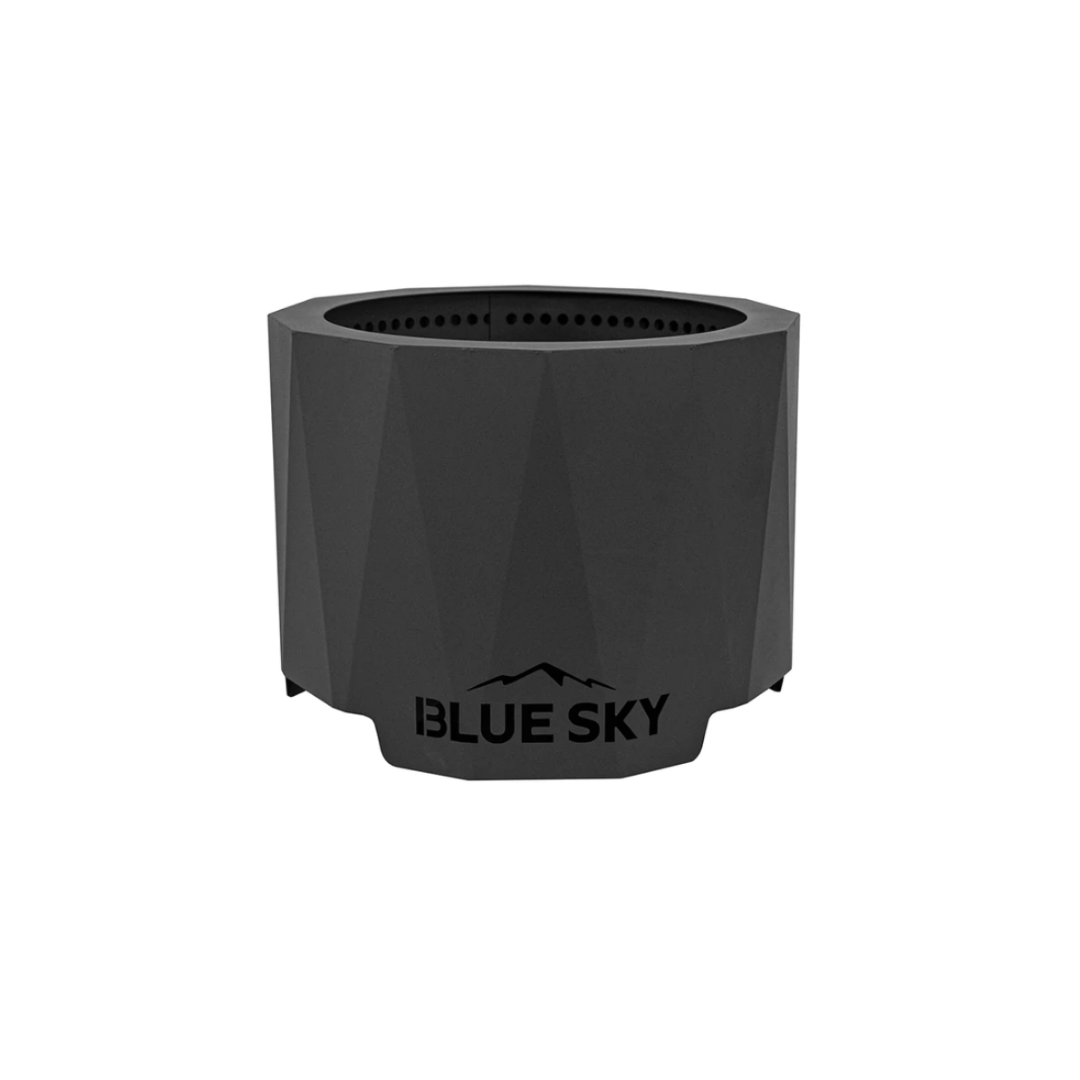
Our patio furniture:
We love our smokeless fire pit, and this patio set is so comfortable! I also love that it’s made of metal but looks like wood- so much more durable!

Comments