
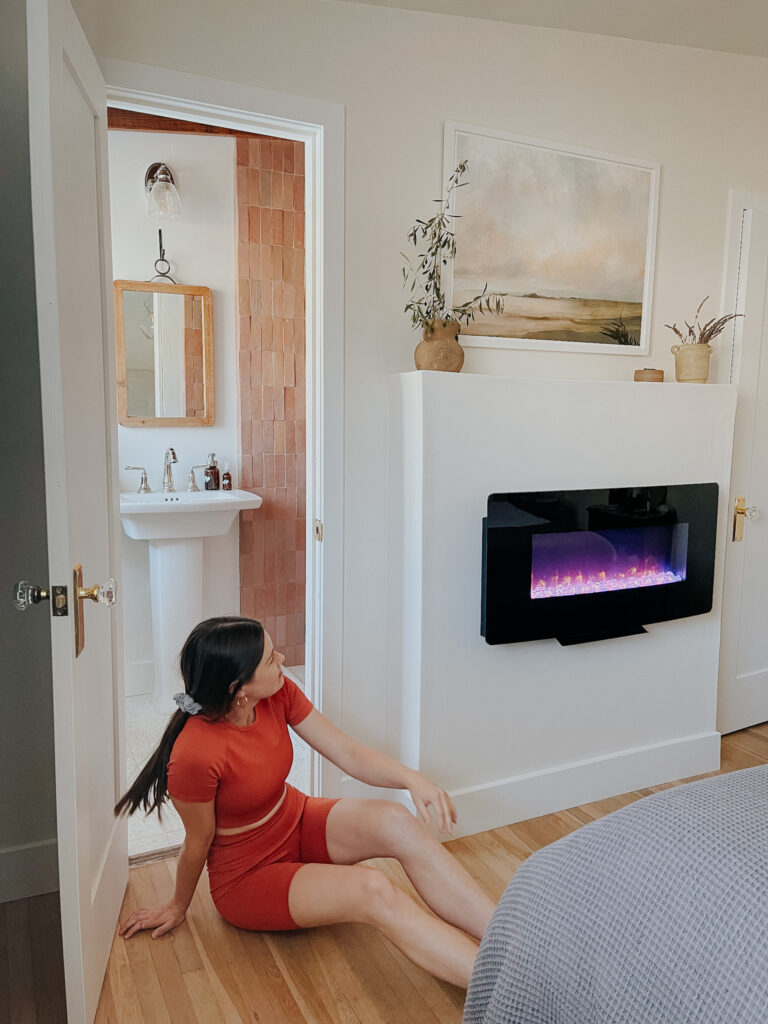
I’m excited to put the finishing touches on our bedroom fireplace! Here’s what we have left.
1. Baseboards
I cut all the sides at a 45 degree angle with our miter saw so they’ll join together nicely. I failed like FOUR times but finally got it. Fifth time’s the charm!
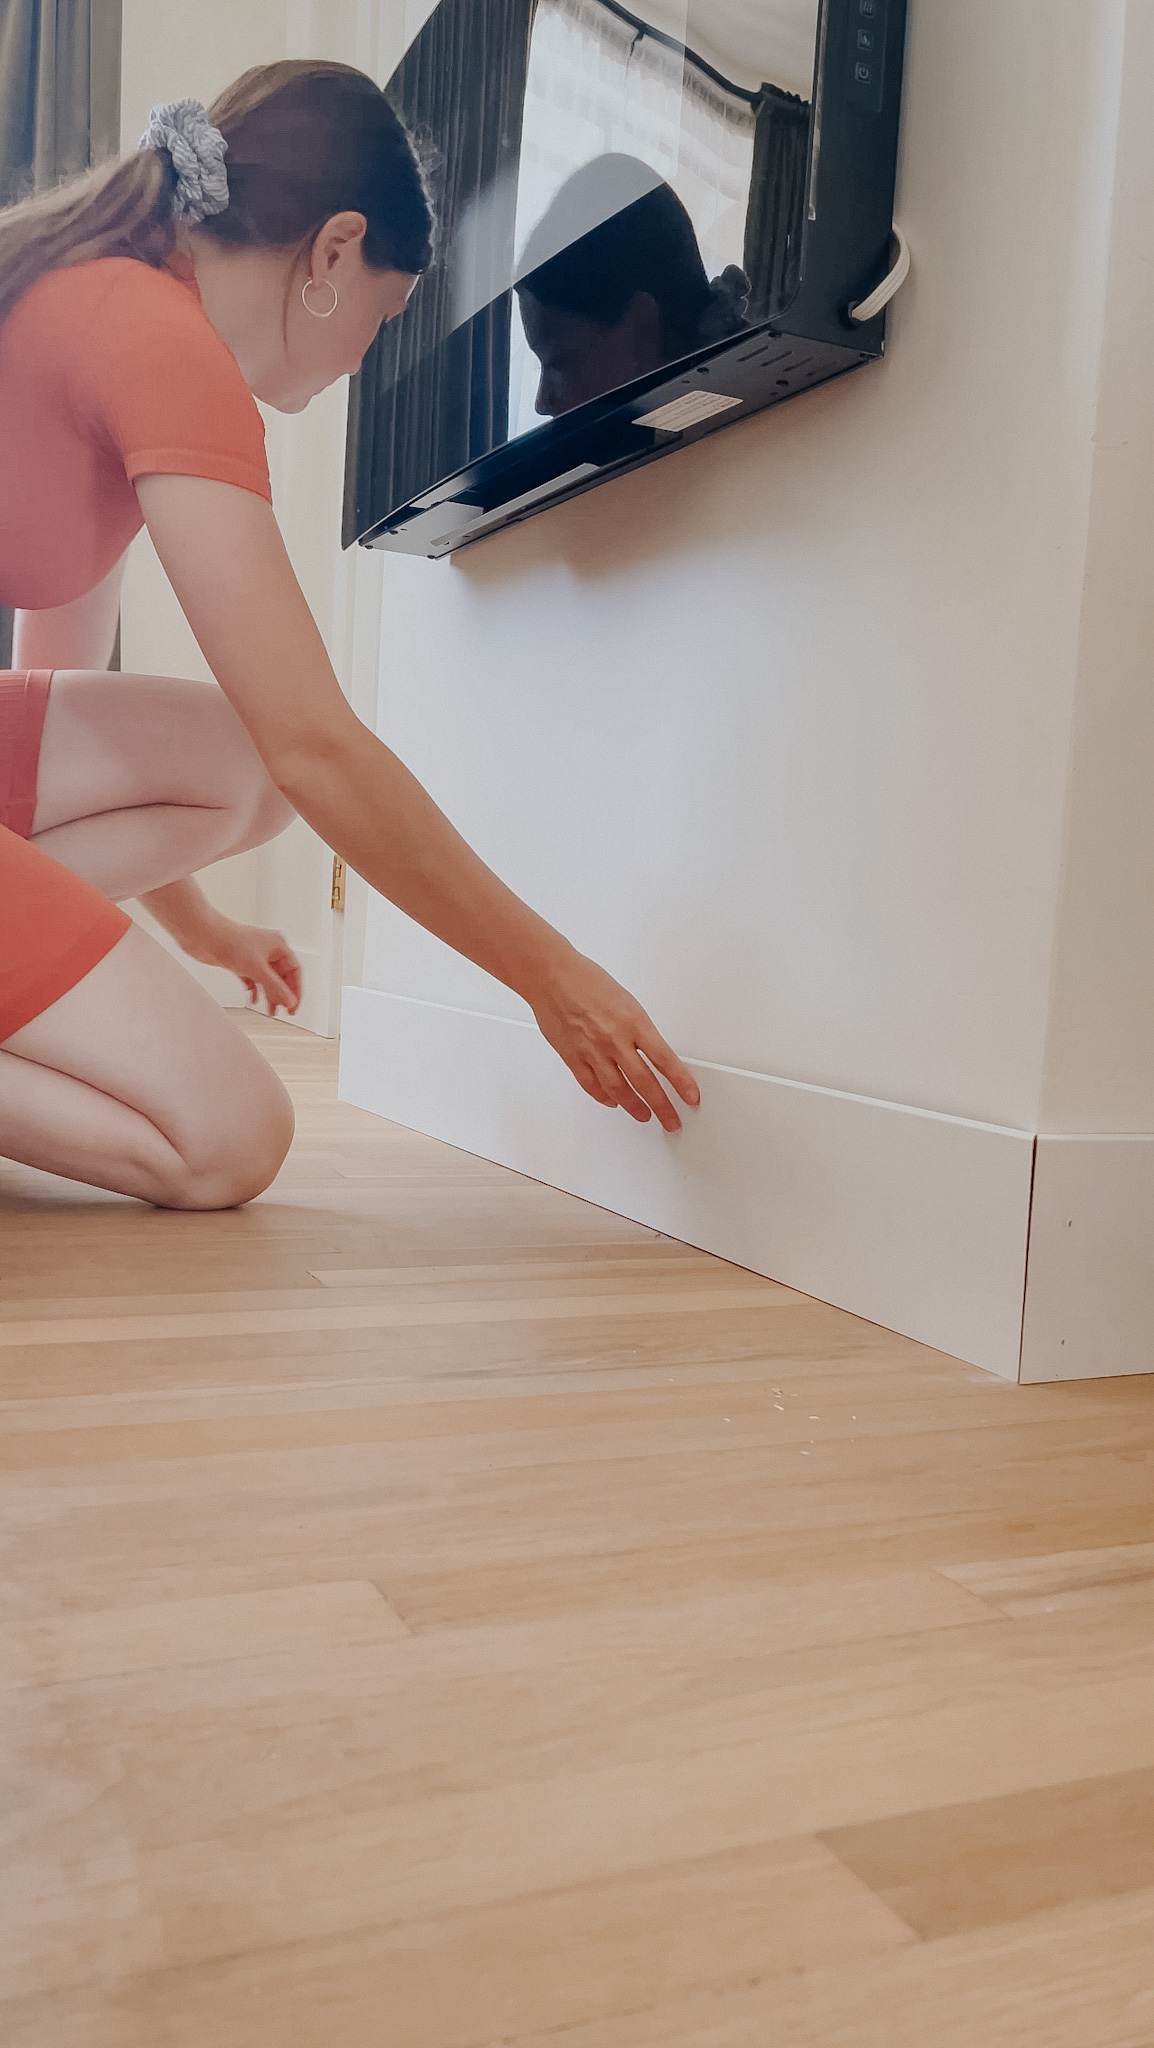
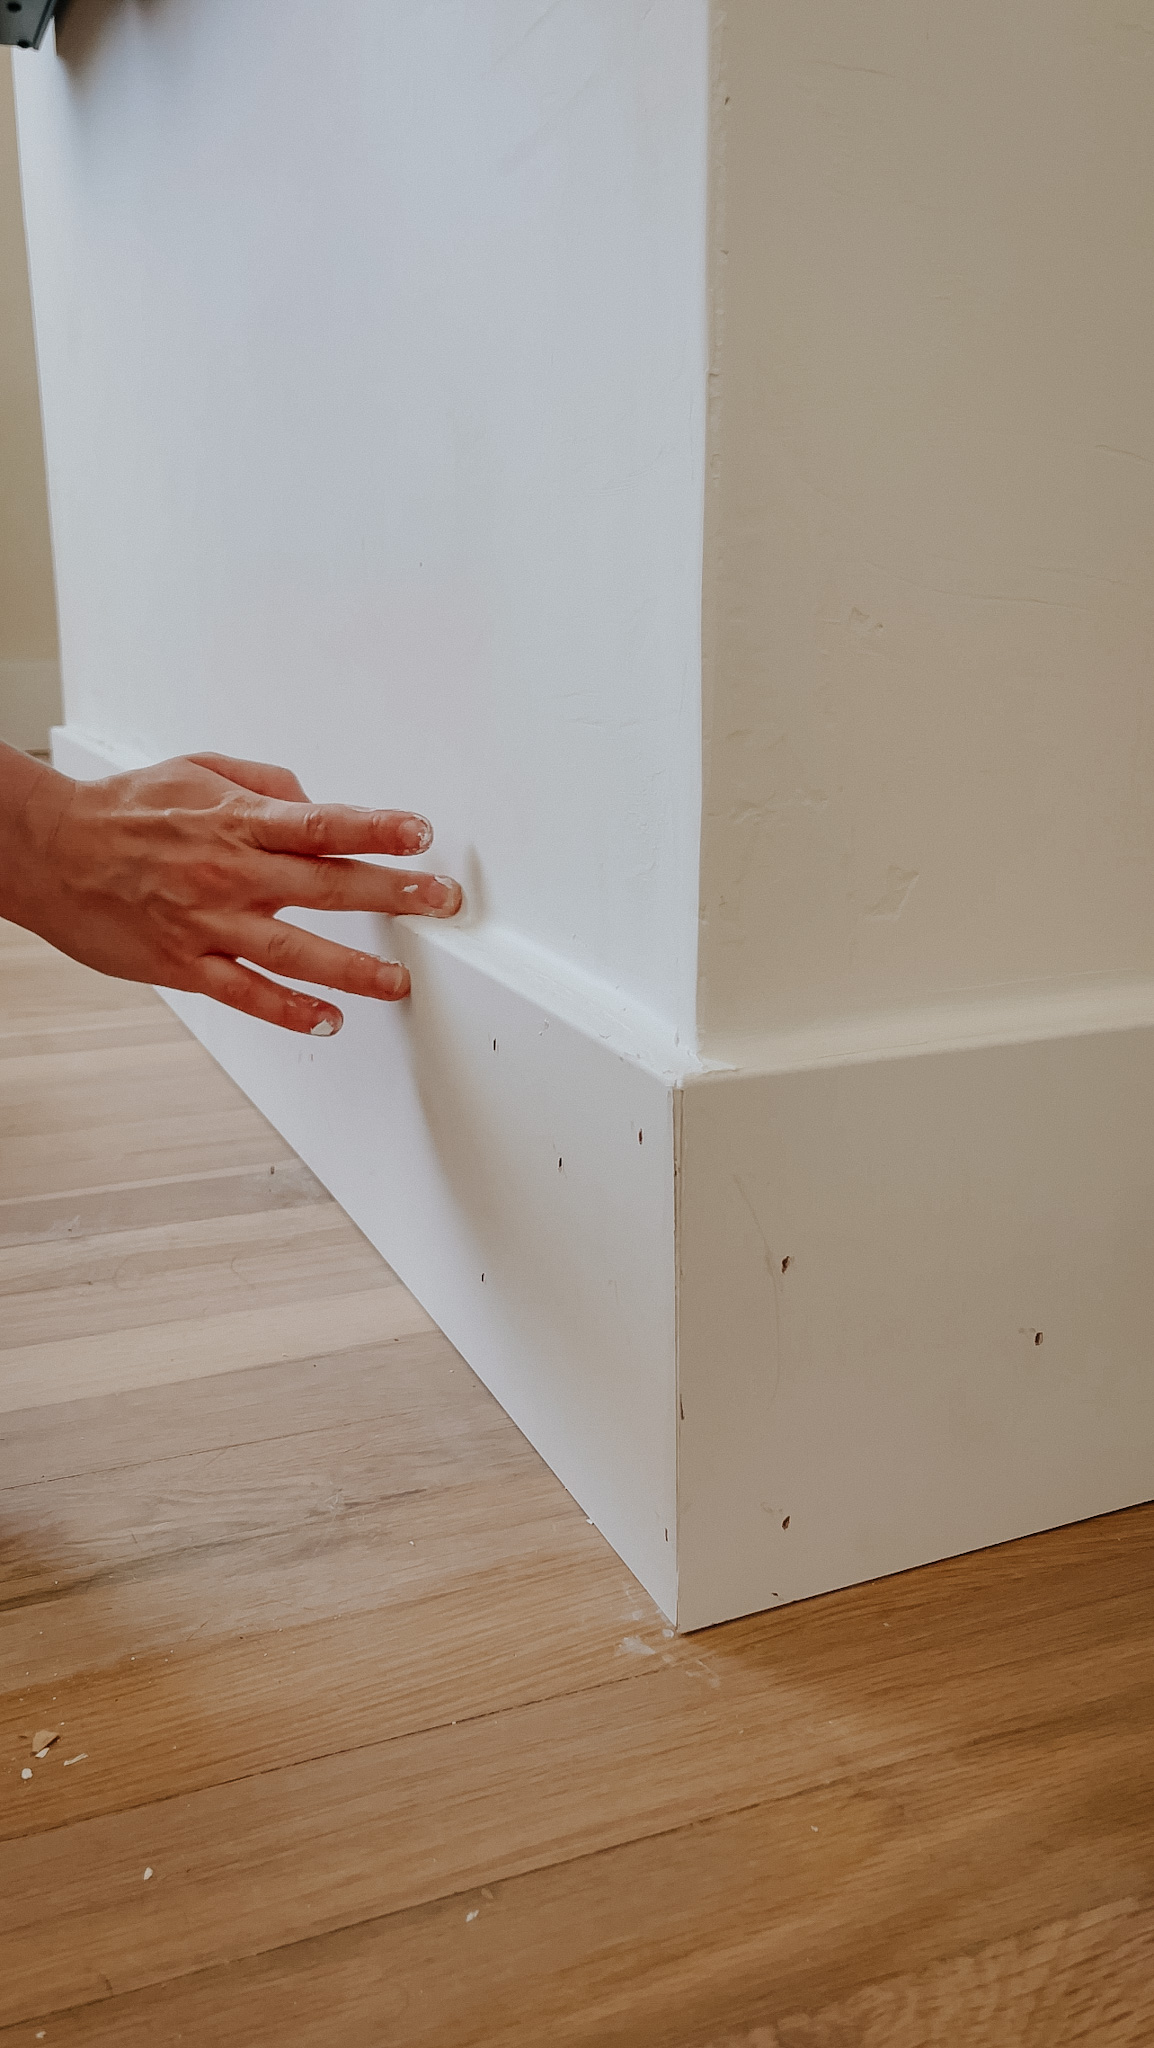
We used 5″ baseboards for this and secured them with a brad nailer.
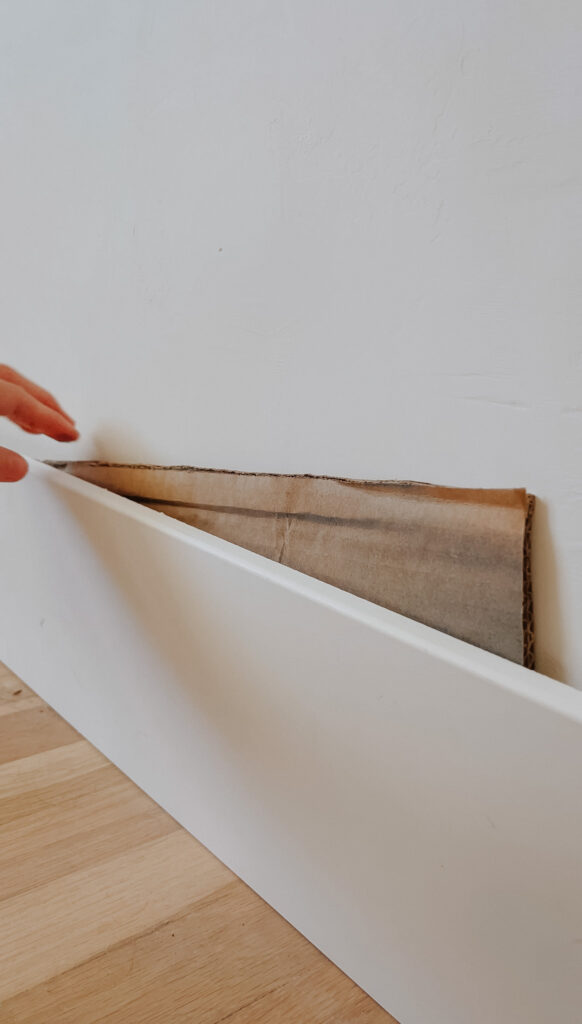
There was a big gap between the baseboard and the base of the fireplace. My construction foam wasn’t working – @misslizdidit gave me this GREAT idea to fill the space with cardboard.
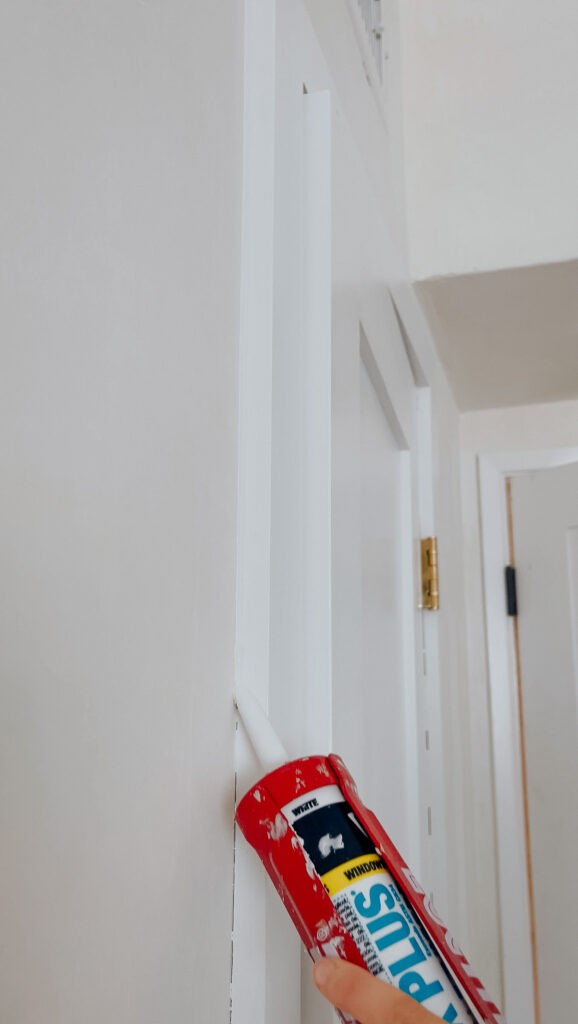
2. Seal Door Trim
Applying caulk is actually relaxing. It’s so satisfying seeing all of the little details come together!
3. Paint Baseboards
The last step! I used Chantilly Lace “door and trim” paint in semi-gloss.

We’ve been so excited to install this fireplace and we’re so glad we did it! Check out more of the process here.
Comments