
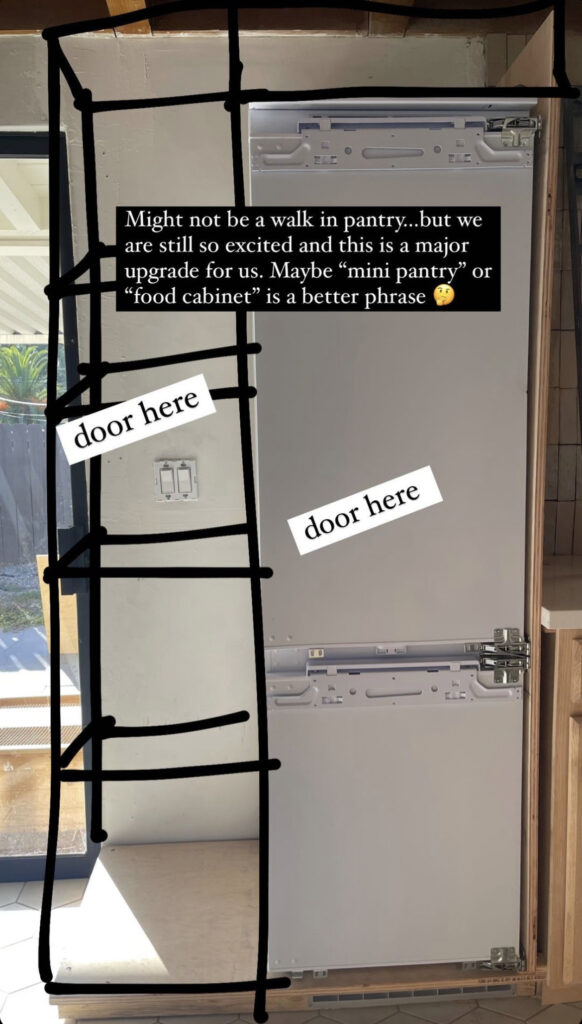
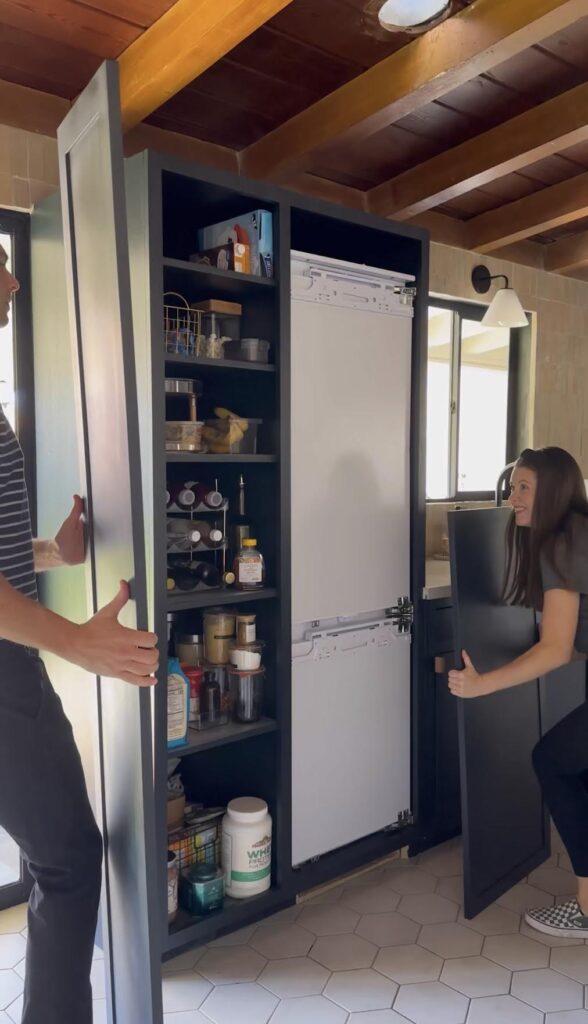
Since moving into our house, we’ve never had a pantry. All of our food has been stuffed into drawers. Since we are already building a cabinet around our fridge, I thought we might as well include a pantry as well!
Here’s the plan:
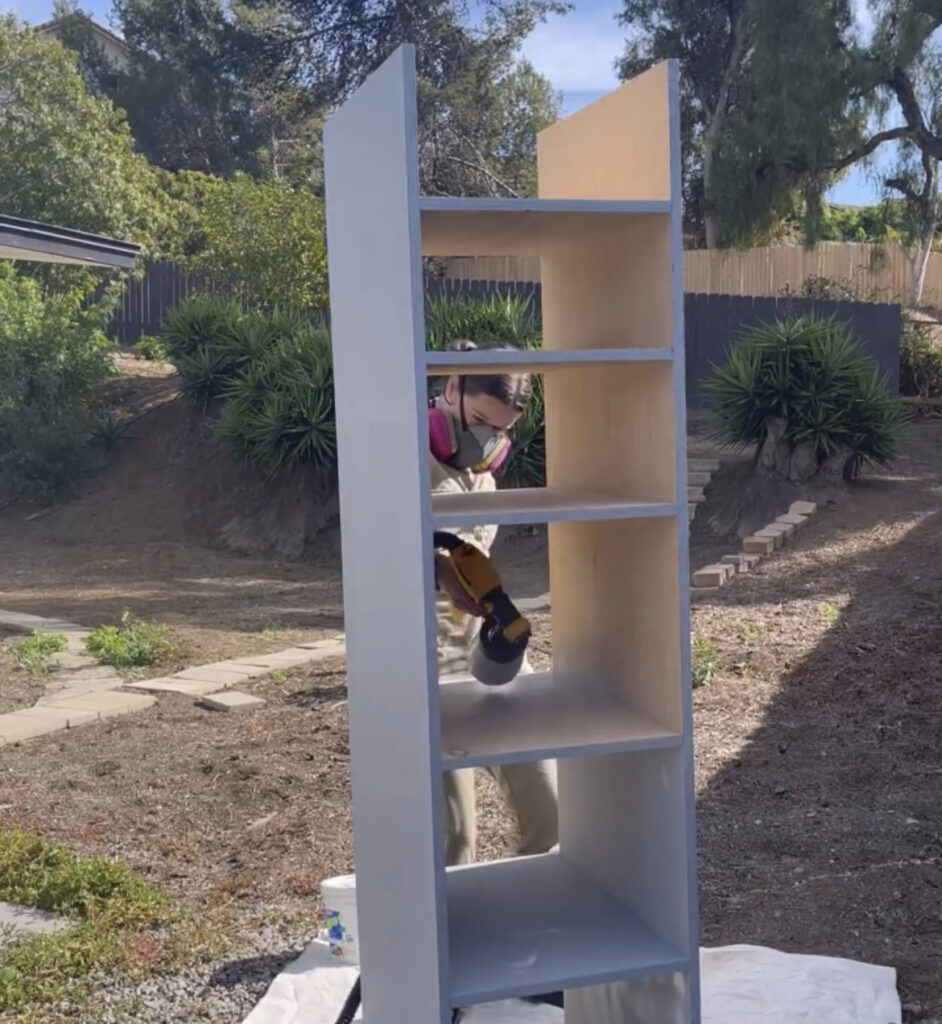
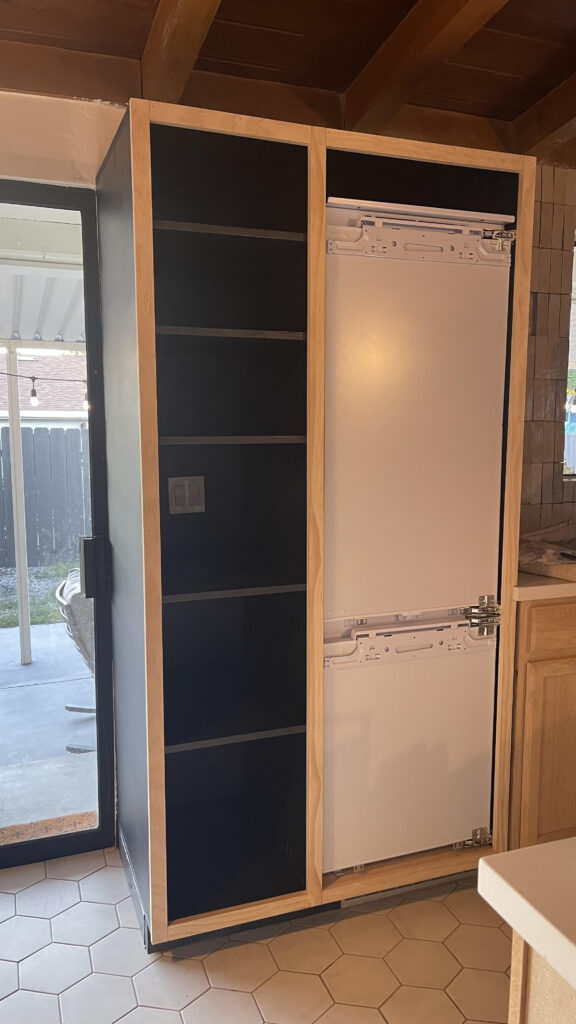
We cut all of our 3/4″ plywood to size, and then assembled the unit using glue and pocket holes. I had to be careful here to make sure I was using short enough screws so they wouldn’t poke through the sides. It’s also worth noting that we build this whole structure on top of a 2×4 platform so that the toe kick would align with the rest of the kitchen.


Next step – paint! I started out by priming with a gray primer because we are painting the cabinets a deep navy. I used Kilz 2 Gray Interior/Exterior primer and my Wagner Spray Tech sprayer for the first time! It has an air compressor so it’s much more powerful than I’m used to. You can adjust so many things with this sprayer. You can adjust airflow, amount of paint, flow of paint (narrow or wide), and the direction of the pray! I used the “fine finish” because you’ll see no specks at all in the paint.

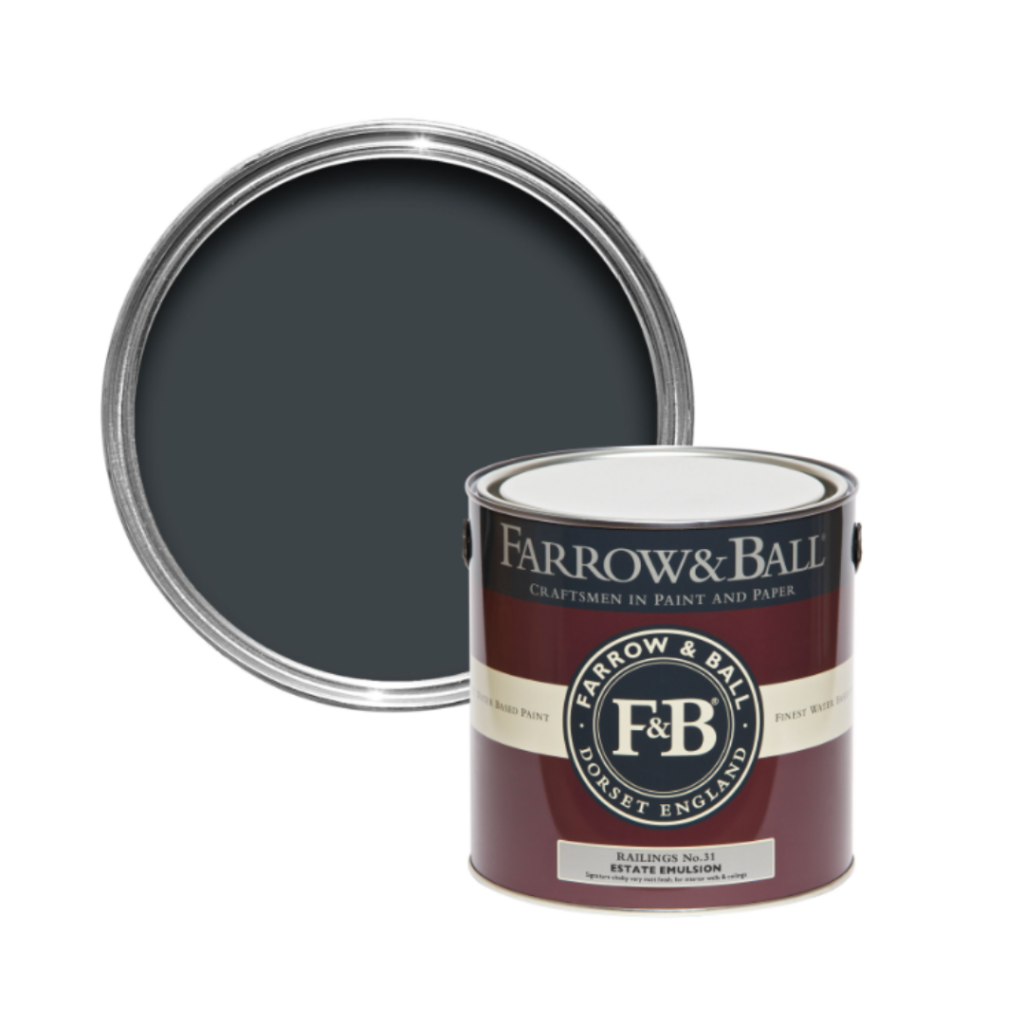
For our cabinets, we’re using Railings by Farrow & Ball. We first used Farrow & Ball paint for our Dark Office Makeover and we fell in love. I used my Wagner Sprayer again…I should have upgraded to this sprayer sooner. It’s amazing! The finish sprayer goes slower and creates such a fine finish (no bumps)! The regular sprayer goes much faster but leaves a little bit of texture (great for walls, exterior or interior). The kit we got comes with both options.


Next, I added 1×2.5 pine around everything to trim it out. These measurements had to be absolutely perfect to fit our custom cabinet doors from Neiu!
We ended up adding a panel on the left side so that you wound’t see a transition from the cabinet to the 2×4 support below. Since we couldn’t use a nail gun in this situation, we used lots of glue and LOTS of clamps!

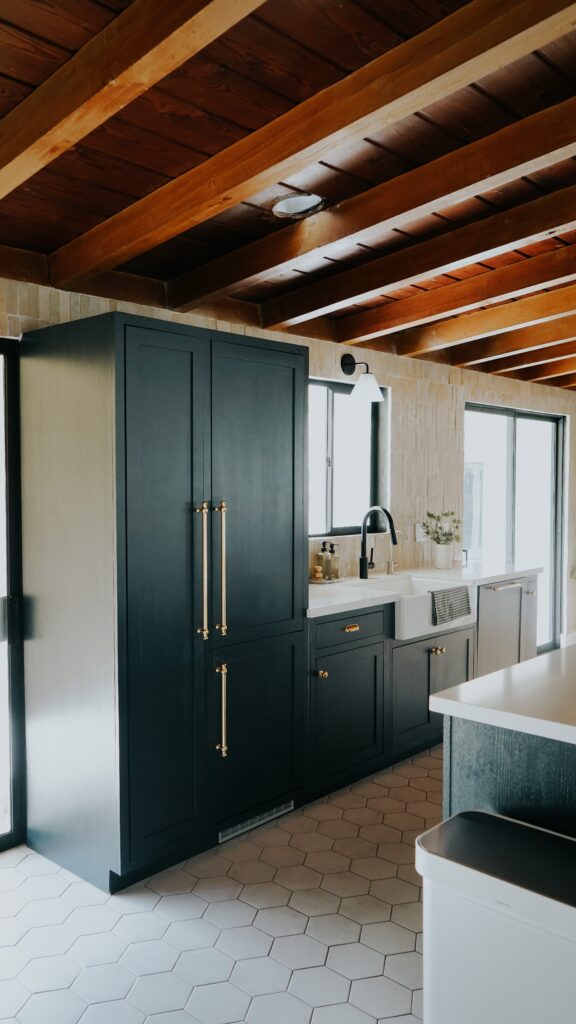
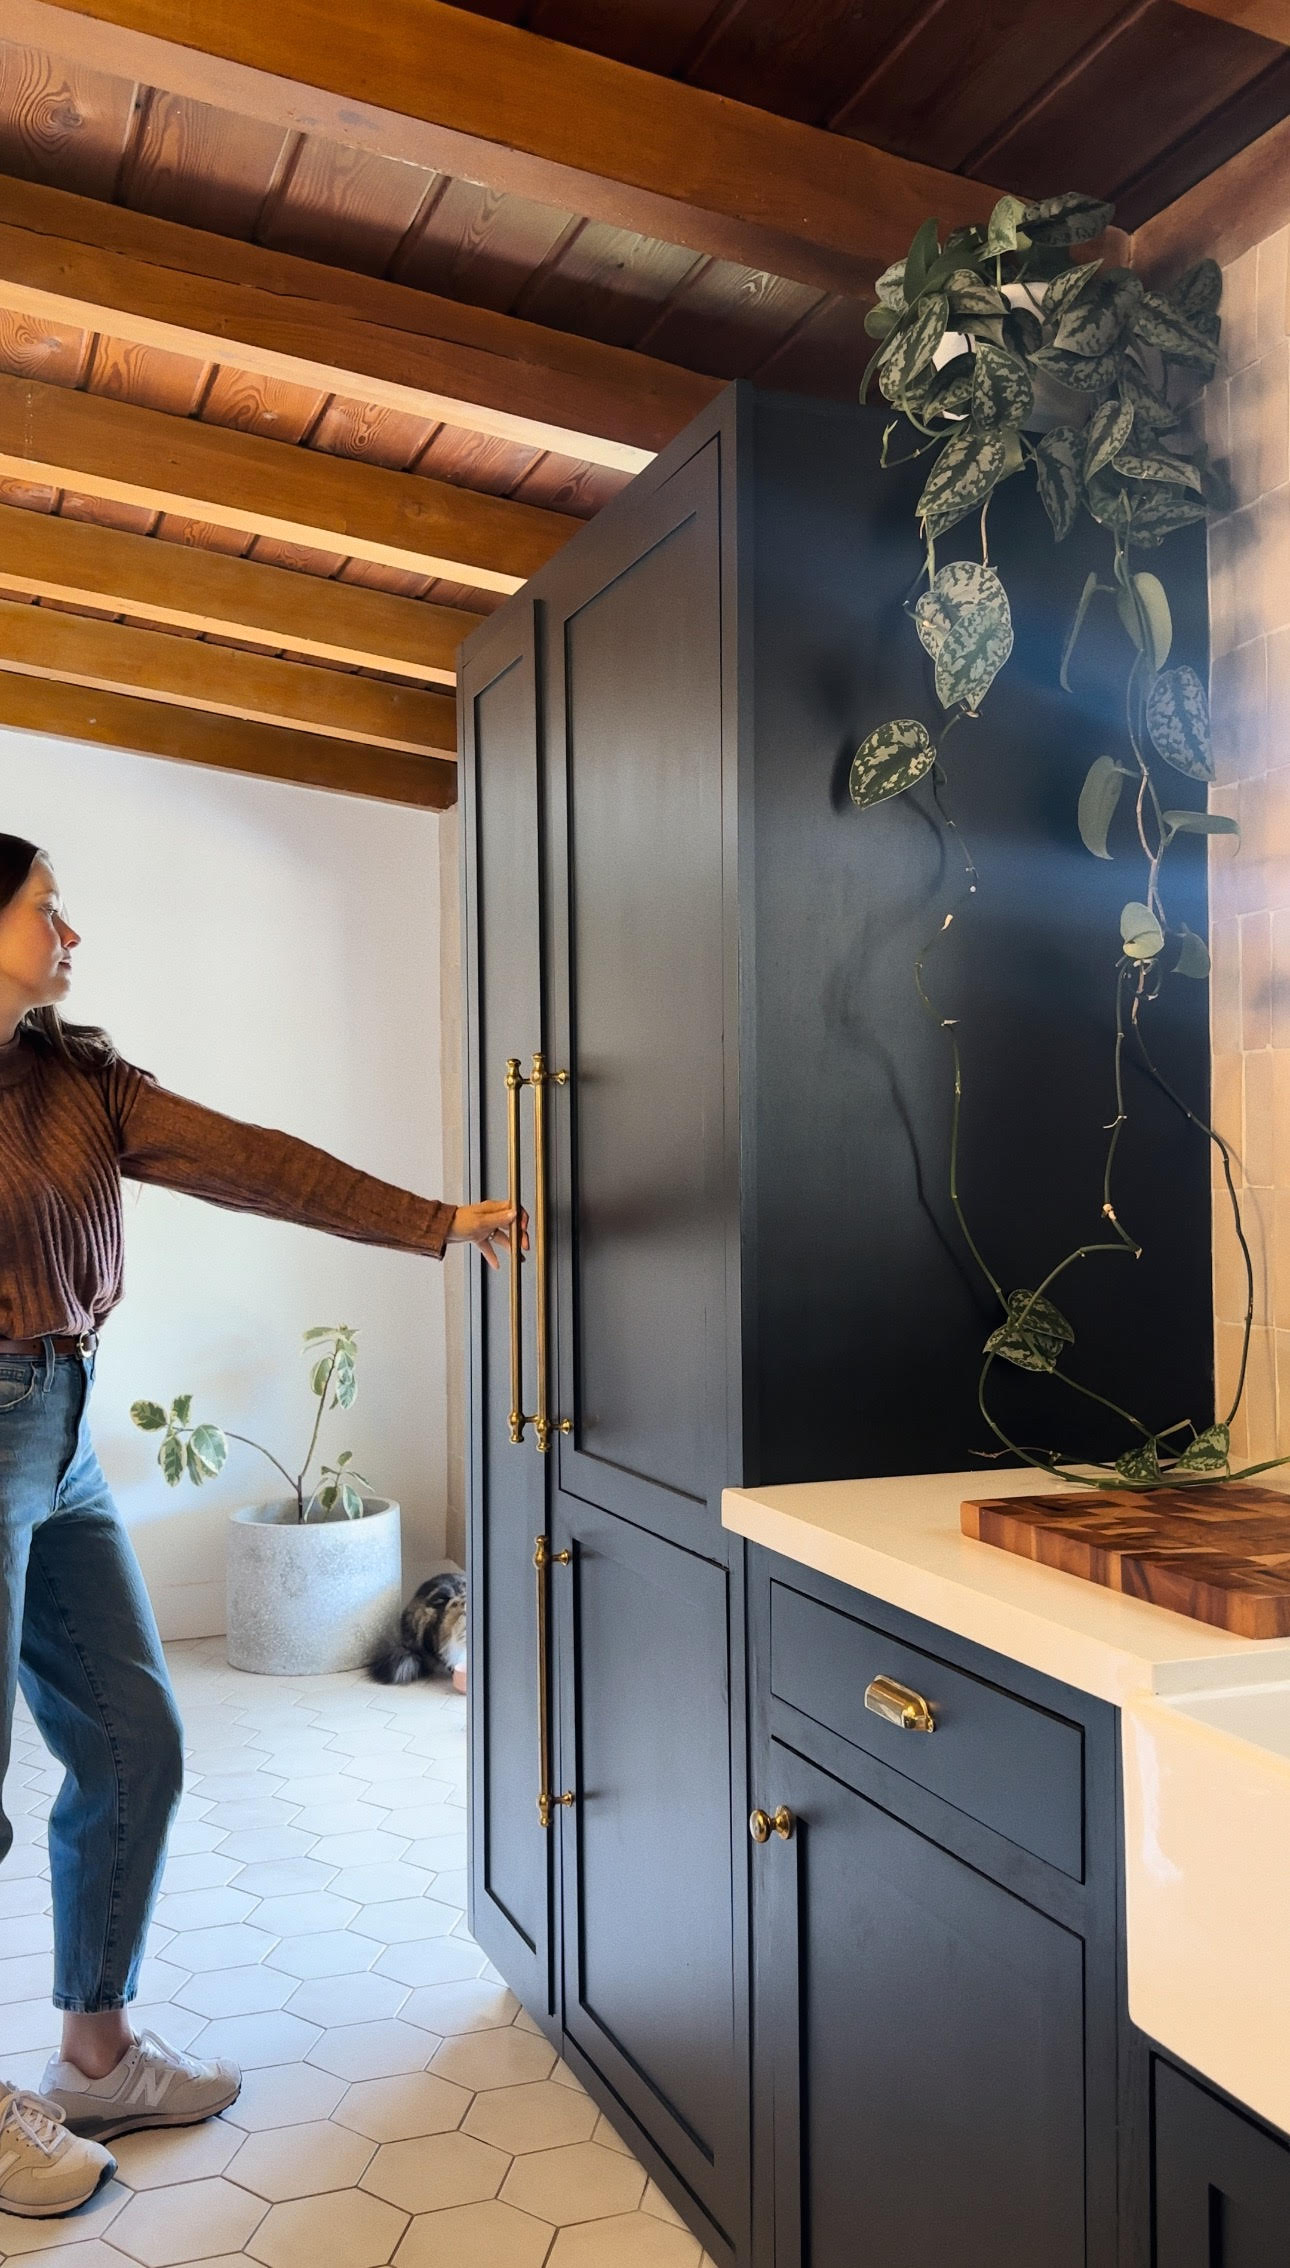
Finally, the moment we were waiting for! Installing the beautiful new doors. Neiu sent us the hinges with the doors, so install was easy!

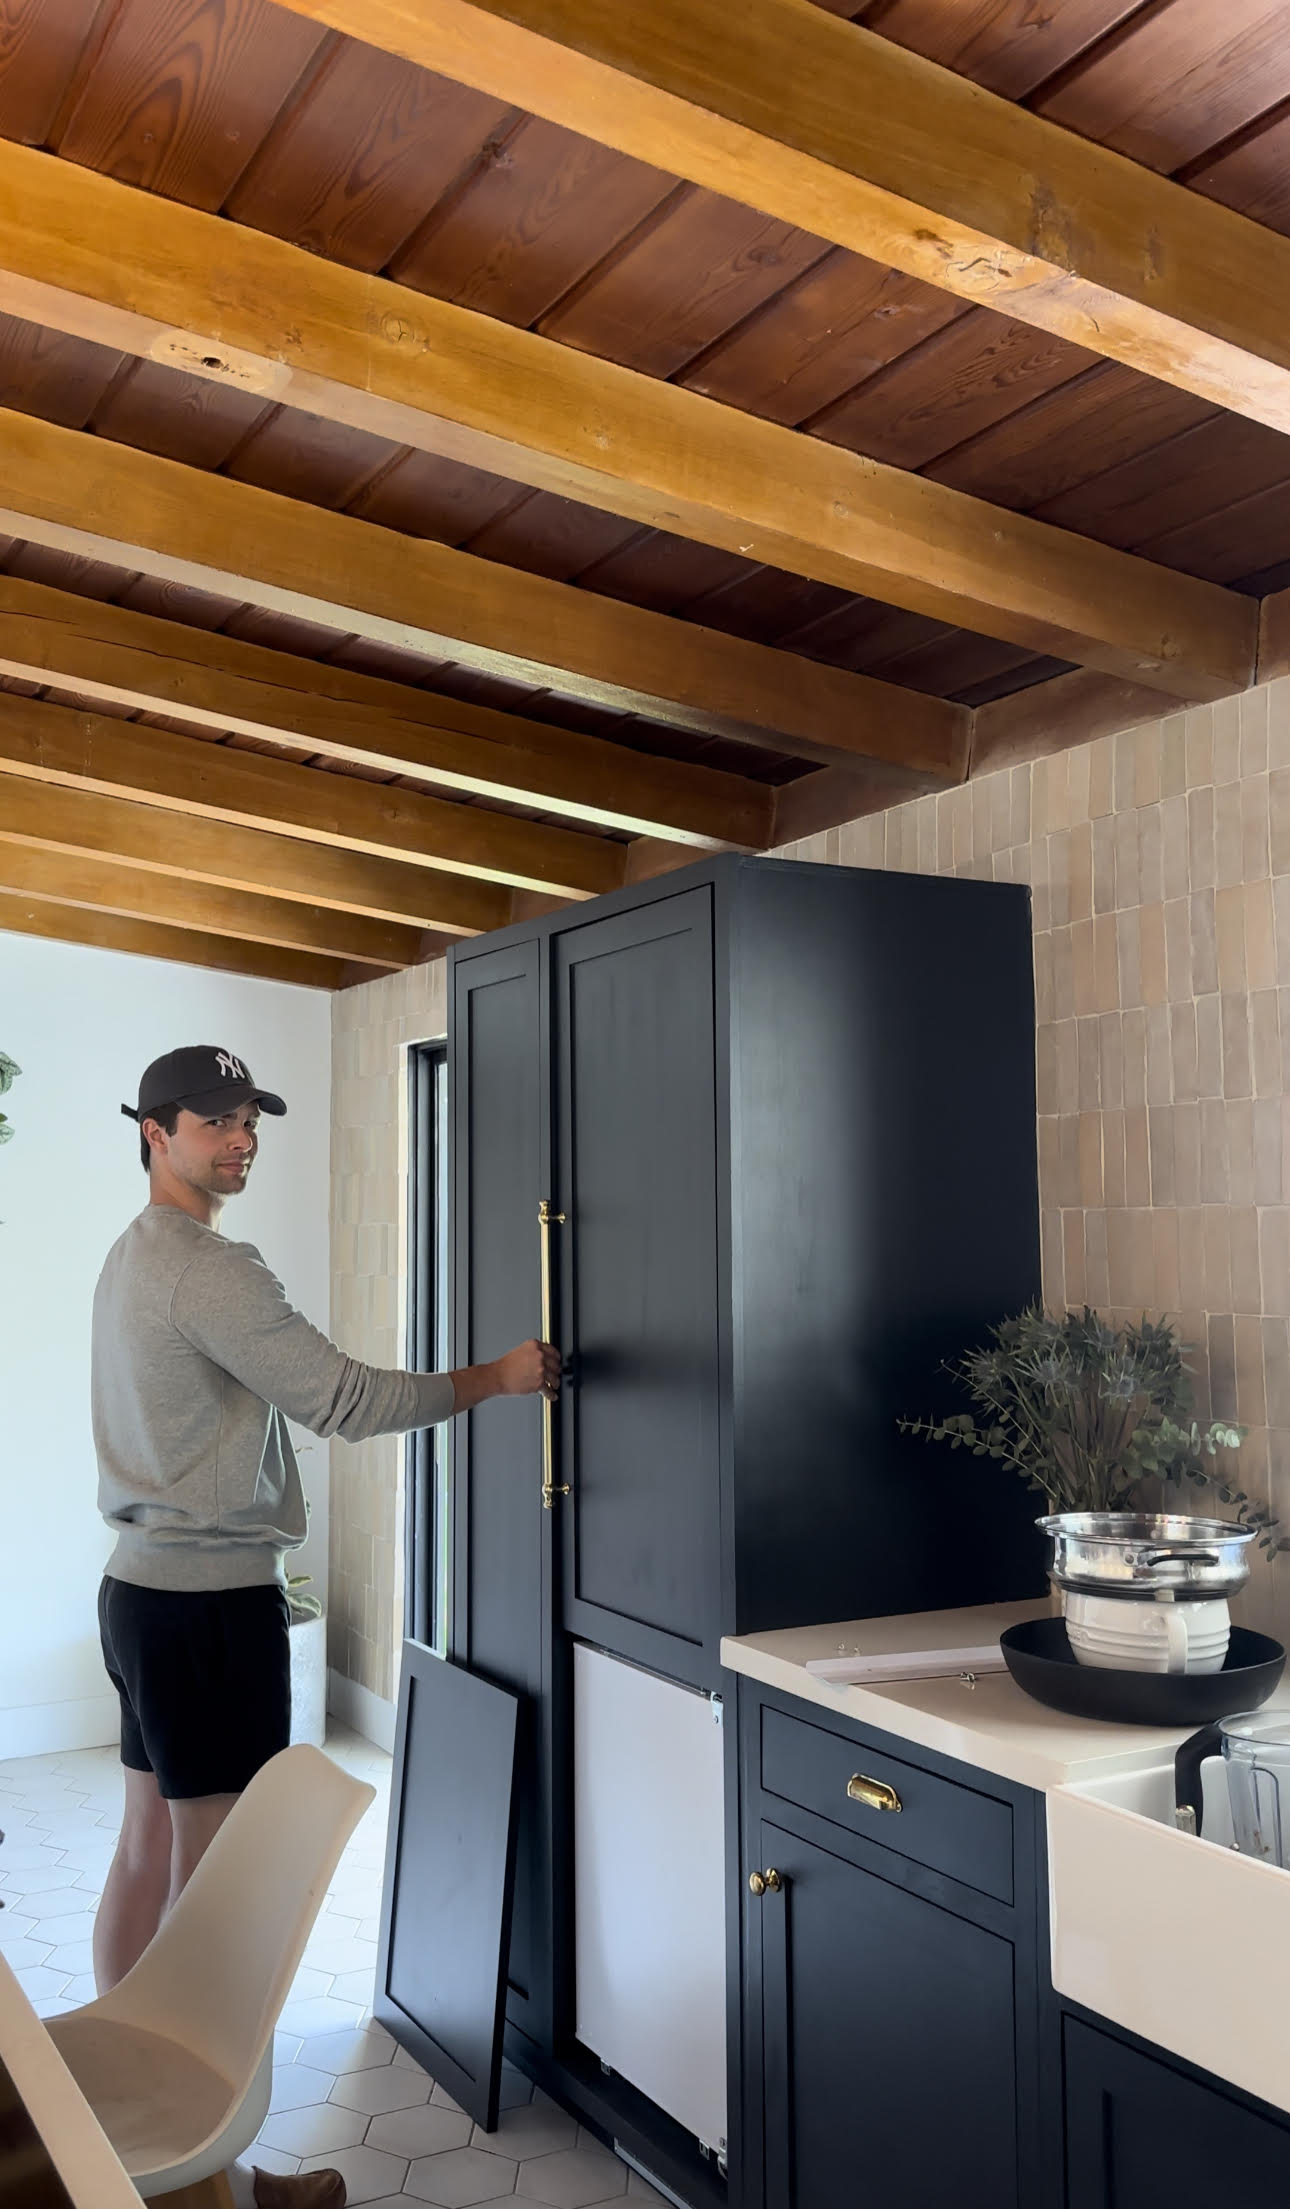
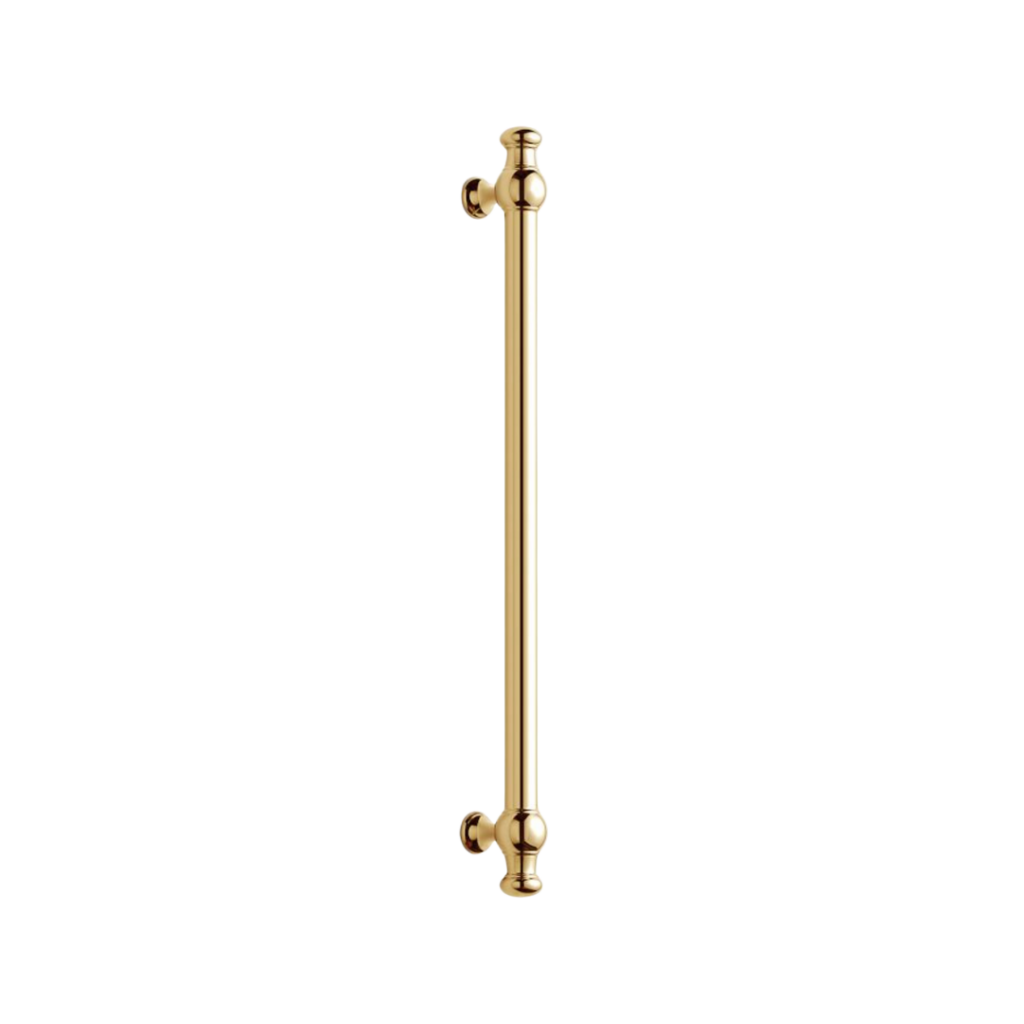
Here are the appliance pulls we used! We used the 18″ pulls for our pantry and fridge, and the 12″ pulls for our dishwasher and freezer. I love them more every week- we got the unlacquered brass so they are slowly building a patina over time.
This was a difficult build that definitely pushed us and tested our patience, but we could not be happier with how it turned out! I know I will love this cabinet for many years to come.
Comments