
Here are all the tools we typically use for demo days!
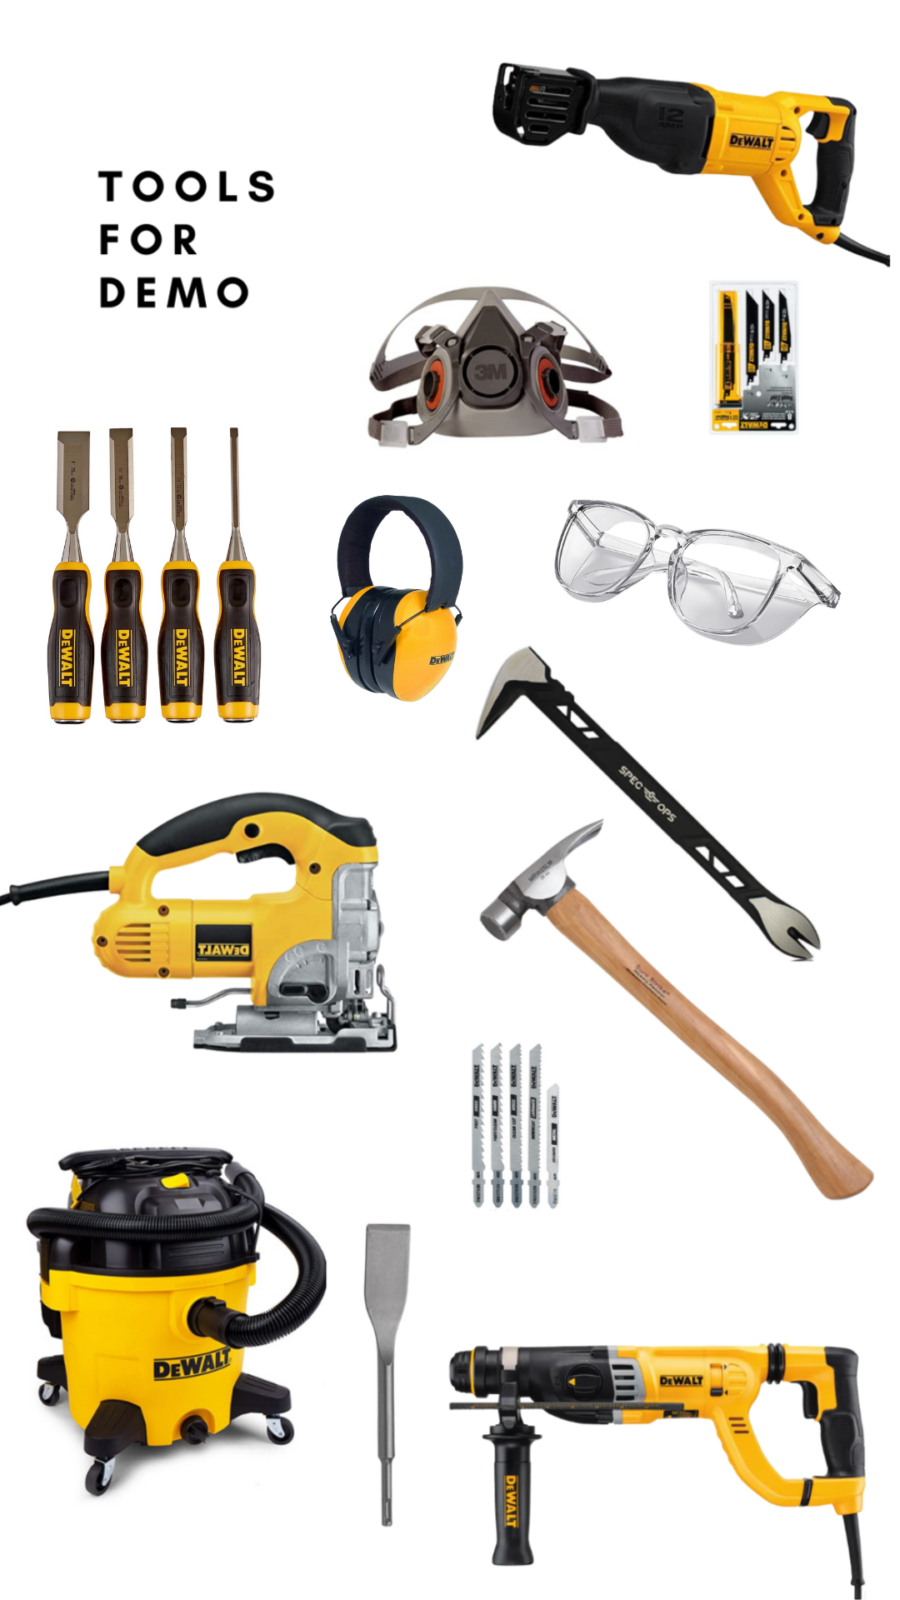
reciprocating saw (and blades)
respirator (and filters)
chisel for rotary hammer
shop vac
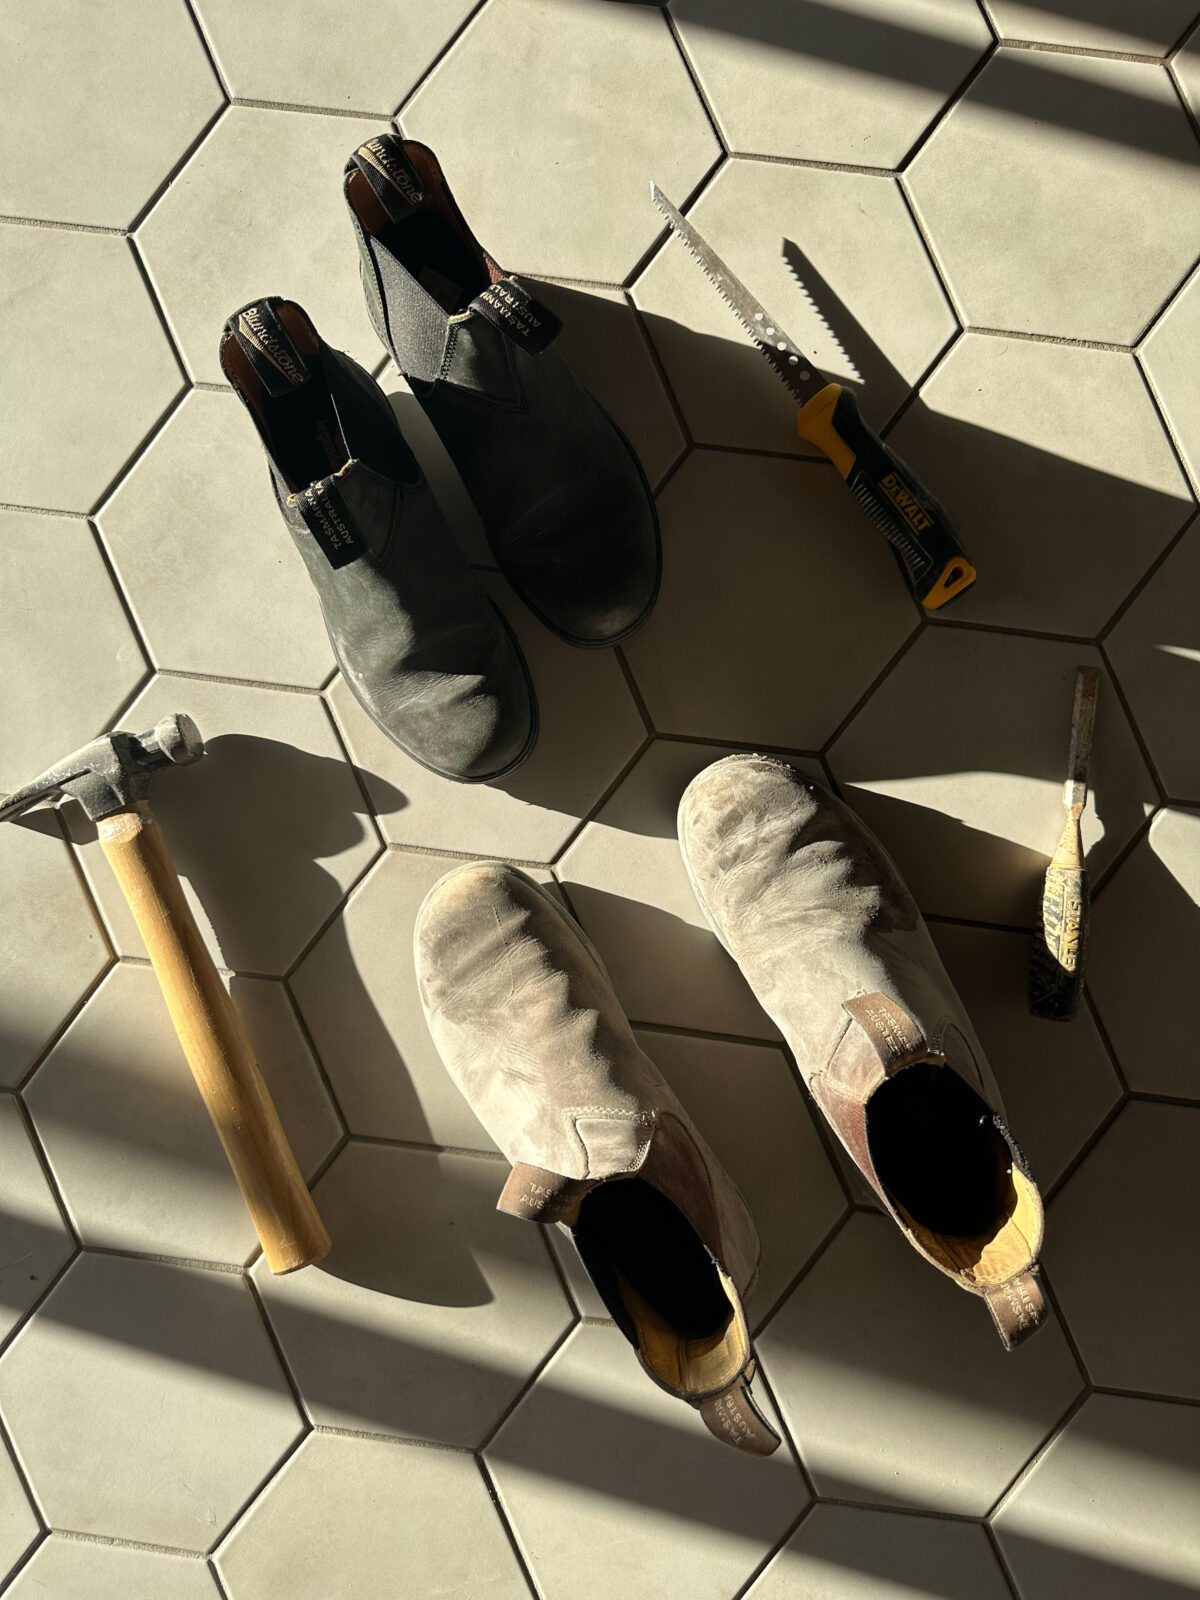
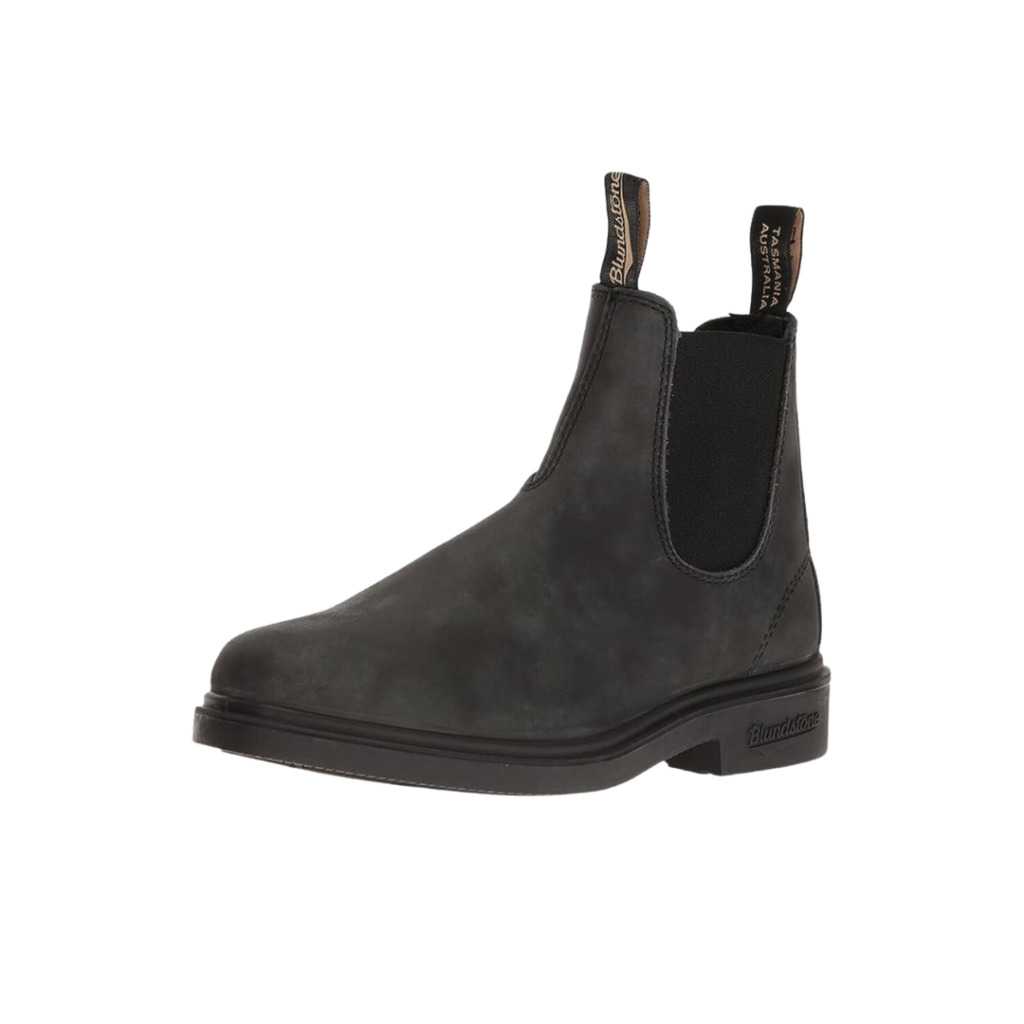
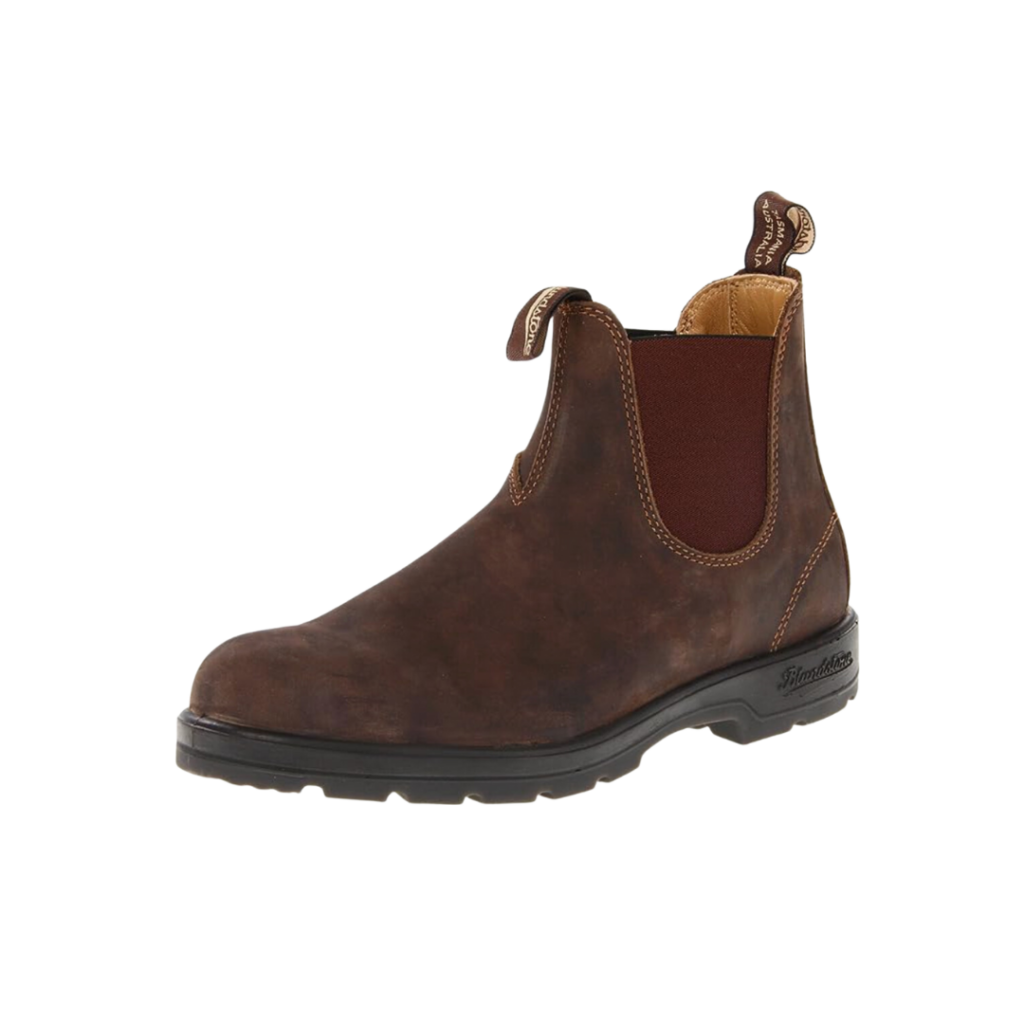
Jake and I prefer to wear our Blundstones when doing projects like this! He has the BL550s in Rustic Brown and I have the BL062s in Rustic Black.
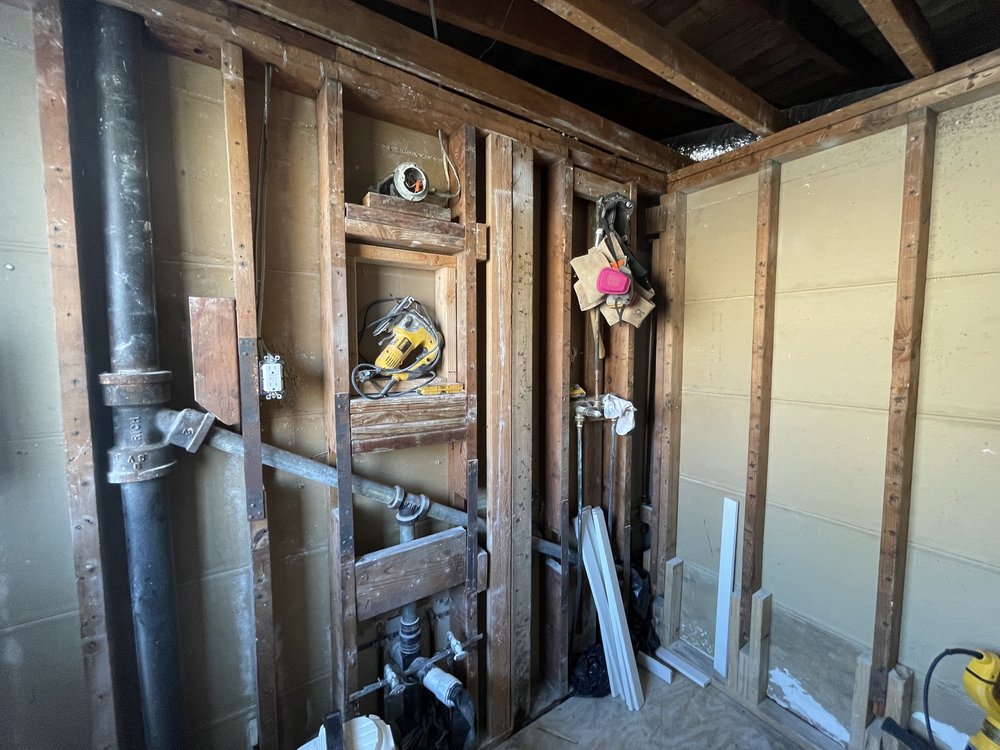
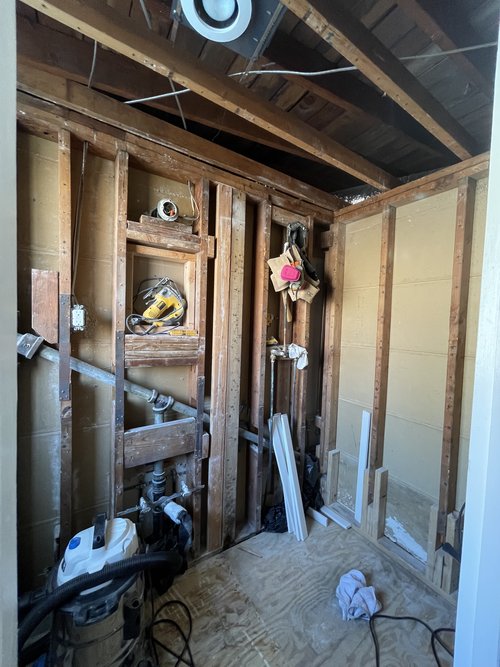
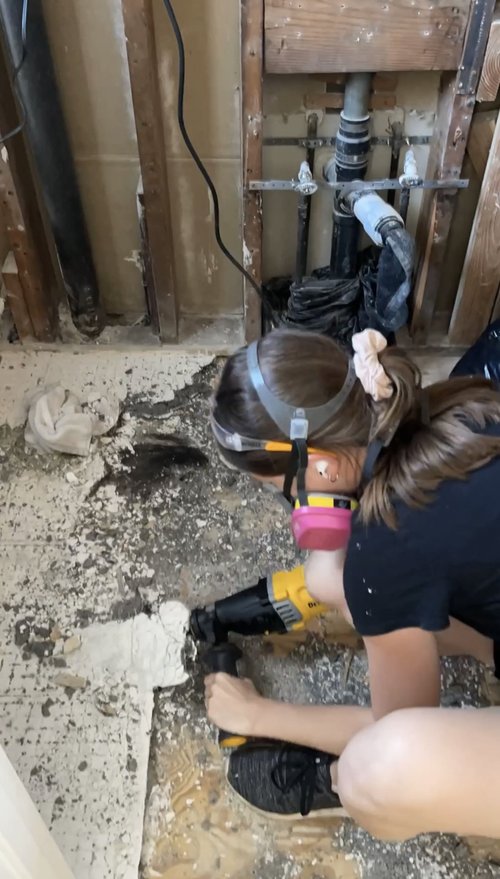
This week we tore our primary bath down to the studs! This is our first floor-to-ceiling bathroom makeover where we’ve completely gutted the entire thing ourselves.
For removing the plaster walls, we mostly used the jigsaw, hammer, and prybar. We used a simple hammer and chisel (the other side of the prybar) to take the tiles out. The most stubborn part to remove was the mastic below the tile- and for that, we used the rotary hammer with the chisel bit! It was my first time using it, and it wasn’t scary at all! It’s a great tool for removing stubborn tiles, mortar, or the mastic below flooring.
Comments