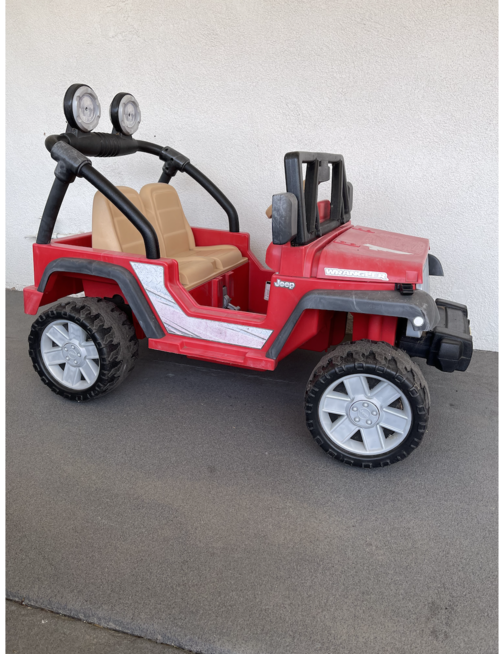
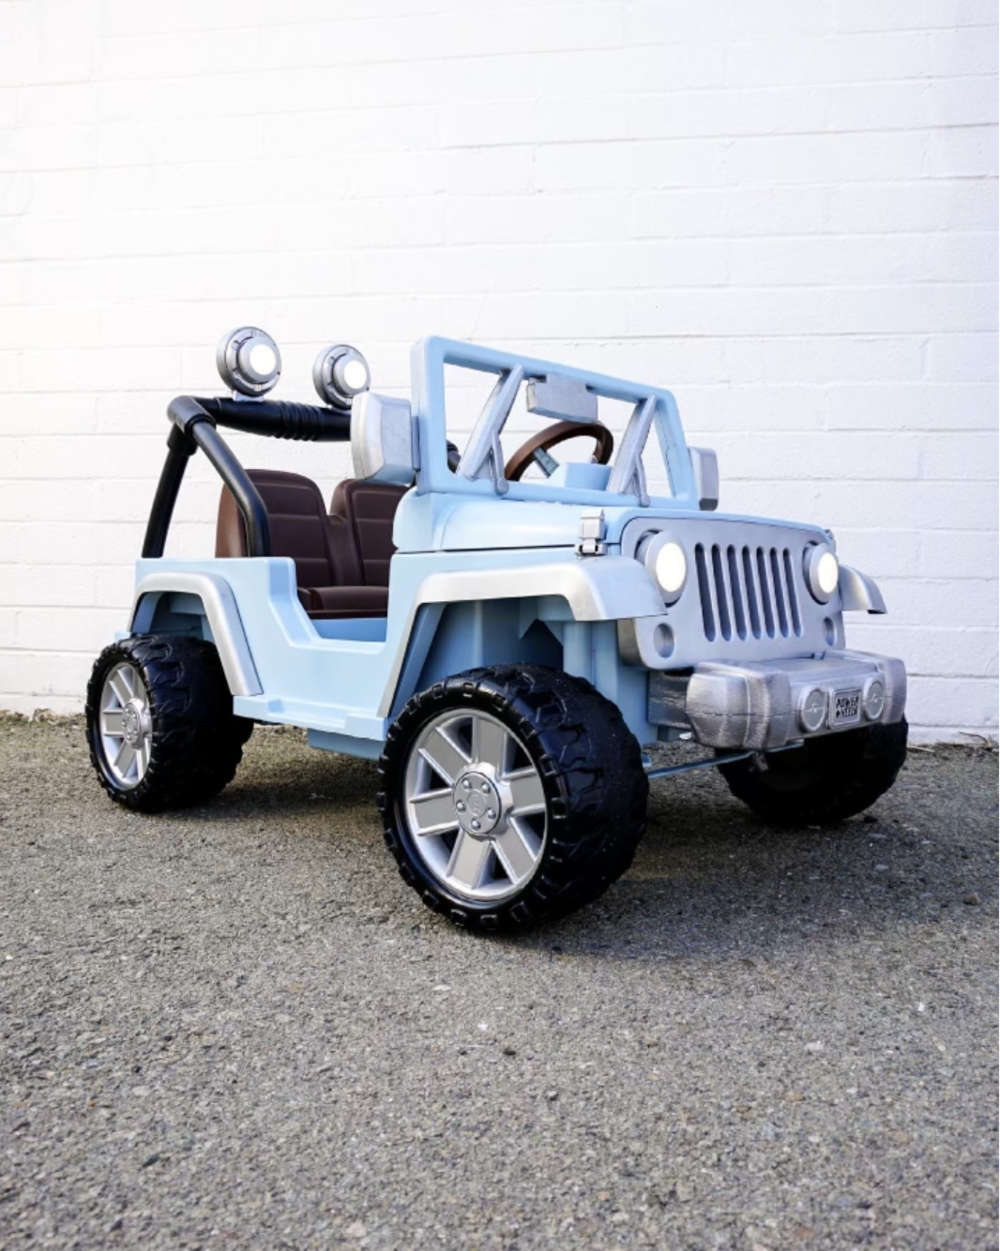
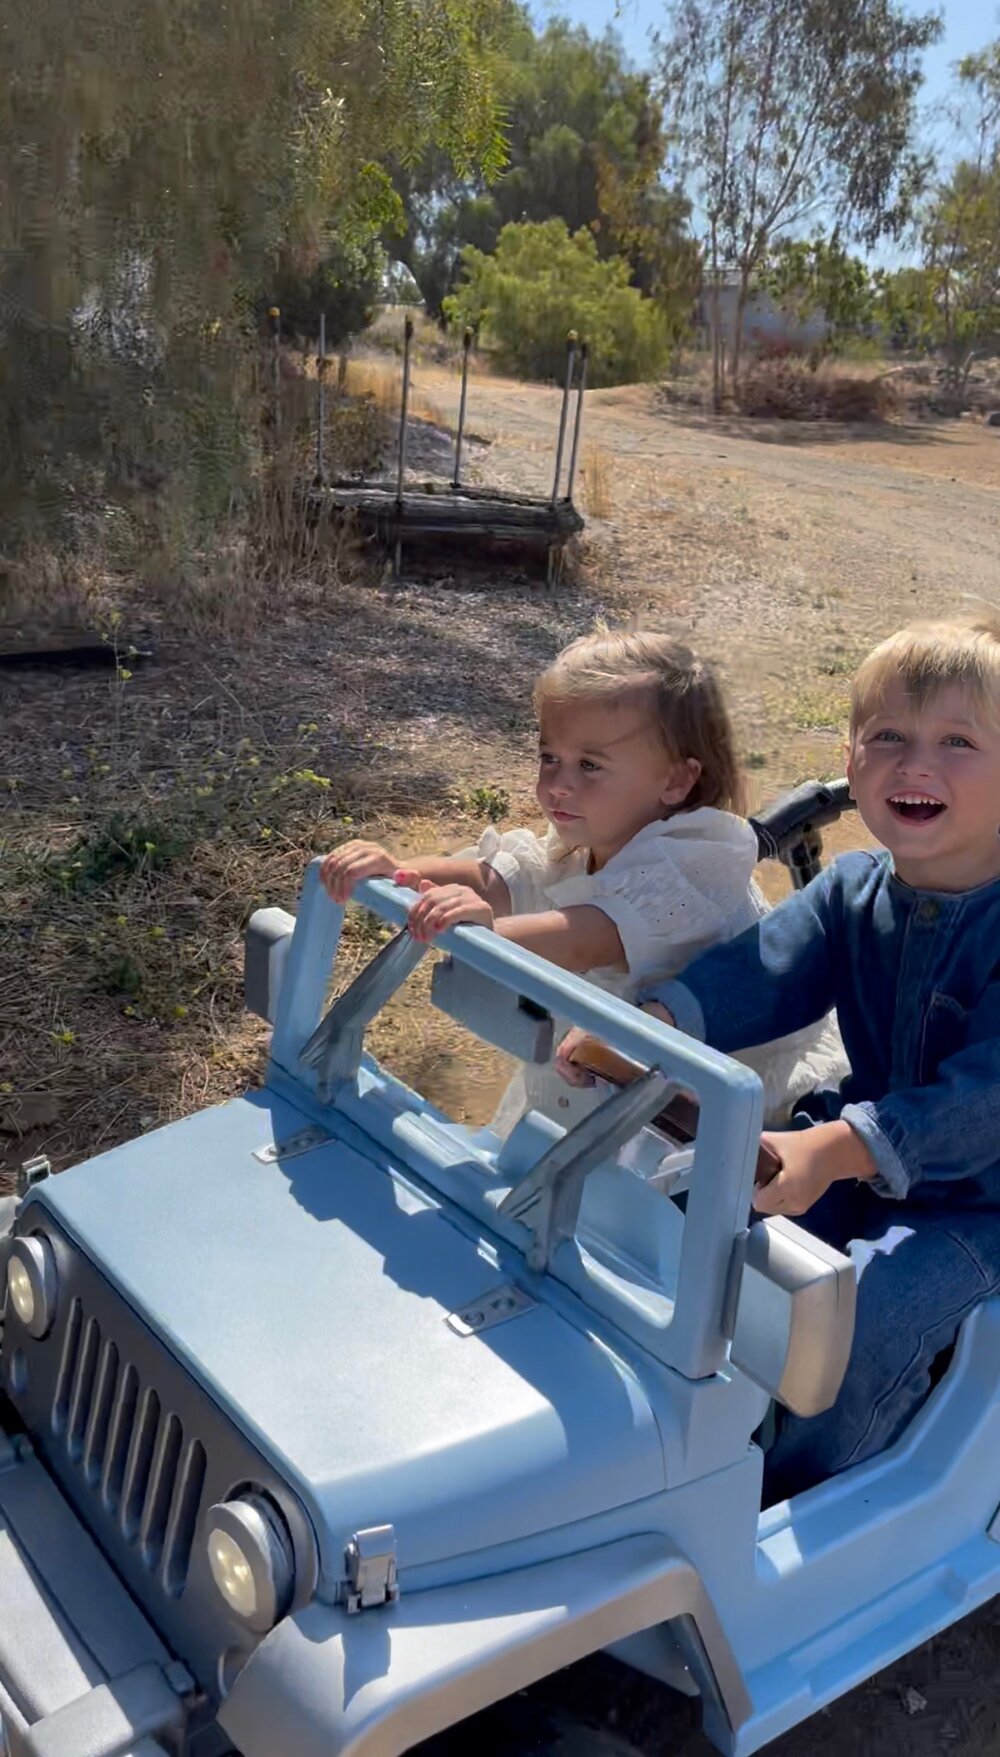
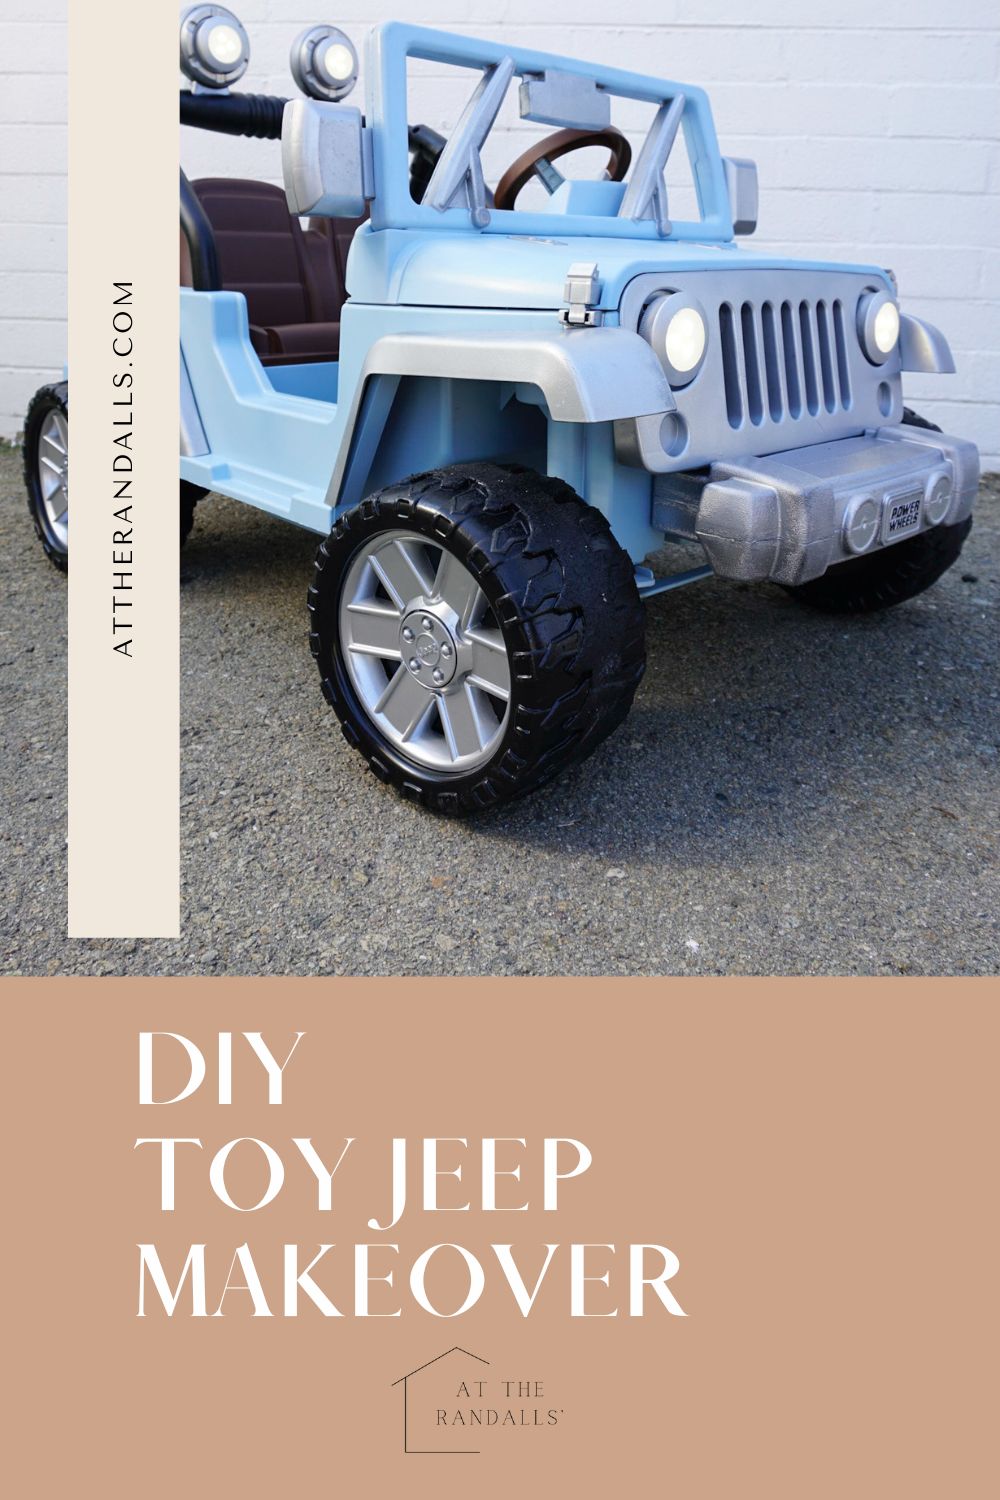
We just did a Toy Jeep Makeover for some of our friends’ kids. This might be one of my favorite projects we’ve worked on yet!
tools used:
screwdriver, socket wrench, channel locks
oh…and a hairdryer to help remove stickers
materials used:
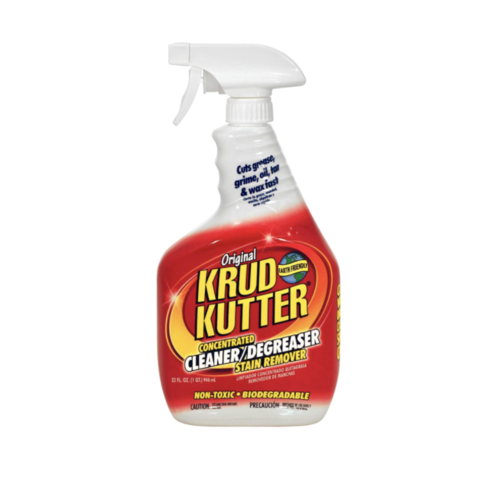
Krud Kutter
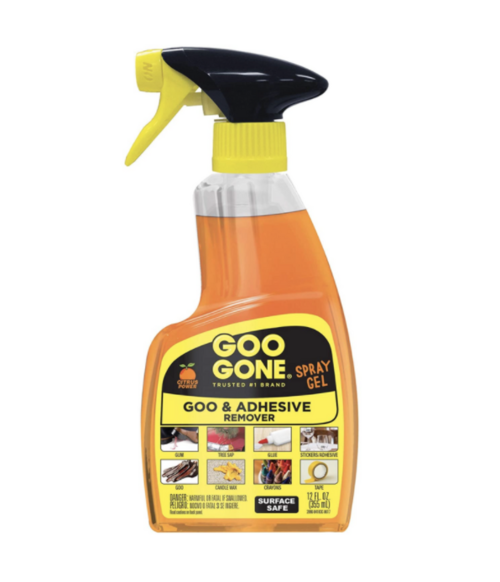
Goo-Gone or Lemon Essential Oil
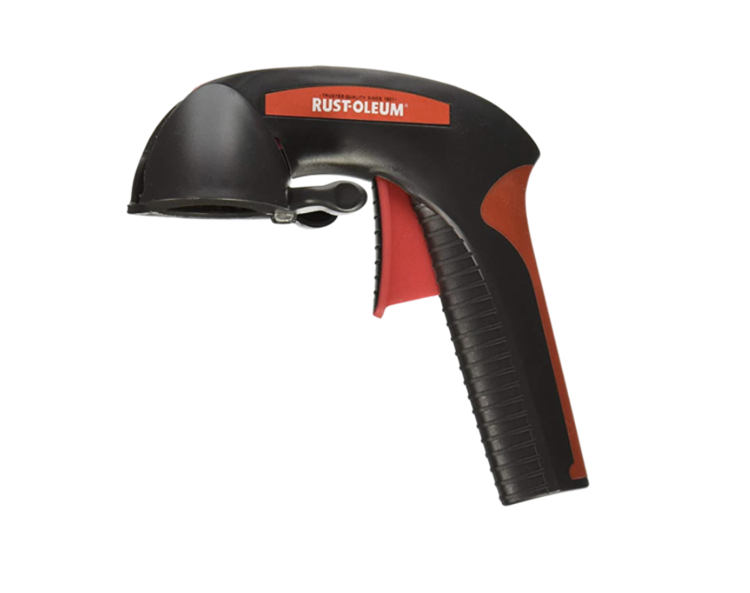
Comfort Grip Handle
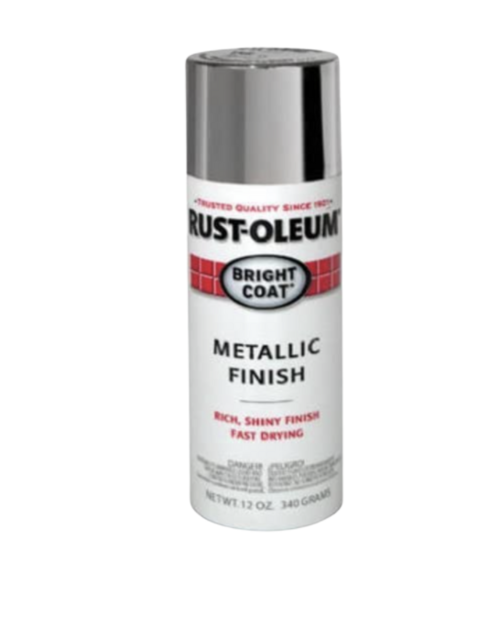
metallic finish
peaceful blue – satin
brown – flat
black – gloss
clear durable topcoat – high gloss
License Plate Font (I used “Dealerplate CA”)
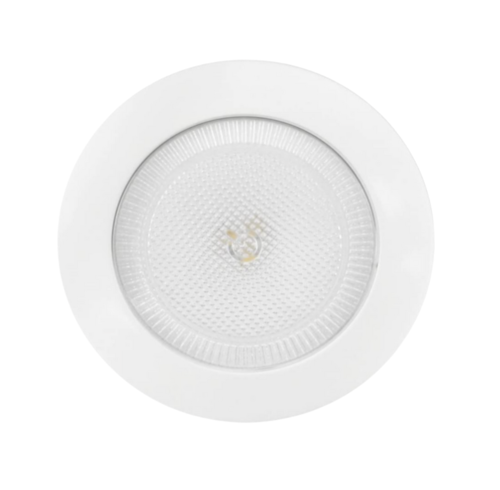
Puck Lights – pack of three
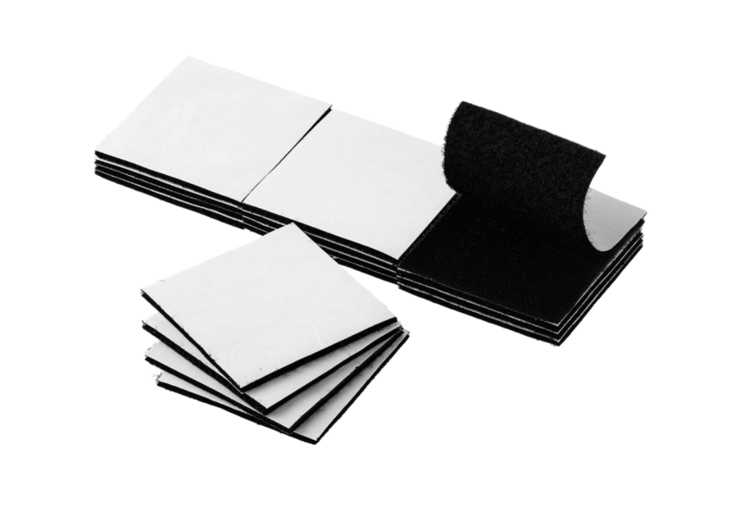
Velcro Stickers
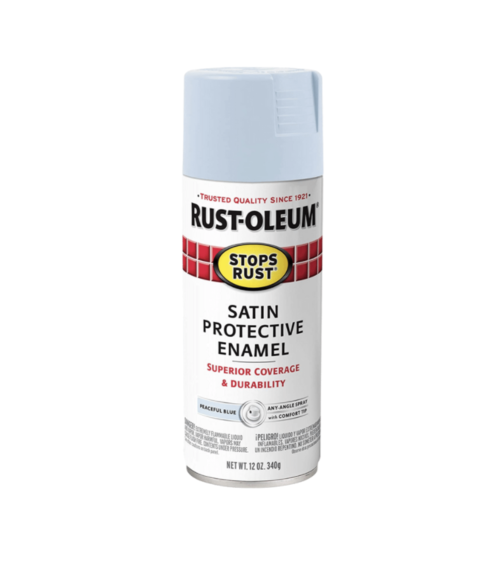
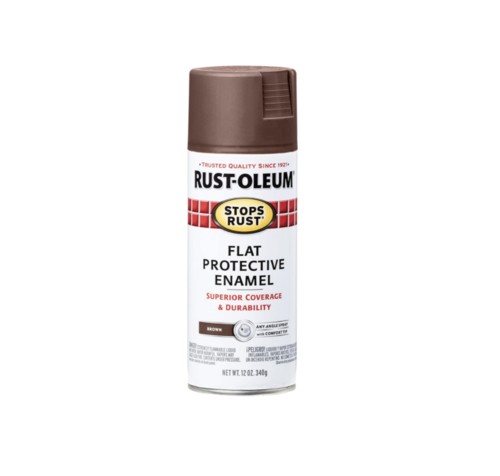
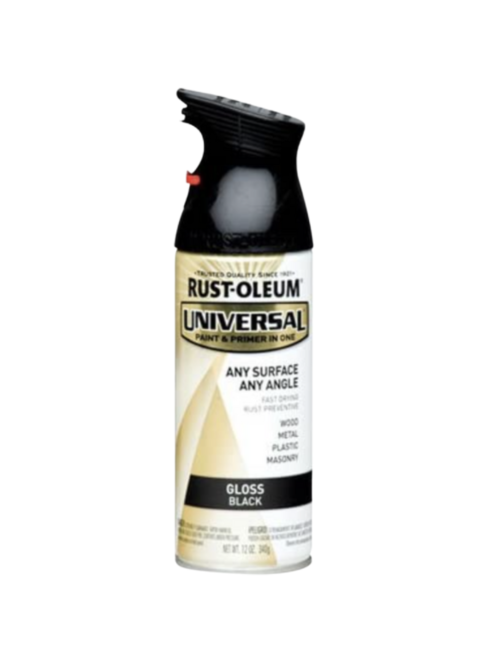
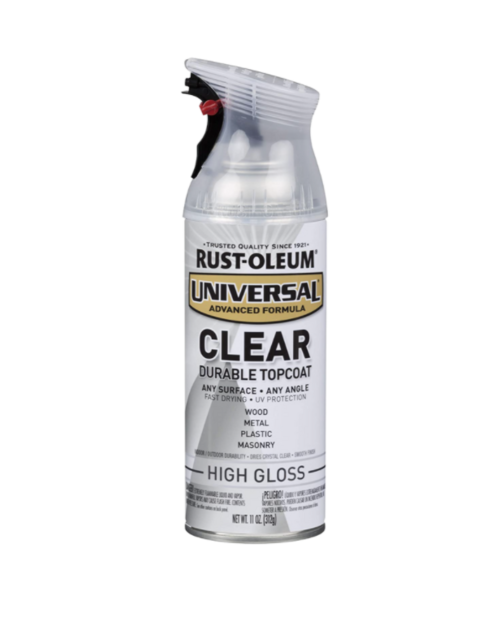
Step 1: disassemble, remove all stickers, and clean old car
We kept all the screws and other hardware (hint- it was a lot!) in a Ziplock. We peeled off all the stickers with slightly annoyed fingernails and used Goo-Gone to take off the residue. Lemon oil works really well too. We cleaned the plastic using Krud Kutter, and then we were ready for paint!
Step 2: Tape off and paint.
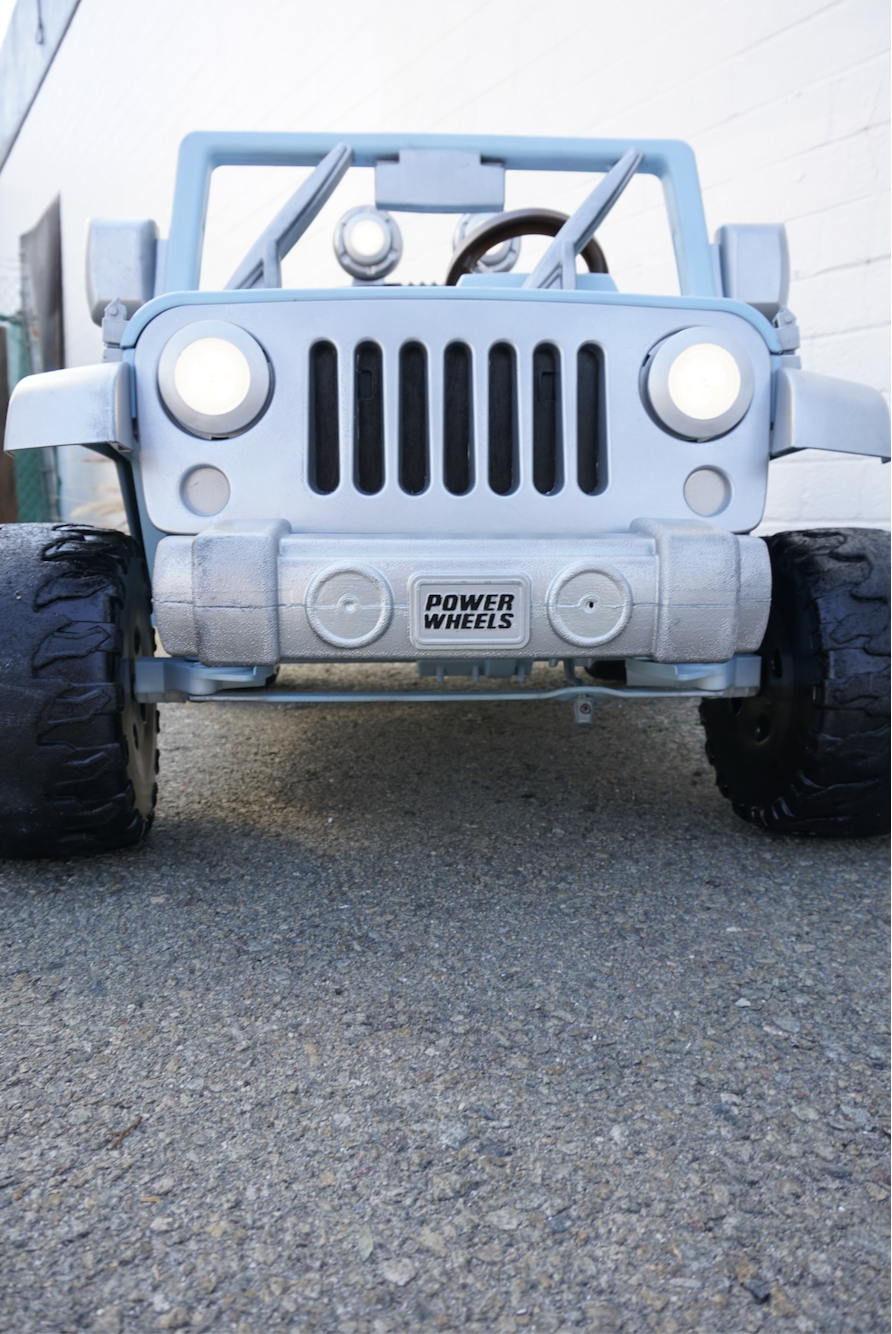
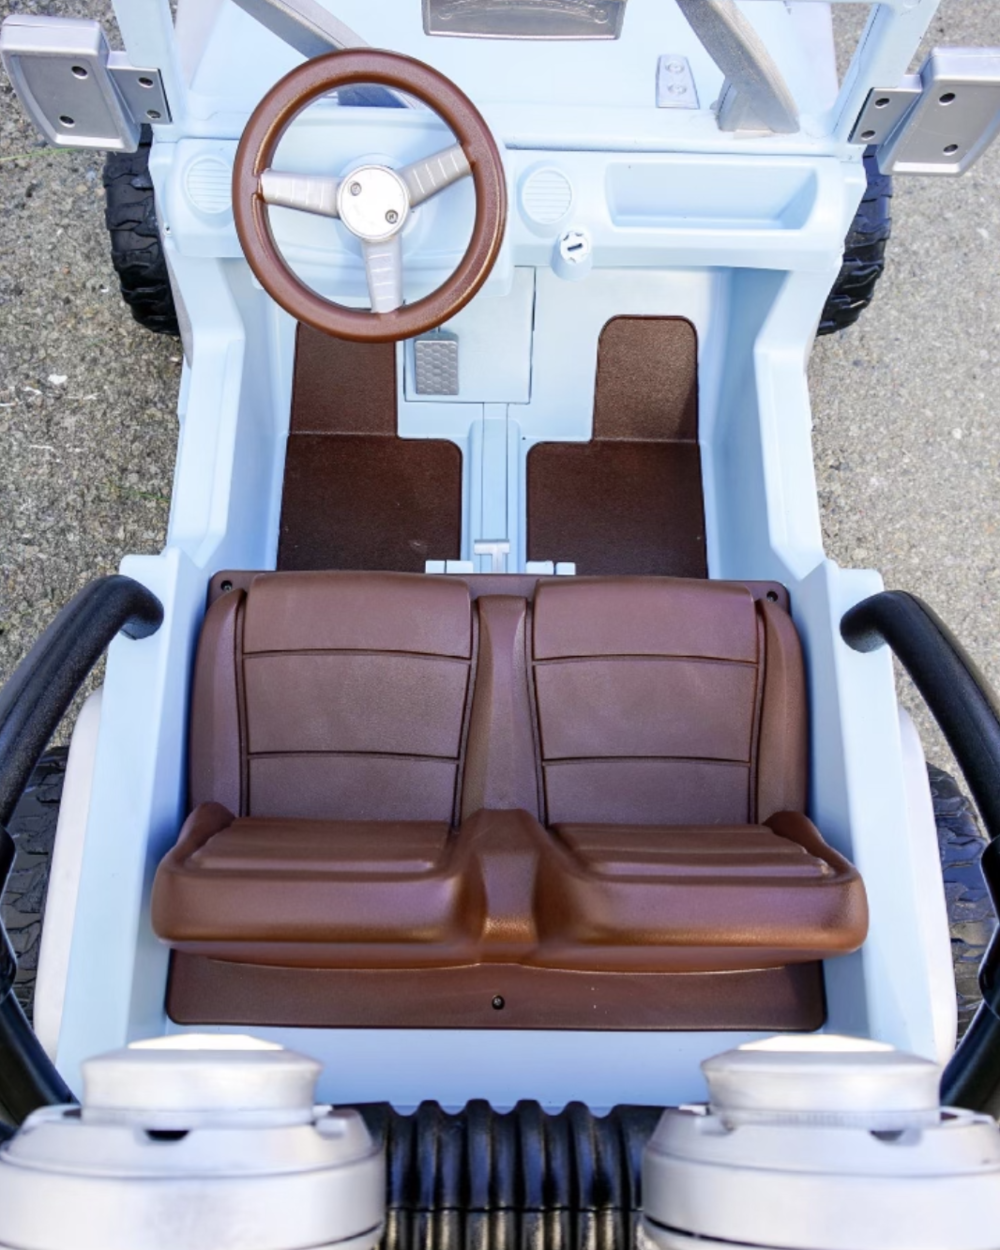
We did not sand the plastic or use any primer. Apply spray paint about 6 inches away from car in 2-3 light coats, allowing at least 20 minutes to dry in between coats. We hand painted the inside of the grill, the perimeter of the puck lights, the lettering on the logo, and a few other small details. We reassembled the car before applying the topcoat.
Step 3: Fun details!
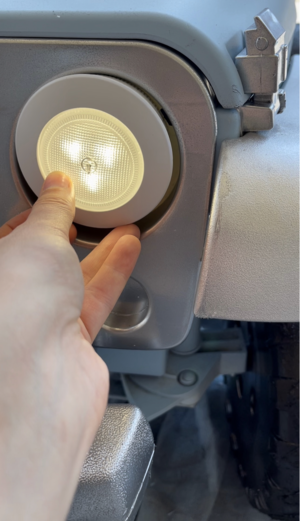
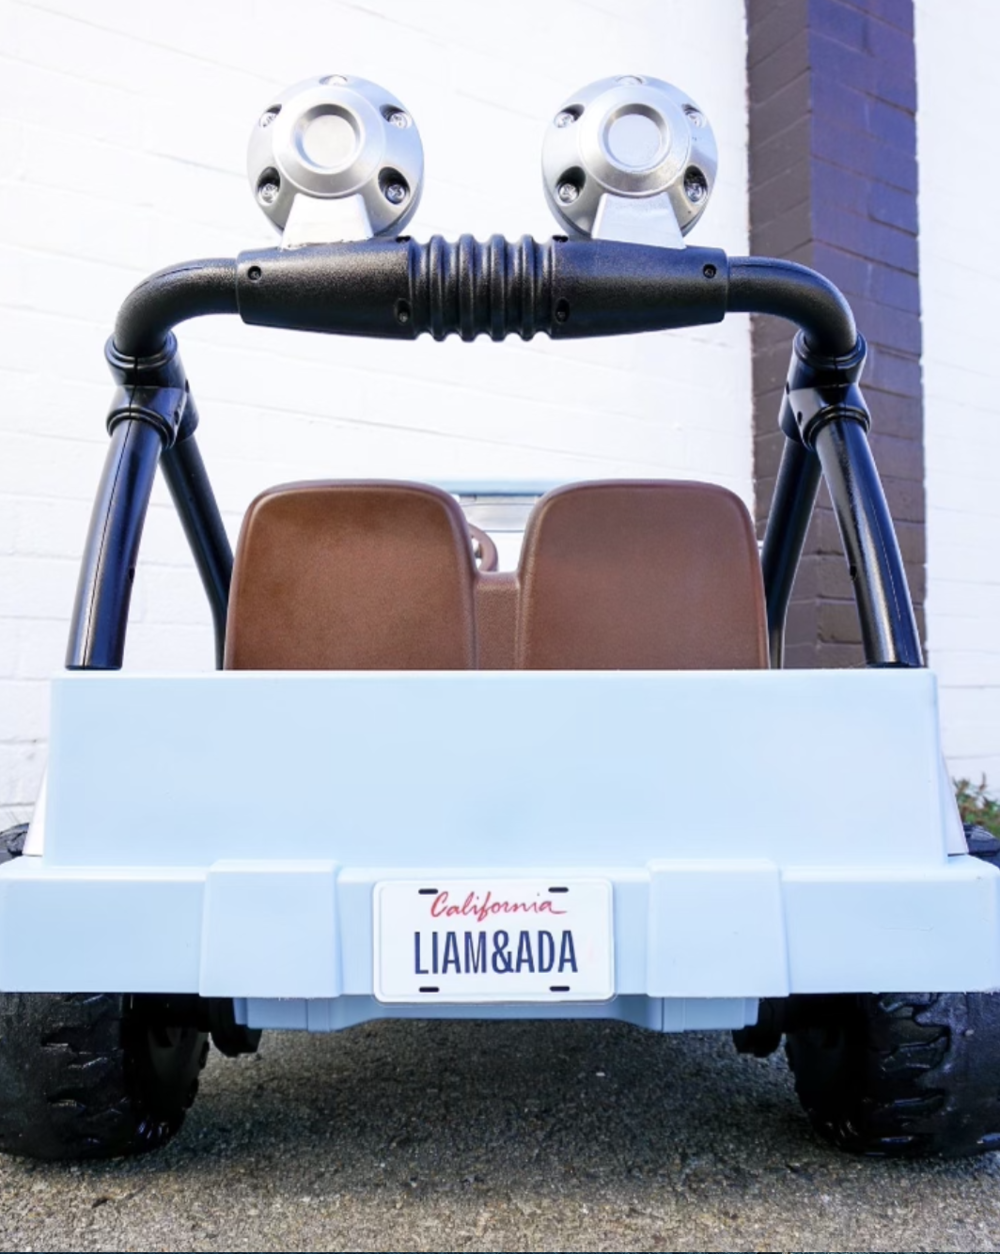
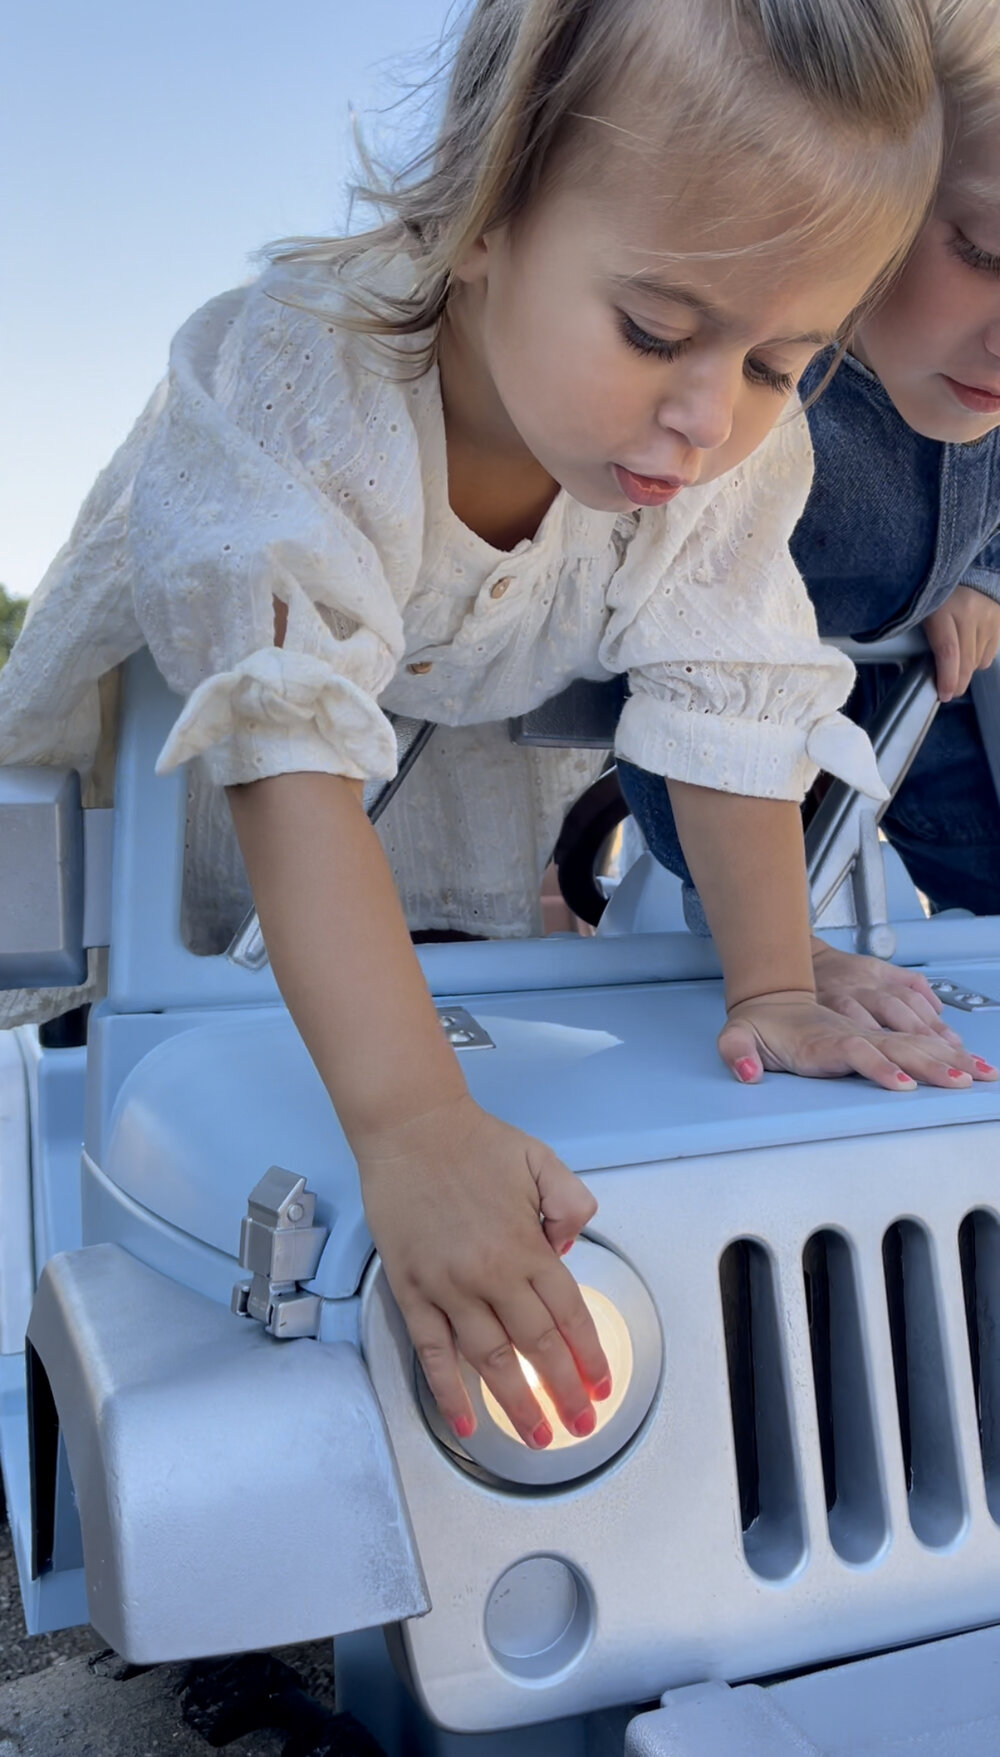
We replicated a CA license plate using Canva and this font. We printed the pdf at Staples for 73 cents and then had it laminated for 2 dollars. Then, we added it to the back with small Command strips. We also added these puck lights with little velcro pieces. In total, this Toy Jeep Makeover cost $62.
Comments