
We recently completed a 3 day makeover in this section of our yard. As you can see, we had pretty much completely neglected it since the day we moved in. Since this area leads to our pool, I wanted to create a paver pathway along with a pony wall to section off the slope. I’m sharing all the steps in this blog post!
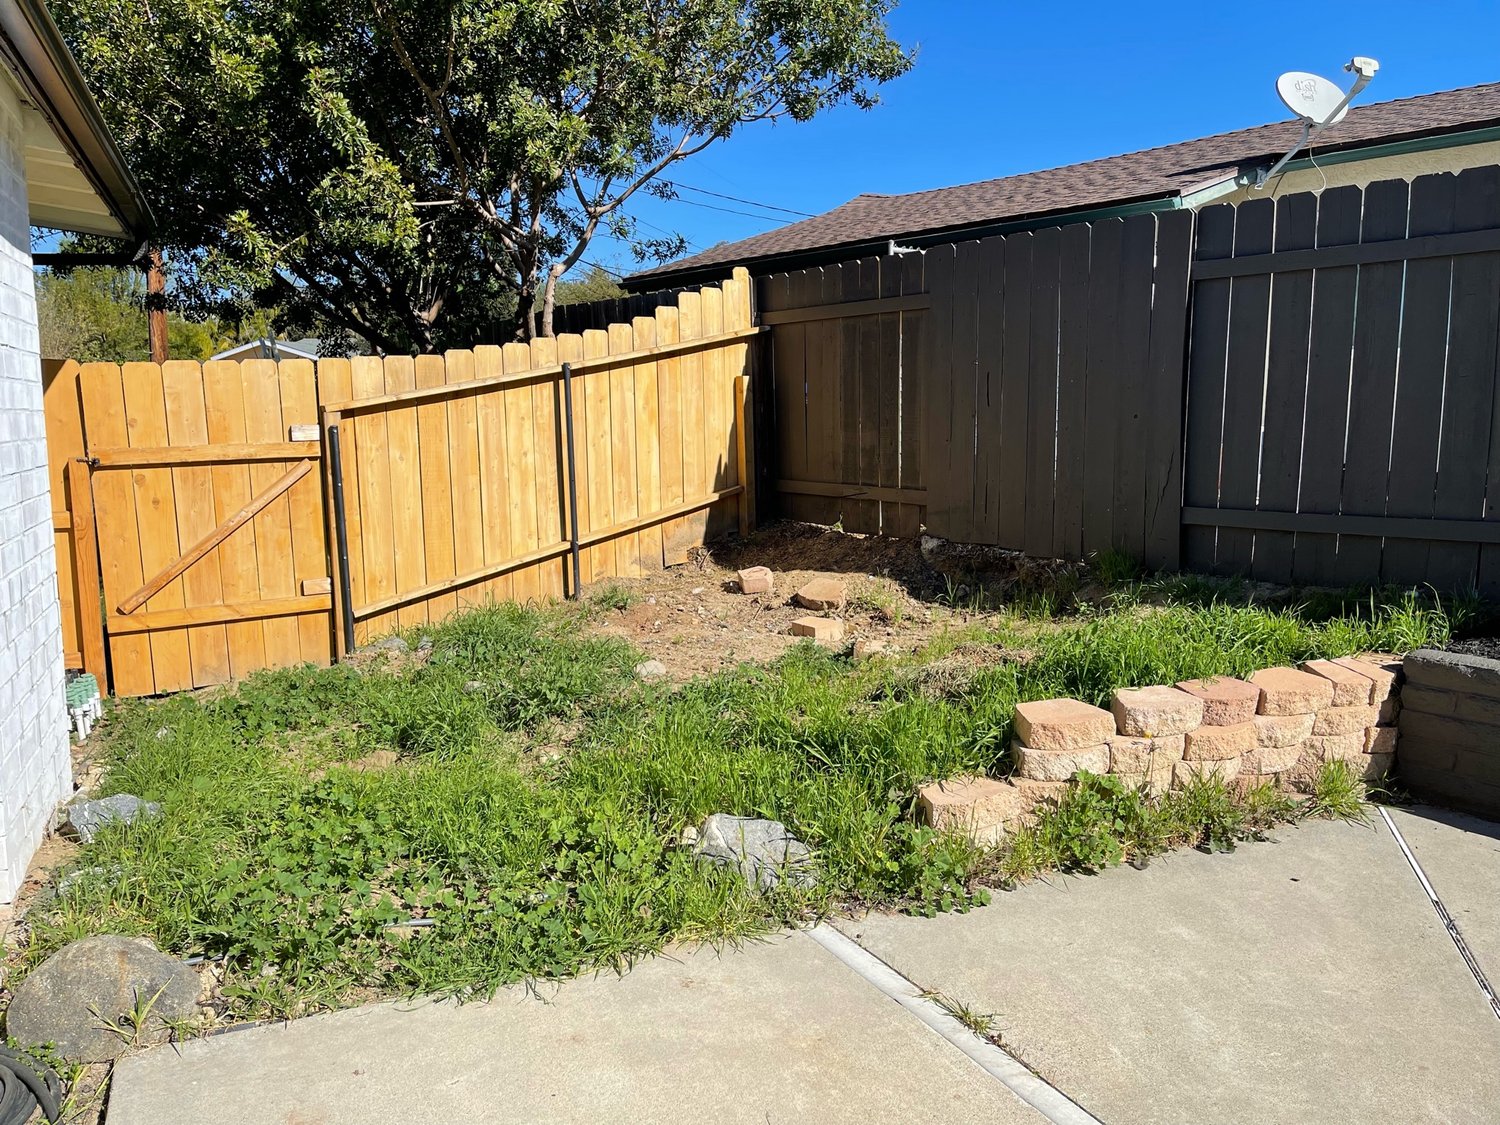
Step 1
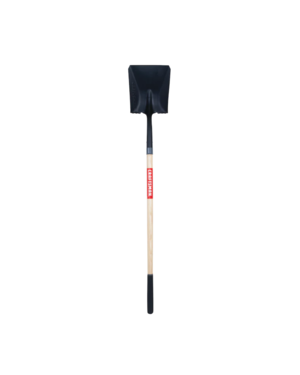
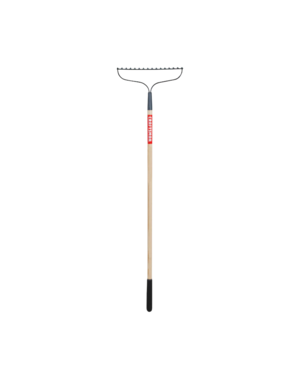
We cleared out the area. We removed the old stack of blocks to the right, cleared out as many rocks and pebbles as we could find with a wheelbarrow, weed-whacked the area, and then started moving dirt to the right side. After that, Jake dug about a 1-foot trench around the mound of dirt on the right side with this shovel. If the dirt in your area is looser, we would recommend this transfer shovel instead.
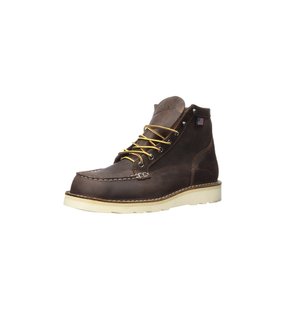
I used these gloves throughout this entire project, and Jake swears by these work boots!
tools used:


Step 2
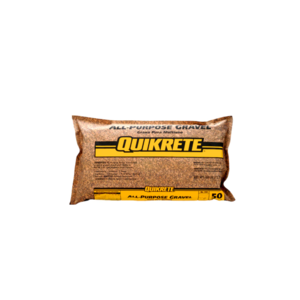
We built our pony wall. First, we filled the trench about halfway with this all-purpose gravel. Then we laid the first row of these retaining wall blocks in the color Tranquil. This is the most tedious part of the project! This first row needs to be perfectly level and plumb to ensure the stability of the rest of the wall. If it’s leaning one way or the other, it could eventually collapse. We used a level and spent about 2 hours adjusting each and every block until it was just right. After this is done, you can lay the rest of the blocks quickly!
One thing I’ll also mention here- we have a drip line running to our olive trees and fruit trees, so I made sure to dig a little trench under the first row of blocks so that the hose would be hidden. People often also use PVC pipes in this situation to protect the hose from the weight above.
I received a lot of questions asking if we used mortar to cement the blocks together. We did not. In addition to the blocks being super heavy, they have a little ridge along the back to sort of “lock” them in place. We felt comfortable just stacking them, but you could certainly use mortar between the blocks for extra strength and durability.
materials used:


step 3
We filled in the retaining wall and painted the gate. Now that the majority of the dirt was moved, I could clean off the gate and paint it. I used a wire brush to clean off excess dirt, spray painted the gate poles with black spray paint, and then painted it in the color Black Fox by HGTV Home by Sherwin-Williams, in their Everlast line in a flat sheen. (Flat is standard for fences.) I used my favorite ergonomic brush for big projects, the Freeform brush.
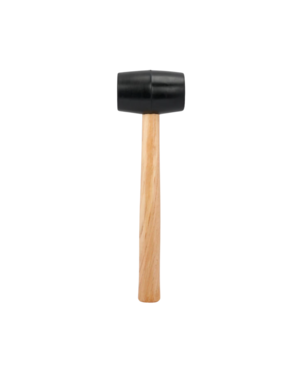
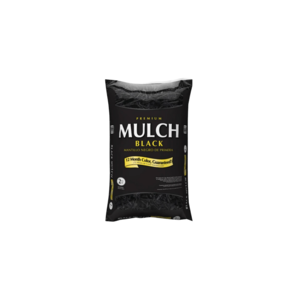
Next, we secured this heavy-duty weed cloth with these landscape pins using a mallet and filled in the section with black mulch. We dug a small area in the center to eventually plant an apple tree.


step 4
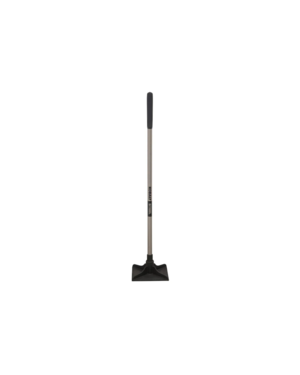
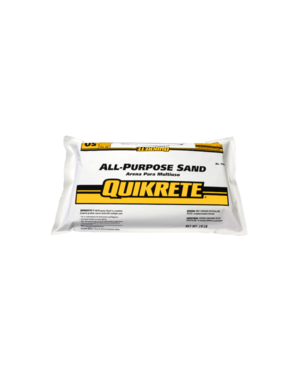
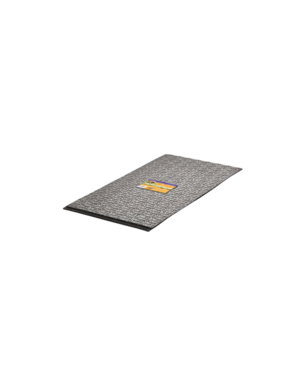
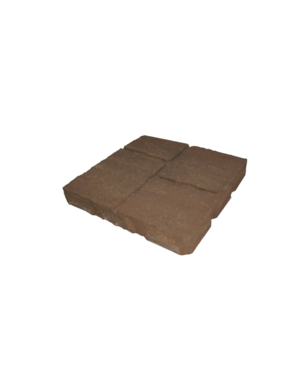
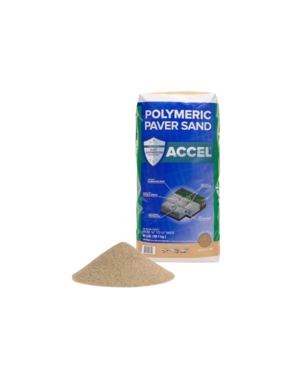
The last step was building the paver pathway! After leveling the dirt with a tamper, we used this 5-step system:
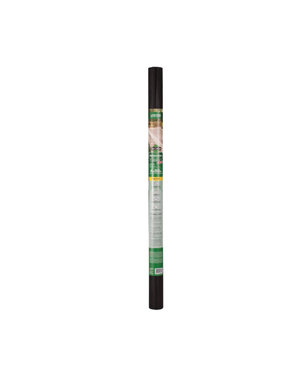
- heavy-duty weed cloth
- all-purpose sand
- paver base panels
- pavers (color Tranquil)
- polymeric sand
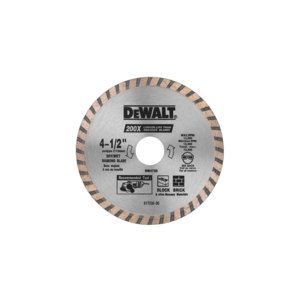
We had to cut a few of the pavers to fit the space with this grinder and this grinding wheel. This cut almost entirely through, but Jake used a hammer and chisel to completely break it apart. After the final step of adding the polymeric sand, we swept excess sand off with a broom and sprayed it down with a hose (and repeated that same step again).
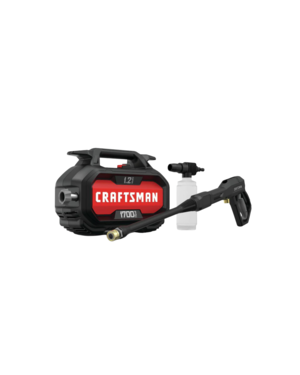
We gave our patio a quick spray with this pressure washer, and called it a wrap!


Comments