
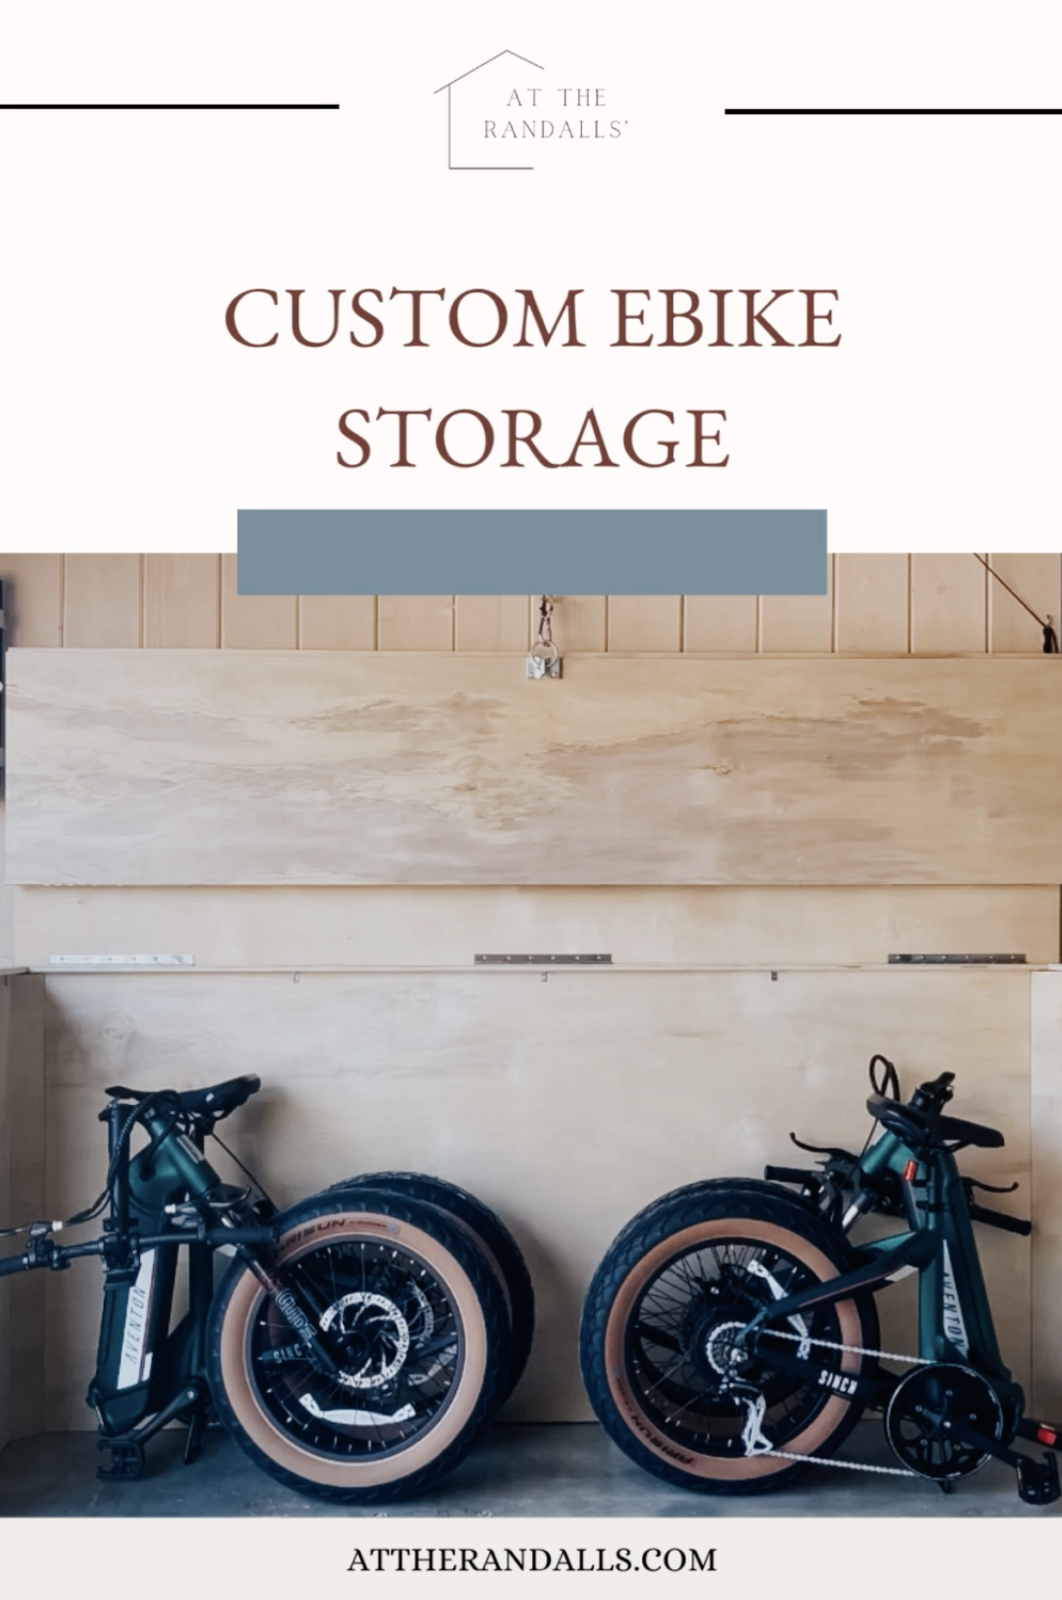
We’re getting e-bikes from Aventon…we can’t wait! We want to build a mini garage in our garage for eBike storage! We work in the garage so often, and there is so much sawdust and paint overspray. Since it gets so messy, we wanted to build something that would fully protect the bikes. We decided to build a custom cabinet with a pulley system. This is such a great system if you also have large items you want to protect in your garage that won’t fit in a standard cabinet!
Here’s what we used for our custom eBike Storage:
- sander
- table saw
- circular saw
- rip cut guide
- drill + driver
- massca pocket hole jig
- shiplap
- miter saw
- jigsaw
- outlets
- light switch
- outlet cover (double panel)
- outlet cover (single panel)
- brad nailer
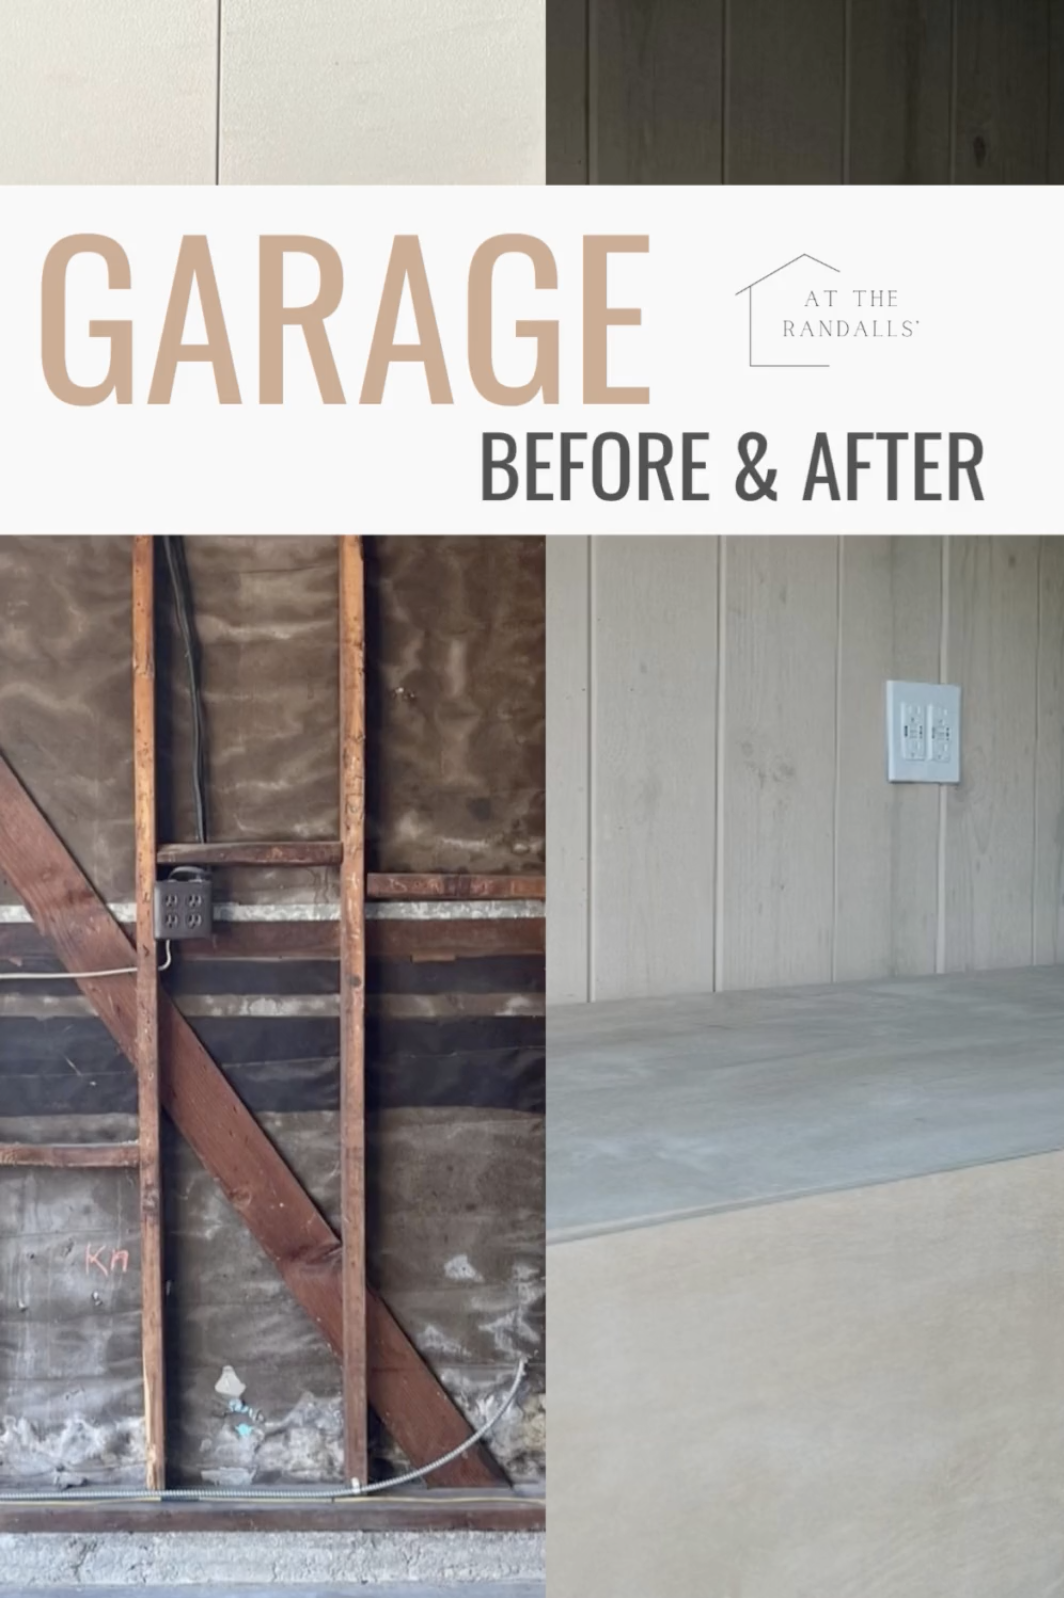
Here is what we started with.
About 2/3 of our garage looks like this – no walls.

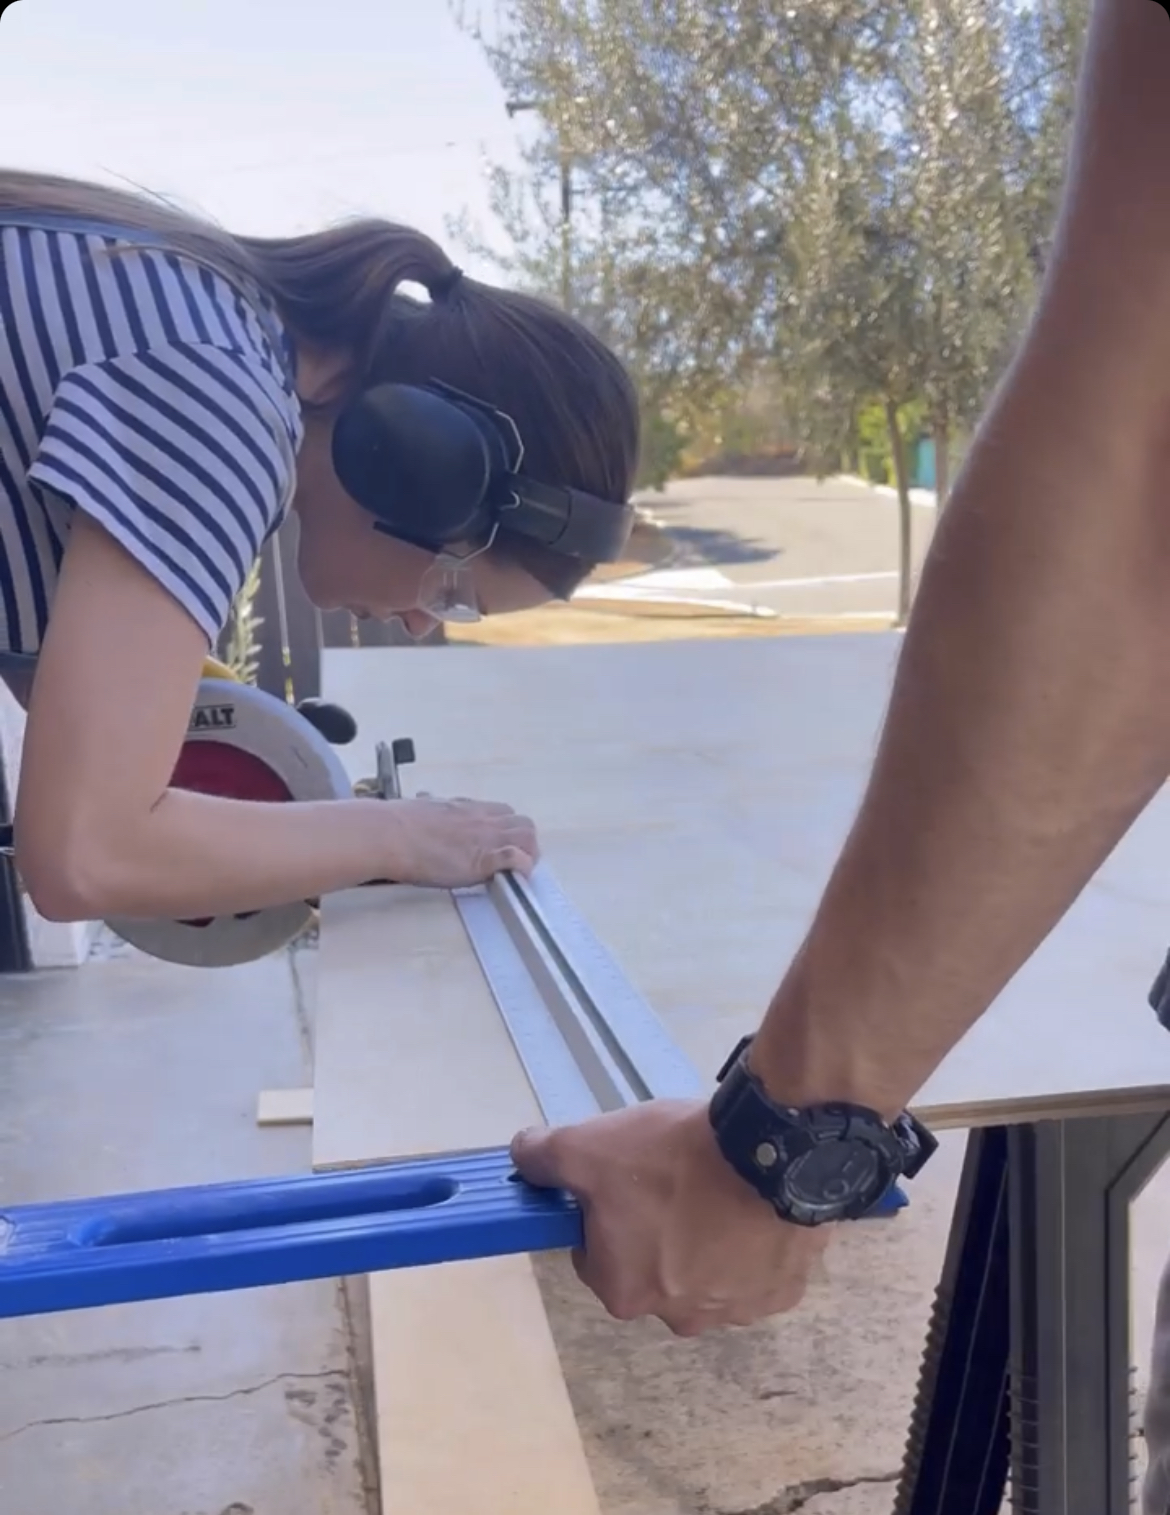
We’re using half inch plywood and our kreg jig rip cut guide. We prefer this method over the table saw when we can.
I’m marking where I want the pocket holes to be. I’m doing ten on each side. I did it to both sides of the cabinet – so 20 pocket holes total!

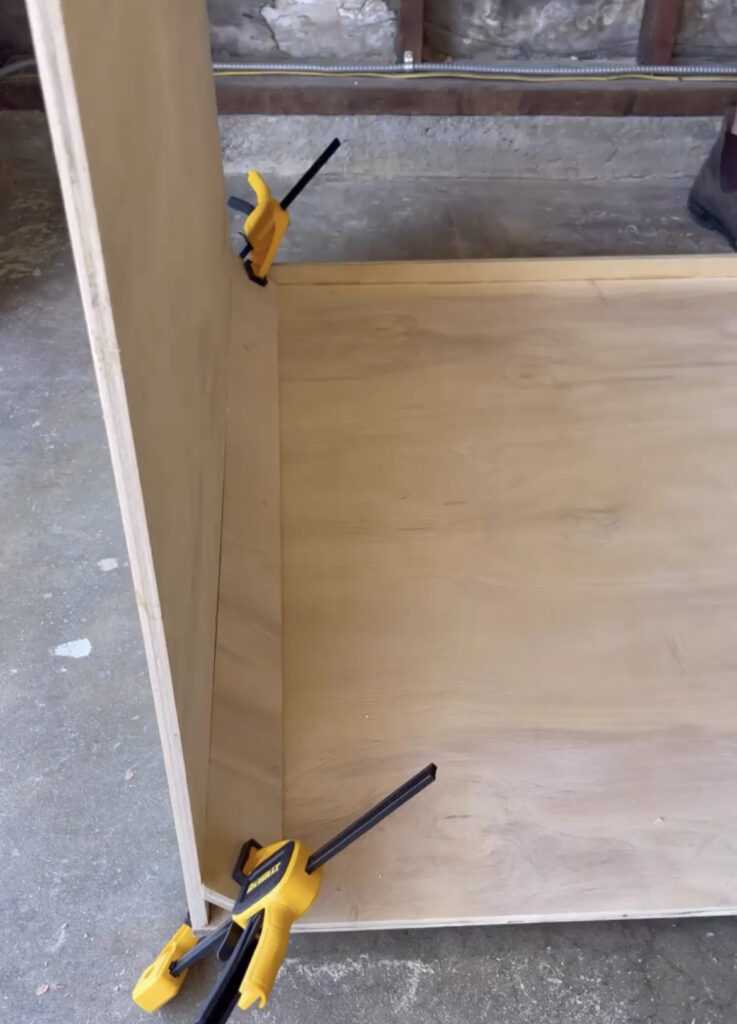
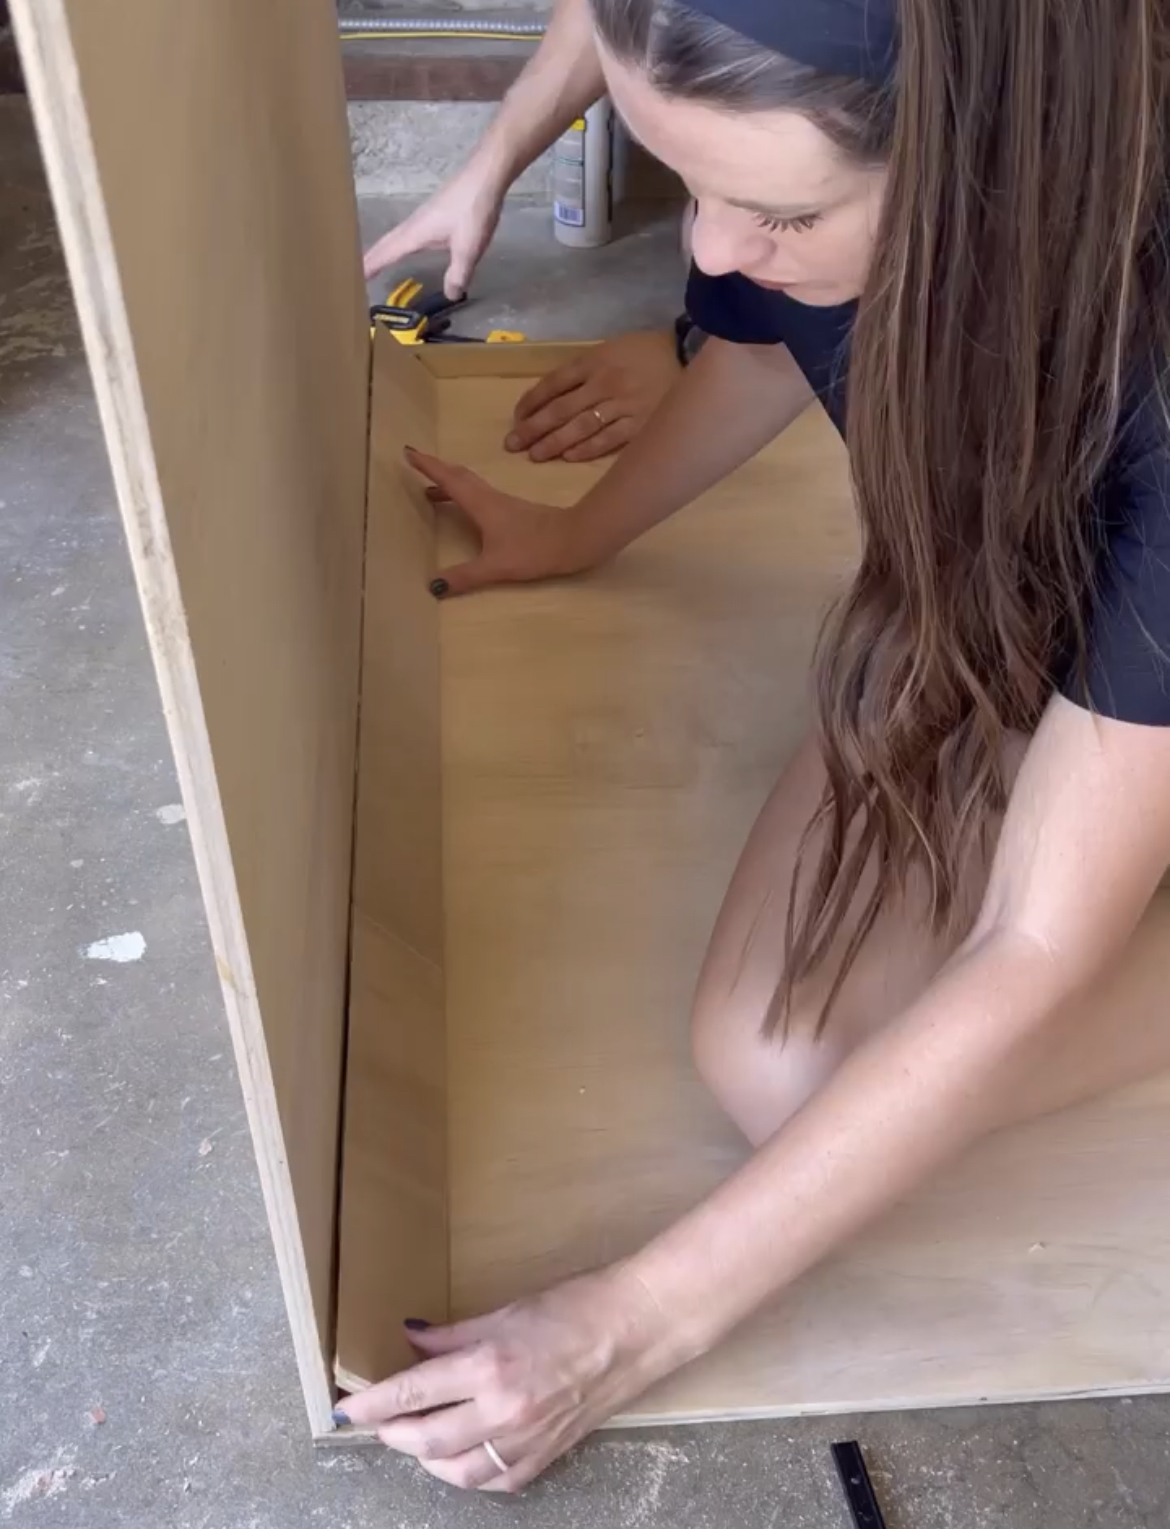
Assembly
Assembly time! We used wood glue and our pocket hole jig to attach the pieces of plywood. We set our pocket hole depth to half inch and we used one inch pocket screws.
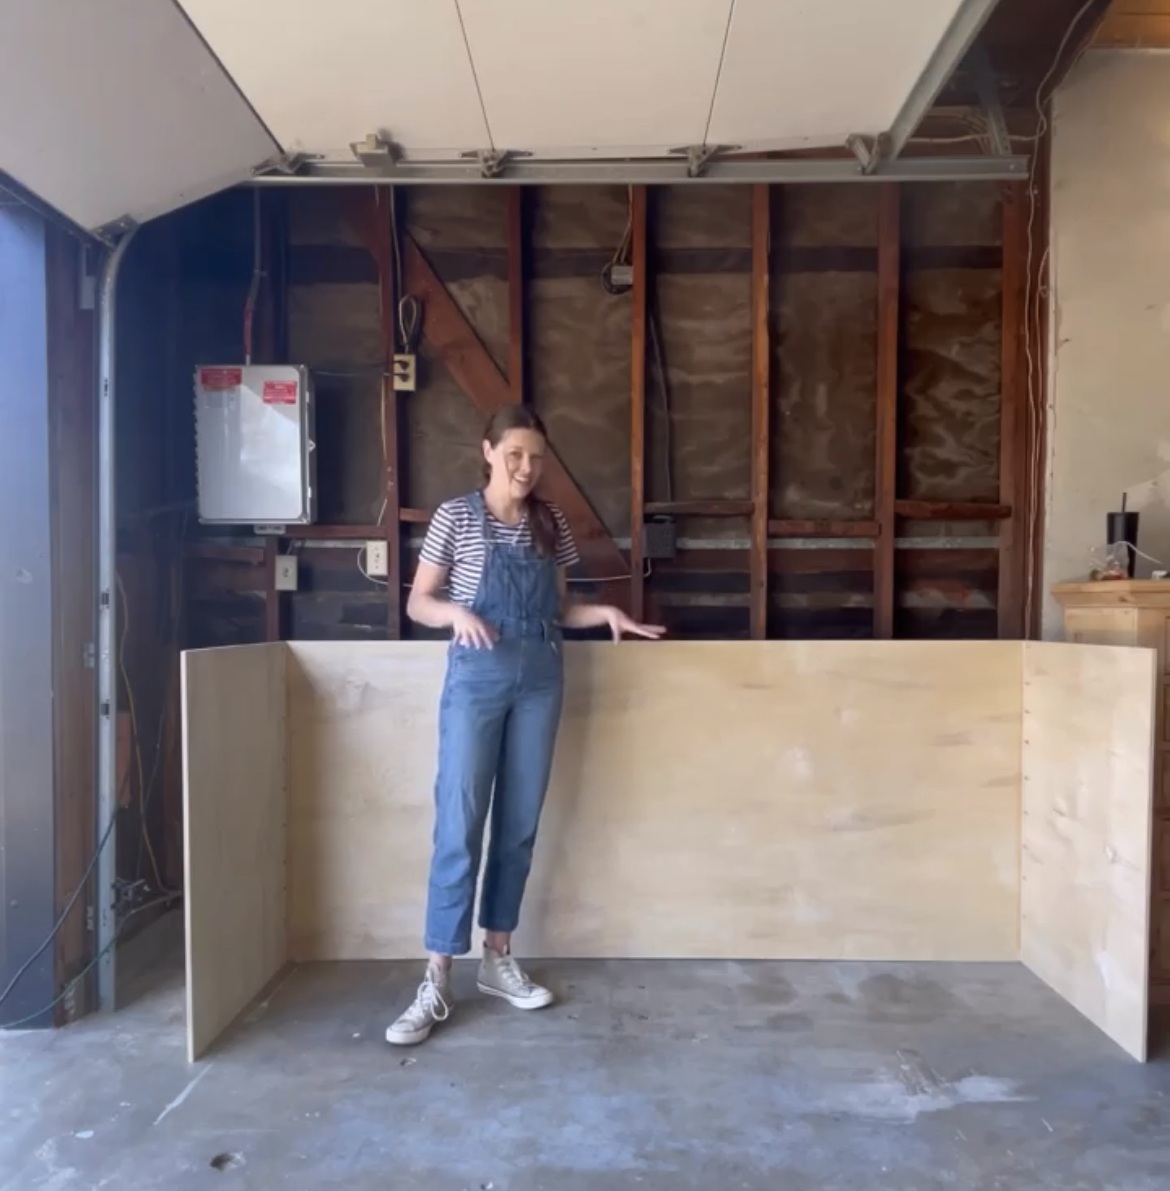
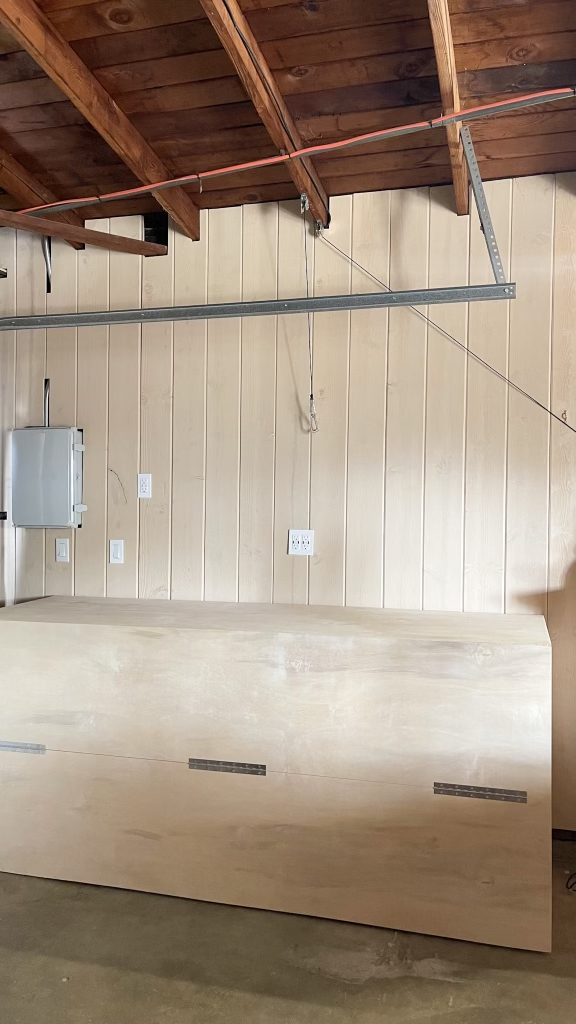
Here is how it looked at this point! We are not going to build a base because we want to be able to easily move the bikes in and out without having to lift them.
We cut three thin piece of plywood to support our top door. For thin strips like this, the table saw is easier than the circular saw and rip cut jig. We’re using wood glue and L brackets to attach this piece. It will have piano hinges on it connected to the top piece.
We added a little reinforcement for the sides – cut these pieces on the table saw with a beveled edge.
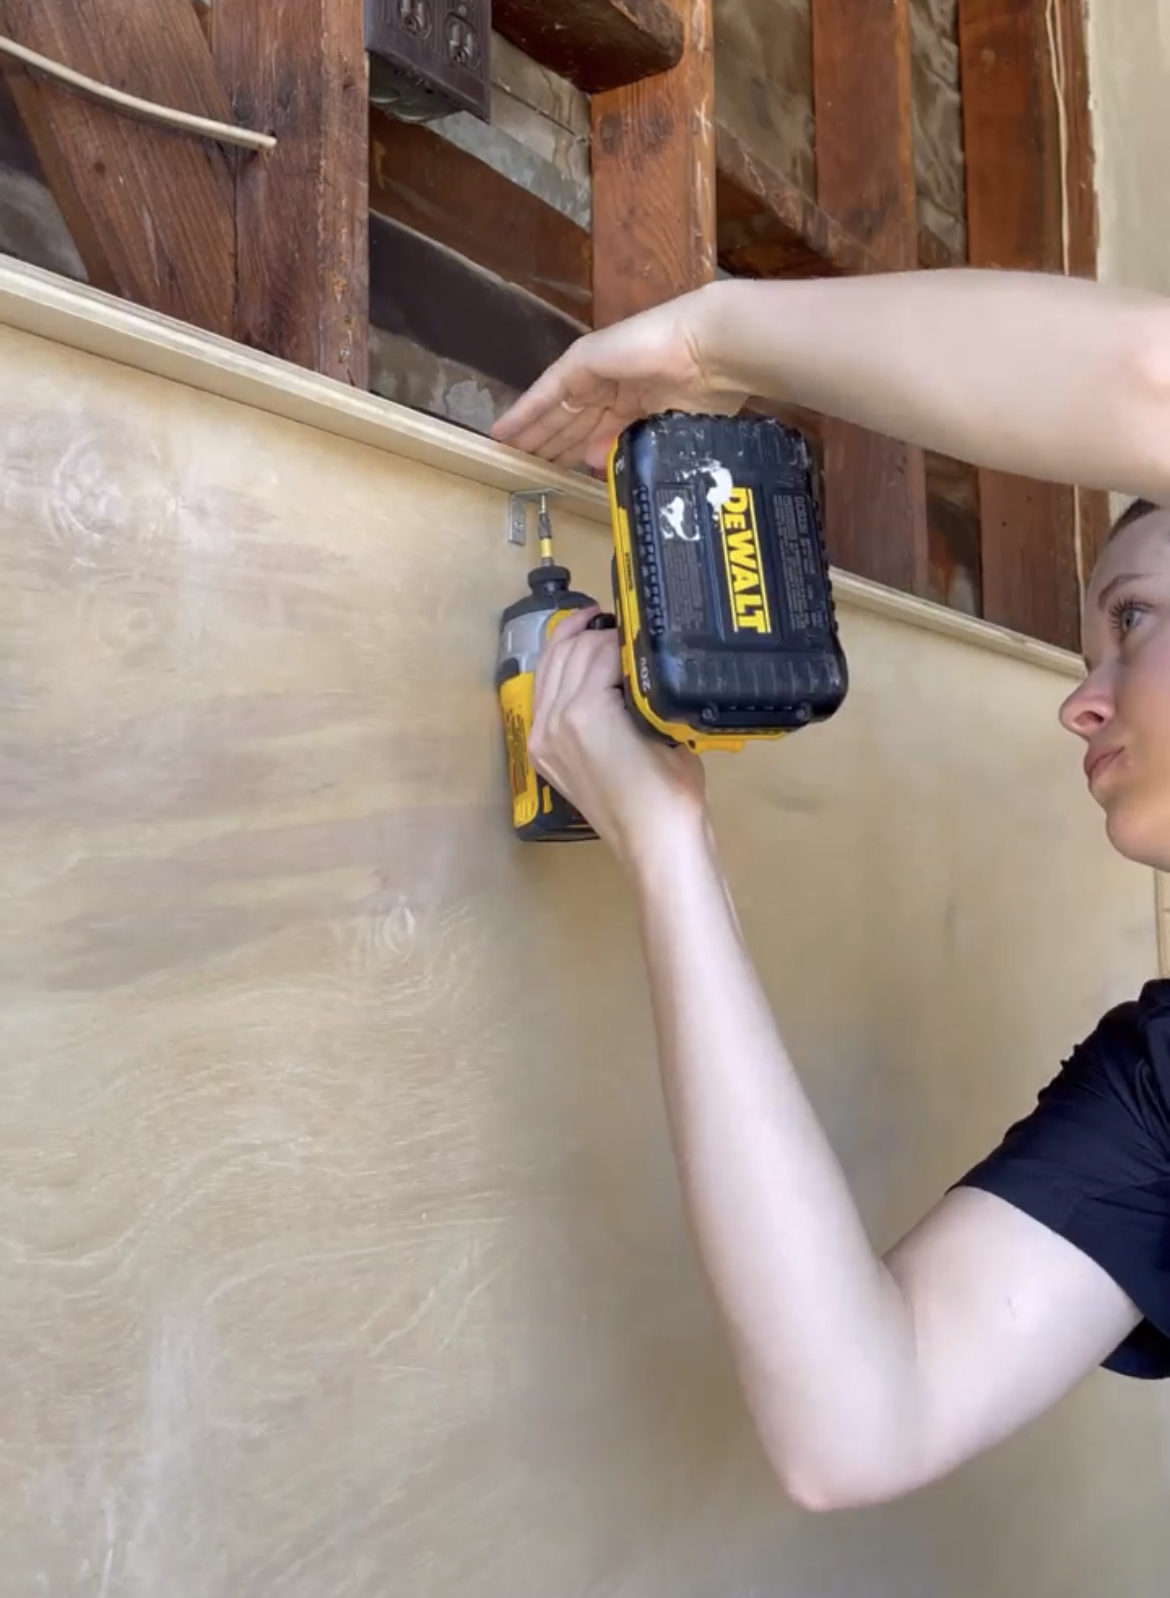
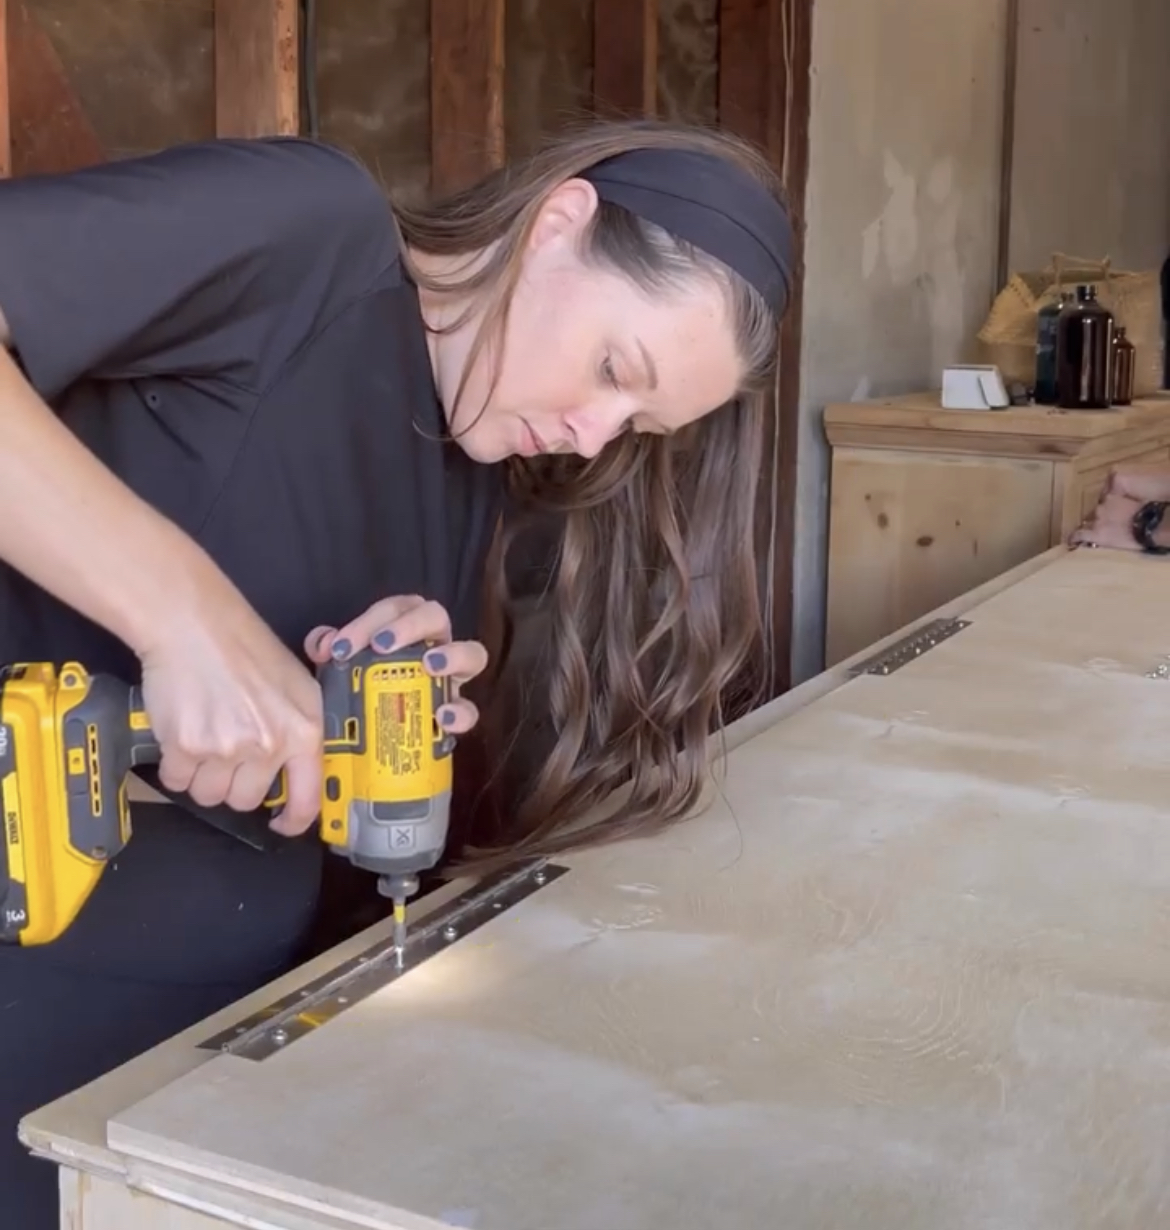
Piano Hinges
These are called piano hinges. The trim pieces we just installed along the top will help support the weight of the lid. For the hinges, we attached them first to the lid upside down. Then we flipped it and set it on top. We marked where the lid ends on the top trim piece and very carefully “opened” the lid like it would when we are done. Then, we attached the hinges to the trim.
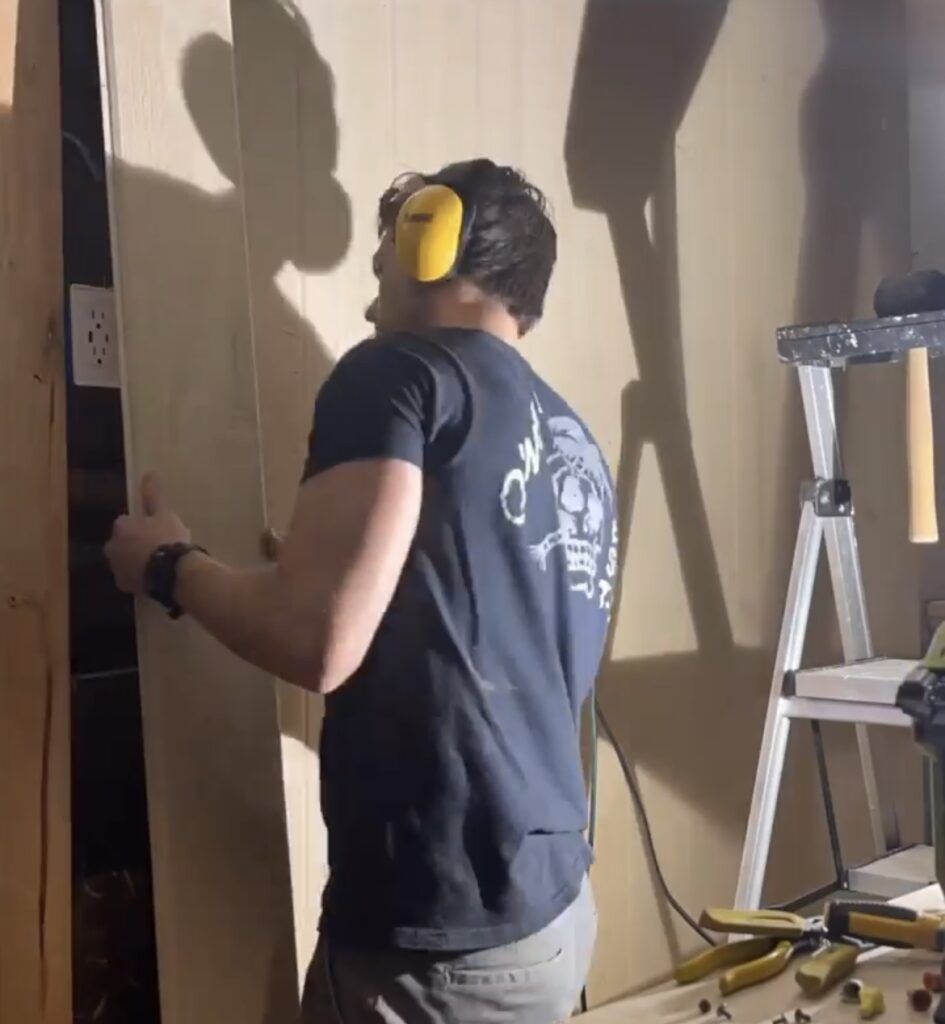
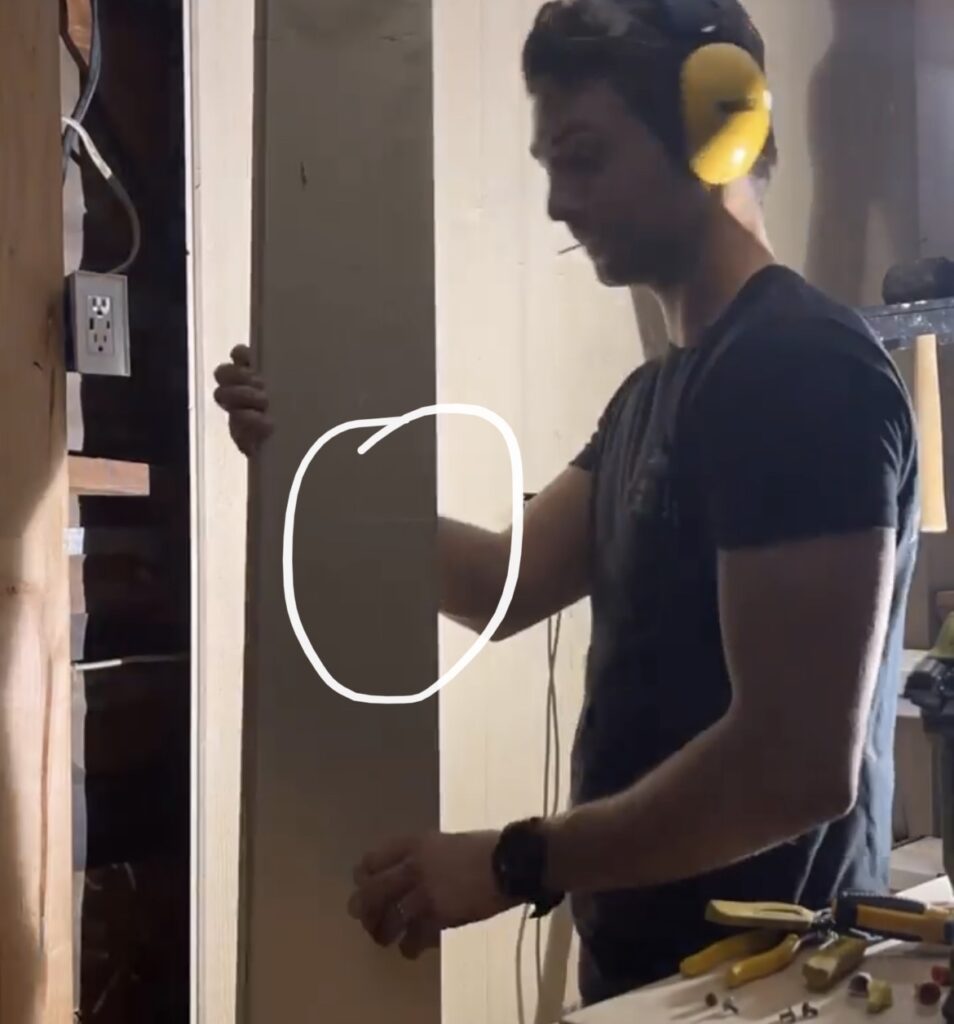
Shiplap
Next step – adding shiplap to our walls to match the rest of our garage. We needed to bump the wall out by adding 2x4s. The wall would have been recessed an inch and a half if we didn’t do this. We secured the shiplap to the 2x4s with a brad nailer.

Look at how much better this looks..the shiplap looks so much cleaner and more cohesive.
Outlets
We also had to make some outlet cuts. Here’s how we did it. We flipped the outlet cover backwards, added some white paint to it, then pressed the shiplap up against it. We used a jigsaw after drilling those holes.
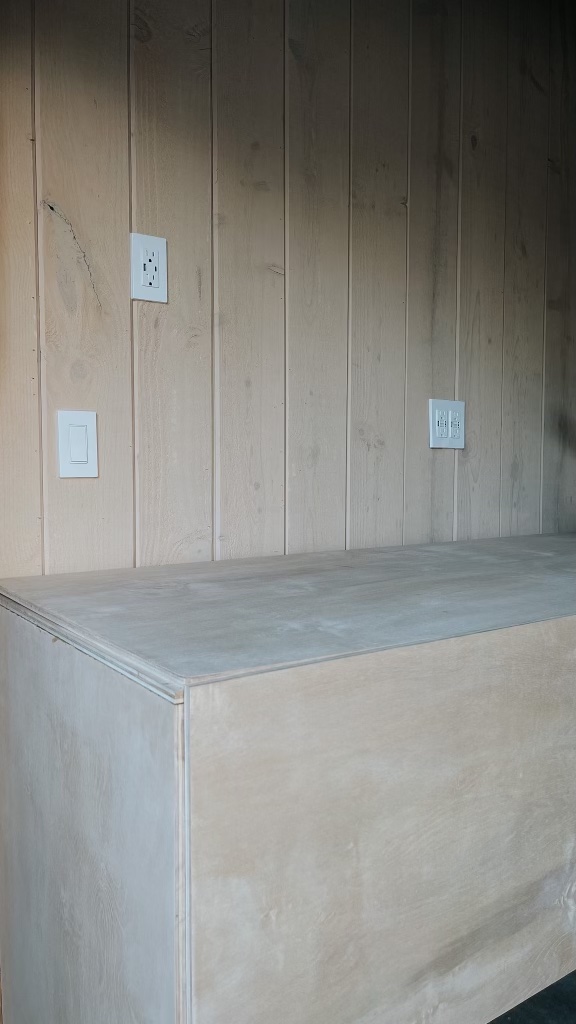
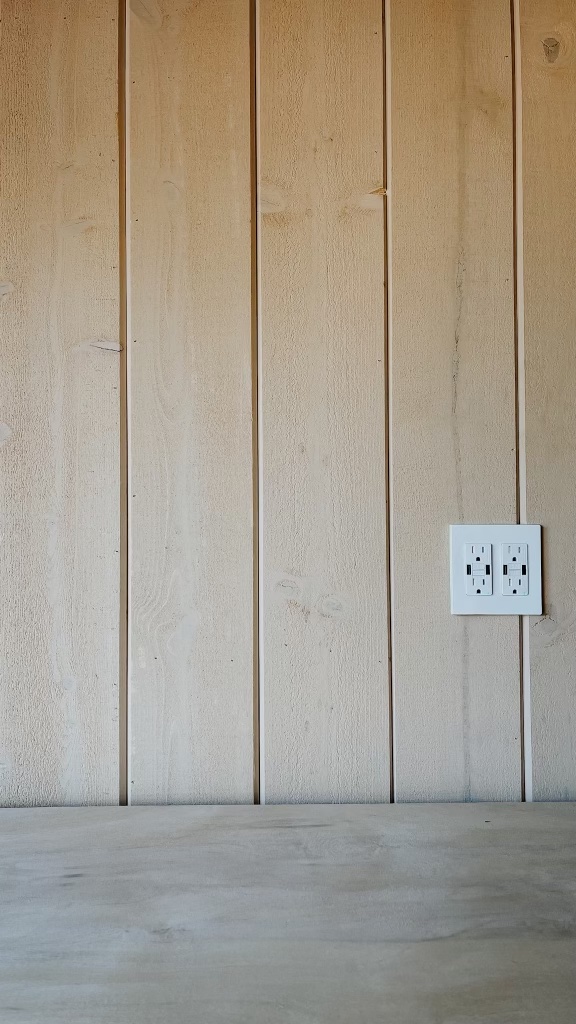

These outlets we used have USB and USB-C plugins!
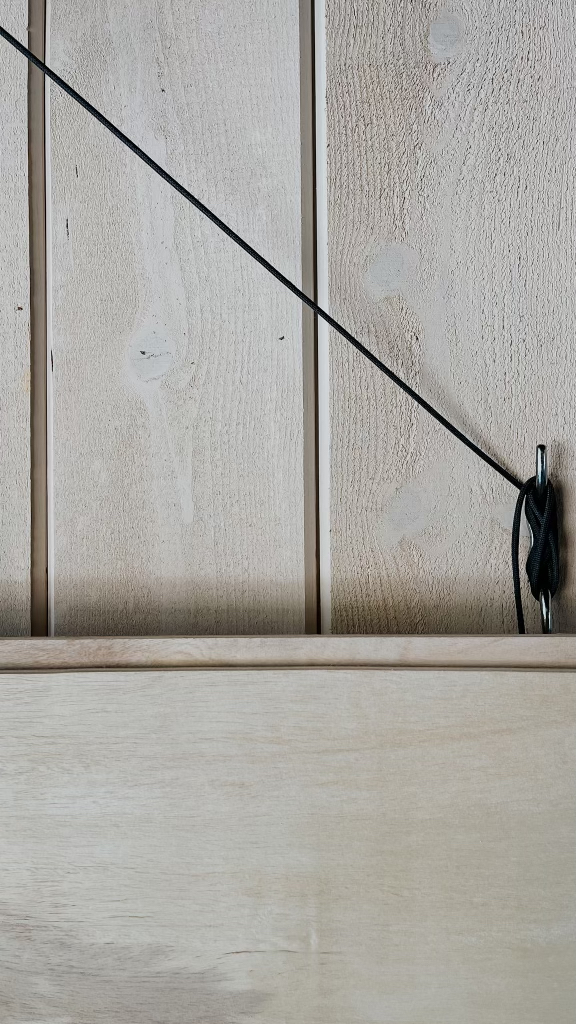
Finally, we added a pulley system and voila – our custom eBike Storage!


Now for the fun stuff…
- Aventon eBikes
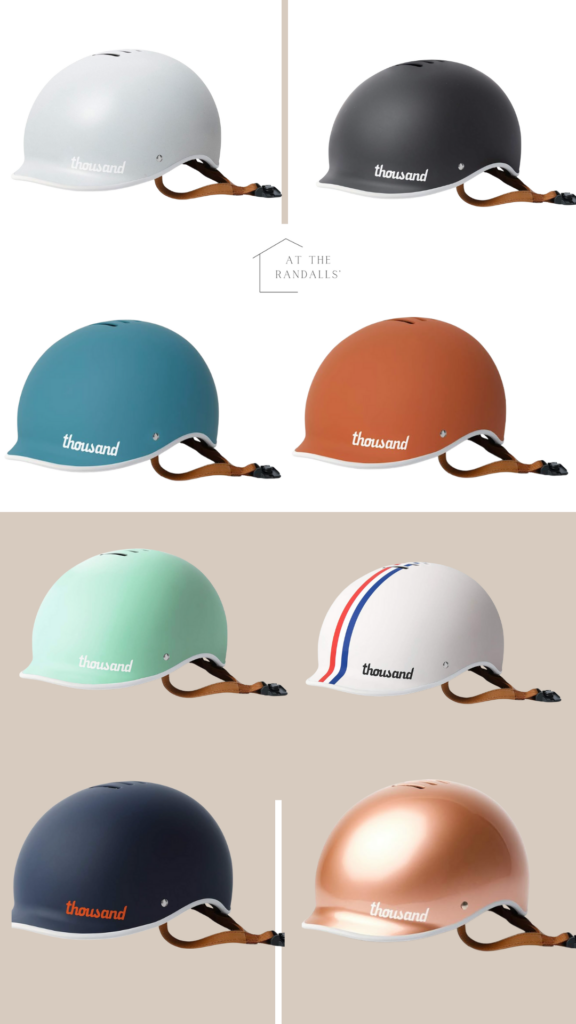
- Thousand Helmets (there are SO many color options on amazon!)
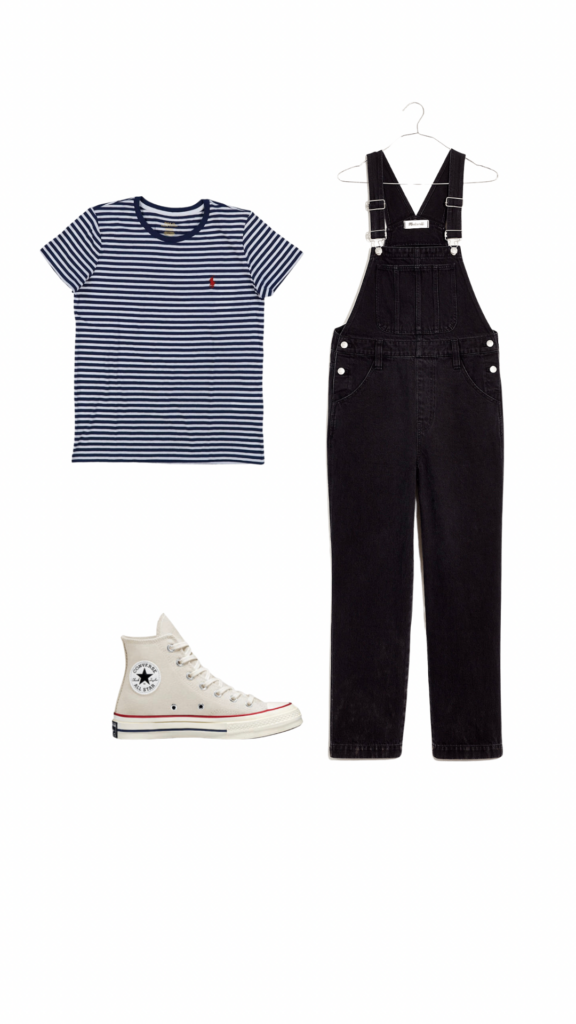
- Overalls
- Tennis Shoes
- Striped T shirt
Comments