
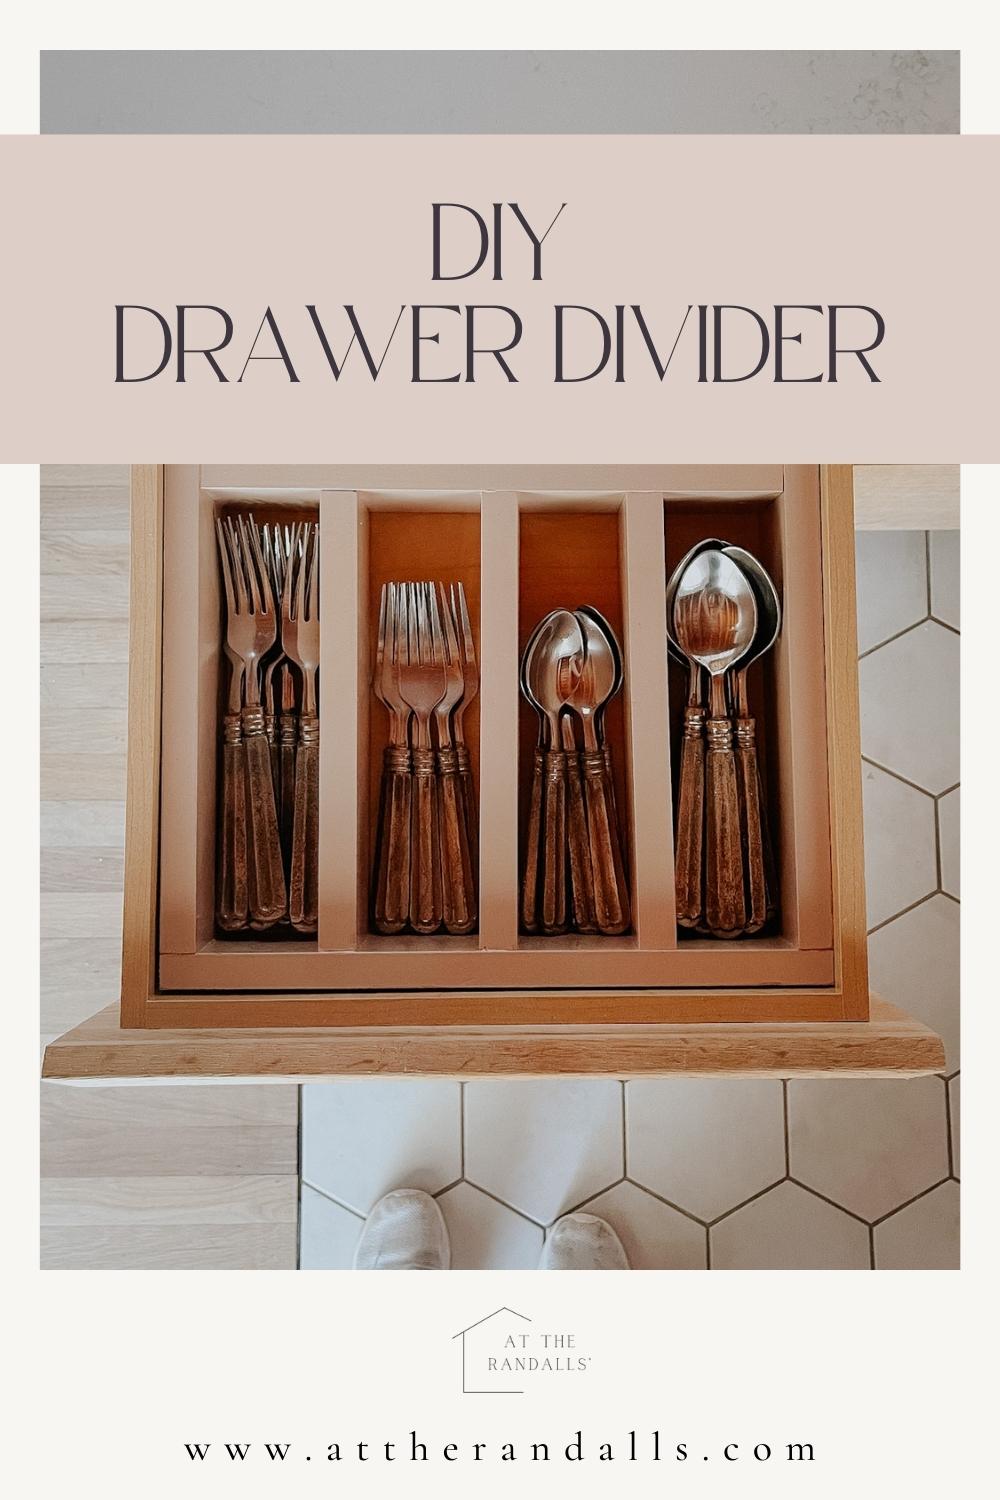
I’ve always been annoyed with our flatware drawer. The only dividers that fit ended up being too small and all our silverware was always crammed. I decided to see what I could come up with out of scraps in my garage! I found some 3″ primed pine (actual measurements 2.5″ x 11/16th”) and got to work.
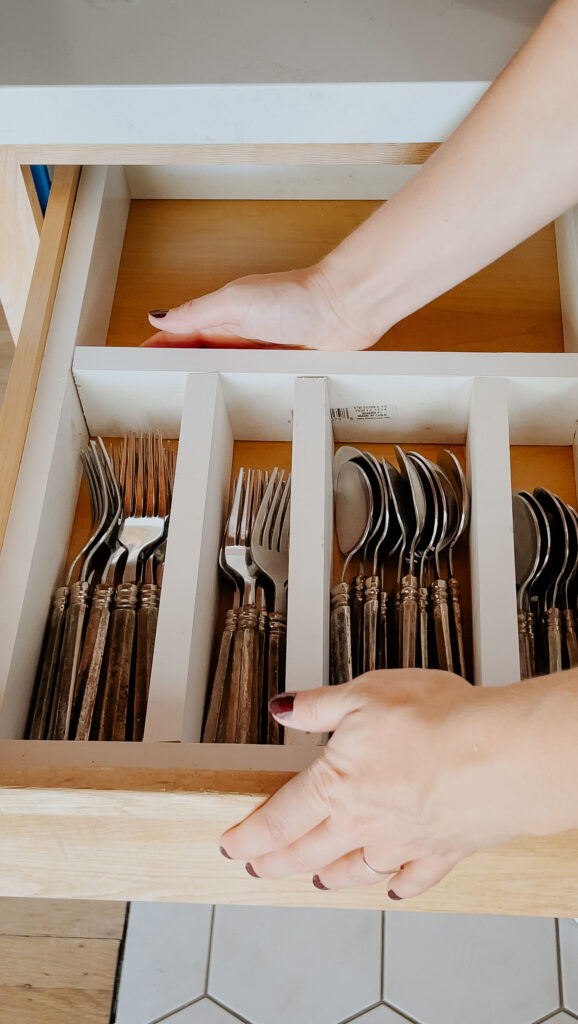
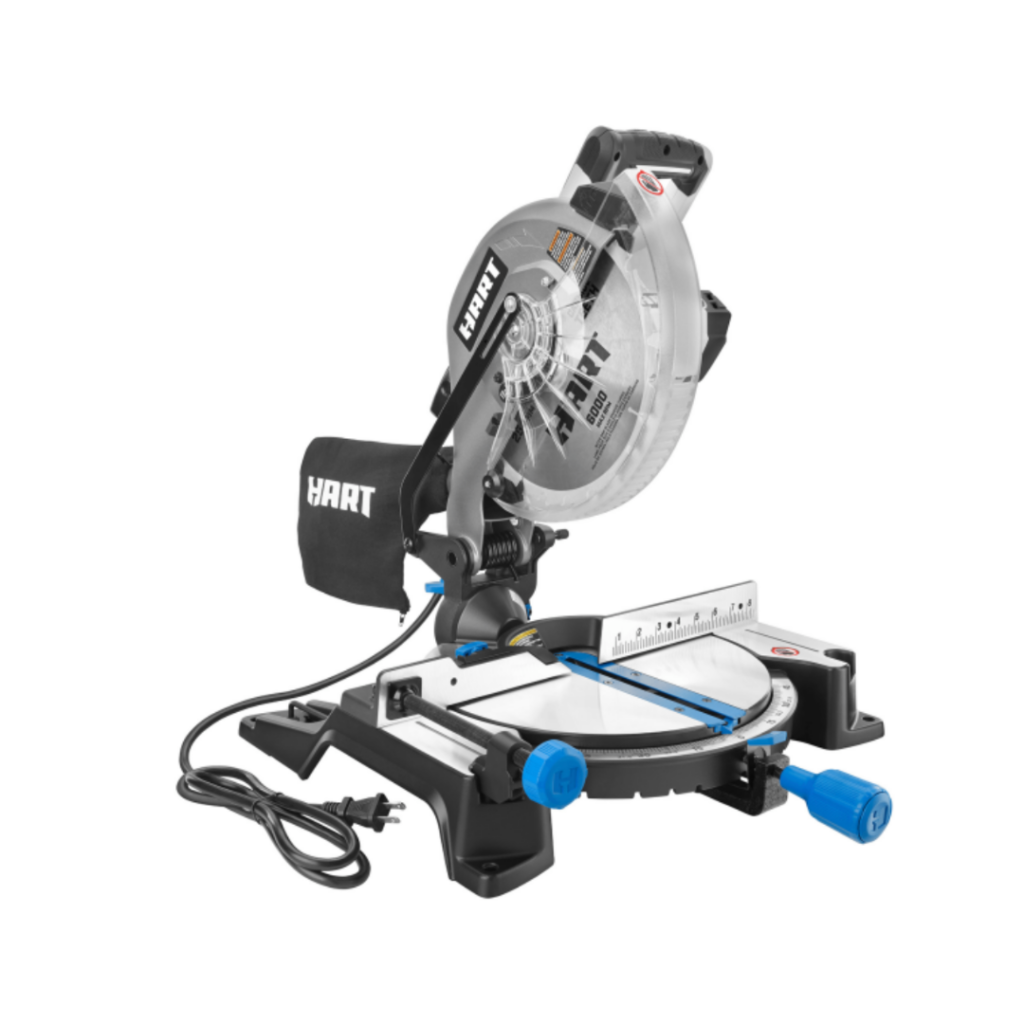
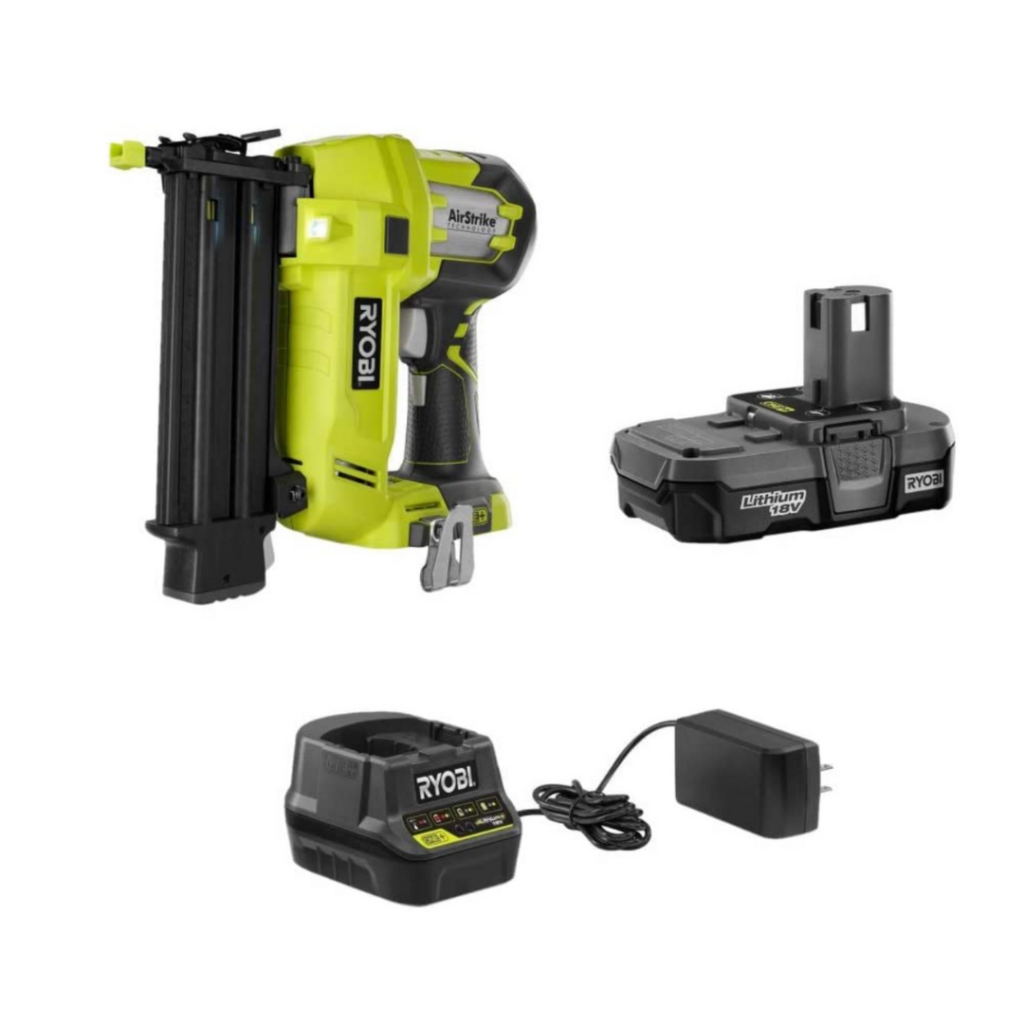
I decided to do a border inside the entire drawer rather than just adding dividers on the inside, mostly because I didn’t want to nail into my drawer. If I didn’t like it, I wanted to be able to remove it. So I built the outer box first. I used a miter saw to make the cuts, then glued and nailed it together with my brad nailer. From there, I brought it inside along with some smaller pieces (mine were 9″) to try some different orientations. Once I decided on a pattern, I attached them with even spacing between each, and viola! A perfectly custom drawer divider.

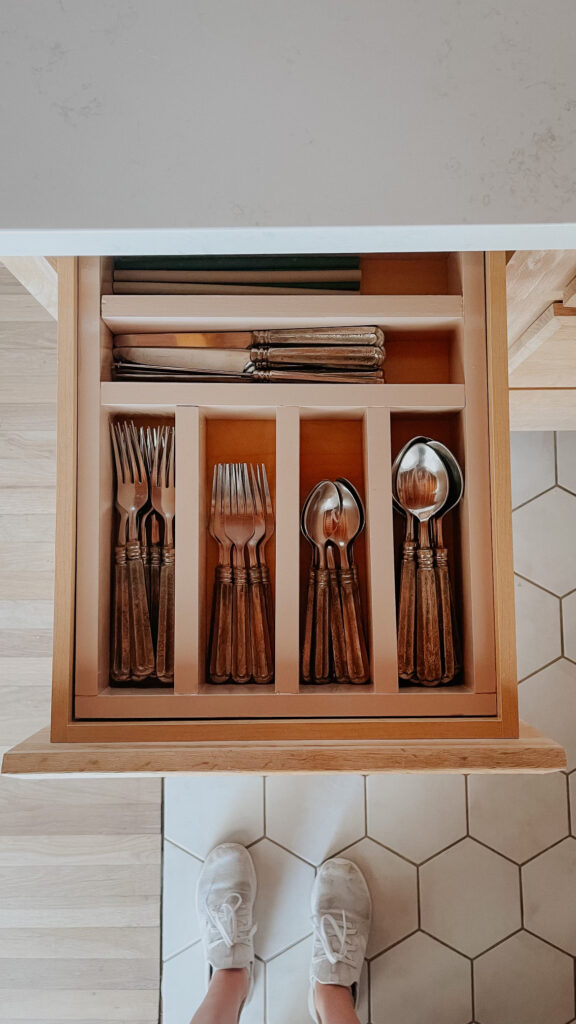
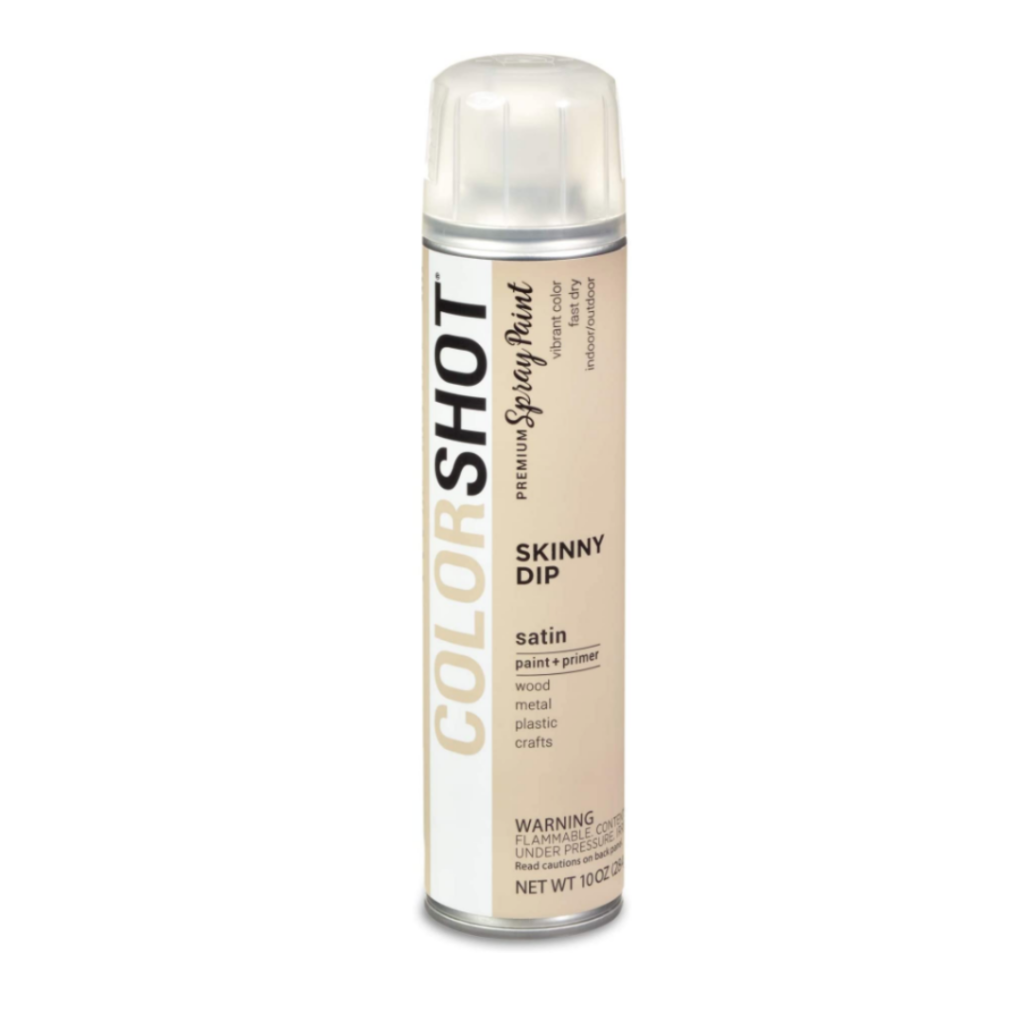
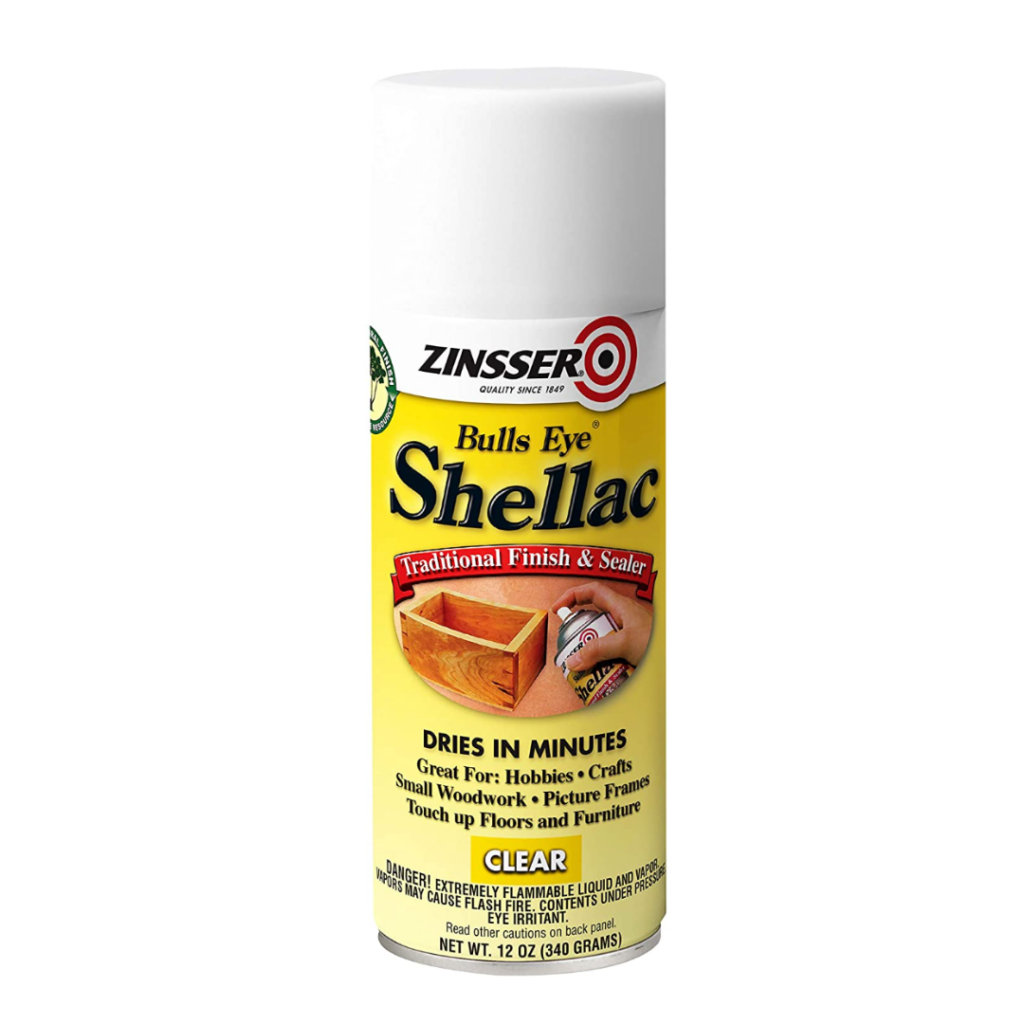
I used Colorshot’s new color Skinny Dip to paint it, but I wanted it to be food-safe. I recently learned that shellac-based topcoats are totally food-safe, so I finished it off with a coat or two of this shellac-based clear coat from Zinsser. I absolutely love the glossy look it gave it!
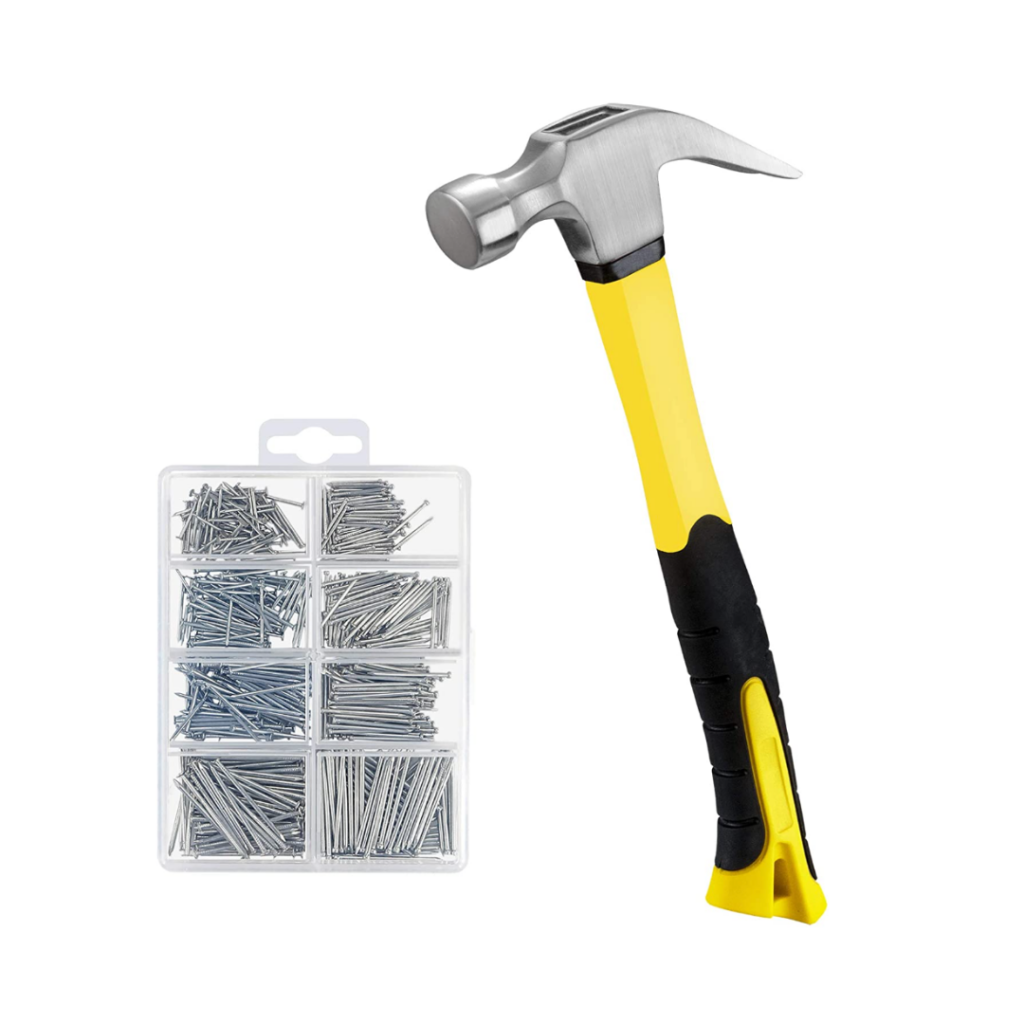
Also, at the beginning I wasn’t sure about the chunkiness of the wood, but now that it’s all done I really love it. This is a great beginner-friendly DIY. If you don’t have power tools, you could likely still do this with a box miter saw and a hammer and nails!

Comments