
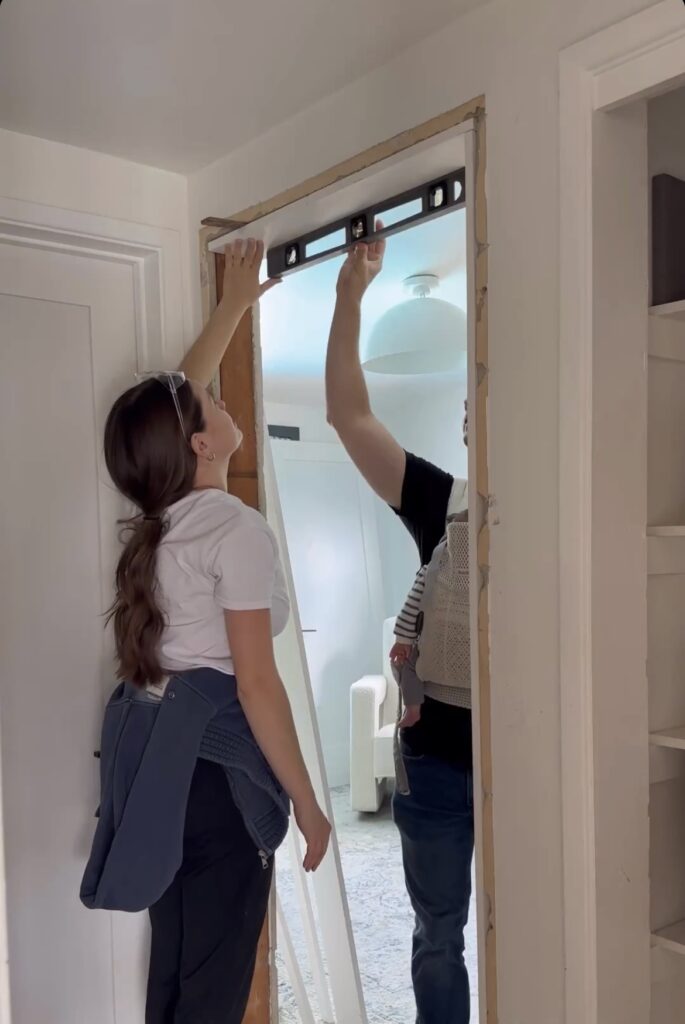
This door makeover was my first DIY project since Charlie arrived – I was so excited to get back into it!
All of the doors in our hallway need some love. When we bought new doors a while back, we should have just bought pre-hung doors and removed all of our trim then. Then we could have replaced the trim and the doors all in one go. Now we are having to back track a bit and install door jambs, door stops, and casing.
We had to do a bit of demo to remove the door jamb. We’ve never installed a door jamb before! There’s a first time for everything.

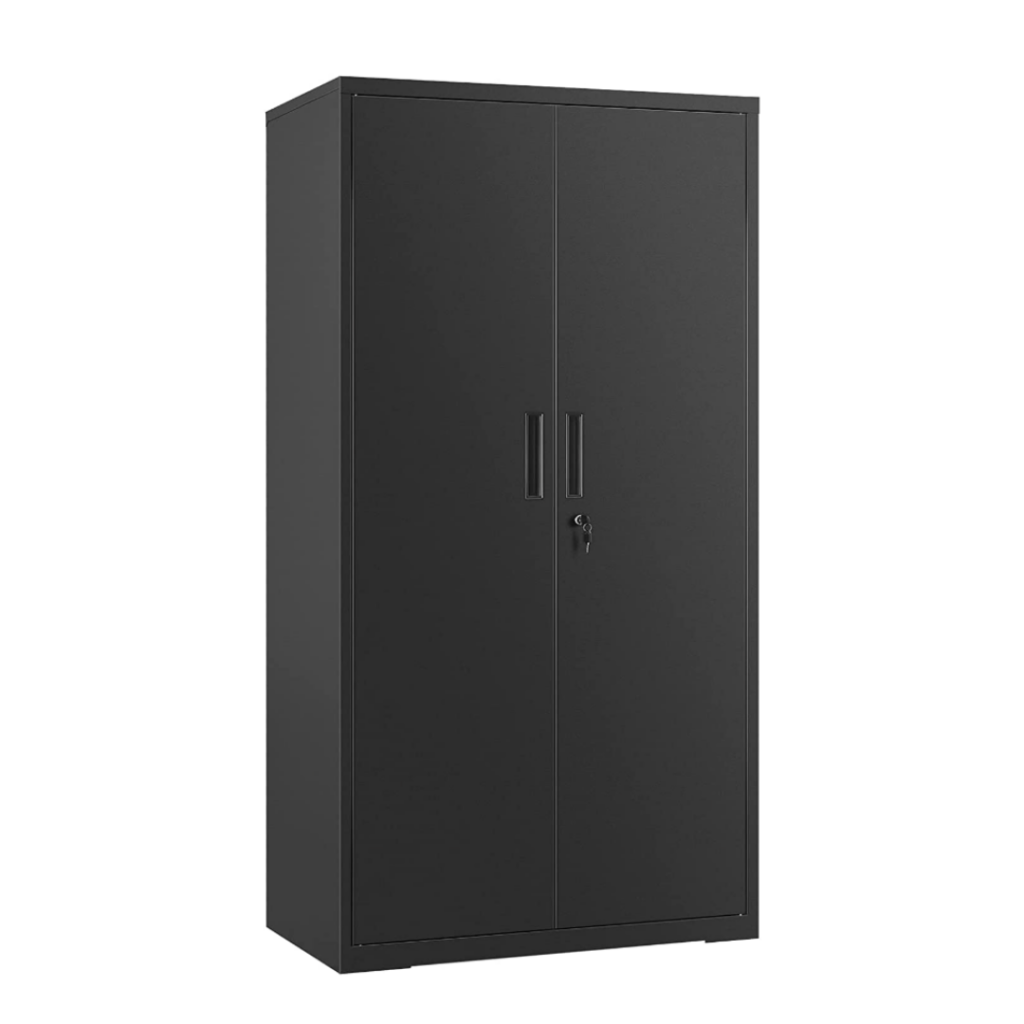
I hadn’t made a mitre saw cut in over two months. It felt so good to be using power tools again! Our garage is finally more organized thanks to these cabinets.

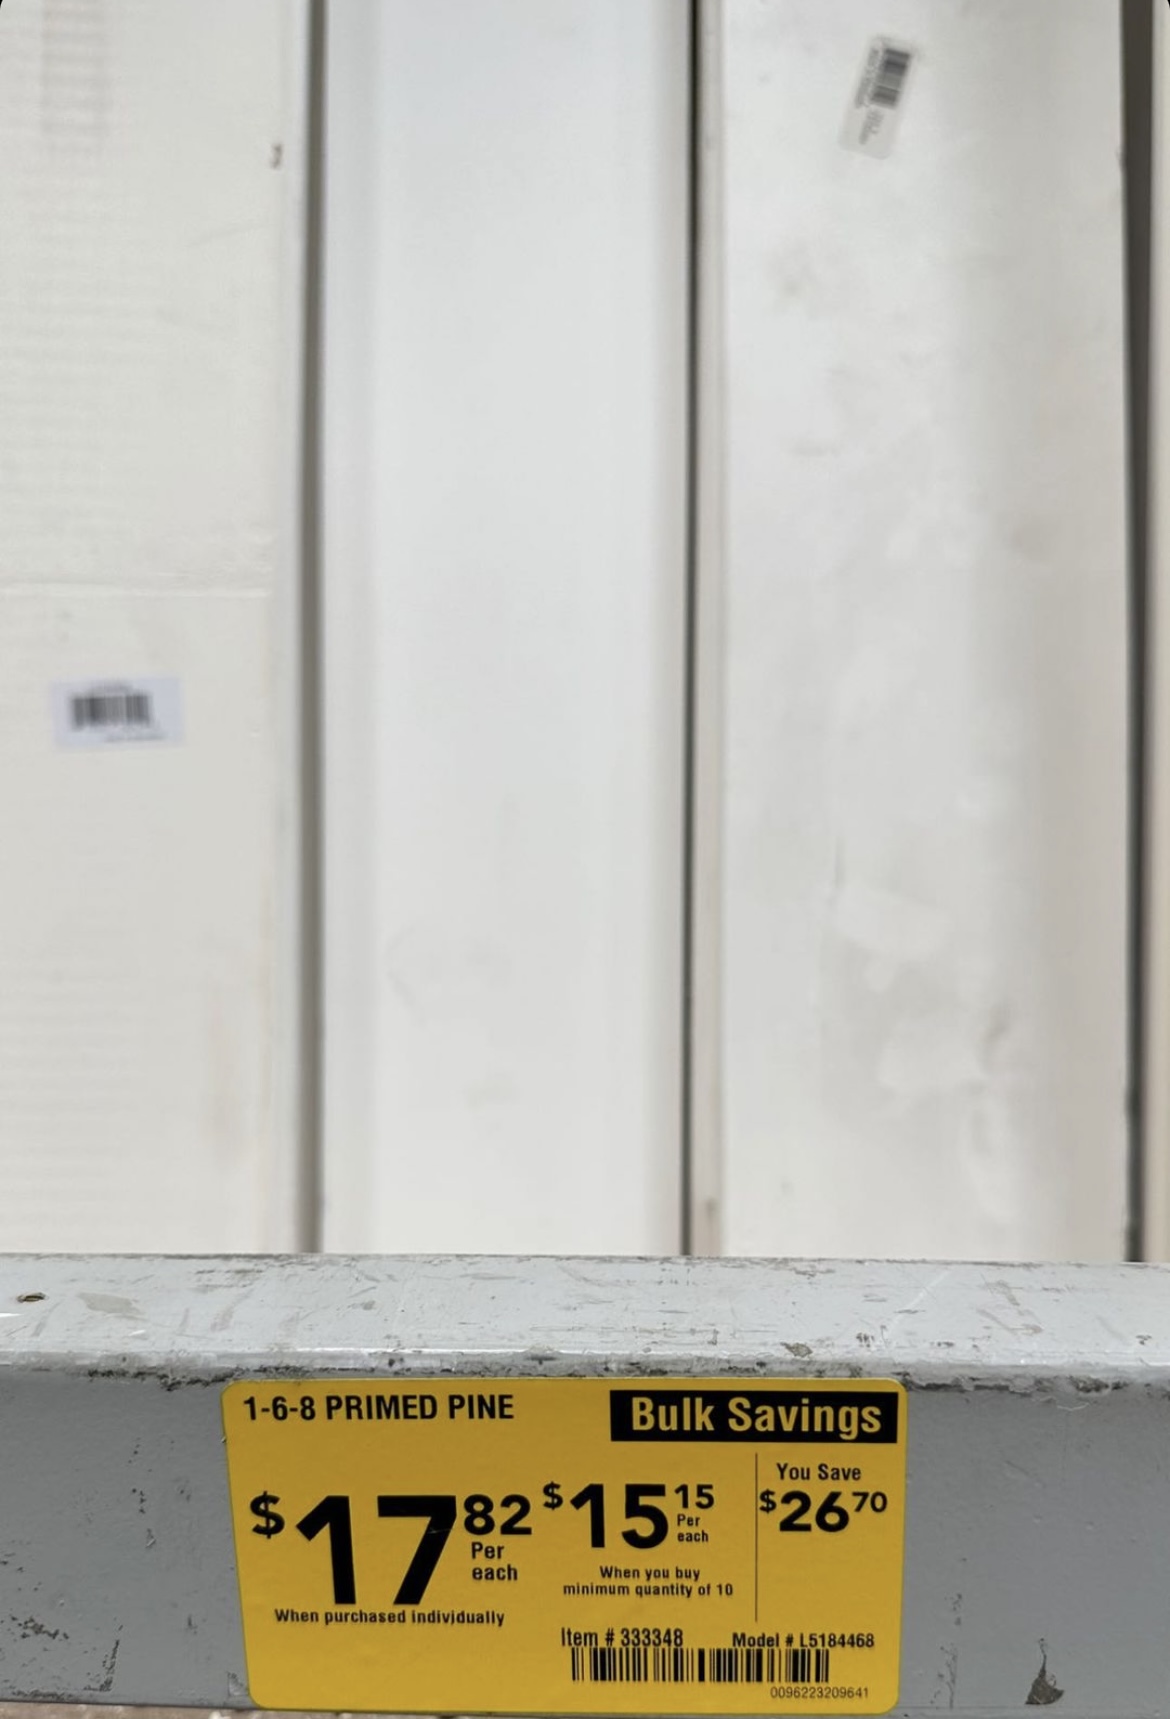
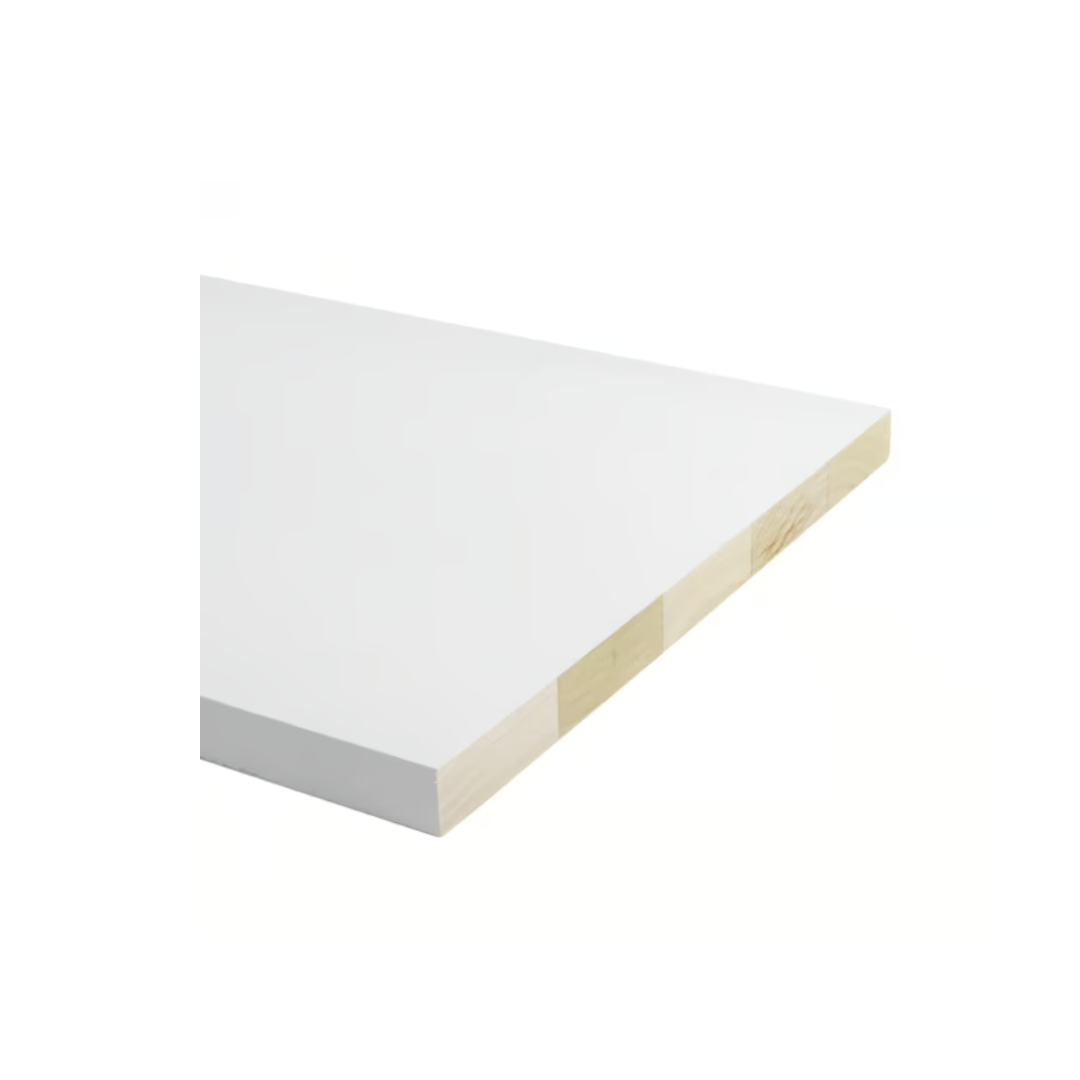
If you have an old house like me, you’ll probably have to piece this together with primed pine. None of the door jamb kits at the hardware store are deep enough. Here’s what I used:
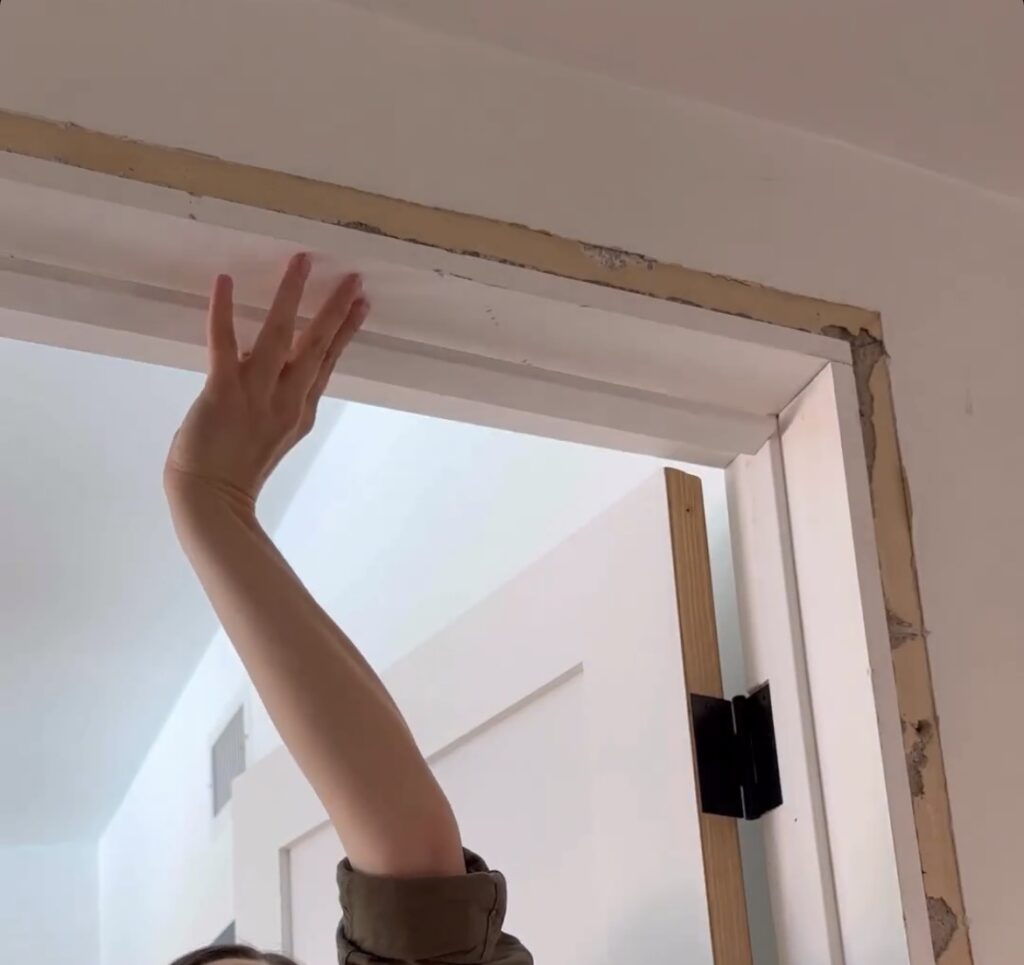
I went back to the mitre saw to make these custom cuts and it was a perfect fit! Next, I cut the two long pieces and tried a dry fit before nailing them to the studs.
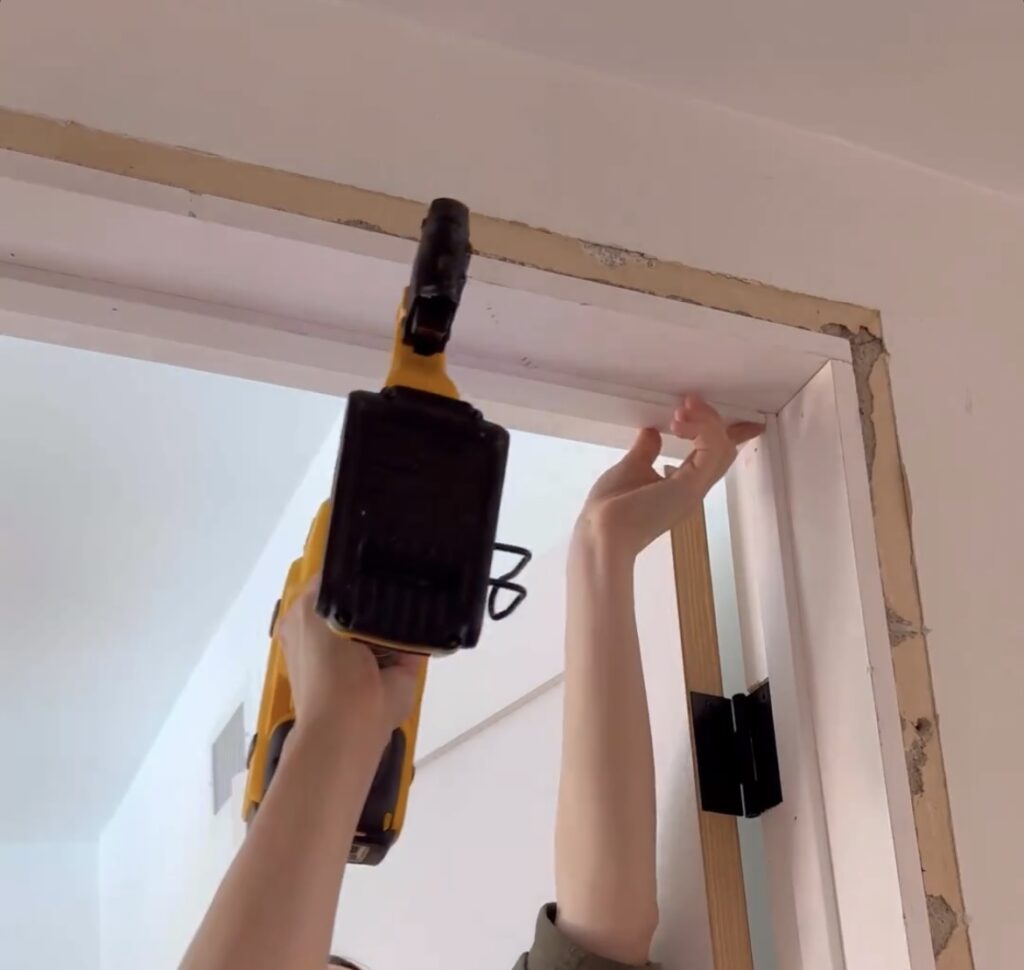
We used a shim here so everything was perfectly level and plumb. Then I used my brad nailer to secure this into the top piece.

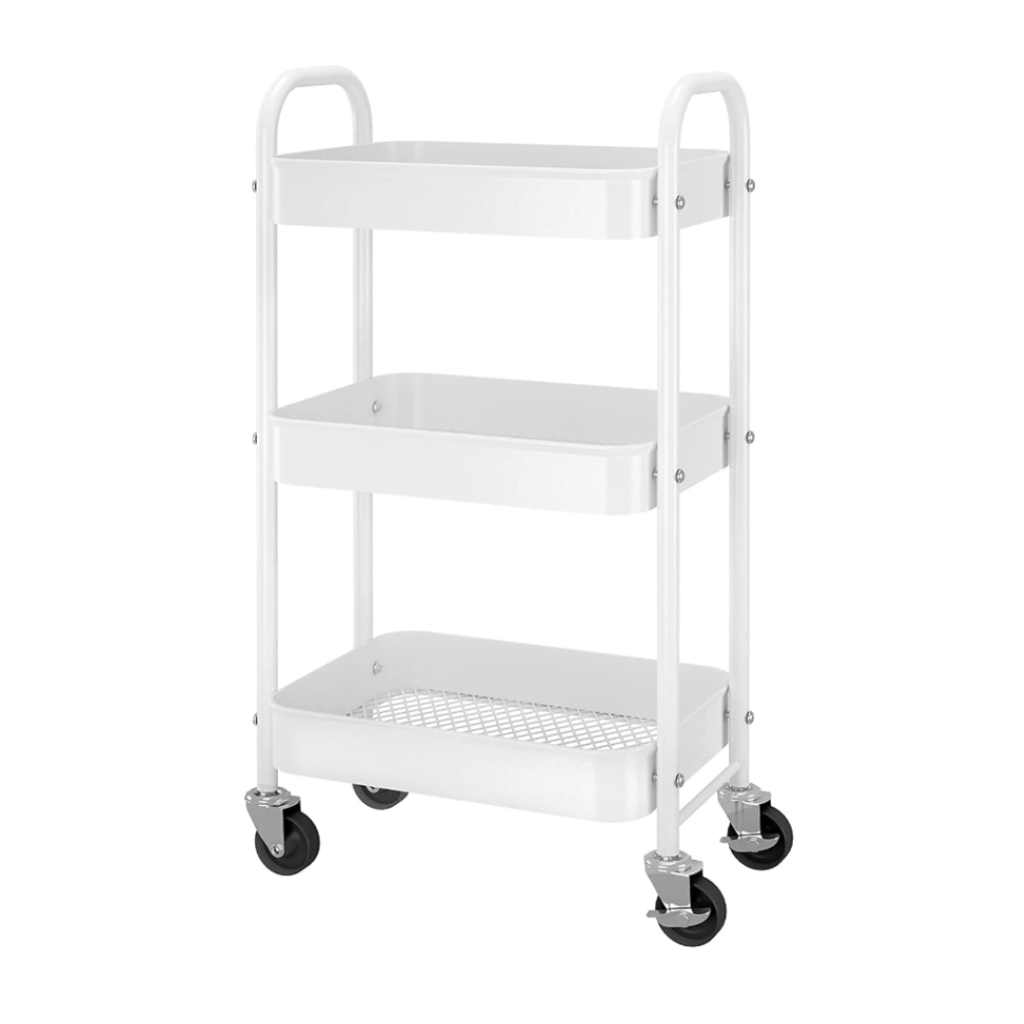
My friend Christine (@honeybuilthome) recommended using this cart whenever working on a project. I happened to have one in my garage, and I love not putting tools away every night just to take them out again the next morning. It’s nice to keep everything in here until a project is finished.

Hinges
If you’ve been following me for a while you know I have a bad history with hinges. So my expectations were low.
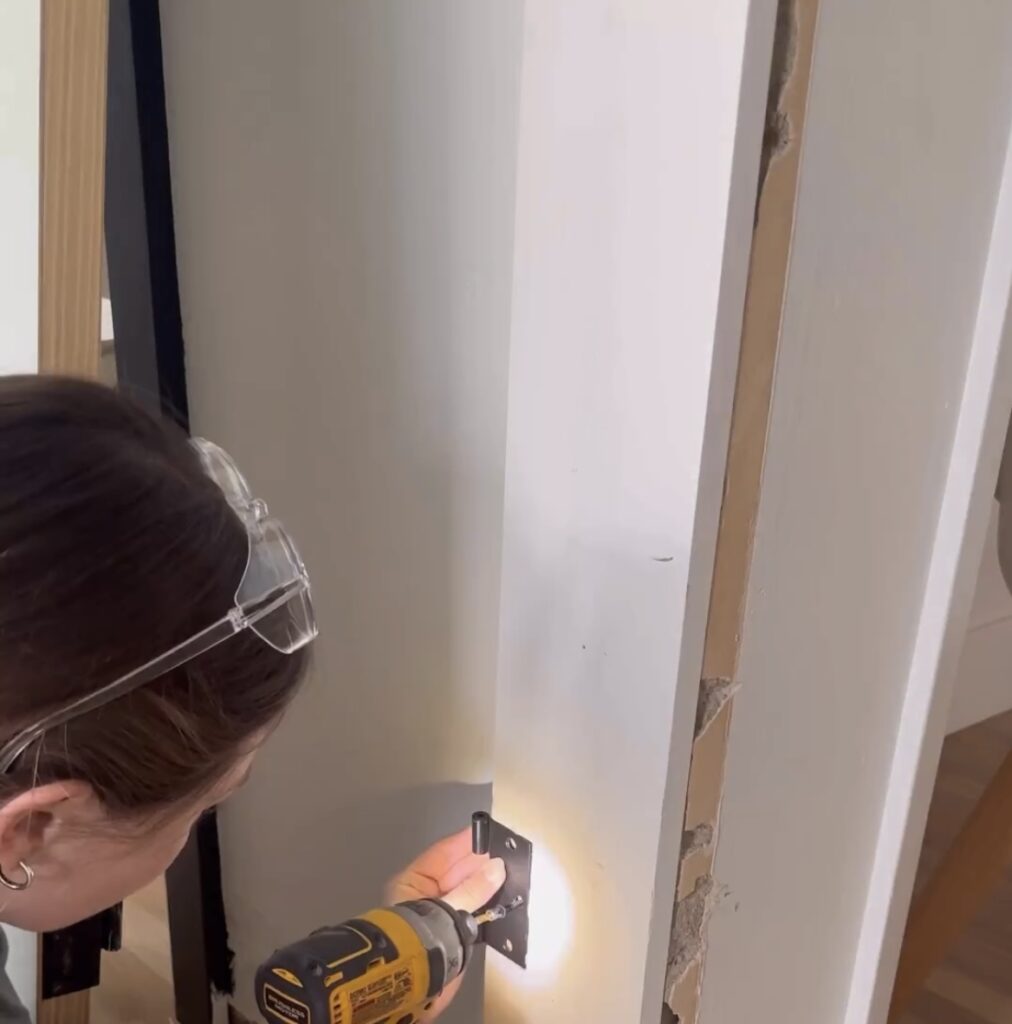
I drew a line 7 inches from the top, and traced out the hinge. I scored that line with a razor blade!


The goal here was to get the hinge completely flush with the trim. So as I chipped away at the trim, I kept checking to see if the depth was right. I did the first one with a chisel and a hammer, and Jake did the rest of them with a router. Then I screwed the hinges into place.

I needed some help lifting this door up, so I put my shoes underneath the door for some extra height. 😂


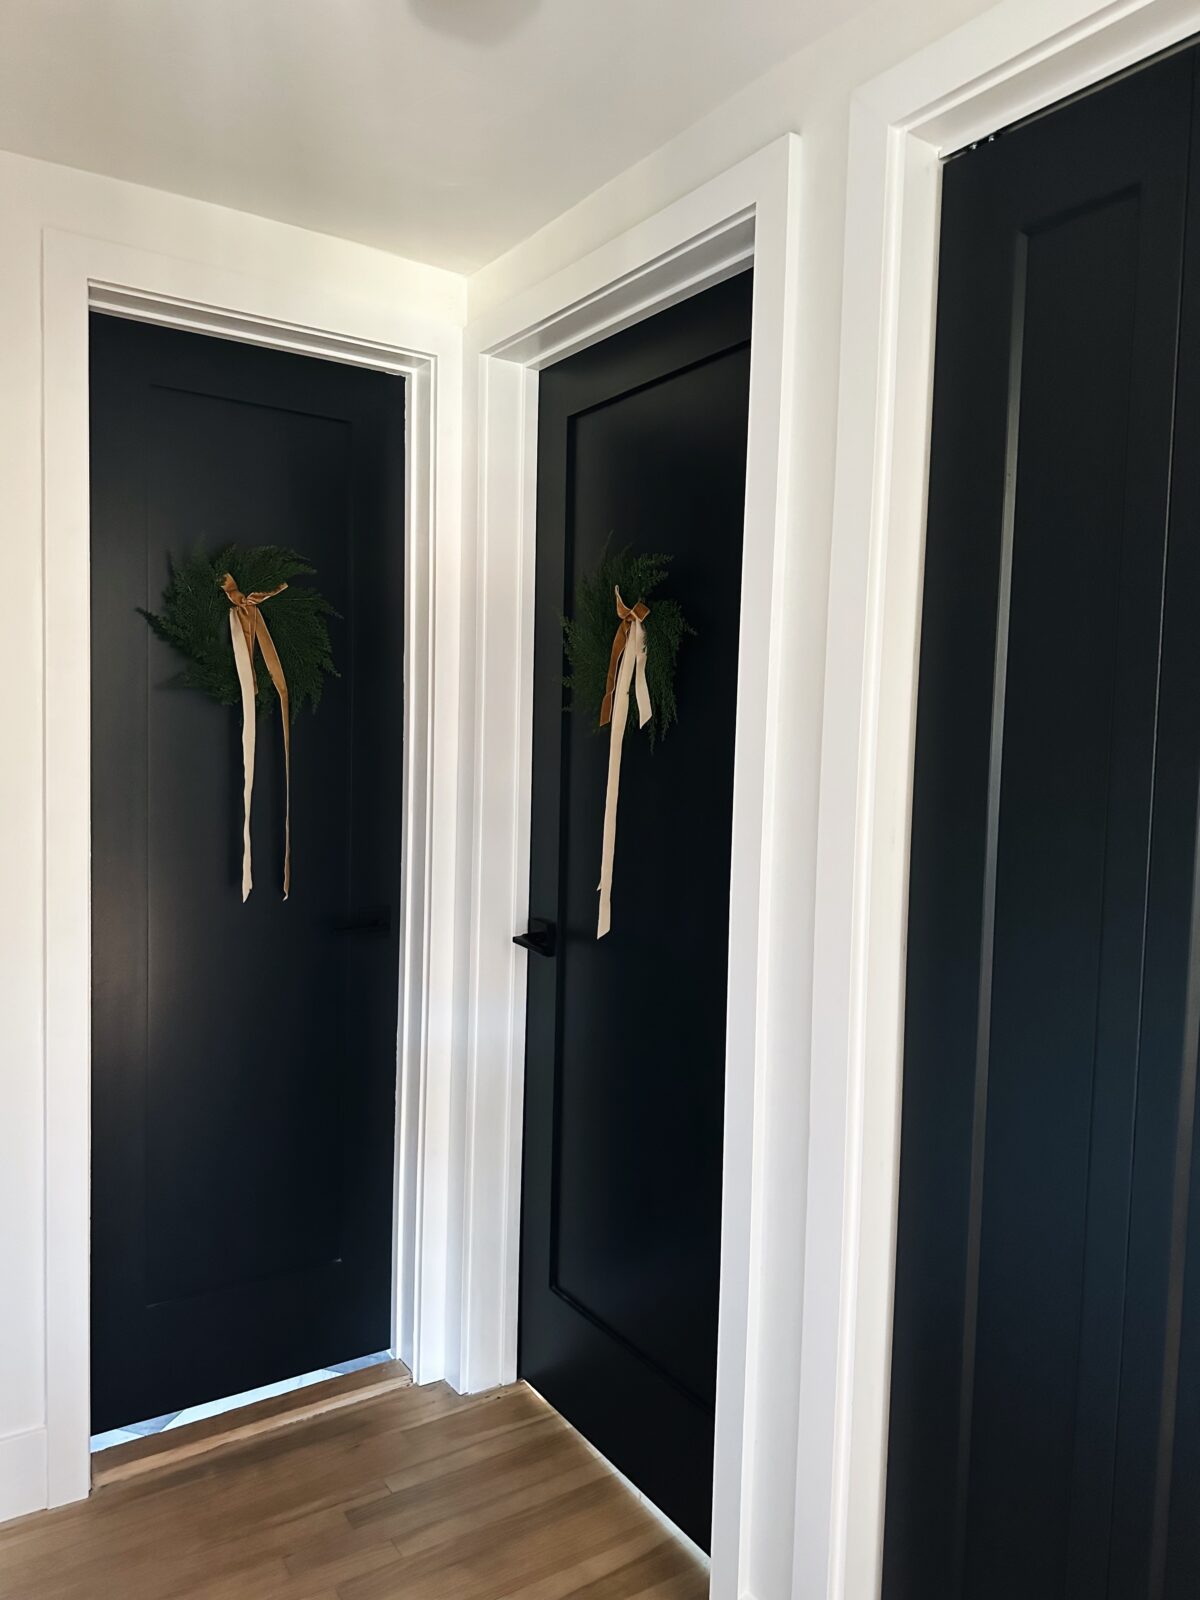
Here’s the door we used. It’s 32 x 80. Switching from hollow-core to solid doors makes for a huge upgrade, in my opinion. They feel so much more substantial and high quality.
Next, we worked on the door stop. This is what the door rests against in order to close. After that was installed, we used 1×3 primed pine to trim out the door.
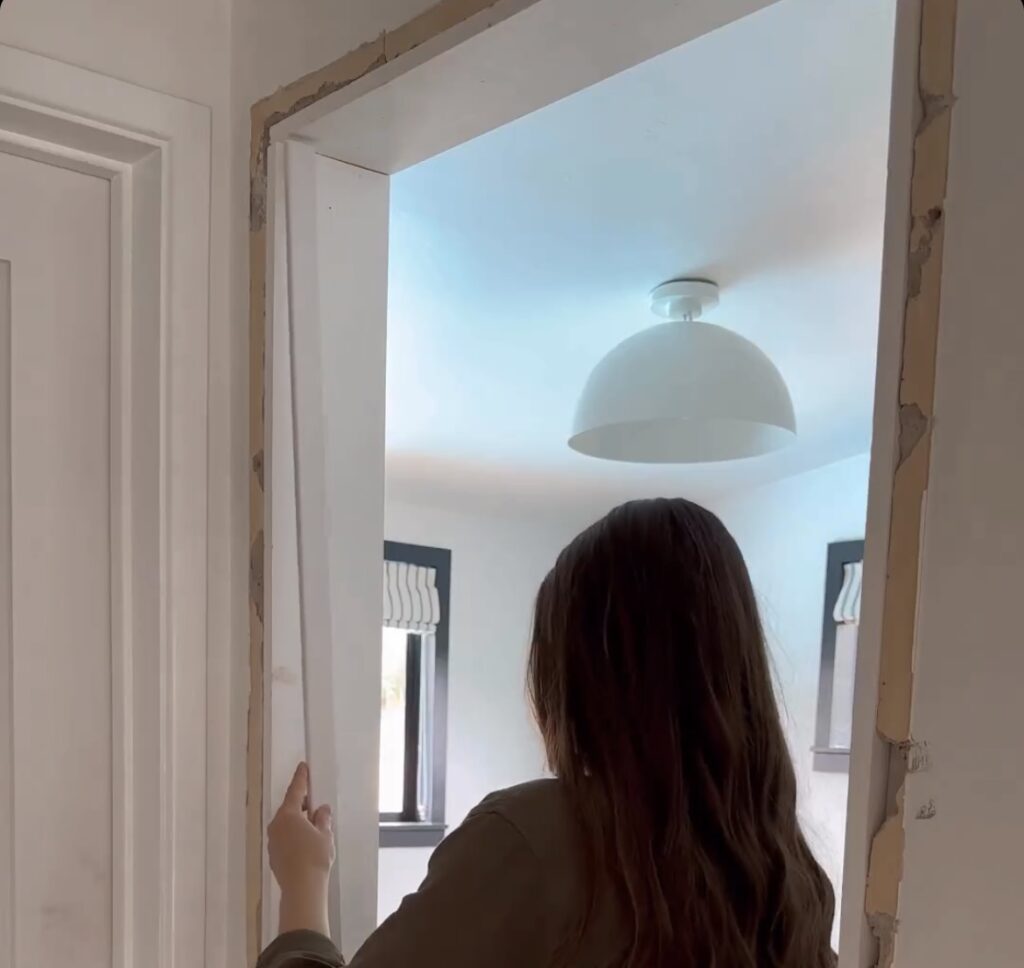

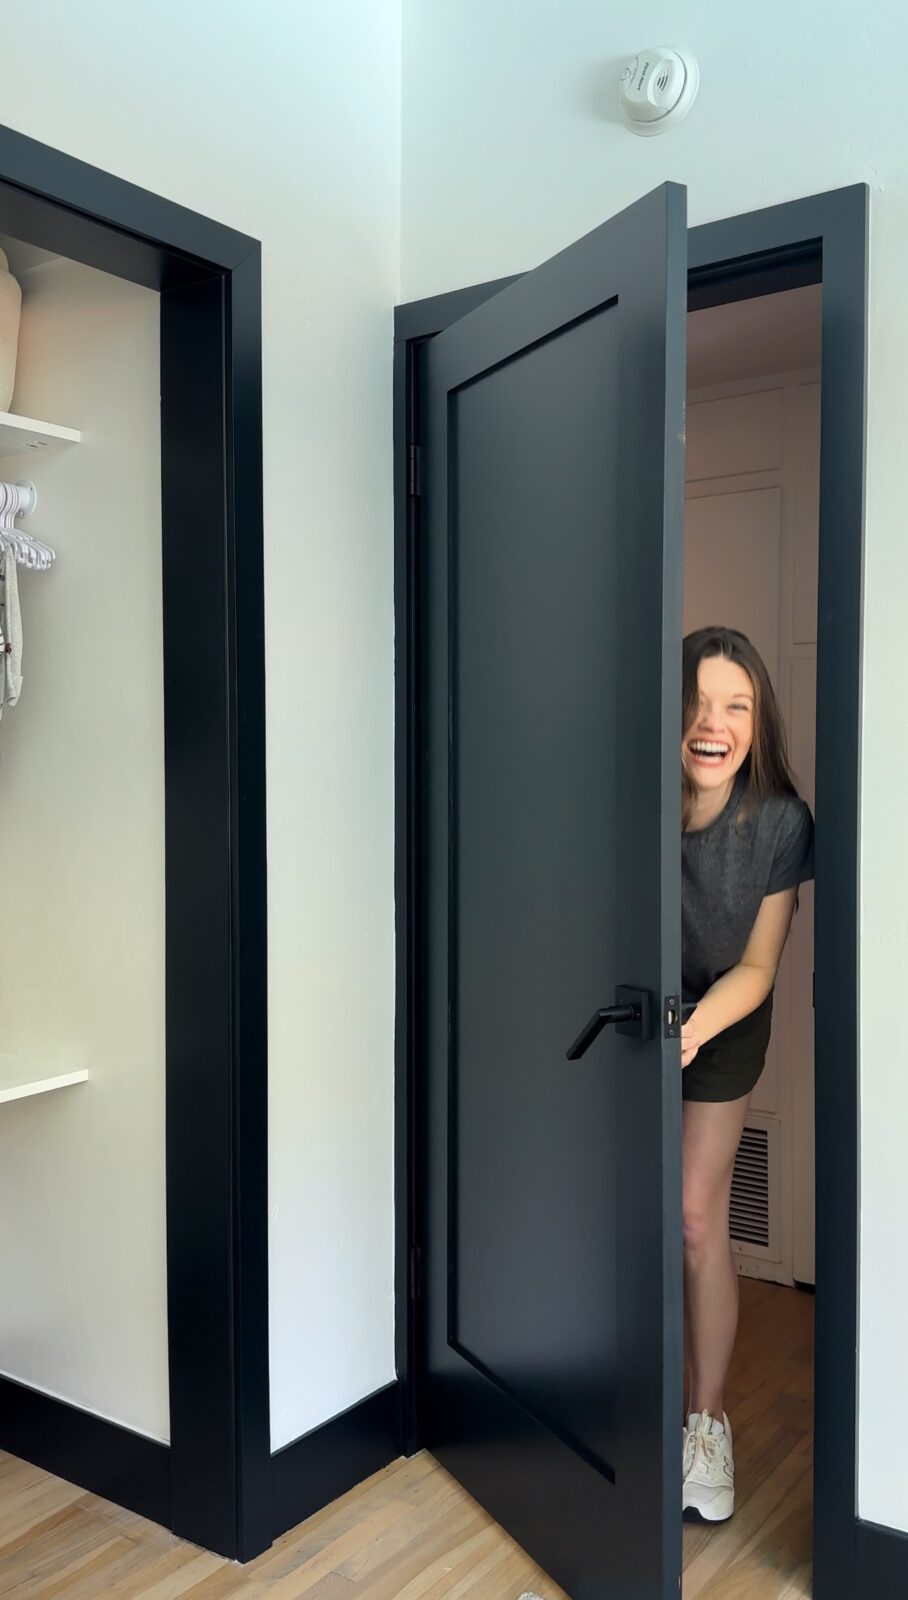
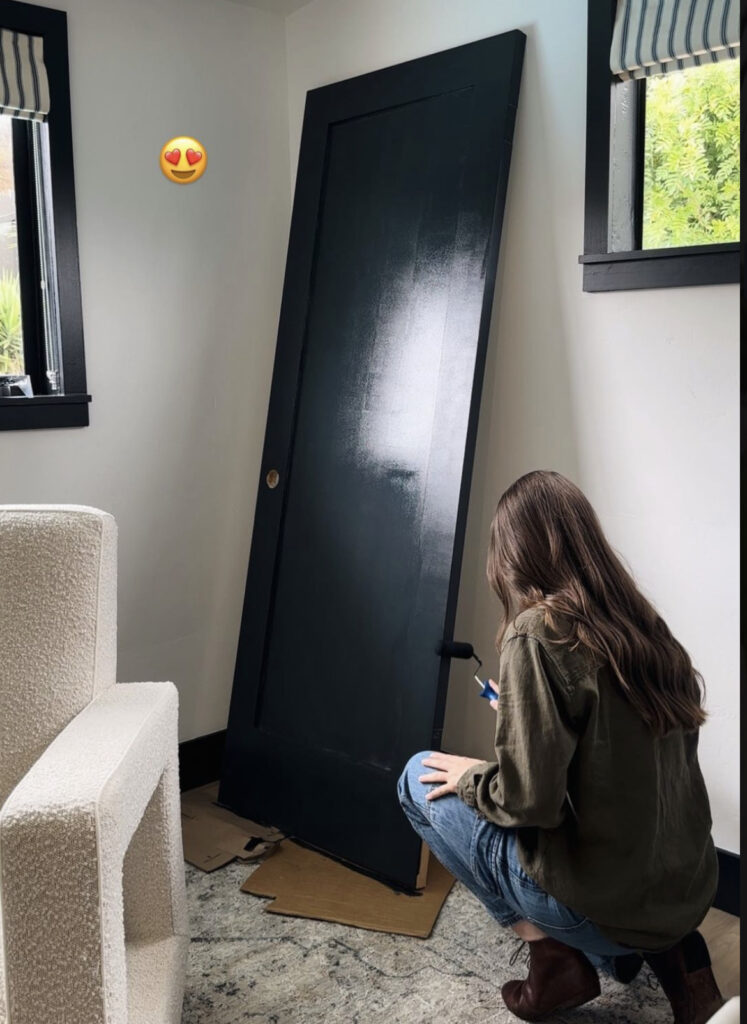
It’s looking so good! I’m so excited about this dark, moody color. It look so great with the bright white walls and the brass fixtures we have in the house. We are using “Railings” by Farrow and Ball in Estate Eggshell.

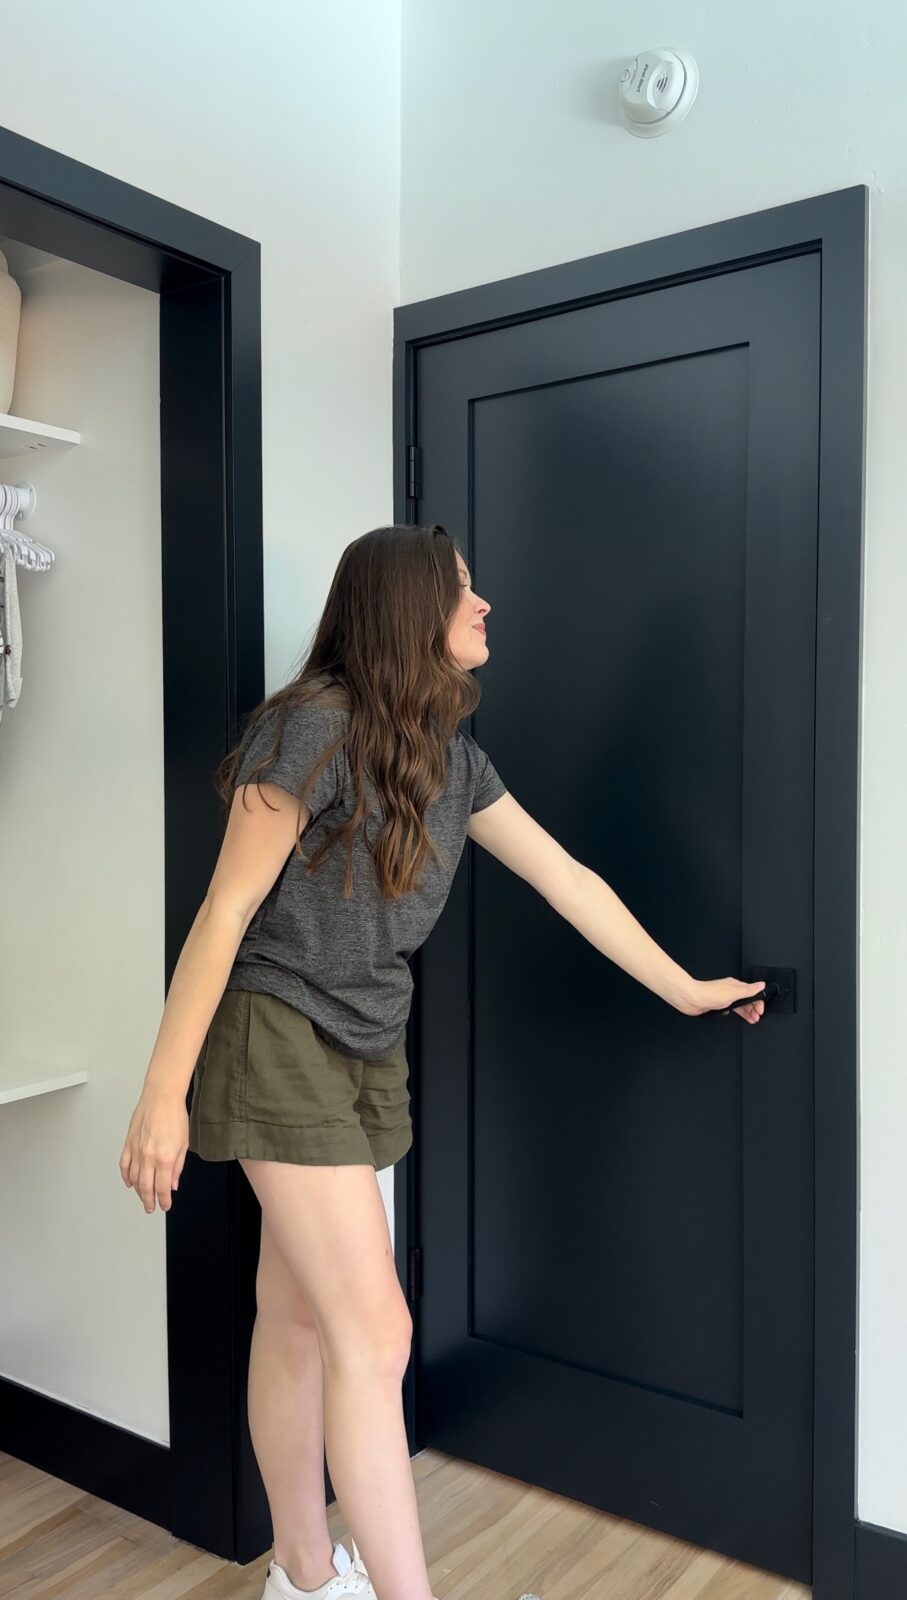
Time to put the door on!
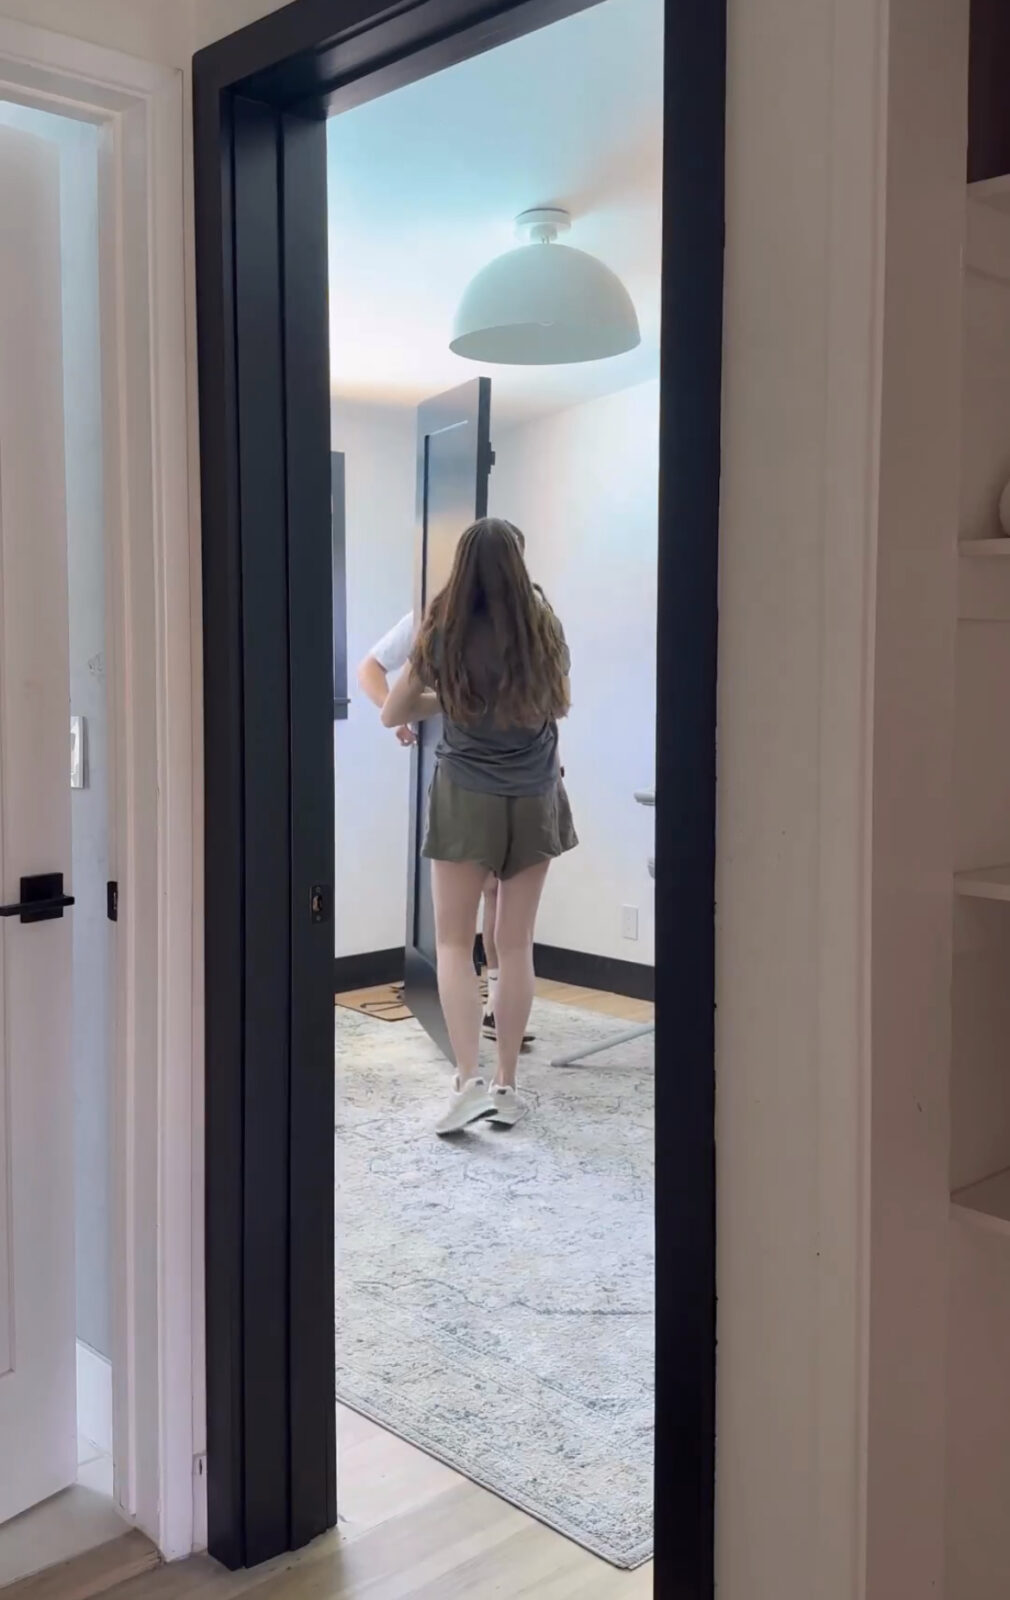
Next, I attached the hardware. We used this door handle from Amazon. They have keyed and nonkeyed options and different finishes too!


It was really cool to learn how to do this whole process from scratch. I actually understand how doors work now! 👏
Trim
For the trim, we used 1×3 primed pine from Lowes and Dap white caulking. Then we used Minwax white wood filler. (I always use white instead of brown because it’s easier to hide with lighter paints).
Finally, we painted the trim with Chantilly Lace in semigloss from Lowes!
Comments