
This was my first room makeover in a school! Both of my sisters work as SLPAs (Speech & Language Pathology Assistants) in the special education departments at a school near my house. I had the opportunity to do a speech therapy room makeover on my middle sister Lauren’s office earlier this month. I’m hoping to do my youngest sister’s office as well in the future!

Plans
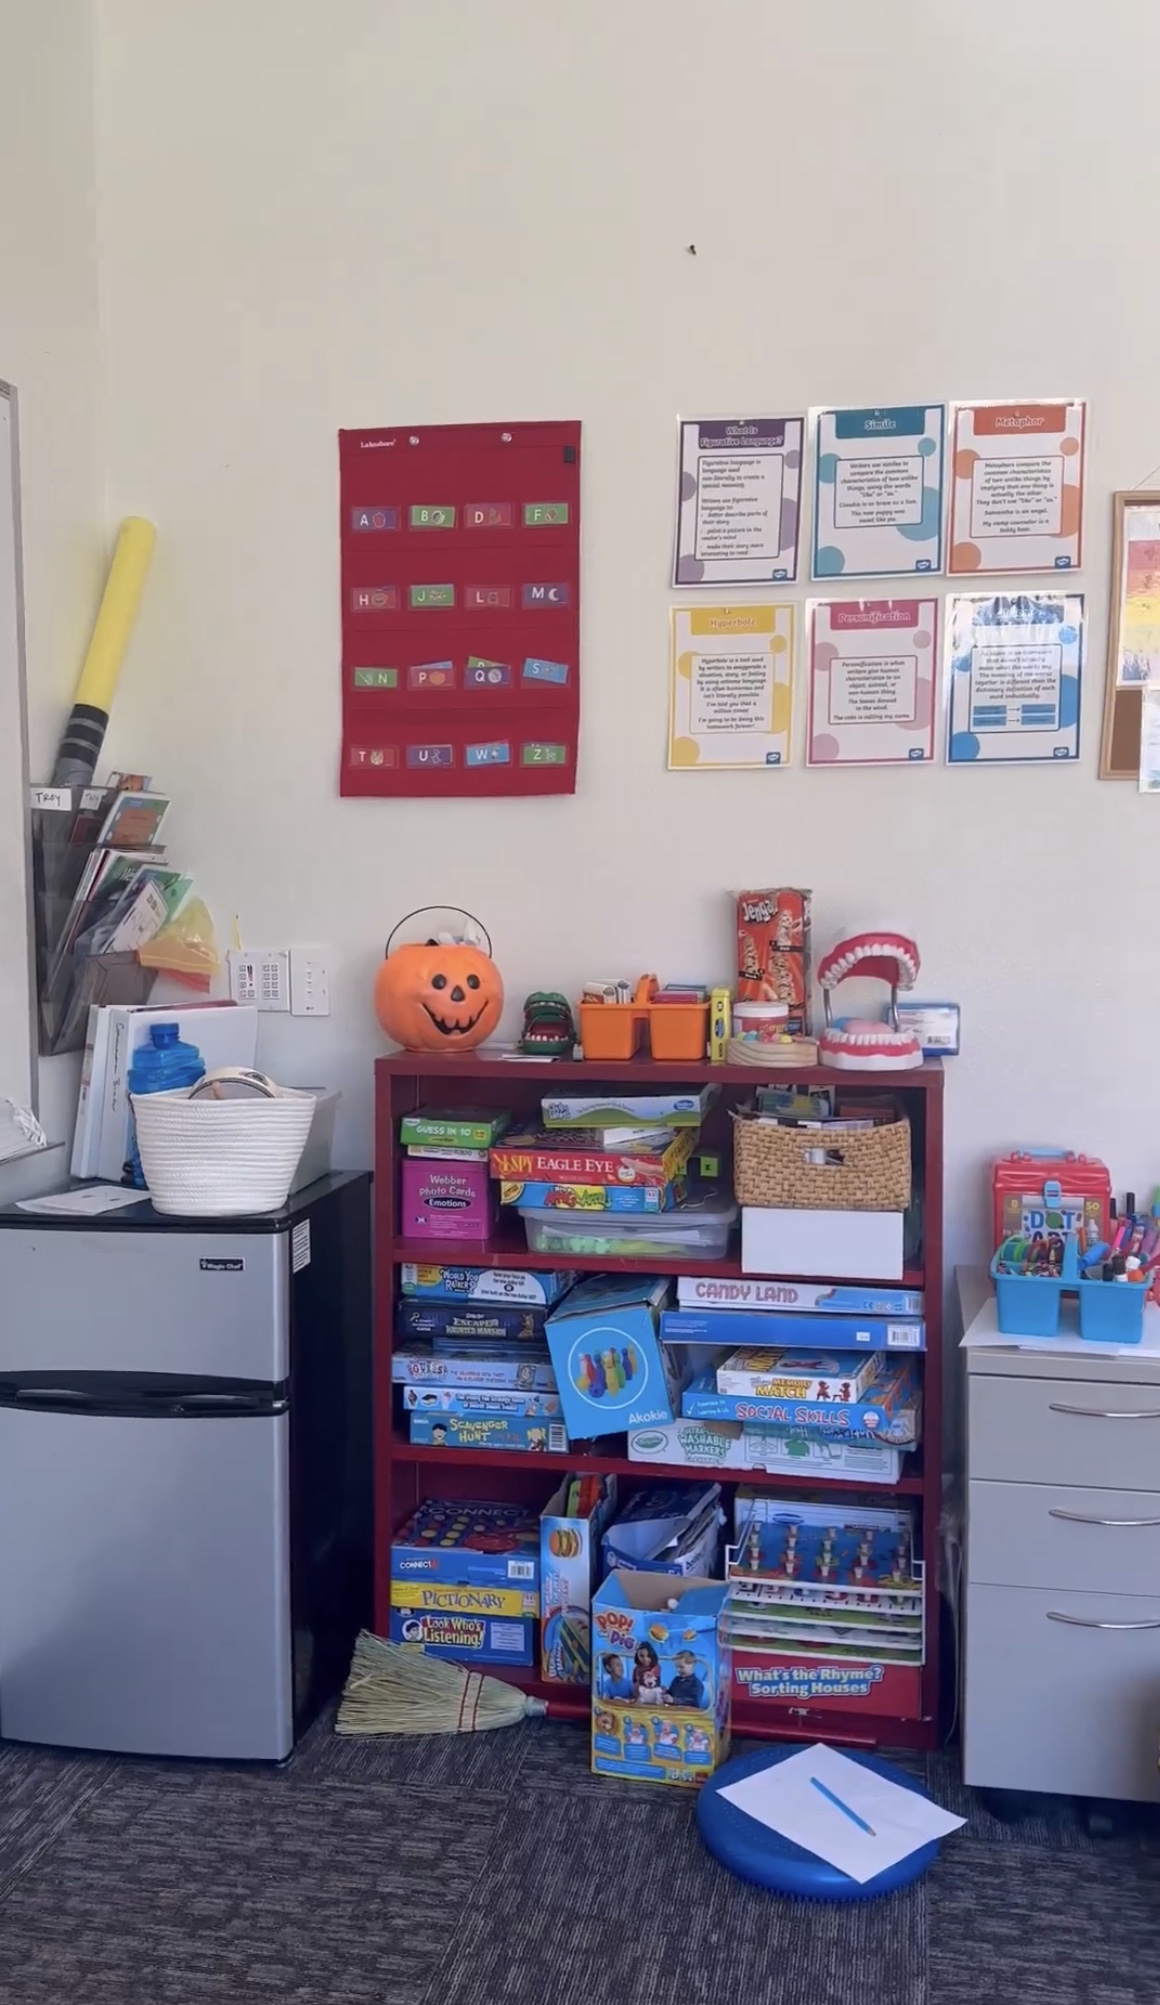
The office started off very…chaotic. It was so visually busy and full of materials that even I felt overstimulated! The job comes with a lot of materials like books, games, and flash cards. She had no closed storage systems, so everything was exposed and quite distracting for the kids. Lauren mentioned she’d often be in the middle of a lesson when her students would get up and grab a toy or book, and it was a constant battle to stay focused.
Because of that, my goal was to bring in lots of closed storage. We needed to tone it down and make it less overstimulating. I wanted most of the items out of reach and tucked away, so Lauren could just pull out one or two things to use at a time. I was going for simple, professional, calm, and focused.
Here’s what we started with:
Here was my design layout for this speech therapy room makeover:

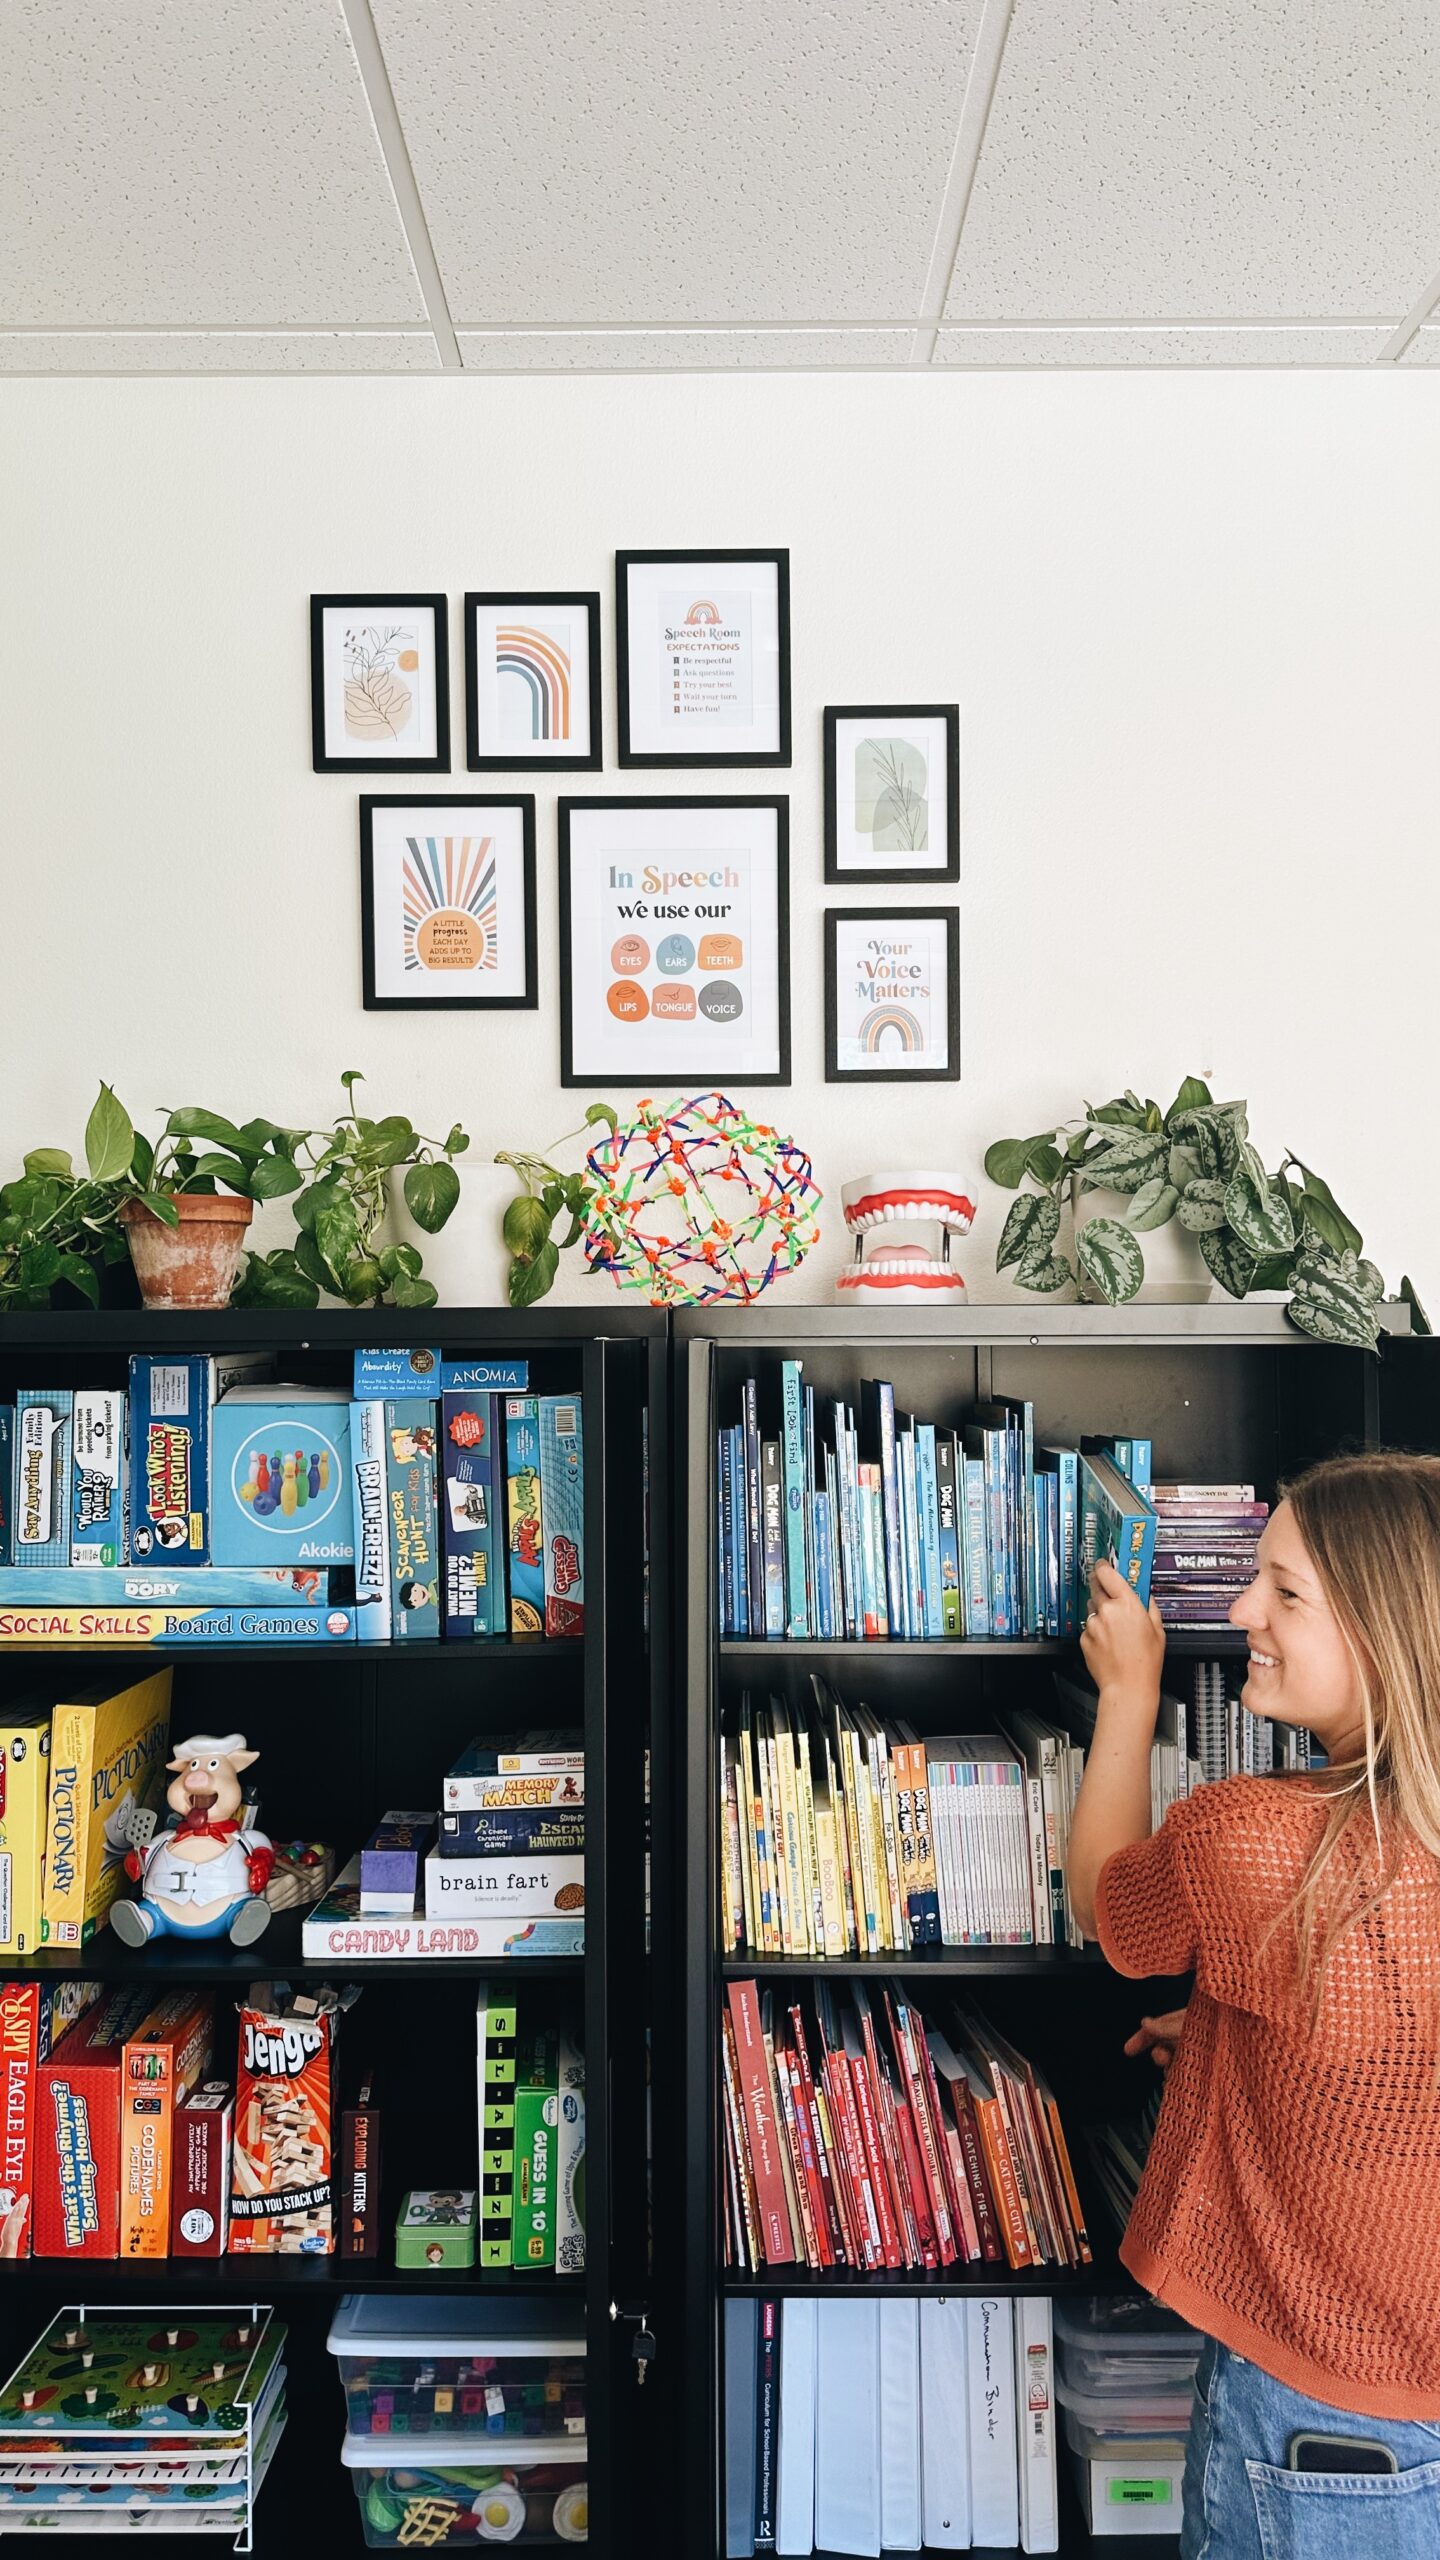
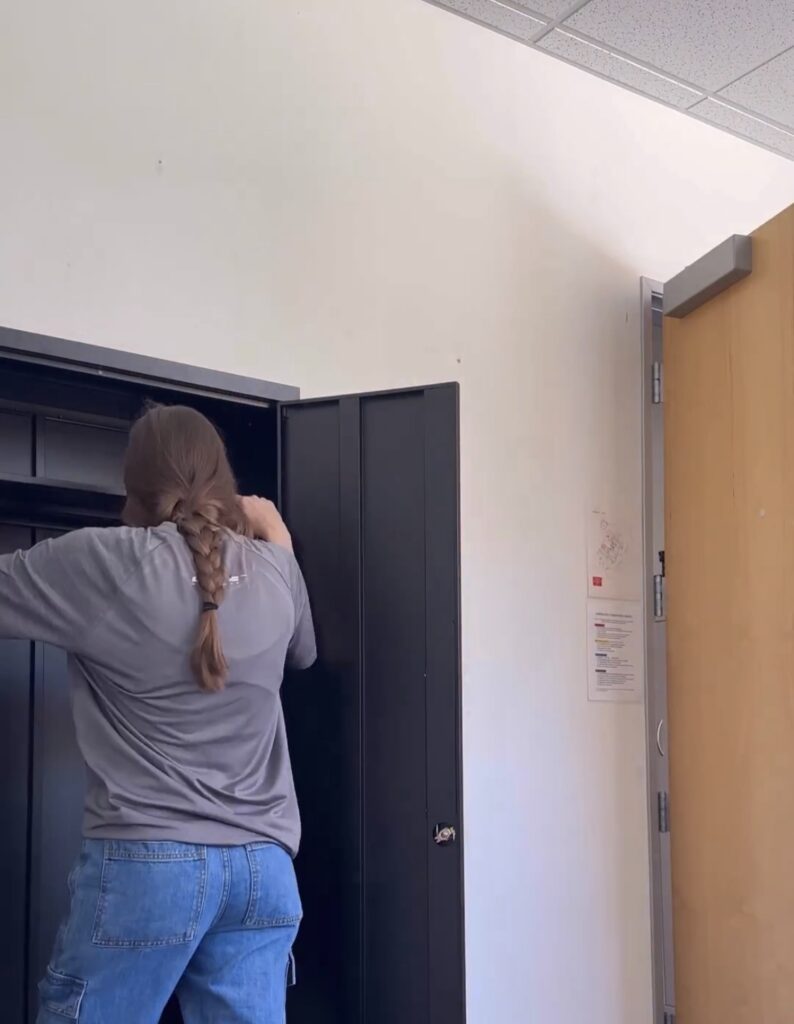
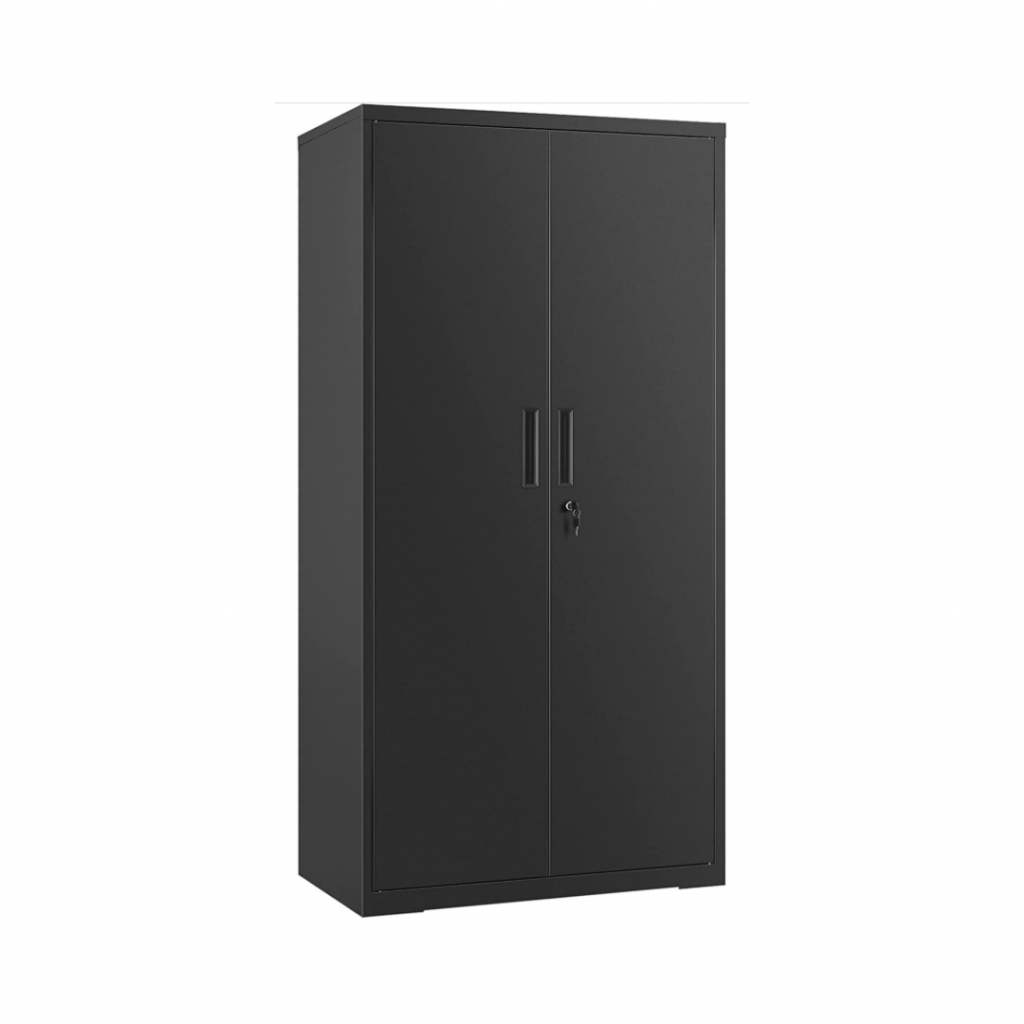
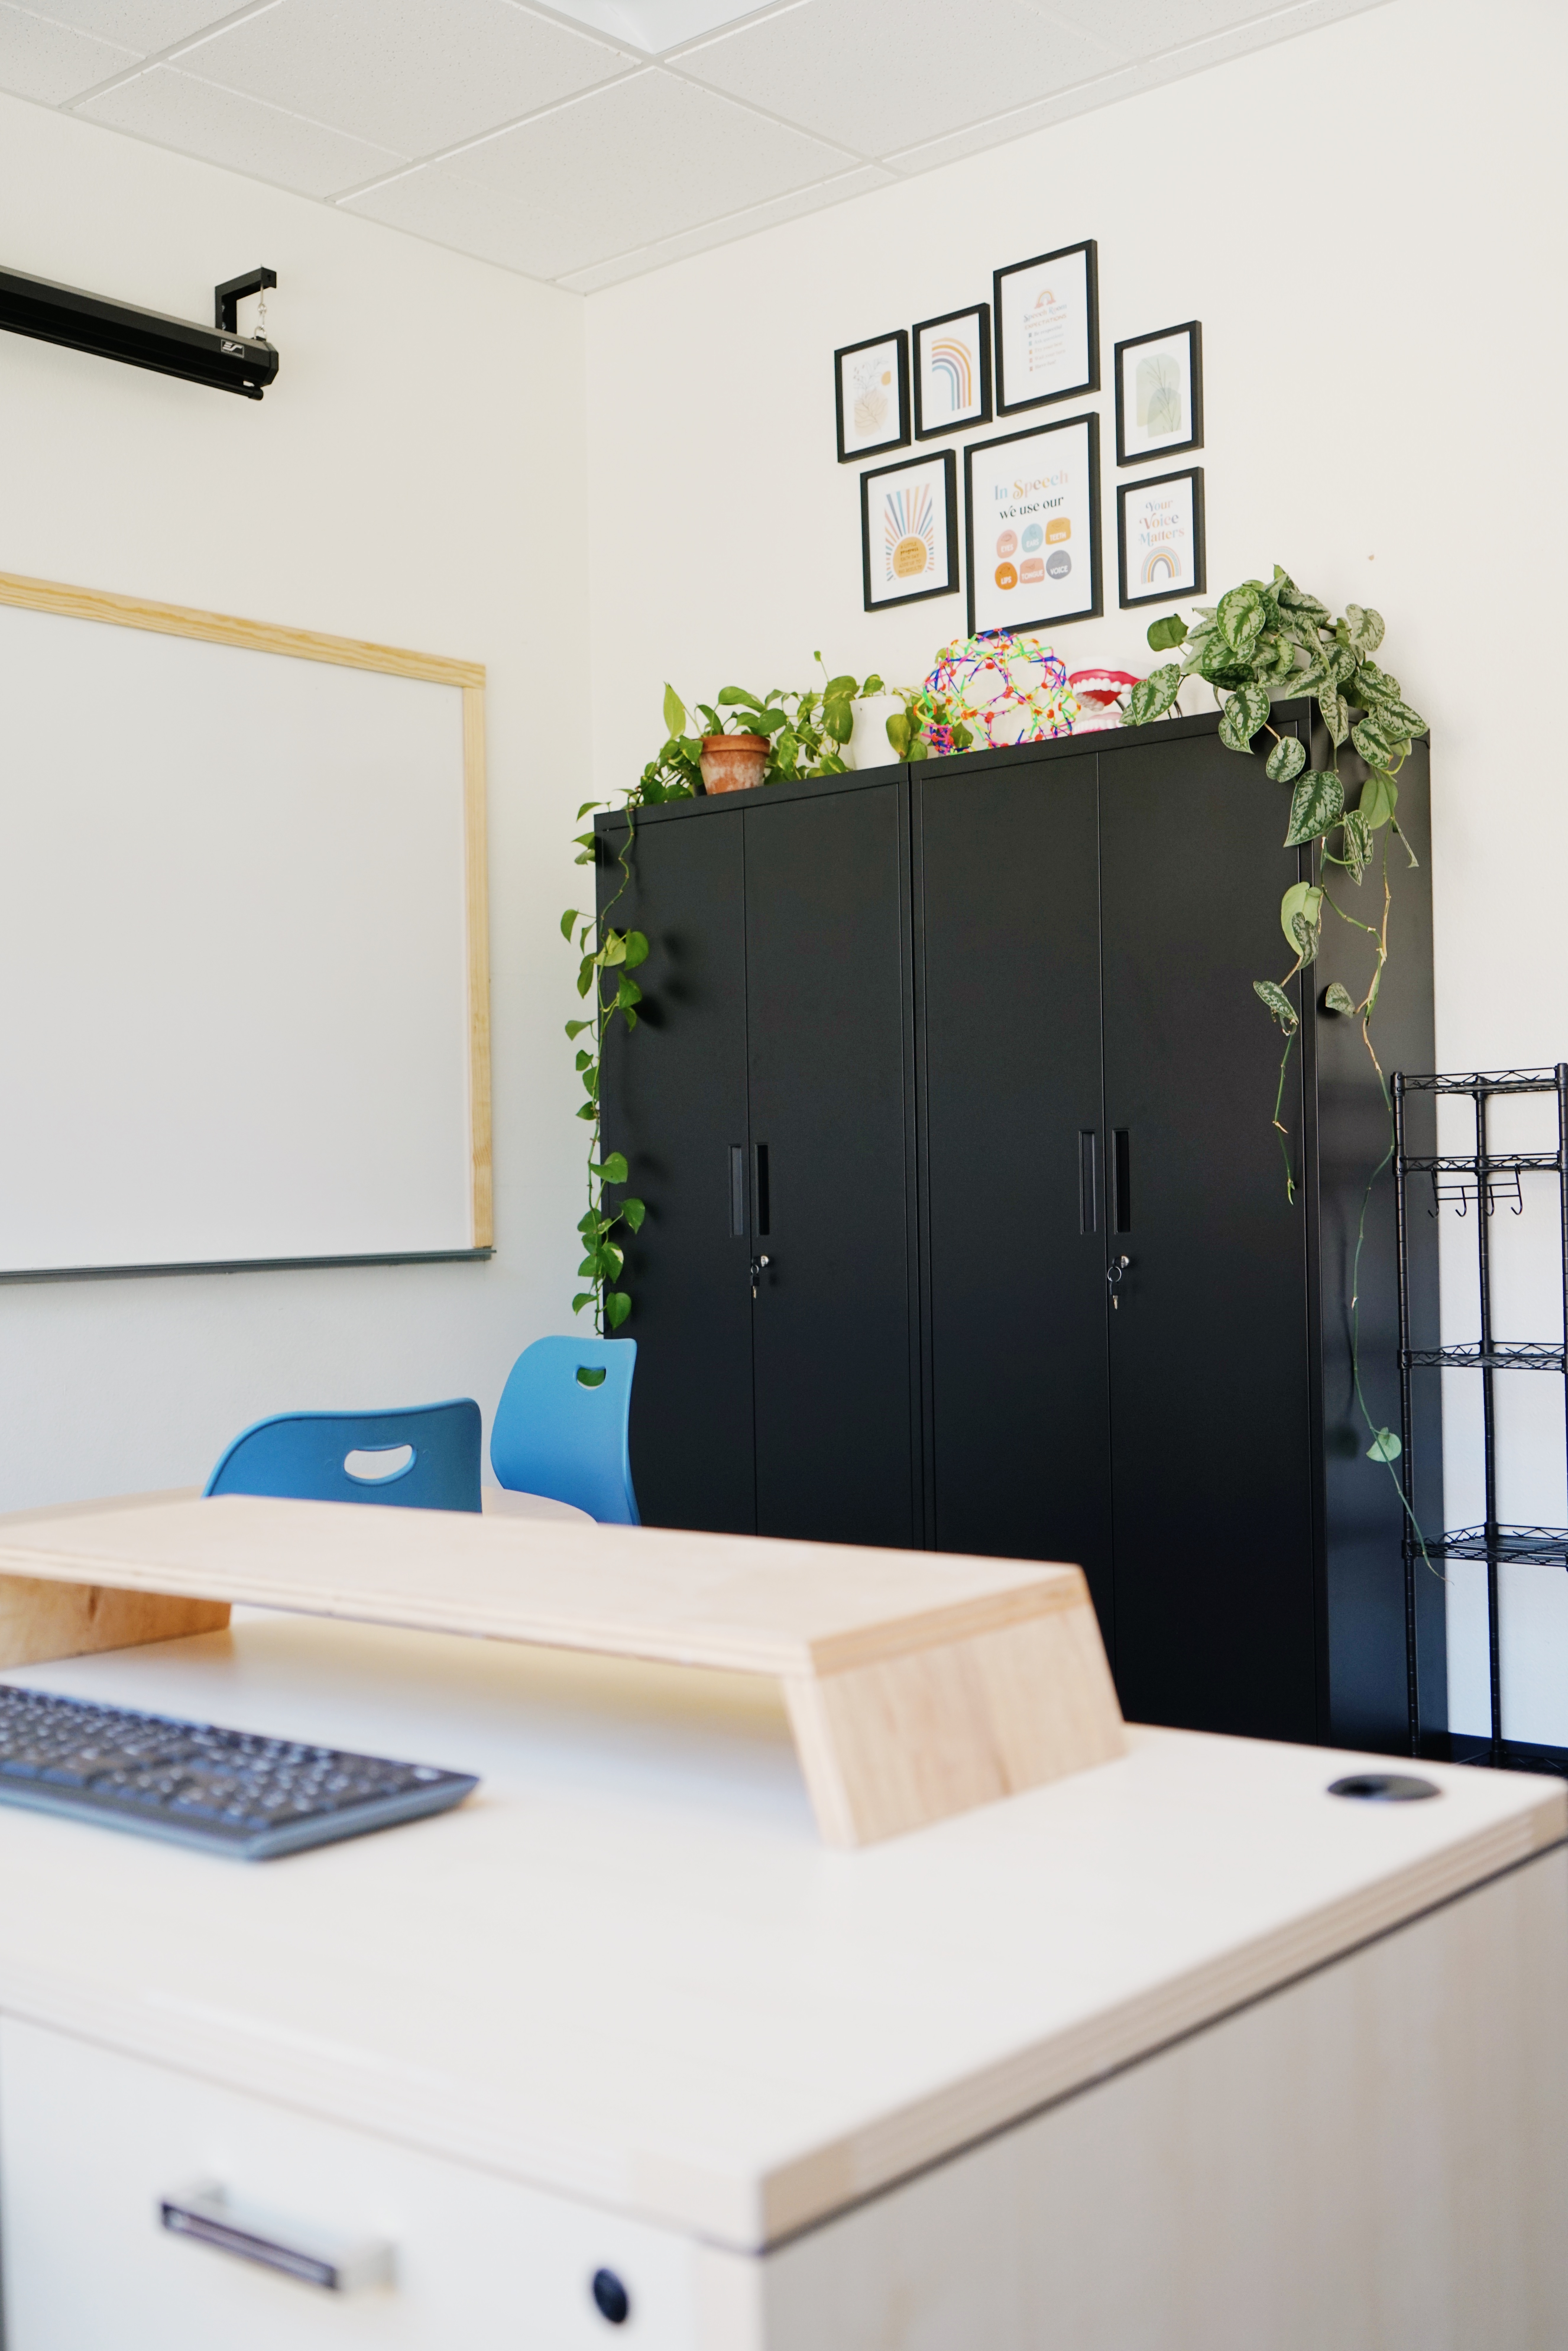
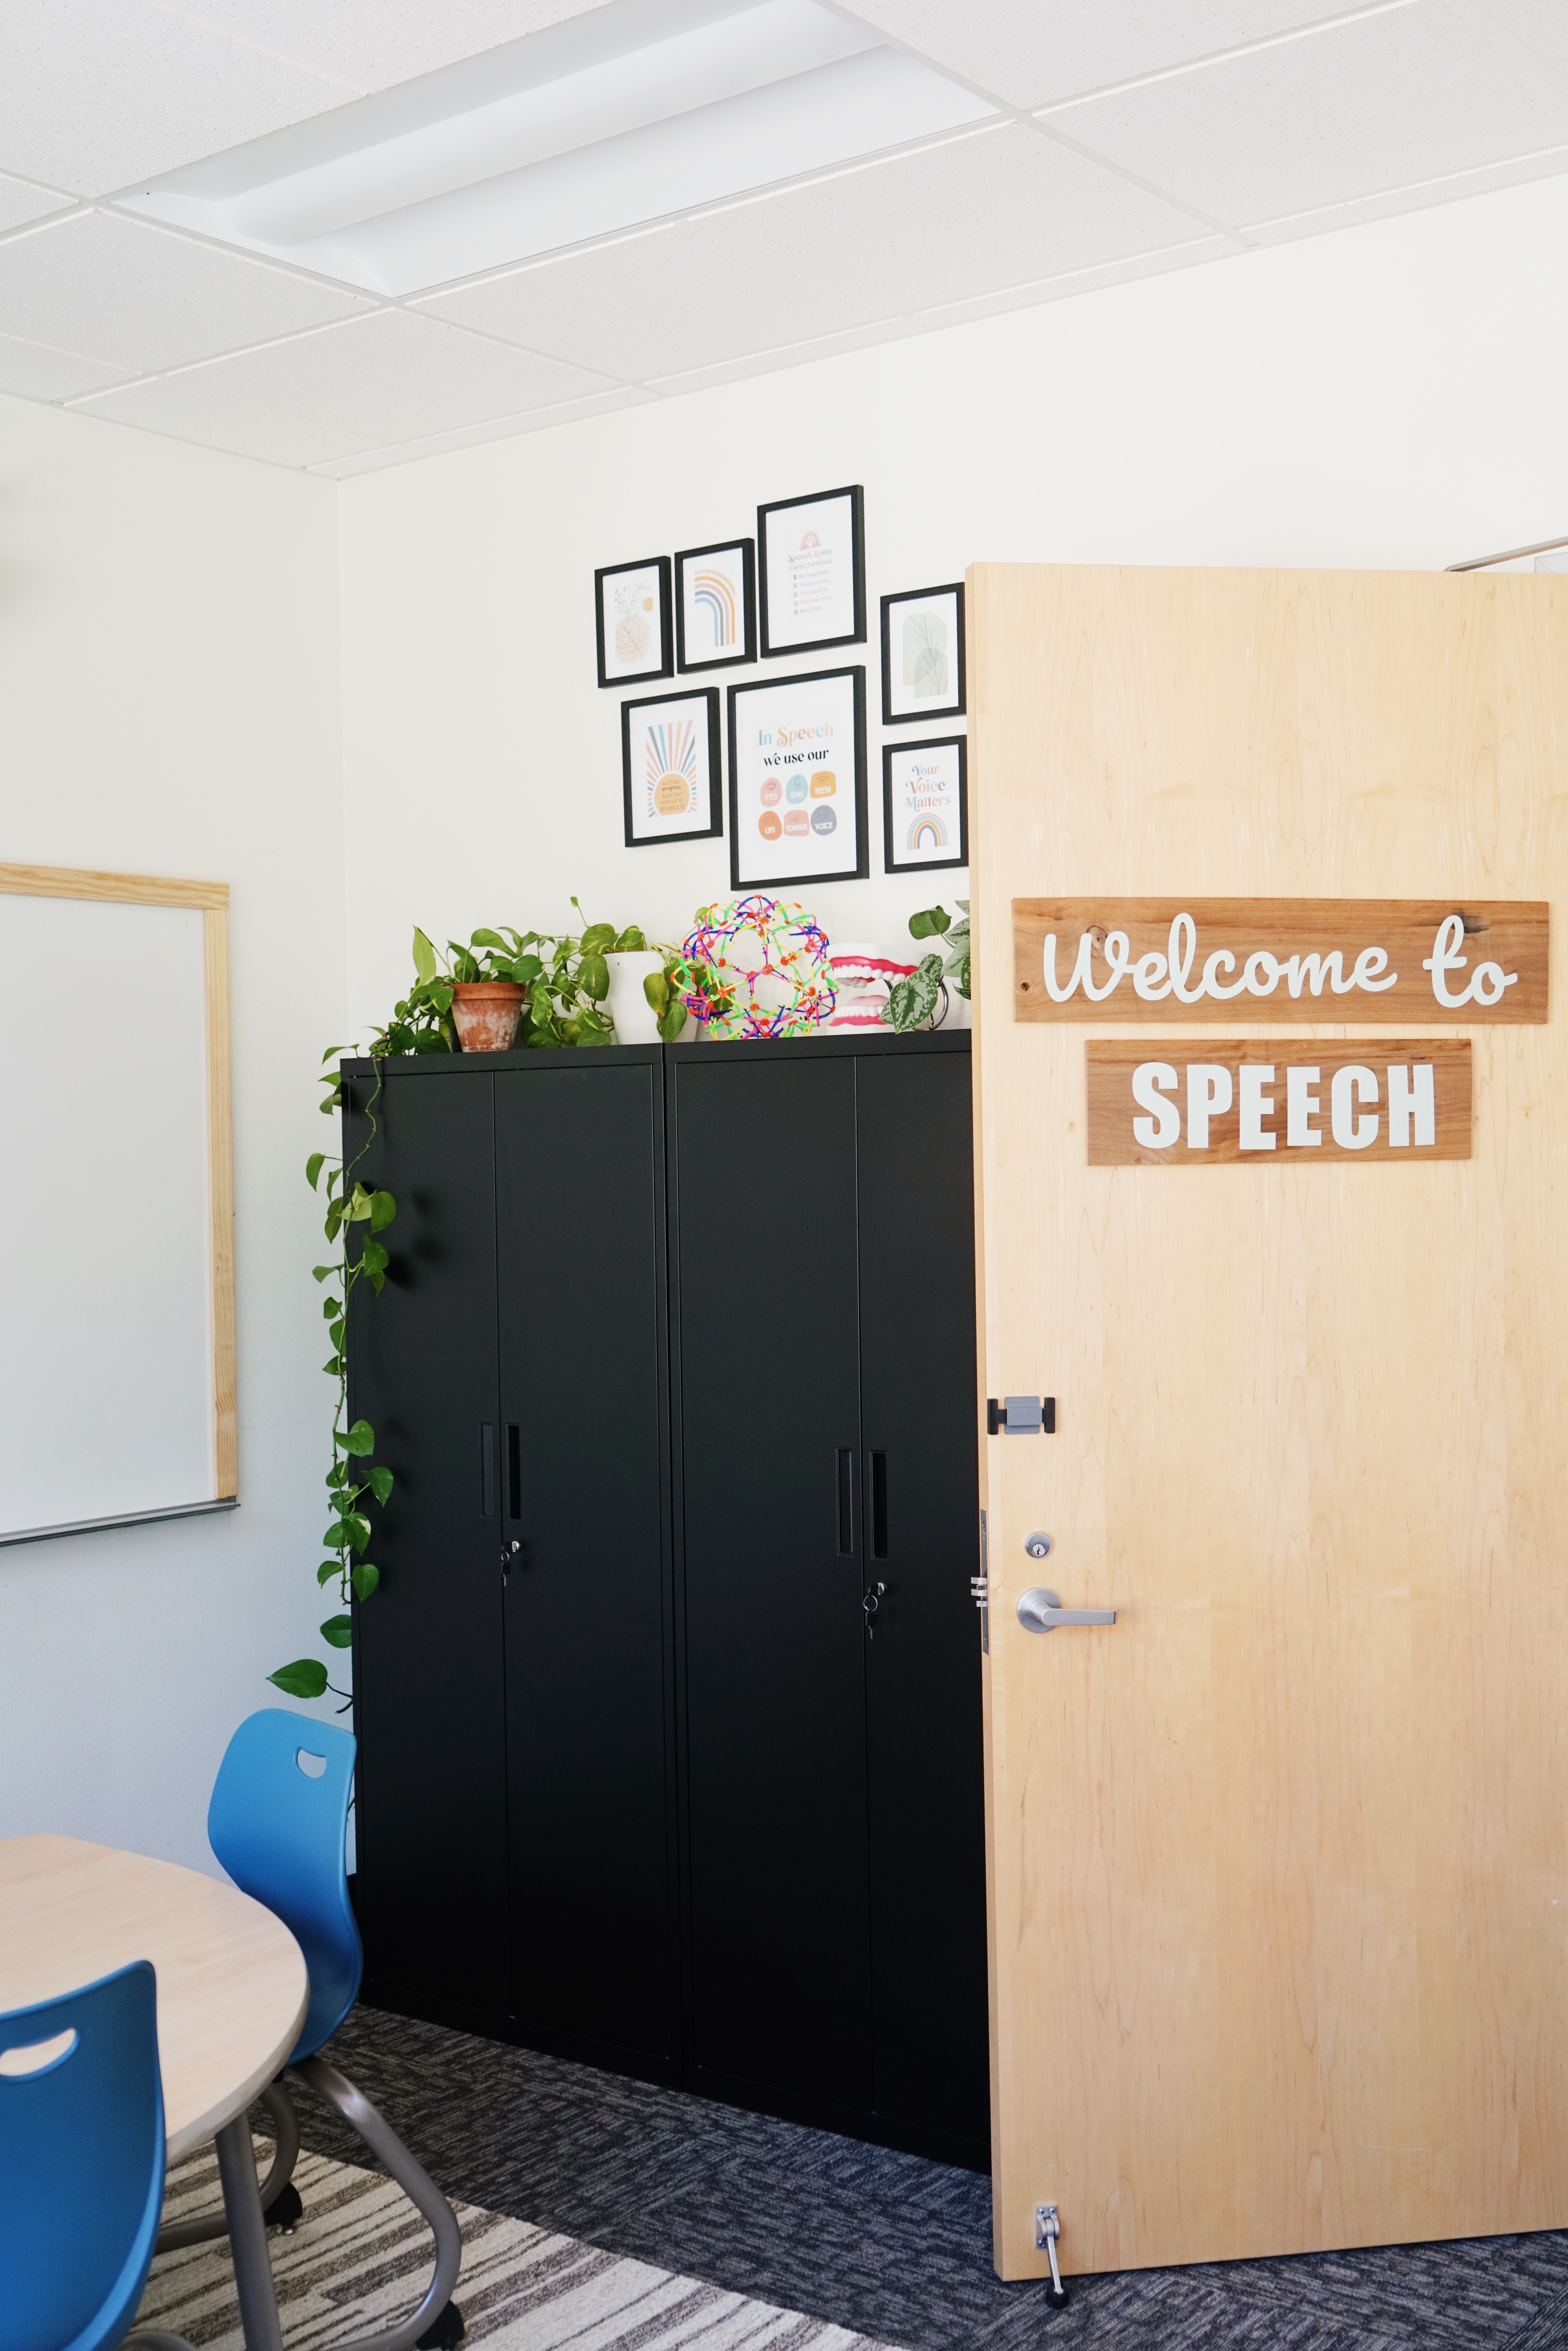
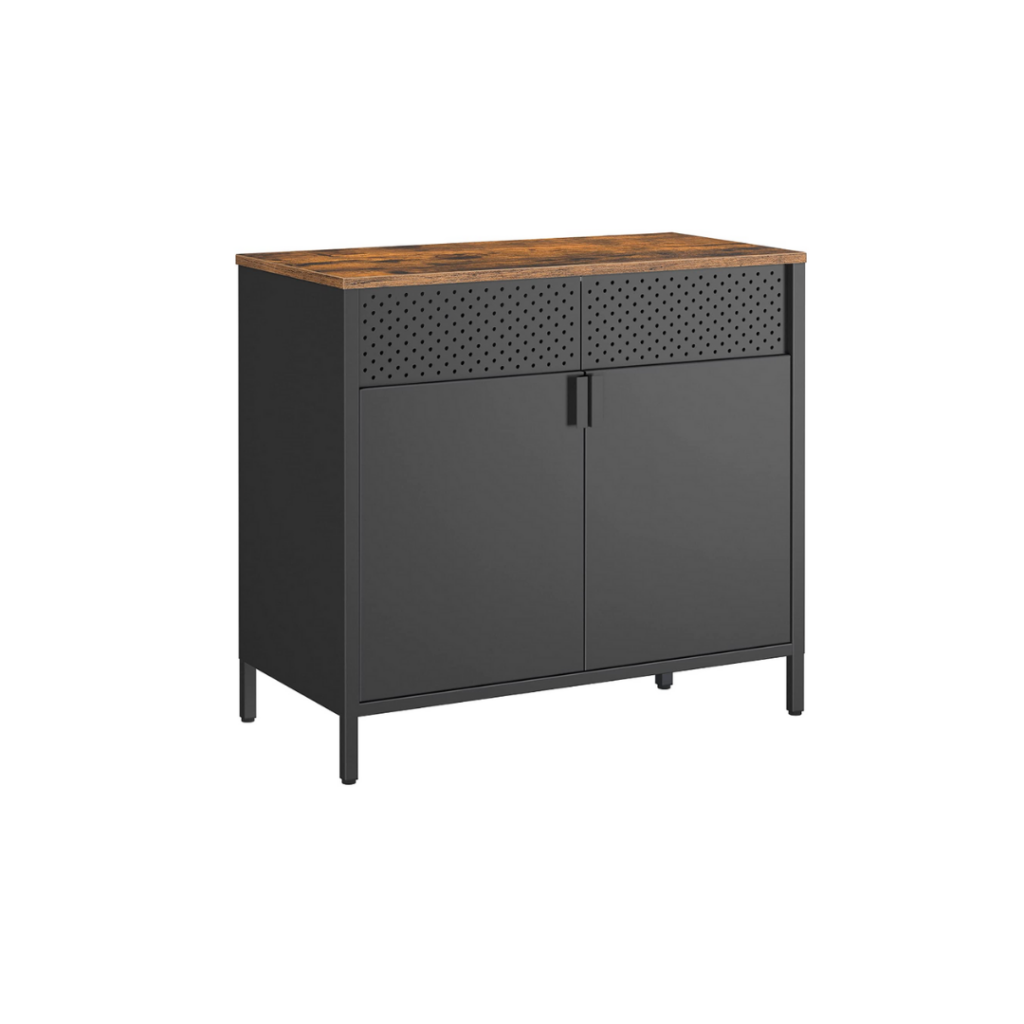
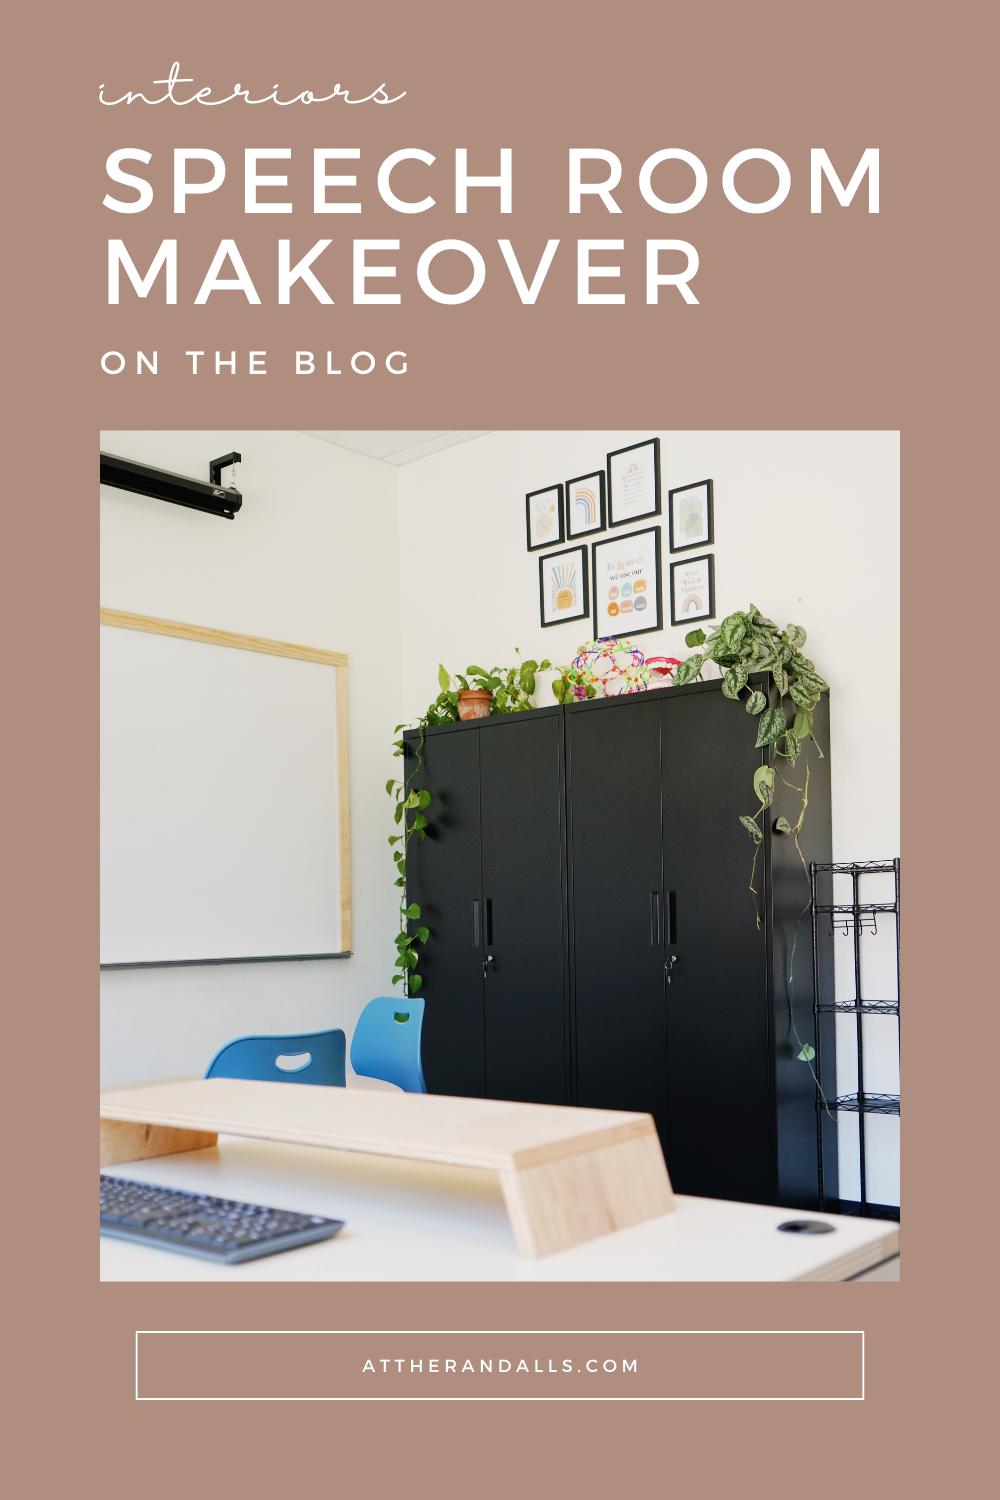
We took literally everything out of the room so we could start from scratch. That’s usually my favorite way to tackle a room! Our first storage solution was setting up these black metal storage cabinets. They were just perfect for this room, and they can even be locked! We organized all of her books and games by color, and everything fit so nicely.
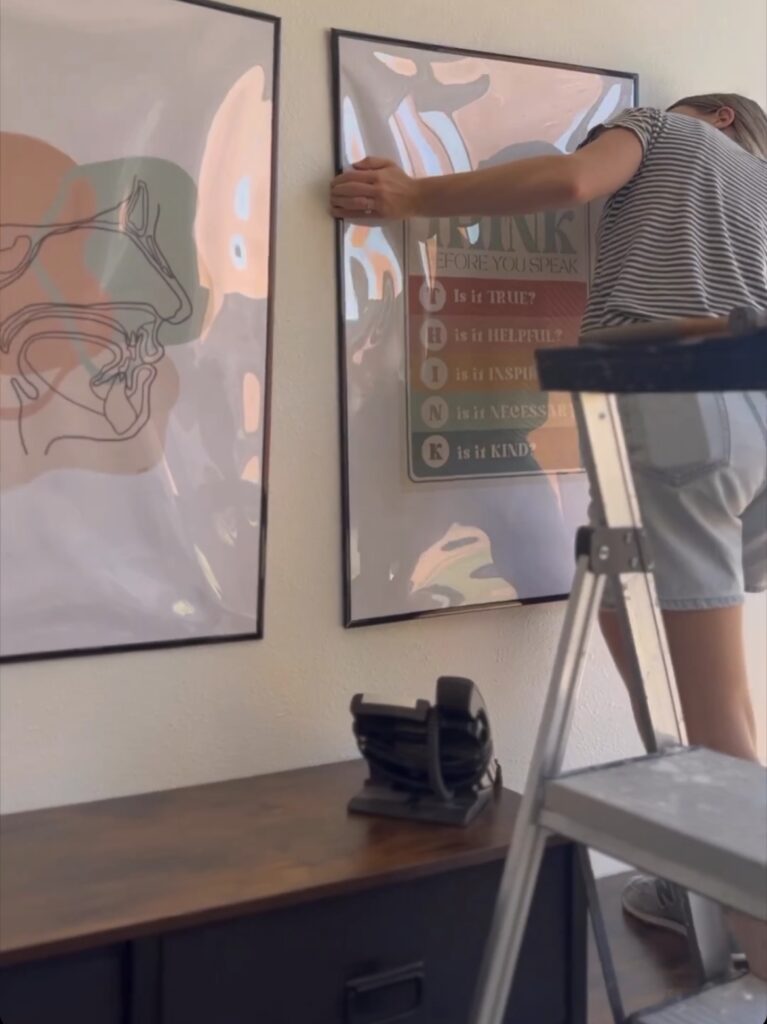
I bought a few speech therapy art prints and used these frames to create a little gallery wall, and surrounded that with some hanging pothos plants.

Whiteboard Trim
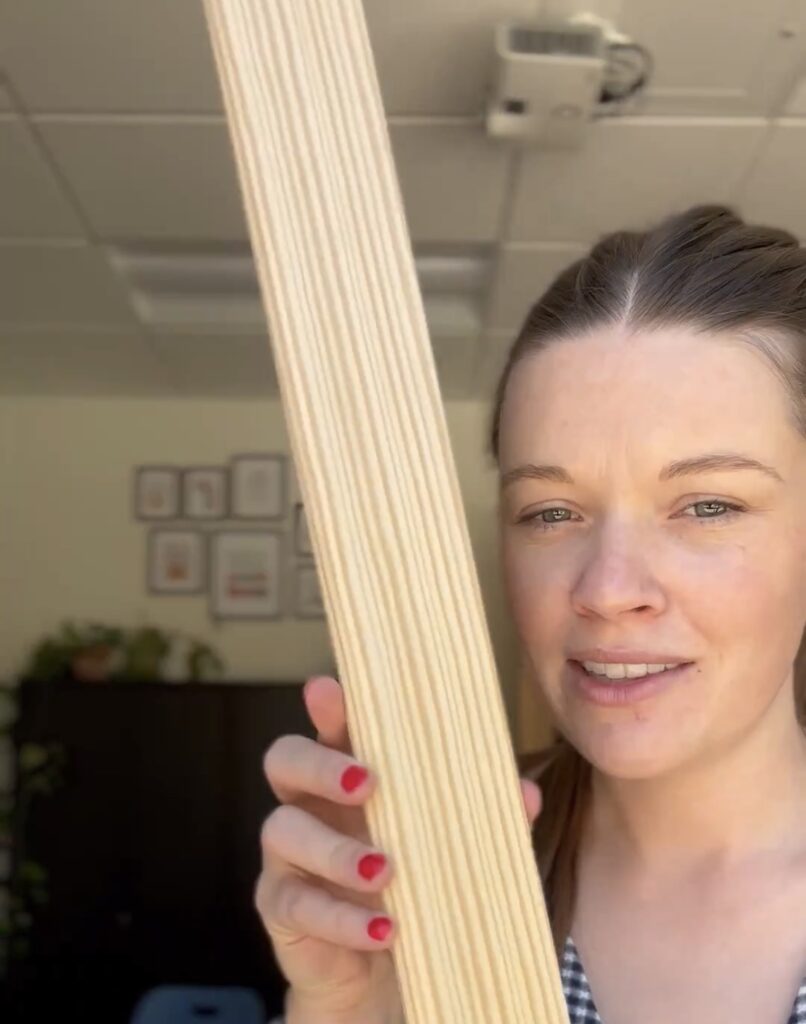
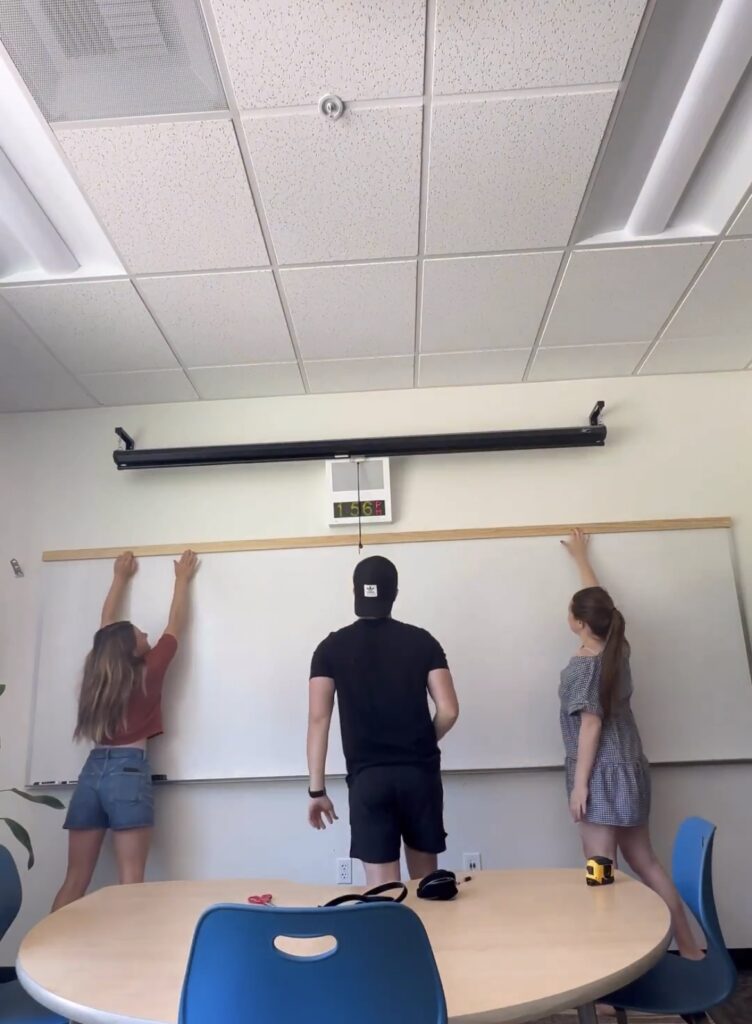
I felt like the whiteboard needed something. It took up the entire wall and just looked so basic – so I tried to think of a way to make it look more custom in a way that isn’t permanent. I decided to trim it out using velcro strips!
There was only one trim at Lowe’s that was long enough and lightweight enough! I attached the velcro in increments along the trim, then stuck it up on the metal frame around the whiteboard. So much better!


Next we put some drawers together to store different categories of small teaching materials, thinks like stickers, laminated games, specialized materials for specific students, art supplies, and small toys. I added some poster frames above with speech therapy art (about $8 per poster to print at Staples).


PRO TIP: Hang art 8-10 inches from furniture pieces so they feel grounded and not like they’re floating.


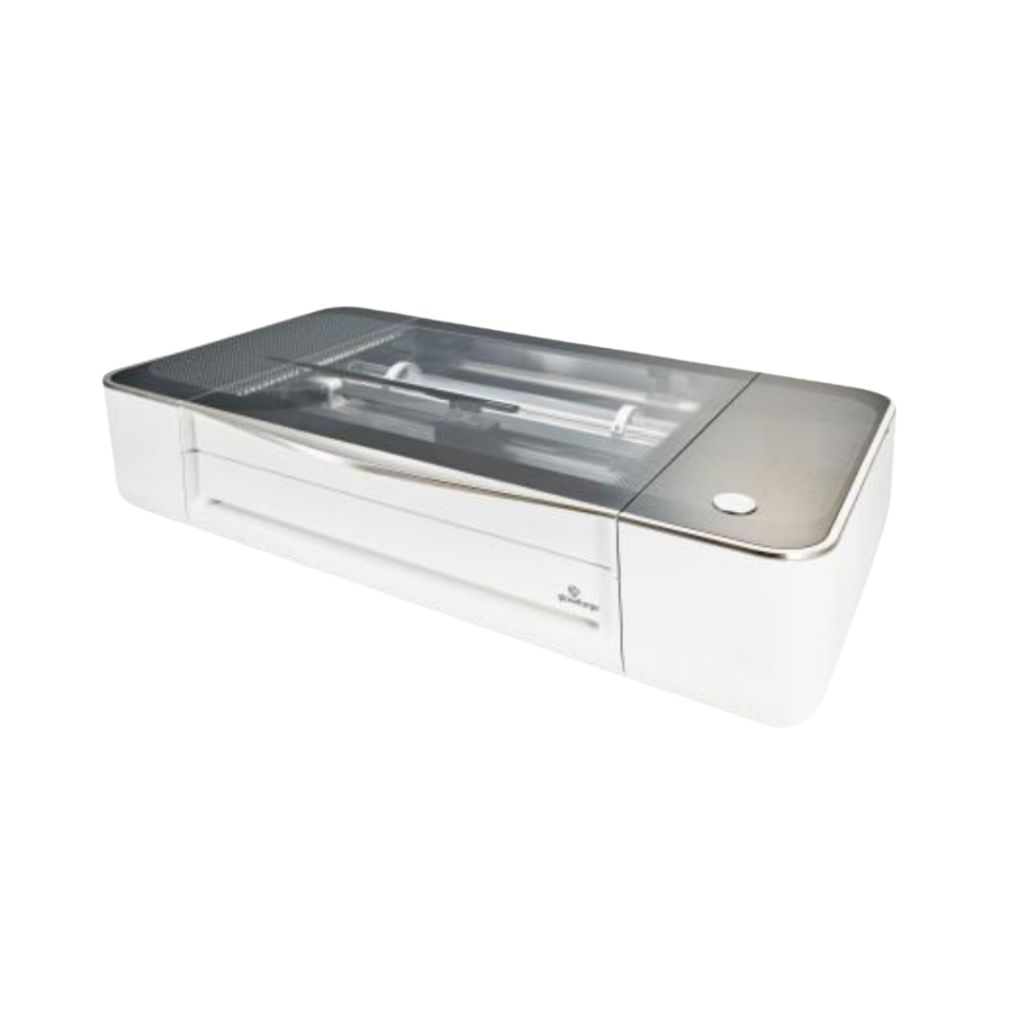
Next, we made a new sign for her door with our Glowforge. We put these letters on a cool piece of wood to mount on the door. It’s always fun to use the Glowforge to create a special finishing touch in a room!

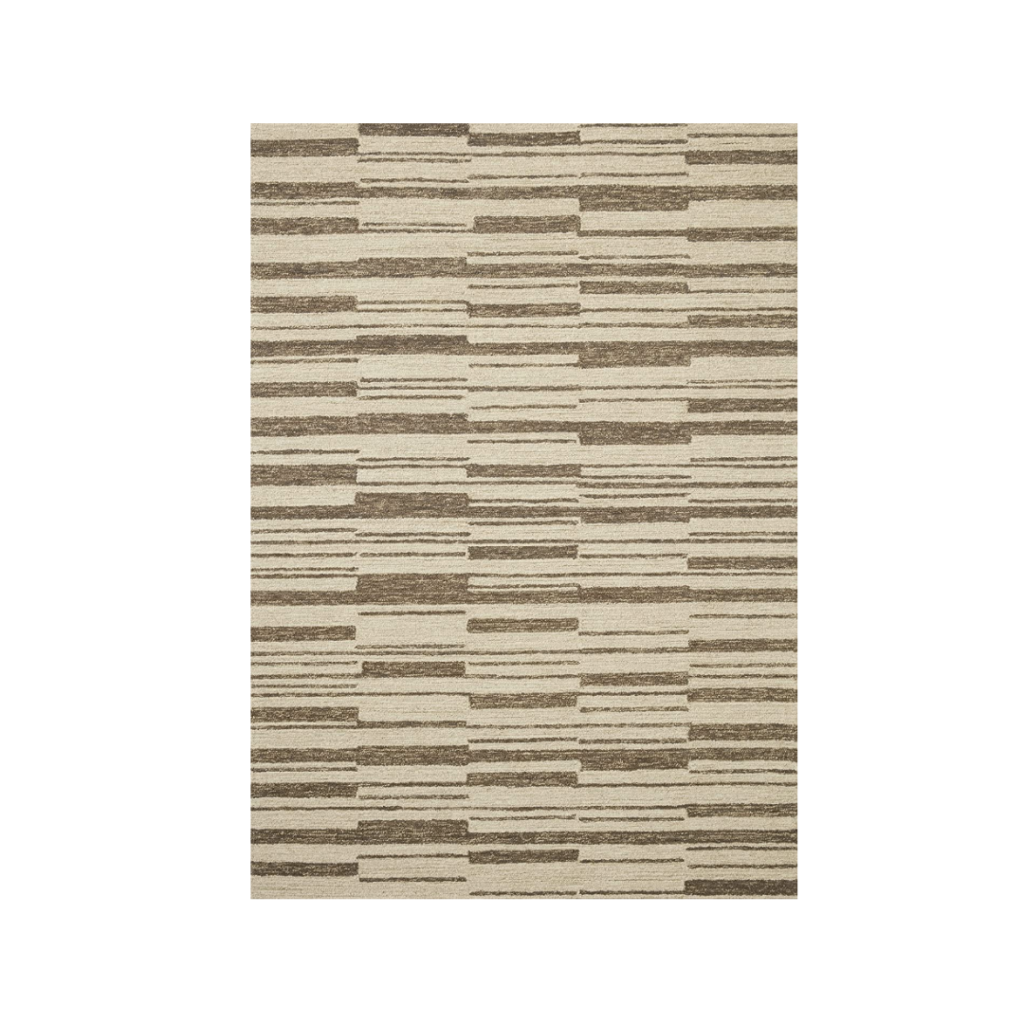
We got a really big rug to cover up the basic carpet in the office. We used the Polly Rug from Chris Loves Julia’s line with Loloi- this entire collection is natural fiber which I love. (It’s a jute and wool blend.) We got the 8×11 size and it filled up the room nicely. I always say go as large as you can when it comes to rugs! I also decided to have Lauren’s desk facing outward, and I feel like it elevated the entire design. It feels presidential!


We used our electric scissors to break down all of our boxes. I think every household needs this tool!
Here’s everything we used:


I’m so happy with how calm and professional the room feels now, and I’m already starting to get ideas for redoing Katie’s speech therapy classroom. Until next time!
Comments