
Here are the DIY instructions and links for our recent living room and fireplace makeover.
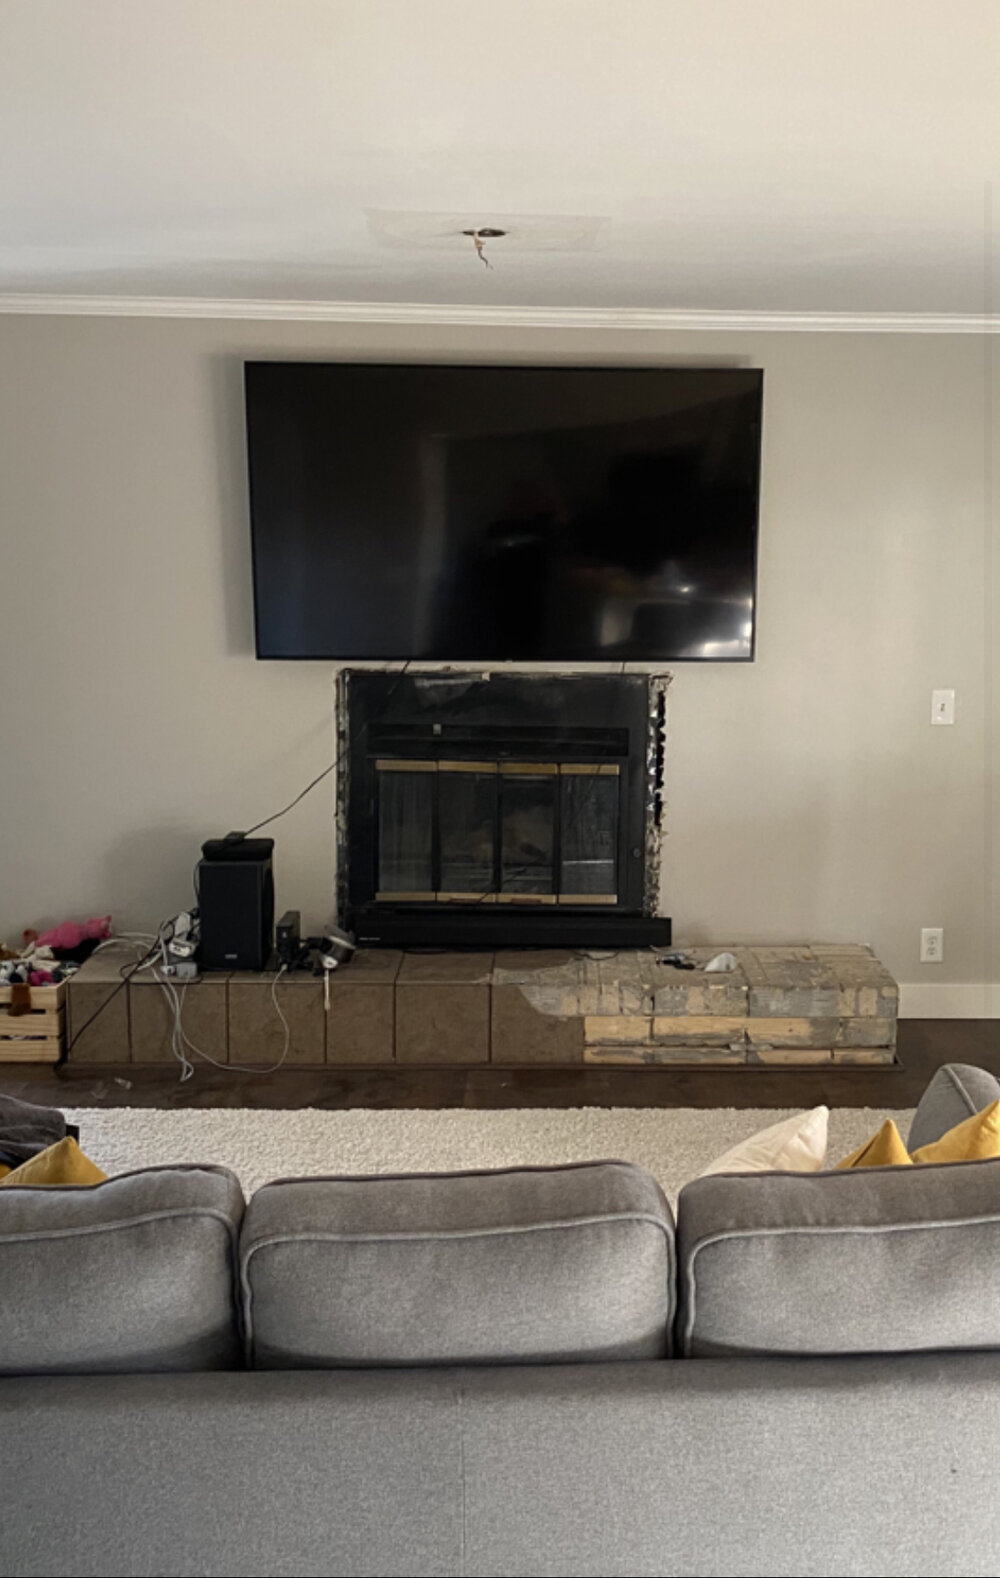
Here’s what we started with:
The client had this brick and mortar installed before we arrived so we could get started on the Roman Clay right away. When we arrived, it looked like this:
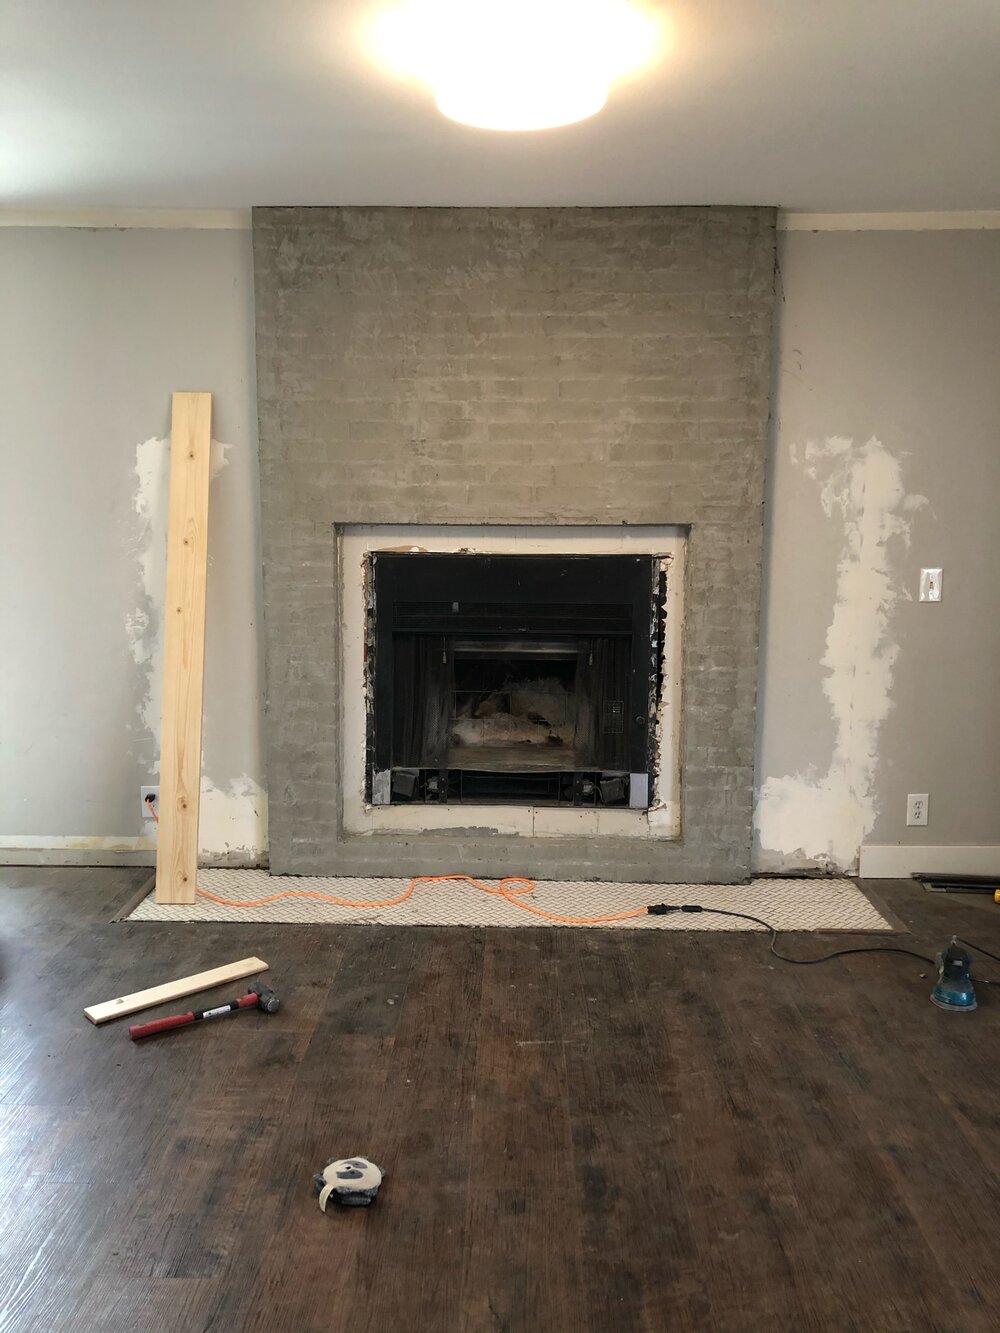
First, we sanded down the mortar with 40 grit sandpaper. Then we were ready to add our Roman Clay. Portola Paints Roman Clay in the color mineral is what we’re using here. We used a putty knife to apply it, and it’s pretty difficult to mess up. We let the first coat dry for about an hour before adding a second coat.
It is so smooth when it dries!
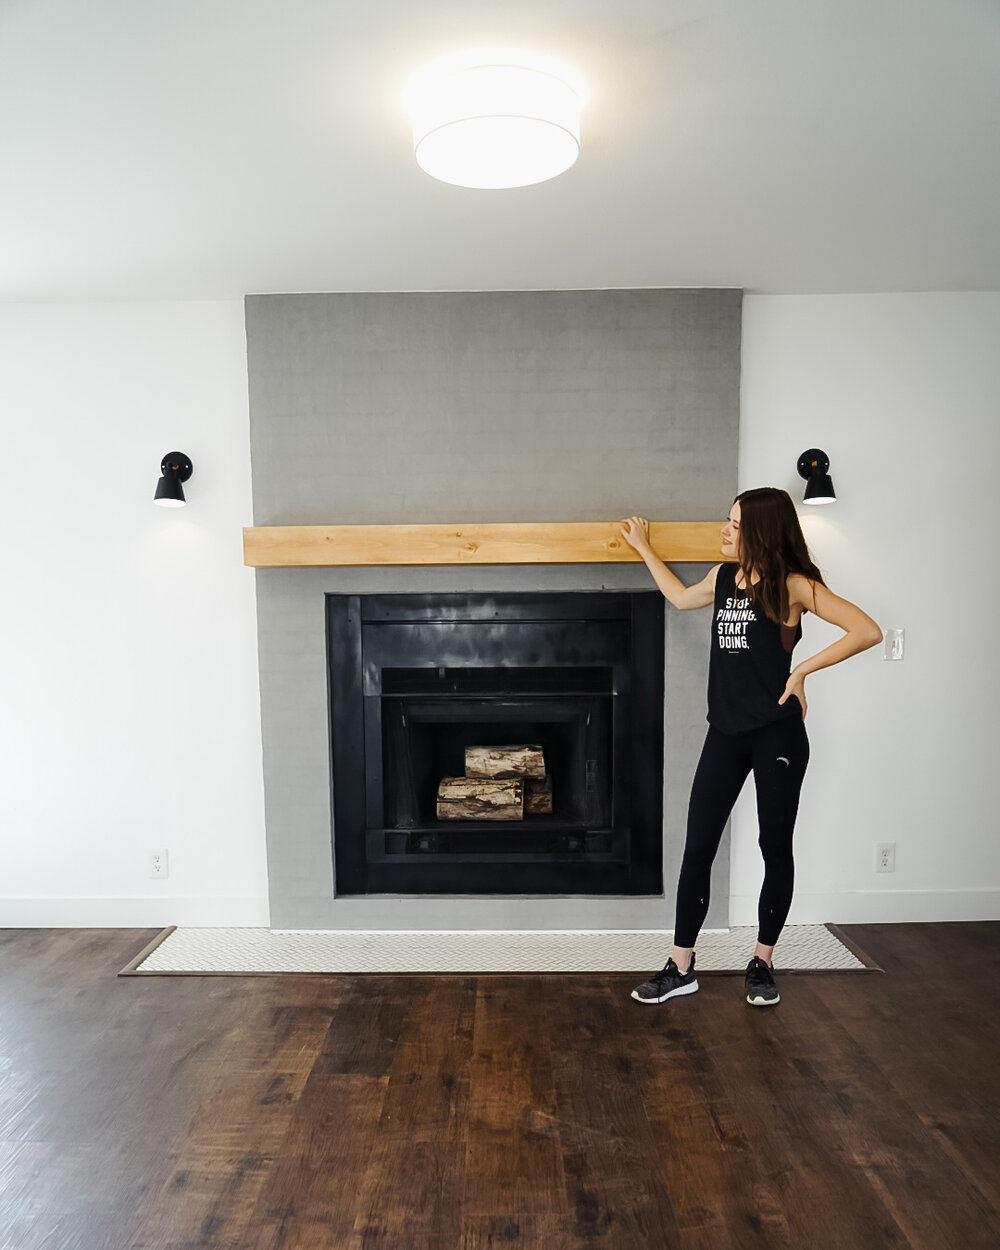
For the mantle, we used wood glue and a brad nailer to build a box out of 3 1×6 common boards. Then we cut 2x4s to size to build a bracket that would fit inside the box of 1x6s. To attach the bracket to the fireplace, we used a hammer drill with a masonry bit, added masonry anchors, and then used 3.5” screws through the 2×4. Next, we slid our box onto the bracket and add three screws on the top of the mantle. We cut out small pieces of 1×6 to cover the ends of the mantle and stained it with Varathane Early American.
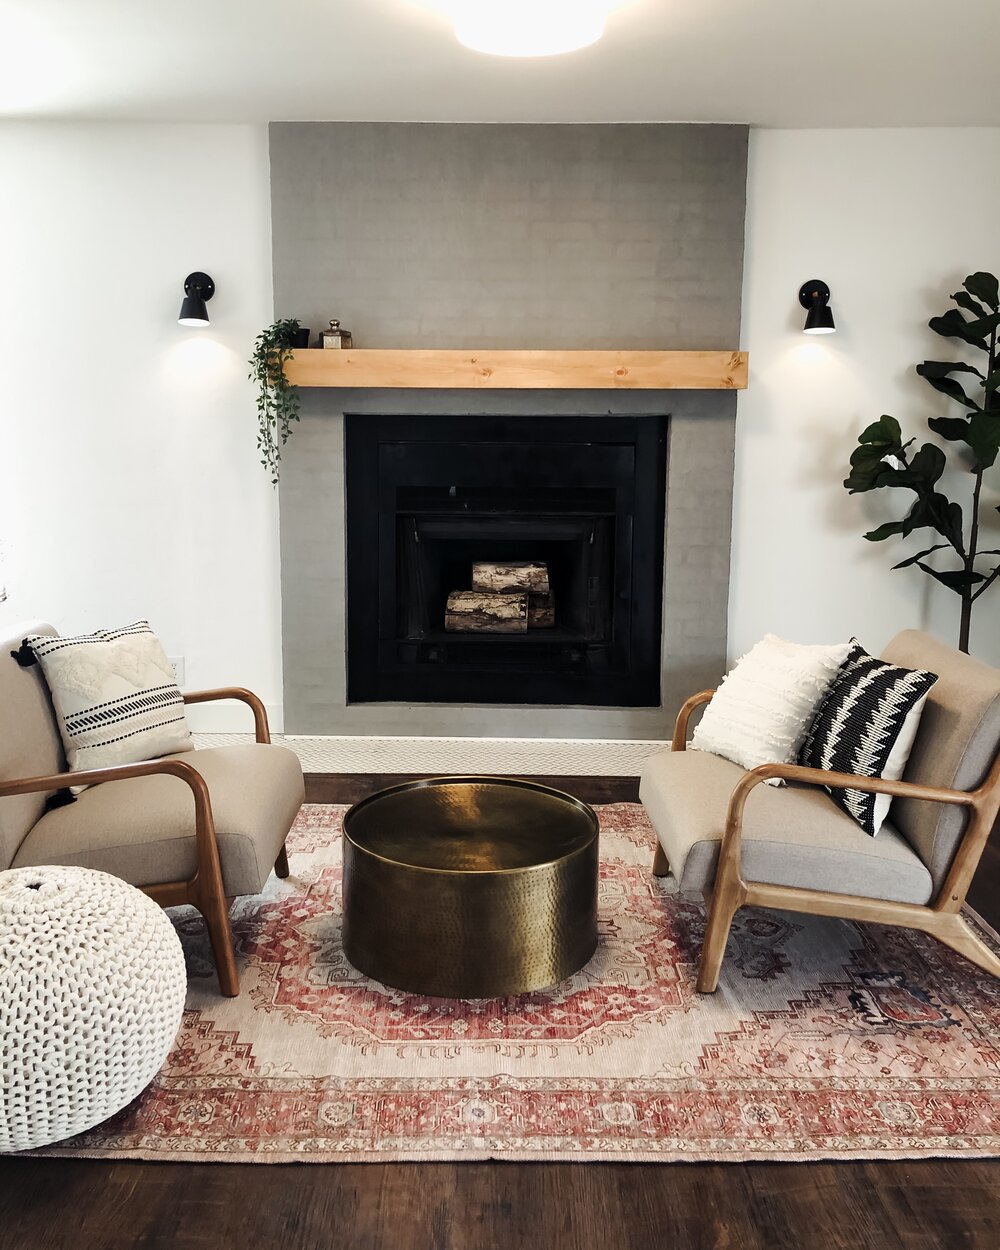
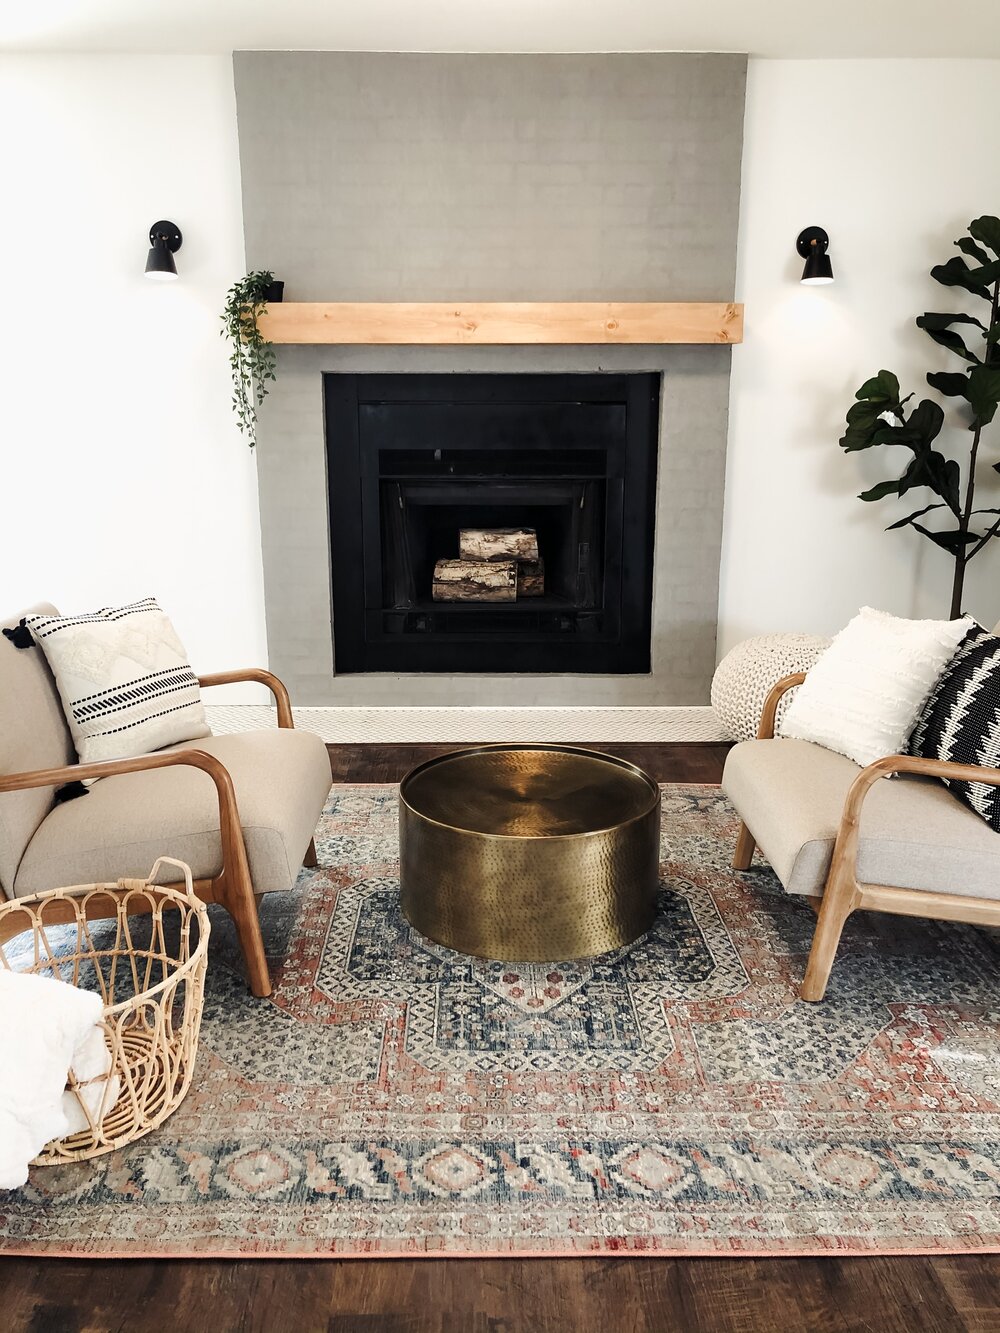
Here are all the links for the products we used to style the living room and fireplace makeover:
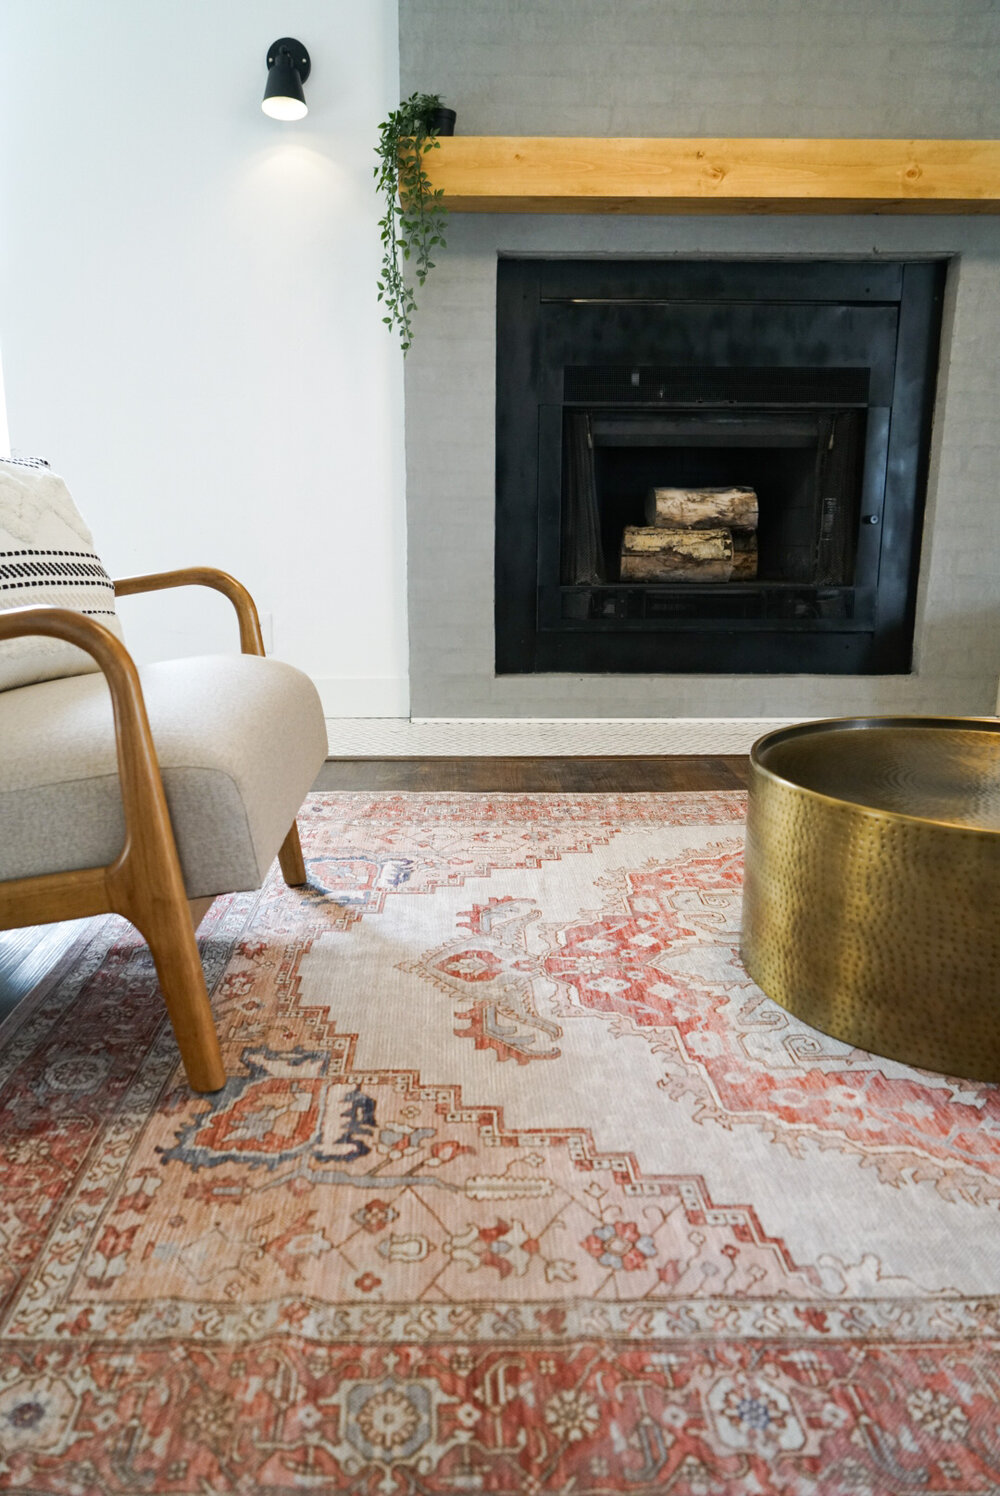
rust distressed medallion rug
red plated medallion rug
hammered drum coffee table
wood armchair
black sconces
puck lights with remote
white pouf
left throw pillow cover
ivory throw pillow covers
black throw pillow cover
faux fiddle leaf (6.5’)
flush mount light
Comments