
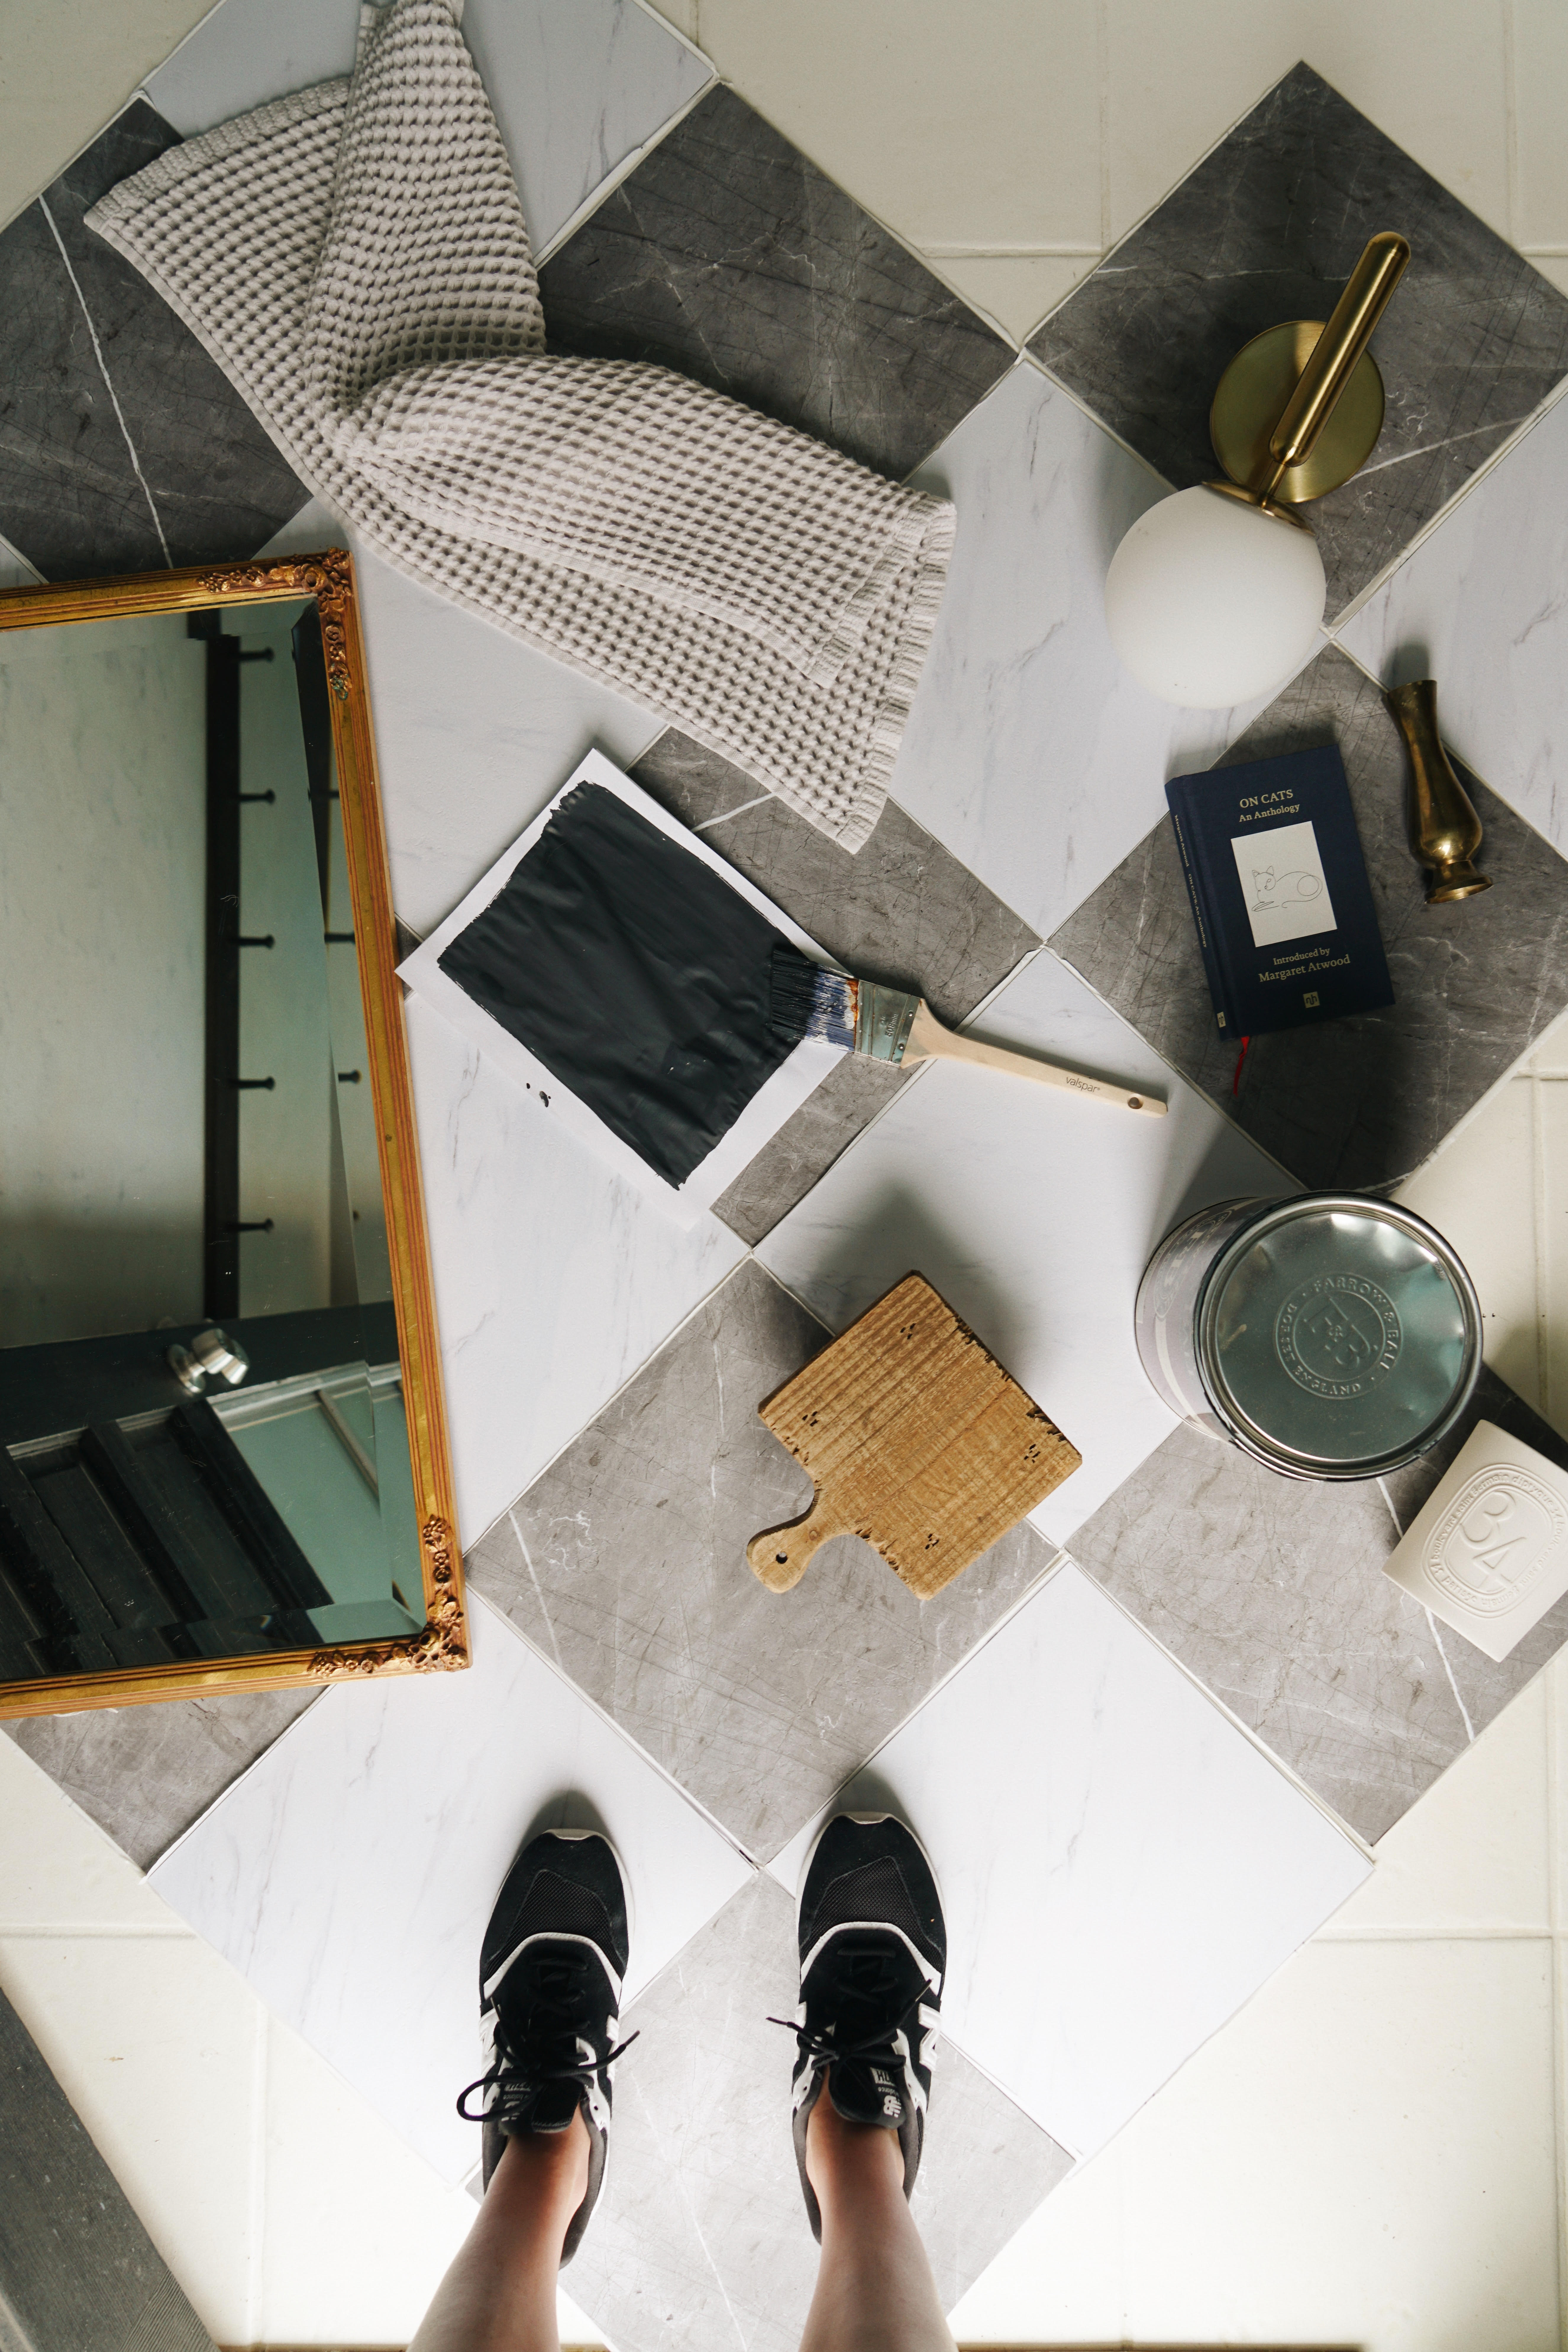
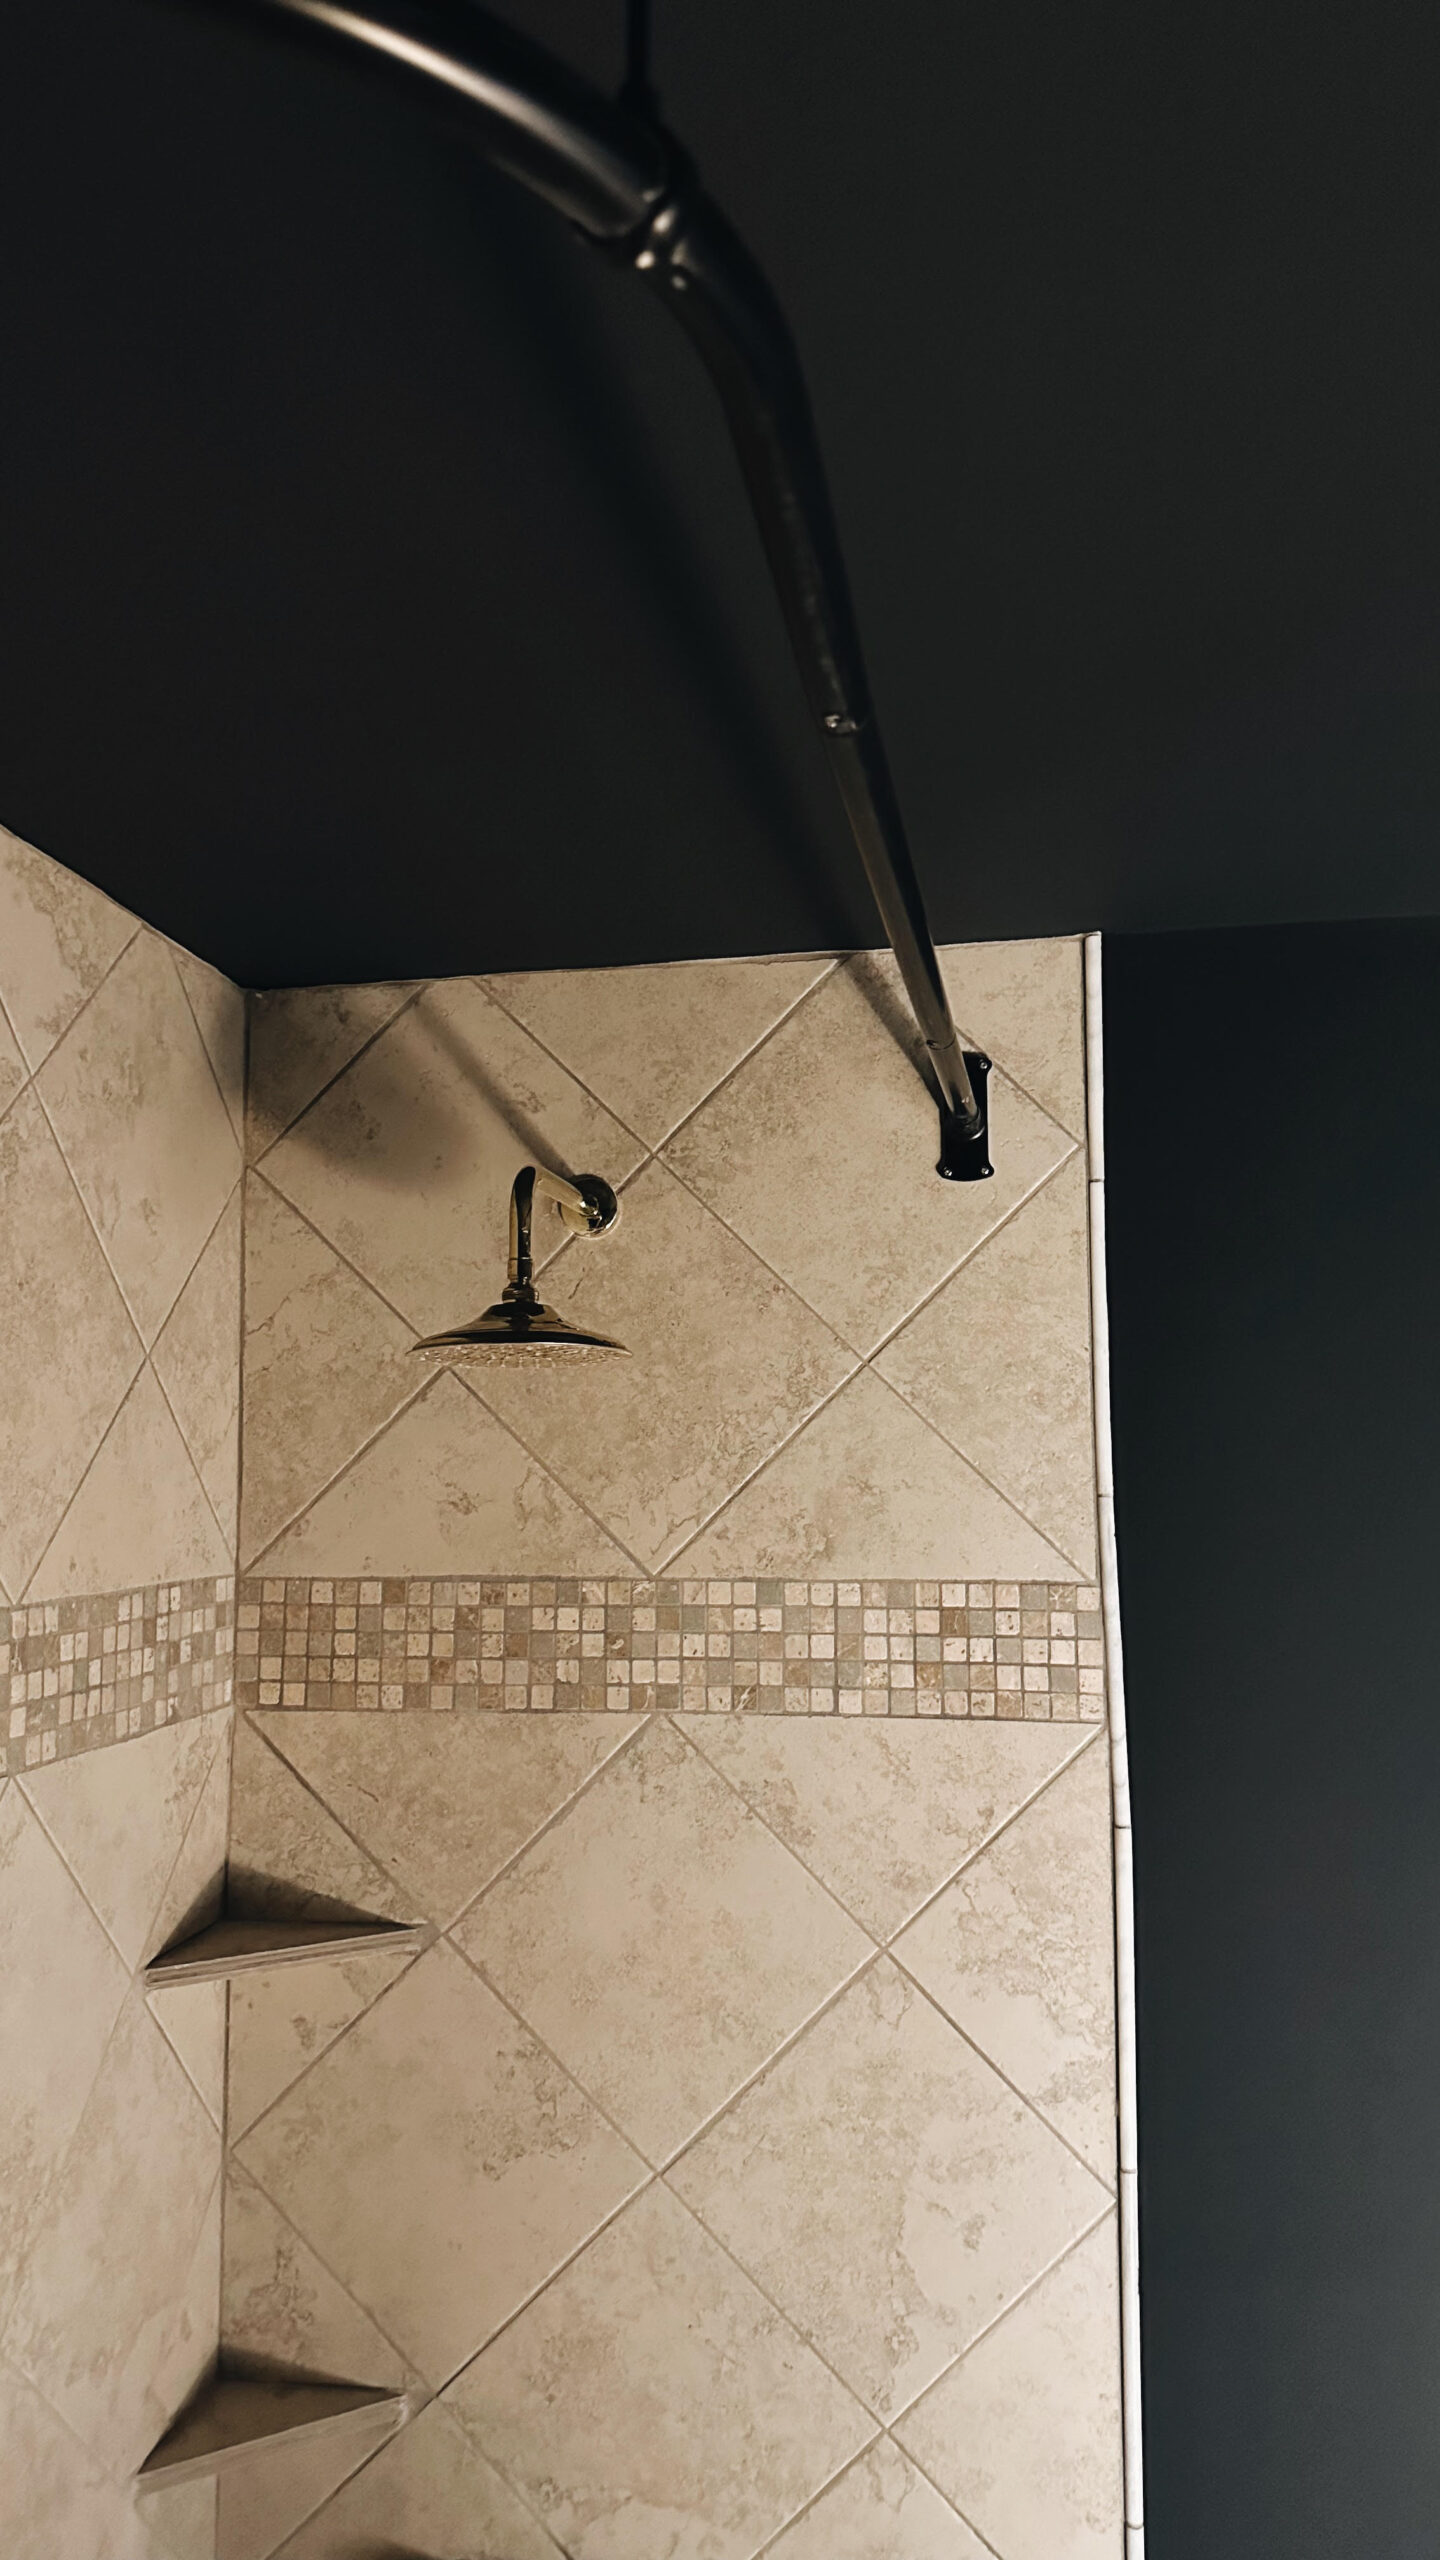
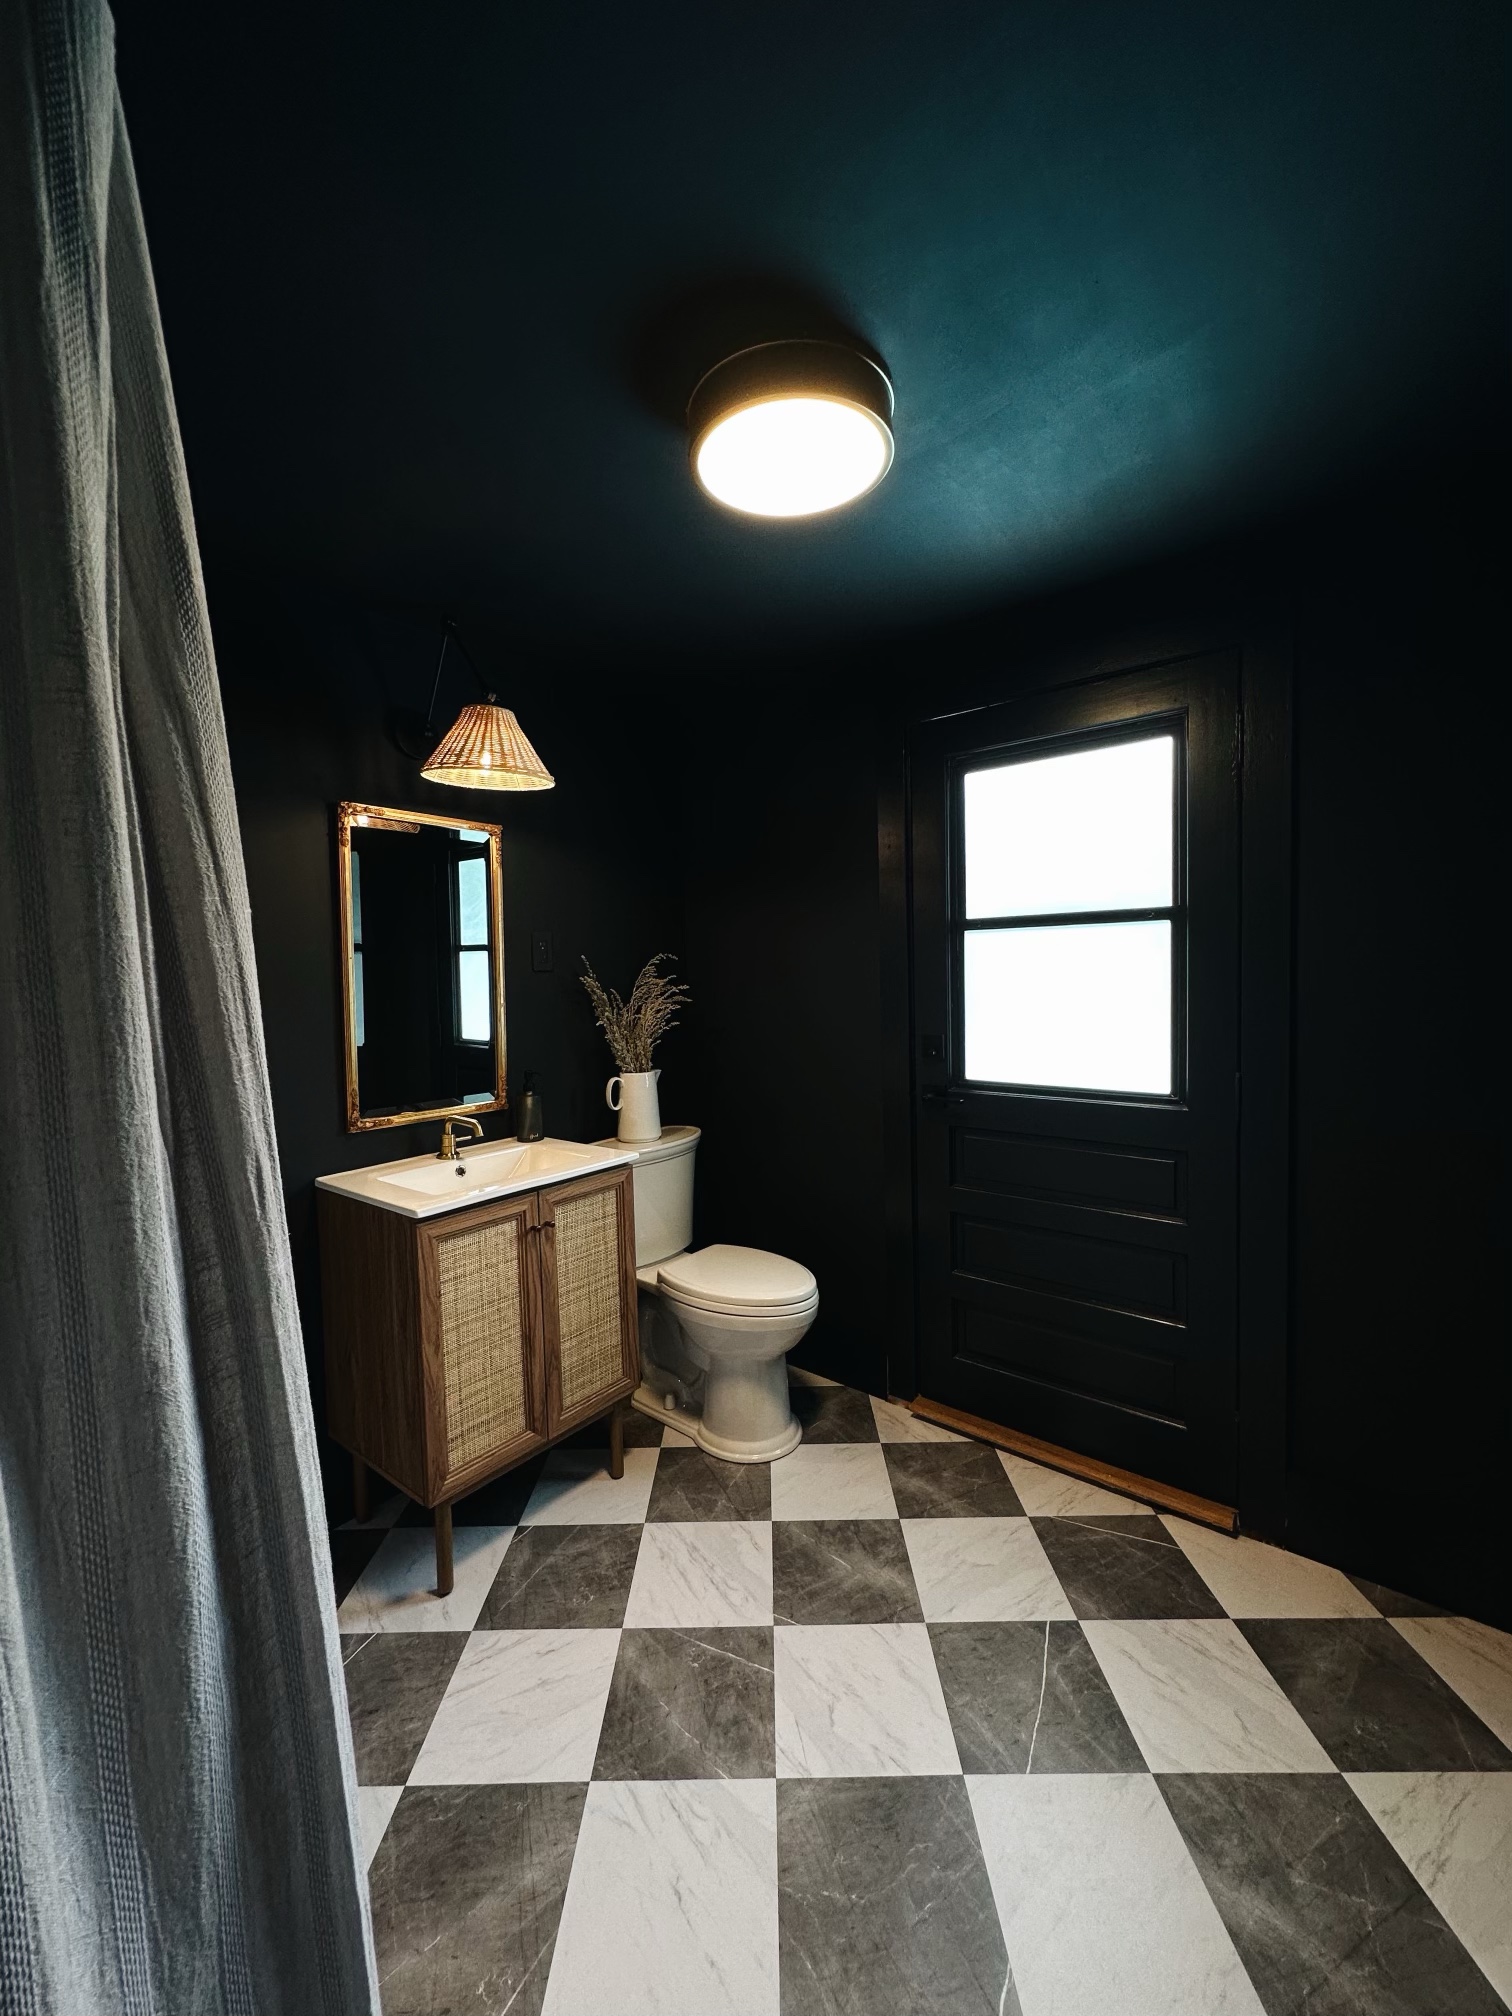
Have you ever tried to put off a renovation as long as you can? That’s where we’re at with this bathroom. Eventually, we will need to fully gut and redo it (we have some 60 year old cast iron pipes in the wall and under the floor that need replacing, a tub that’s peeling and chipping, and outdated shower tiles…but for now, we wanted to stick with just a cosmetic fix. Introducing, our dark navy bathroom.
How it started..
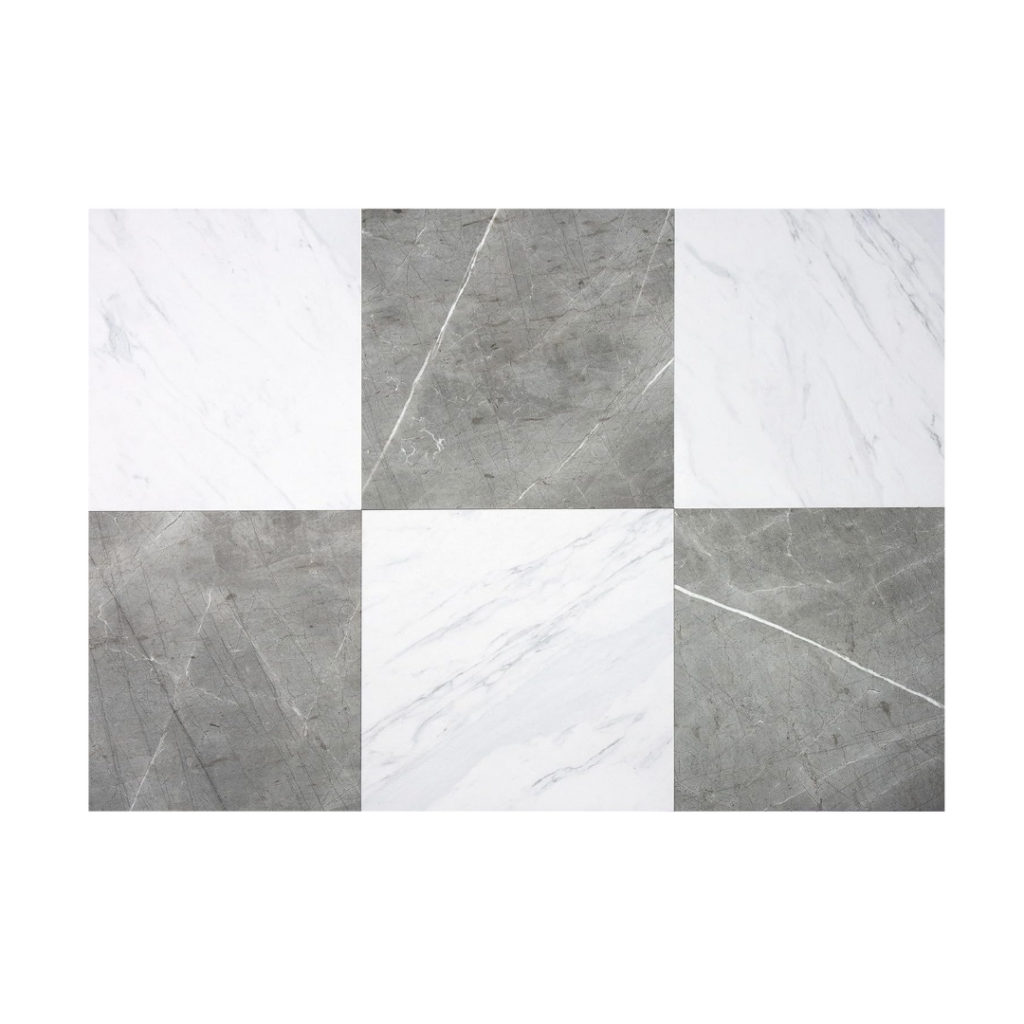
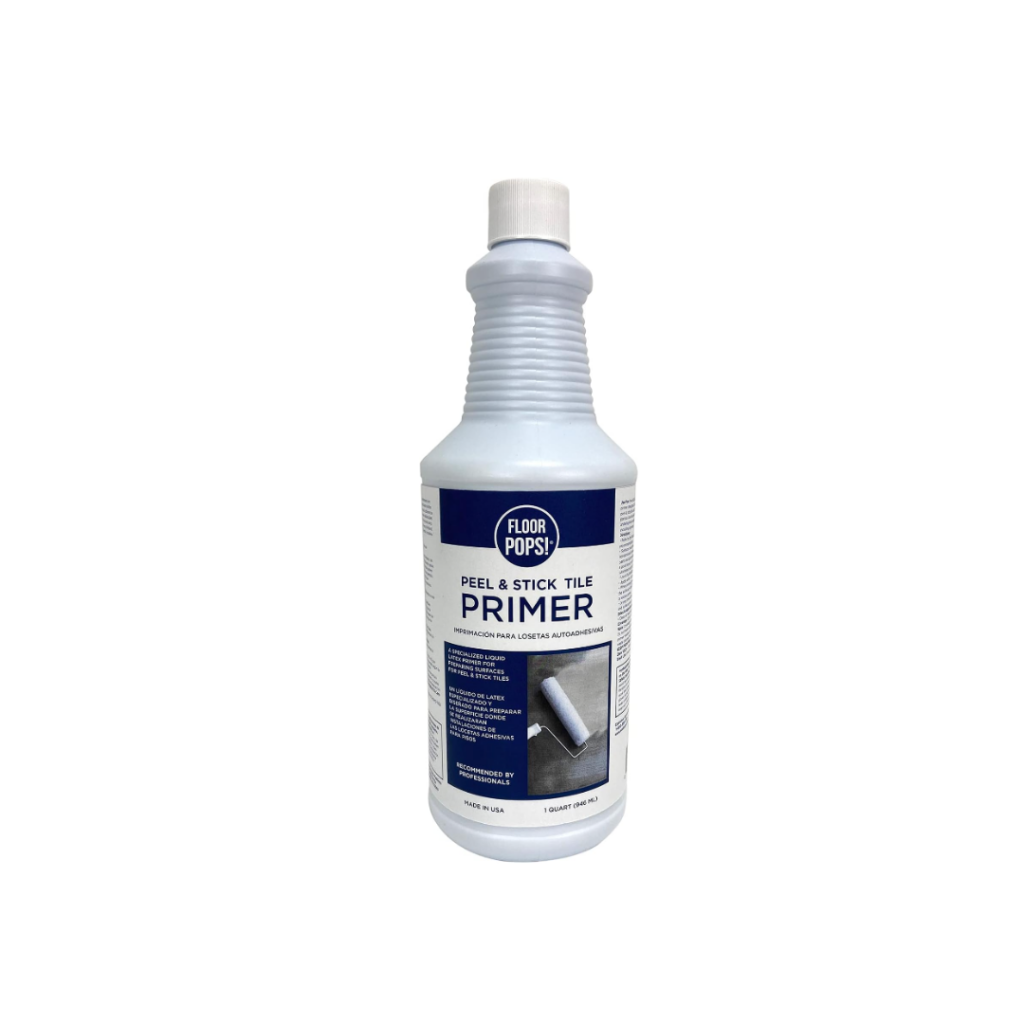
Almost four years ago, we painted the 12×12 beige tile on the floor in our bathroom white. Four years is about all you get when it comes to the lifespan of painted tile, and it was starting to show. The difficulty of cleaning the floors was starting to really bother me and Jake, so we’ve been looking for solutions to buy us some time. I’ve had these peel-n-stick vinyl tiles from Chris Loves Julia in my garage for awhile, and this seemed to be the perfect opportunity to use them.
Using our resources
Then I started thinking…hey, I think I have an extra can of that navy paint I love…and, wait, don’t we have an extra brand new toilet in the garage too? Yep. I think we could make this bathroom a little more enjoyable for us in the interim.
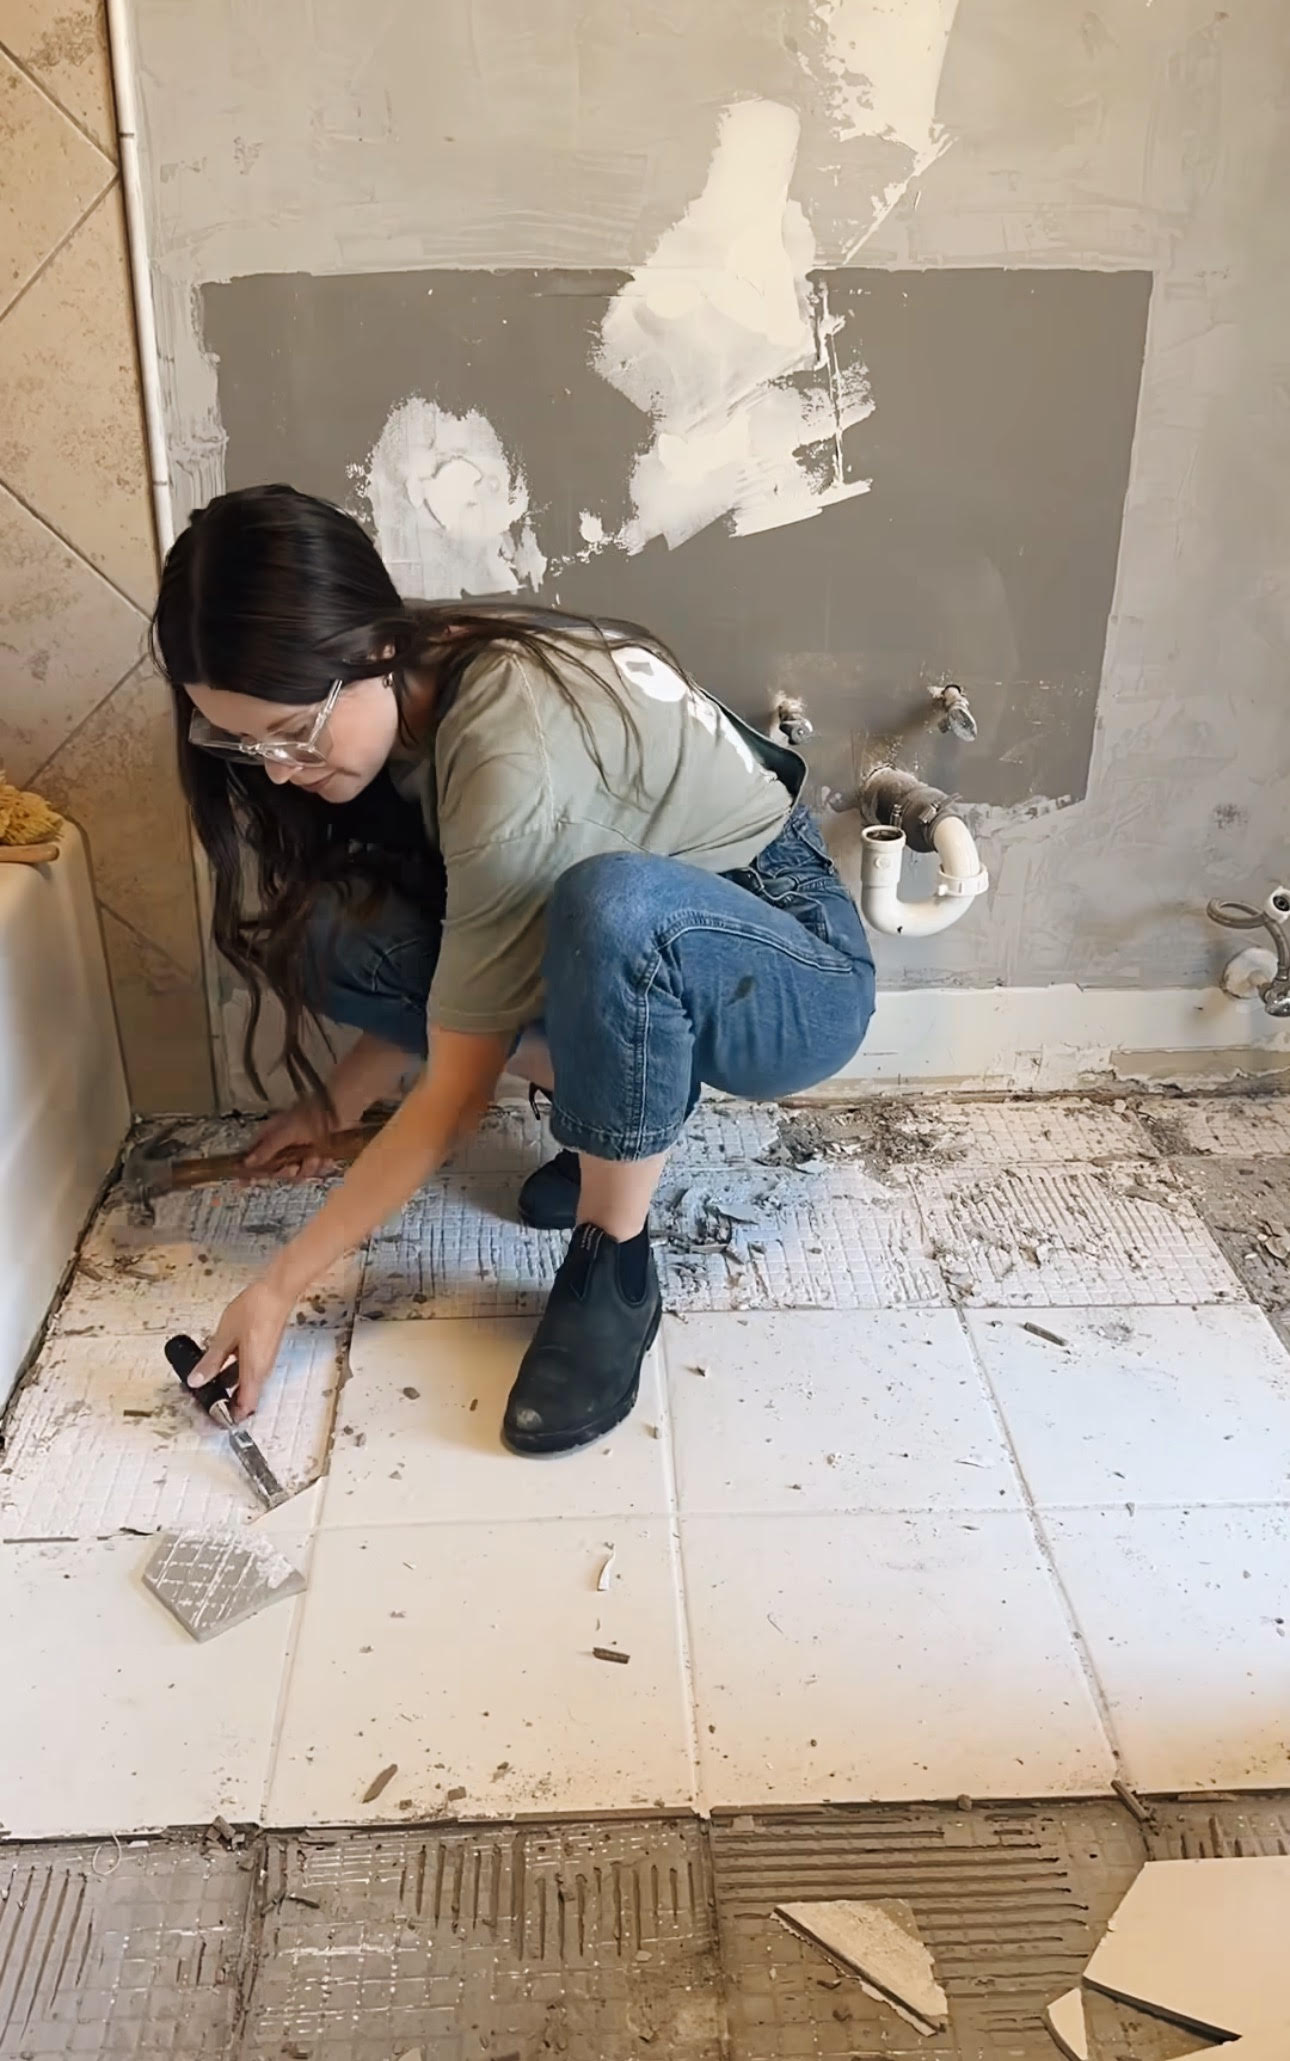
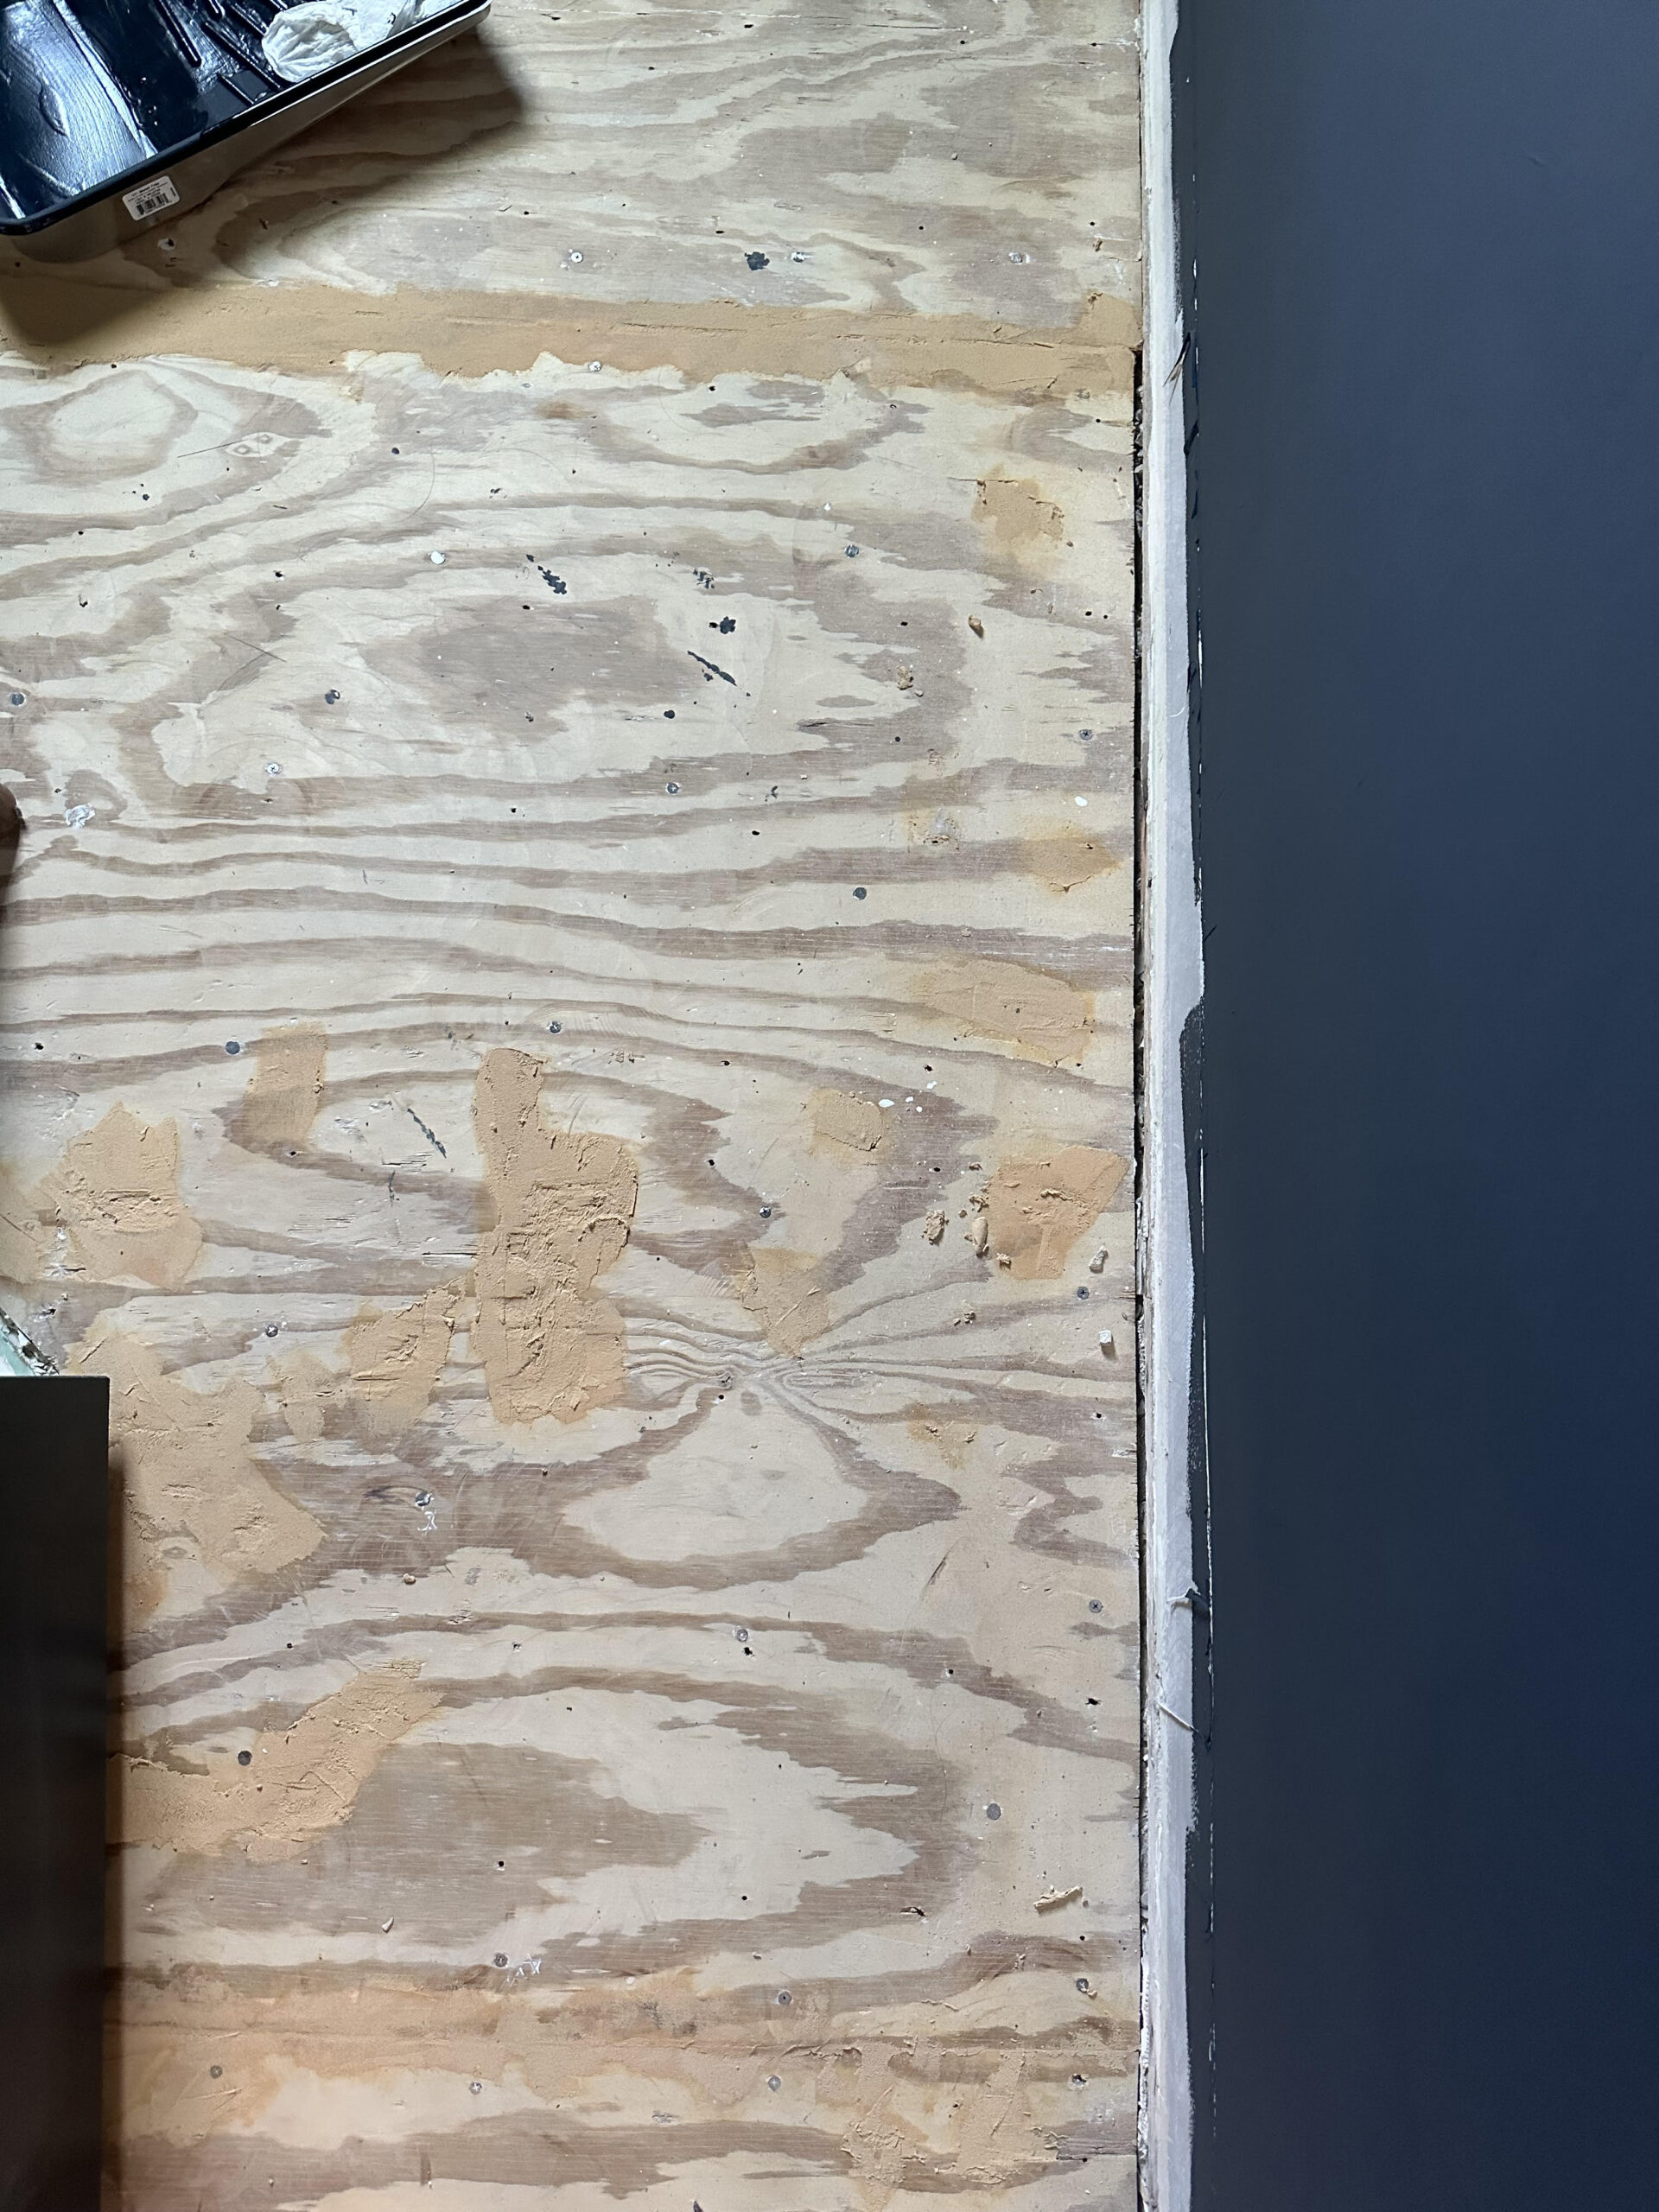
Flooring
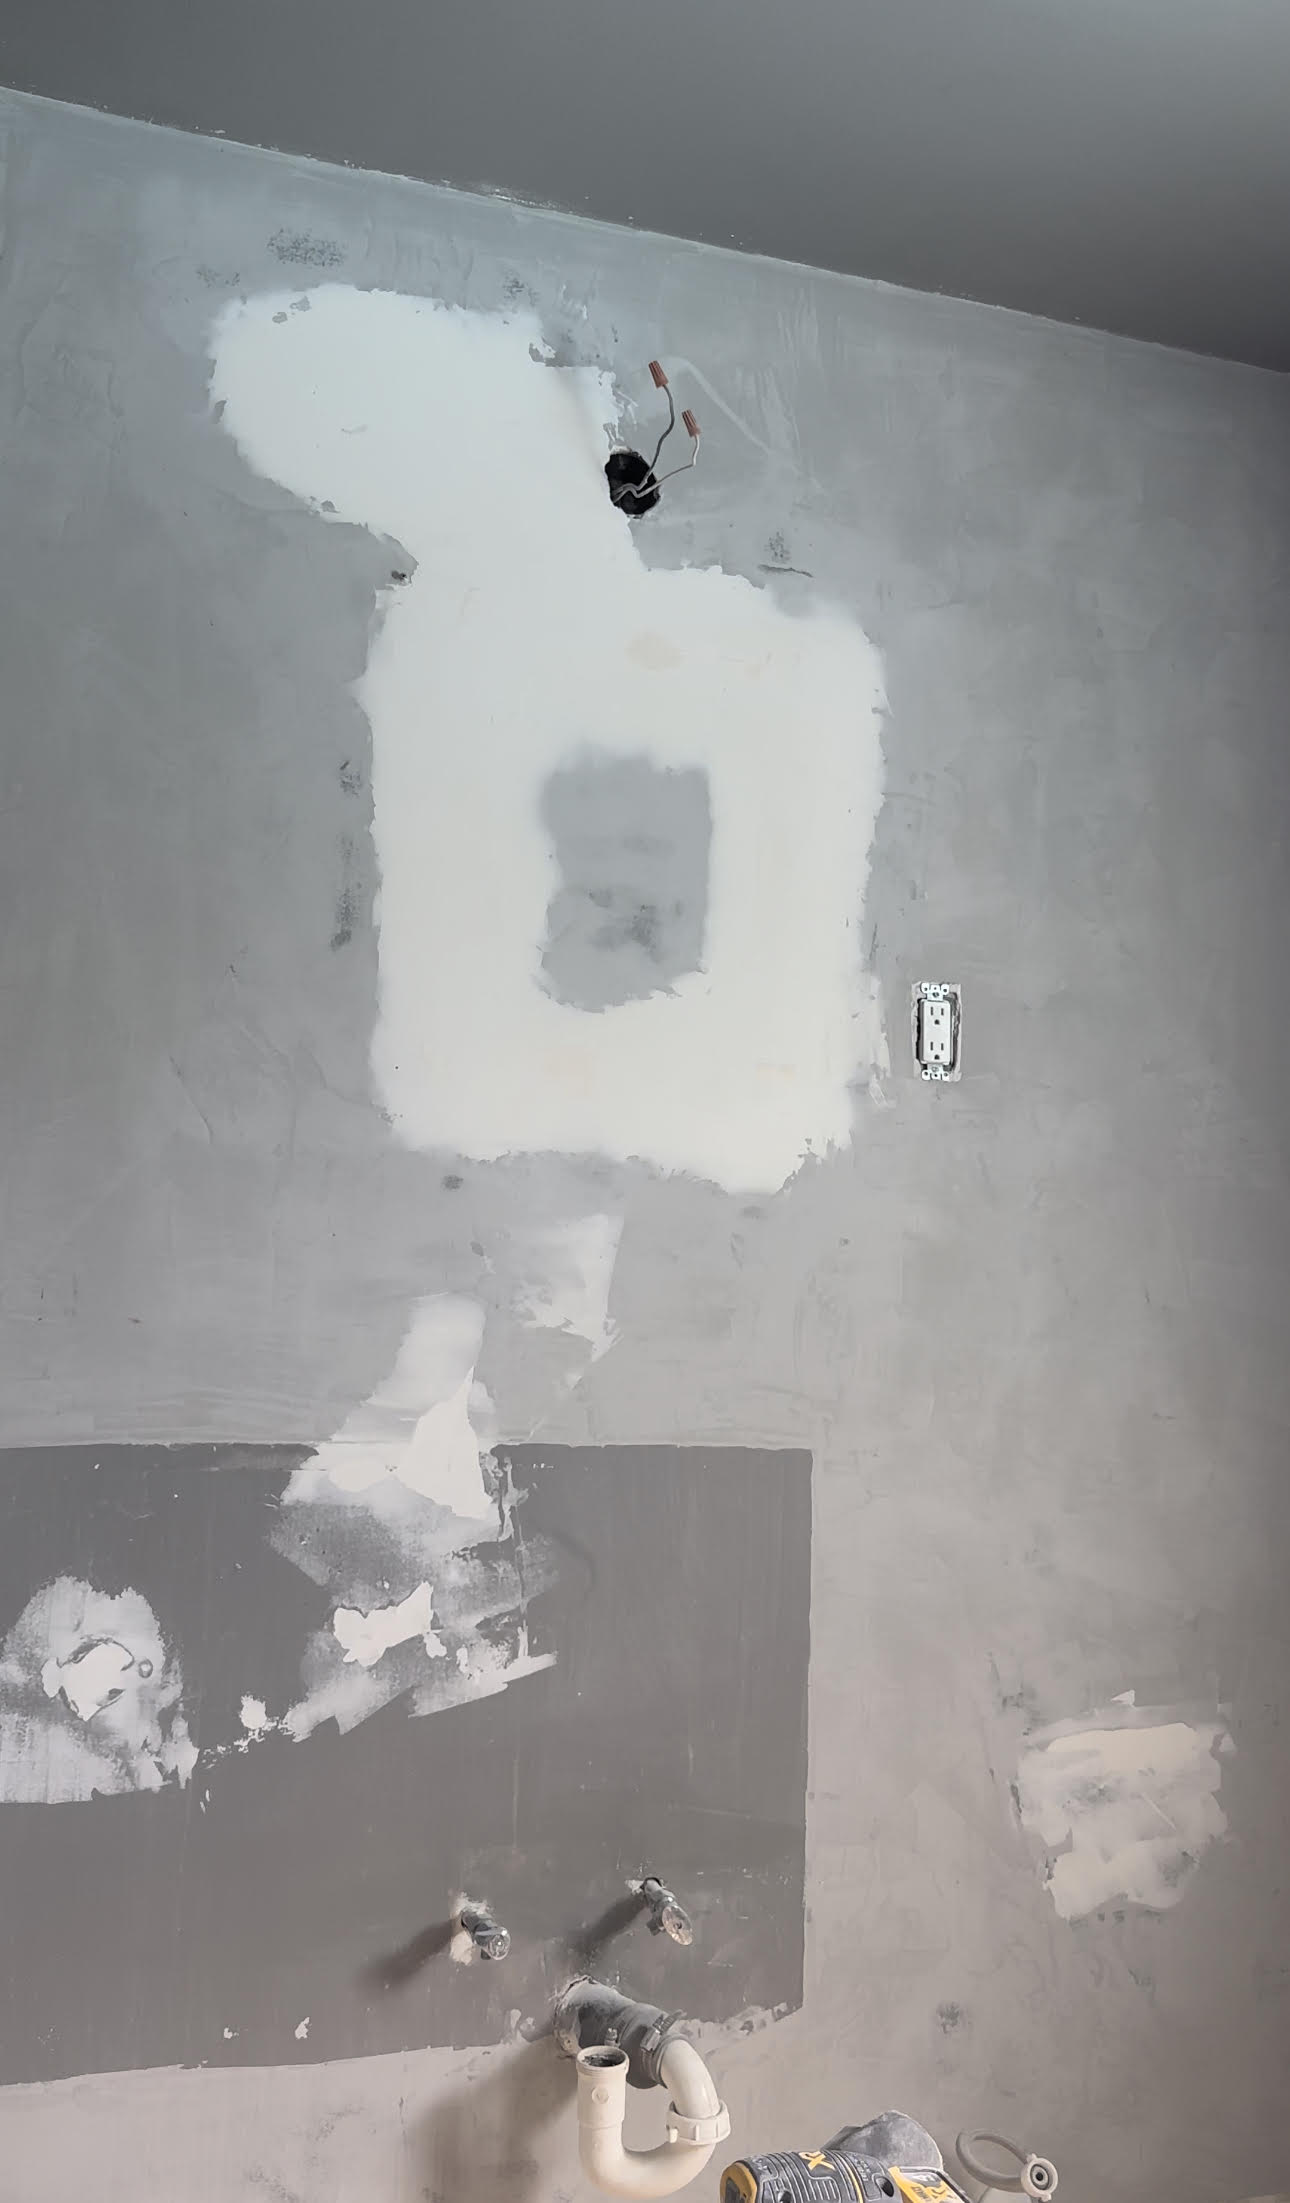
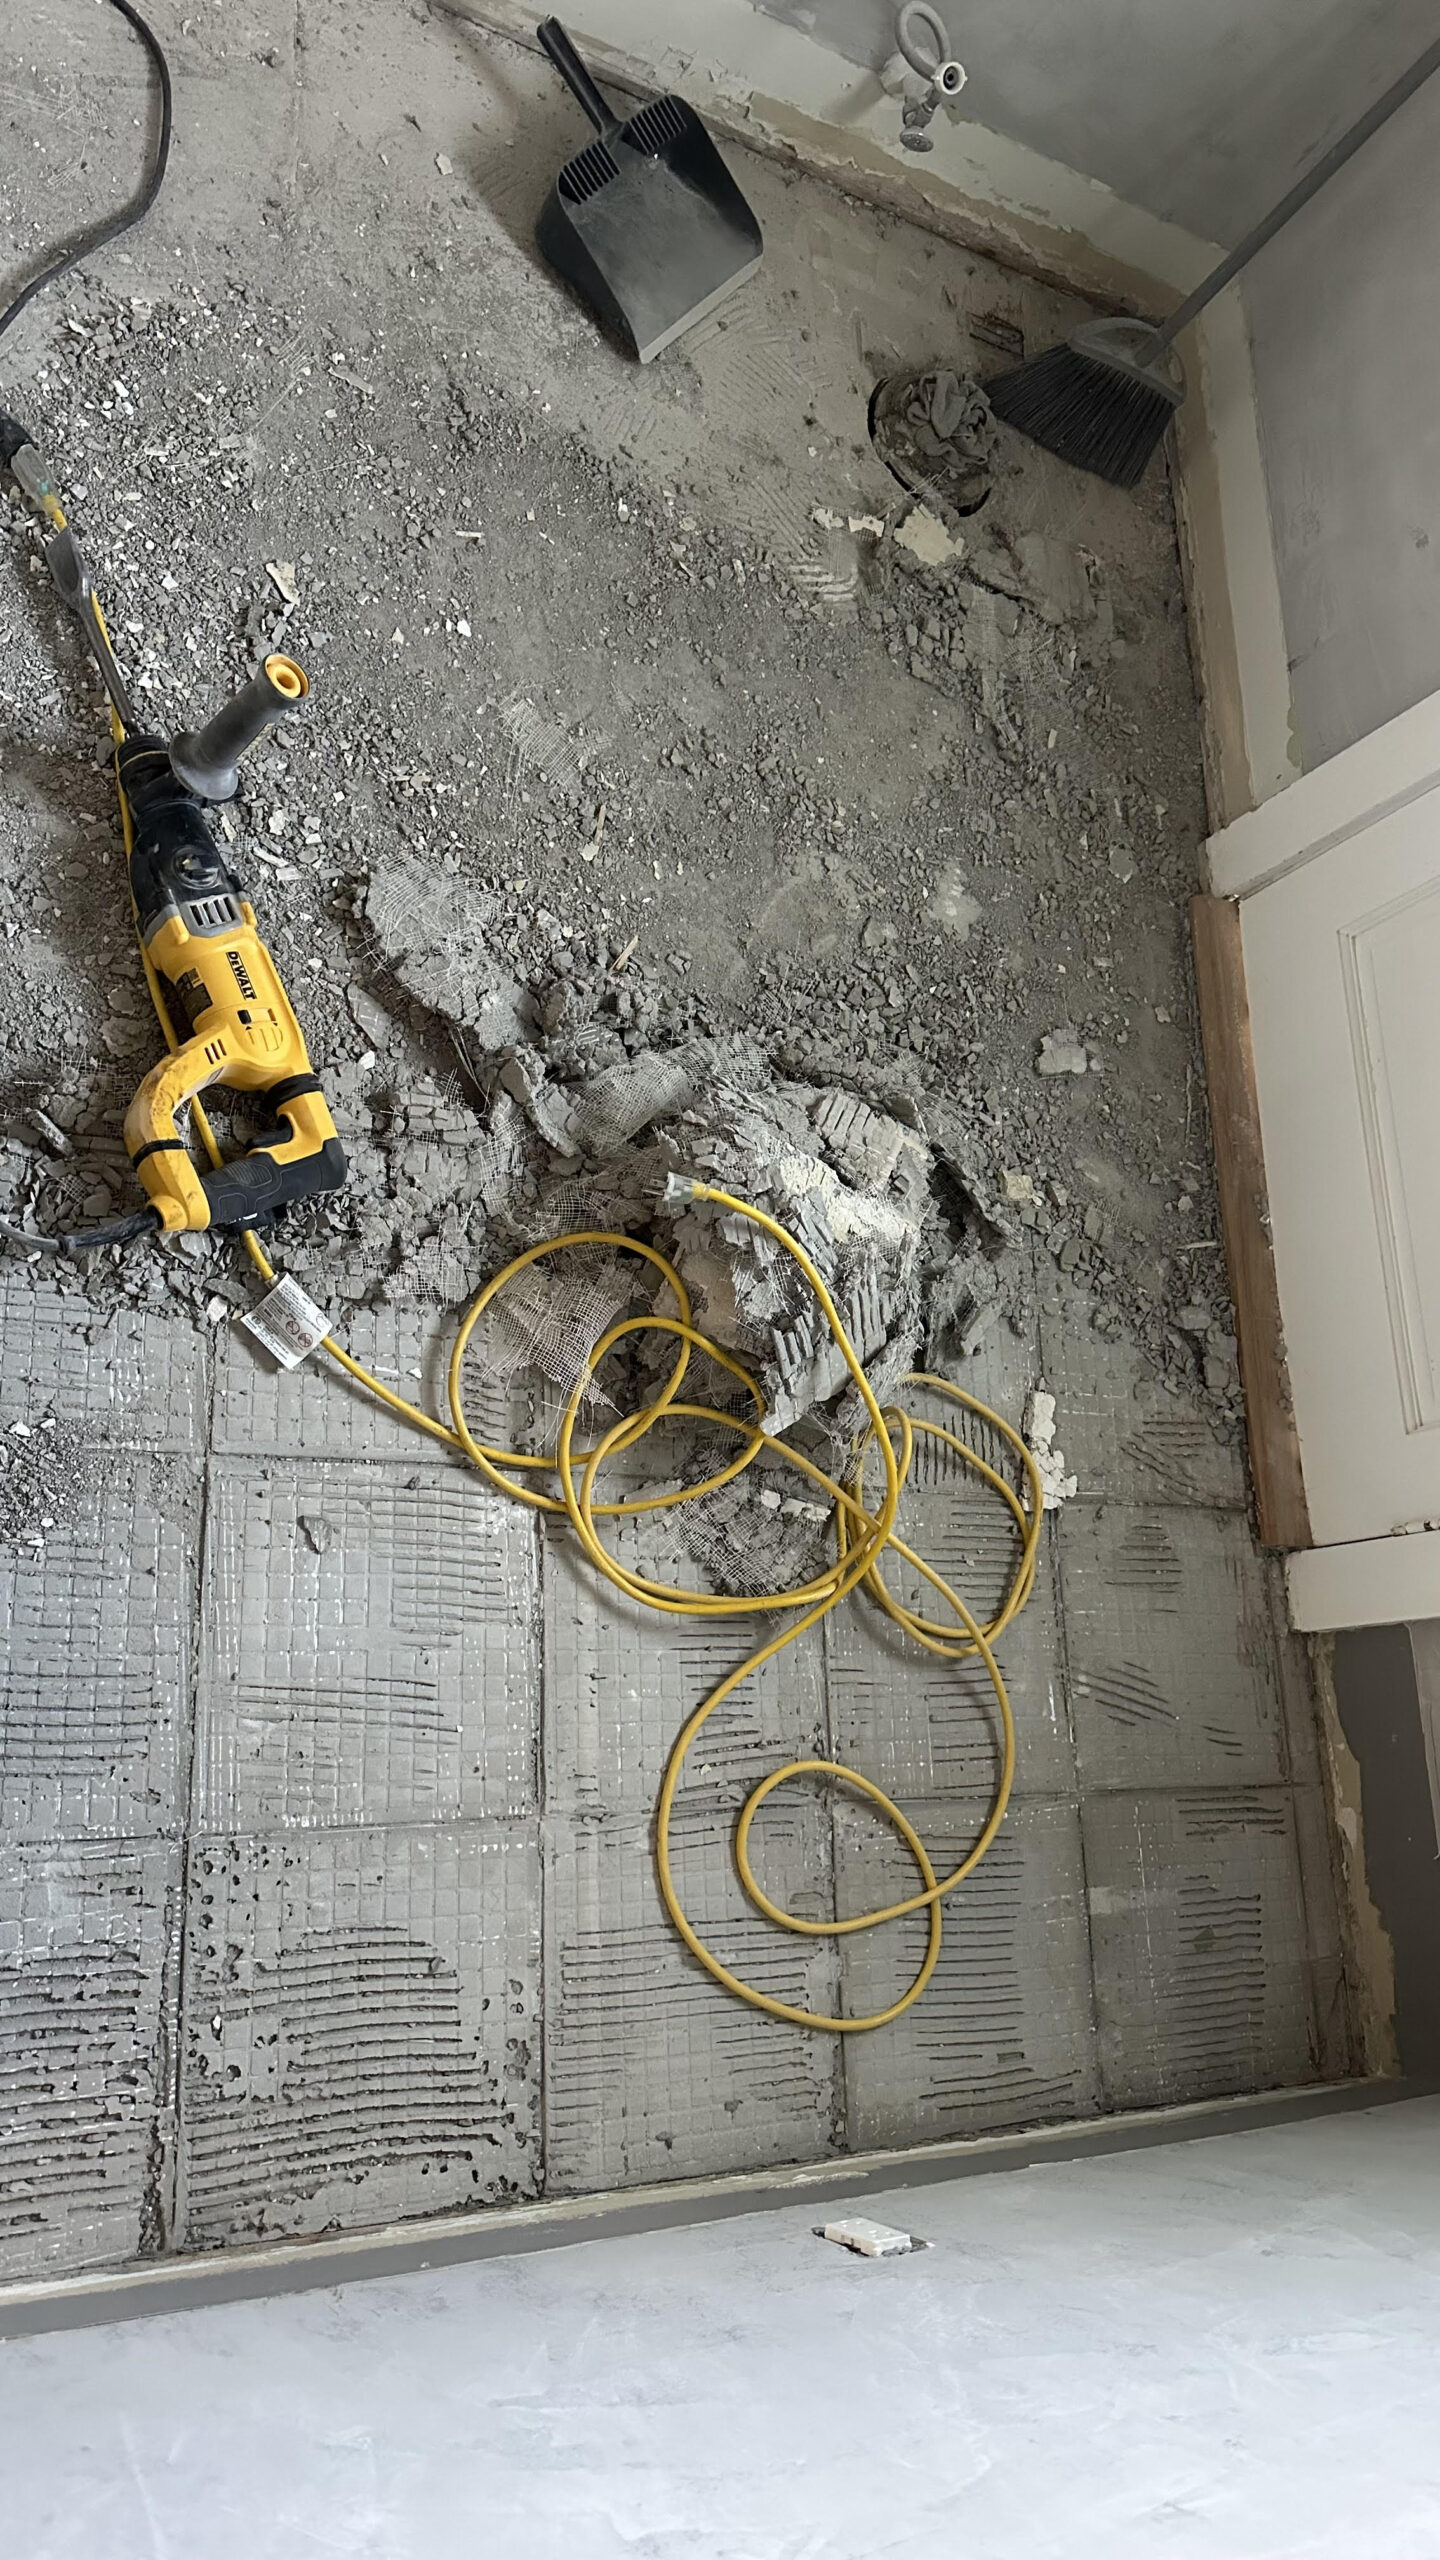
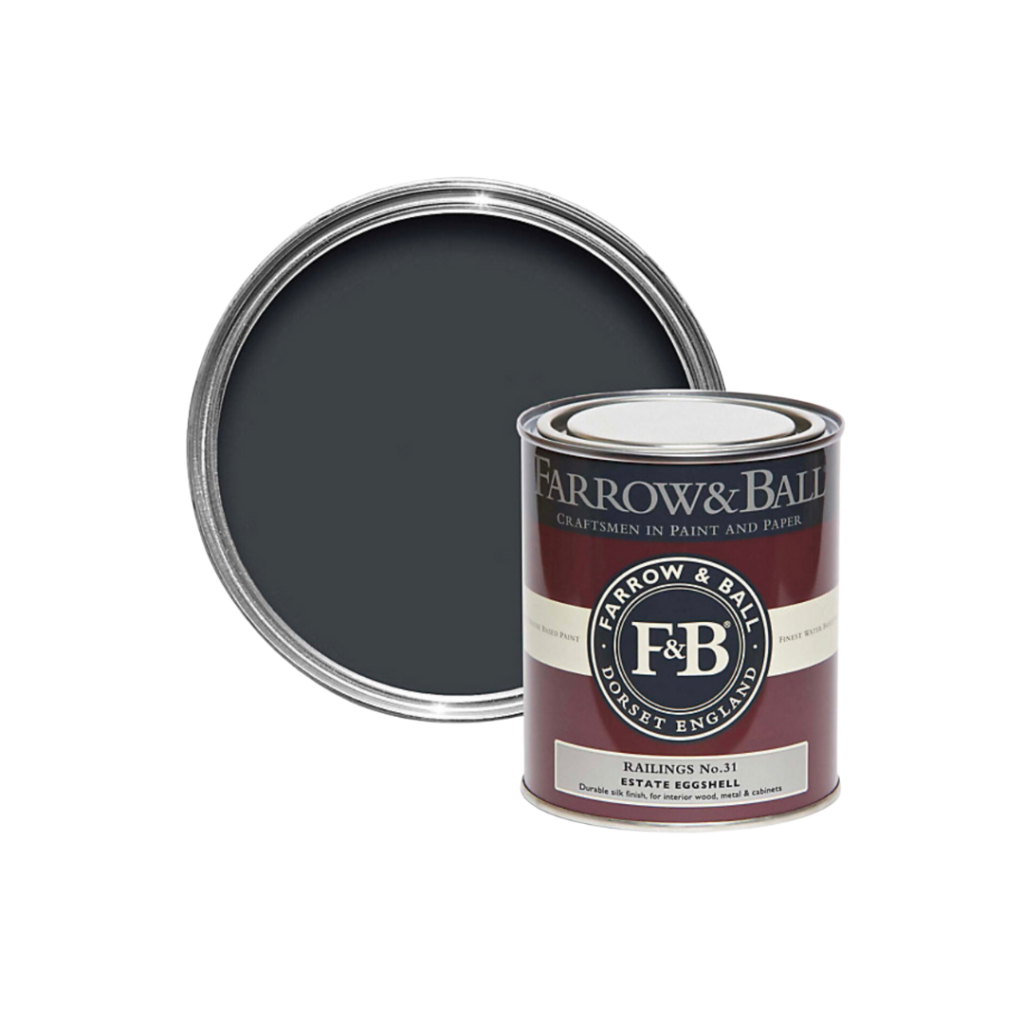
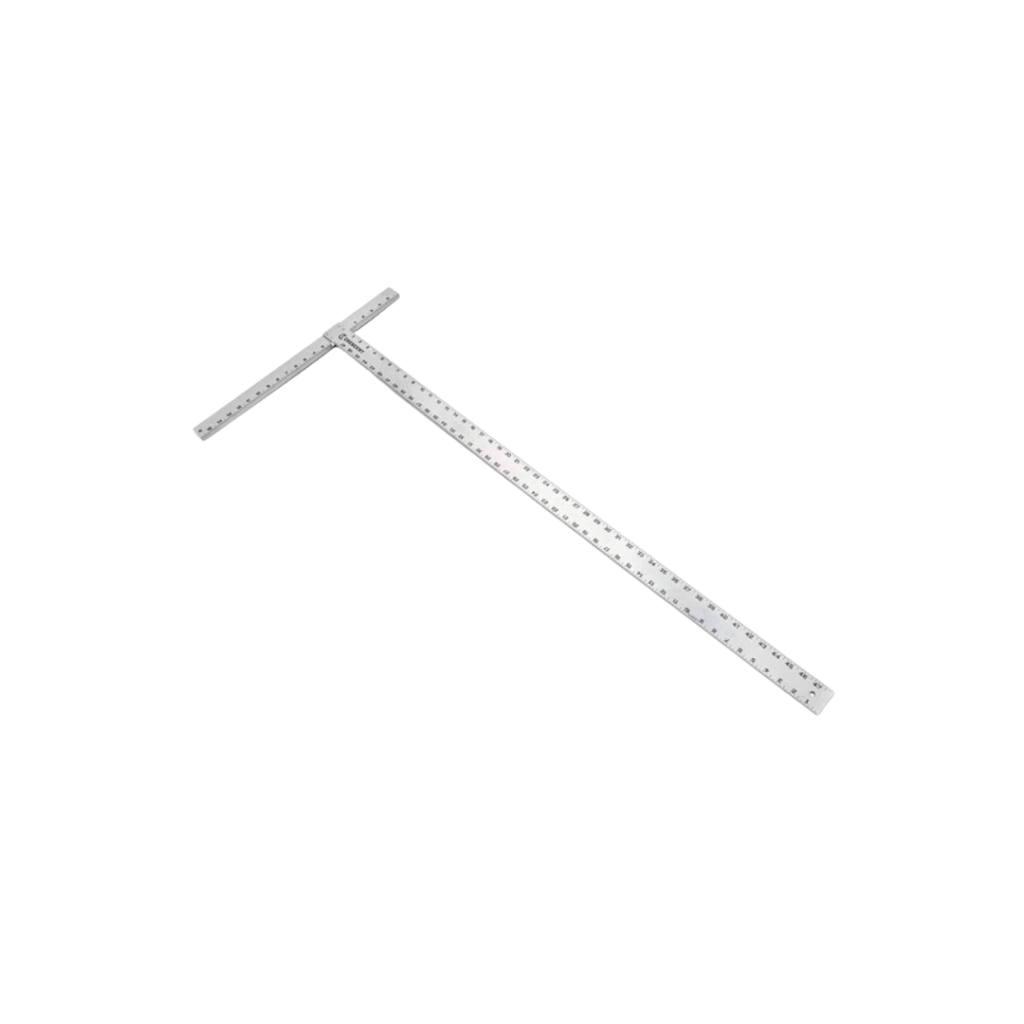
So this past week, we ripped out the tile floor we were beginning to loathe. We decided to take up the cement board too and bring it down to the plywood subfloor (we figured, we’d eventually have to do this anyway, so why not now?) In order to get all the mortar off of the plywood, Jake used this diamond cup wheel on our angle grinder. It was a lot of hard work! We patched some cracks in the plaster walls, sanded and primed over our Roman Clay, and painted the room the color Railings in Estate Emulsion (flat) by Farrow & Ball. We’re getting ready to lay the tiles by adding wood filler to any cracks in the subfloor. Stay tuned to my stories for real time updates!
Lighting
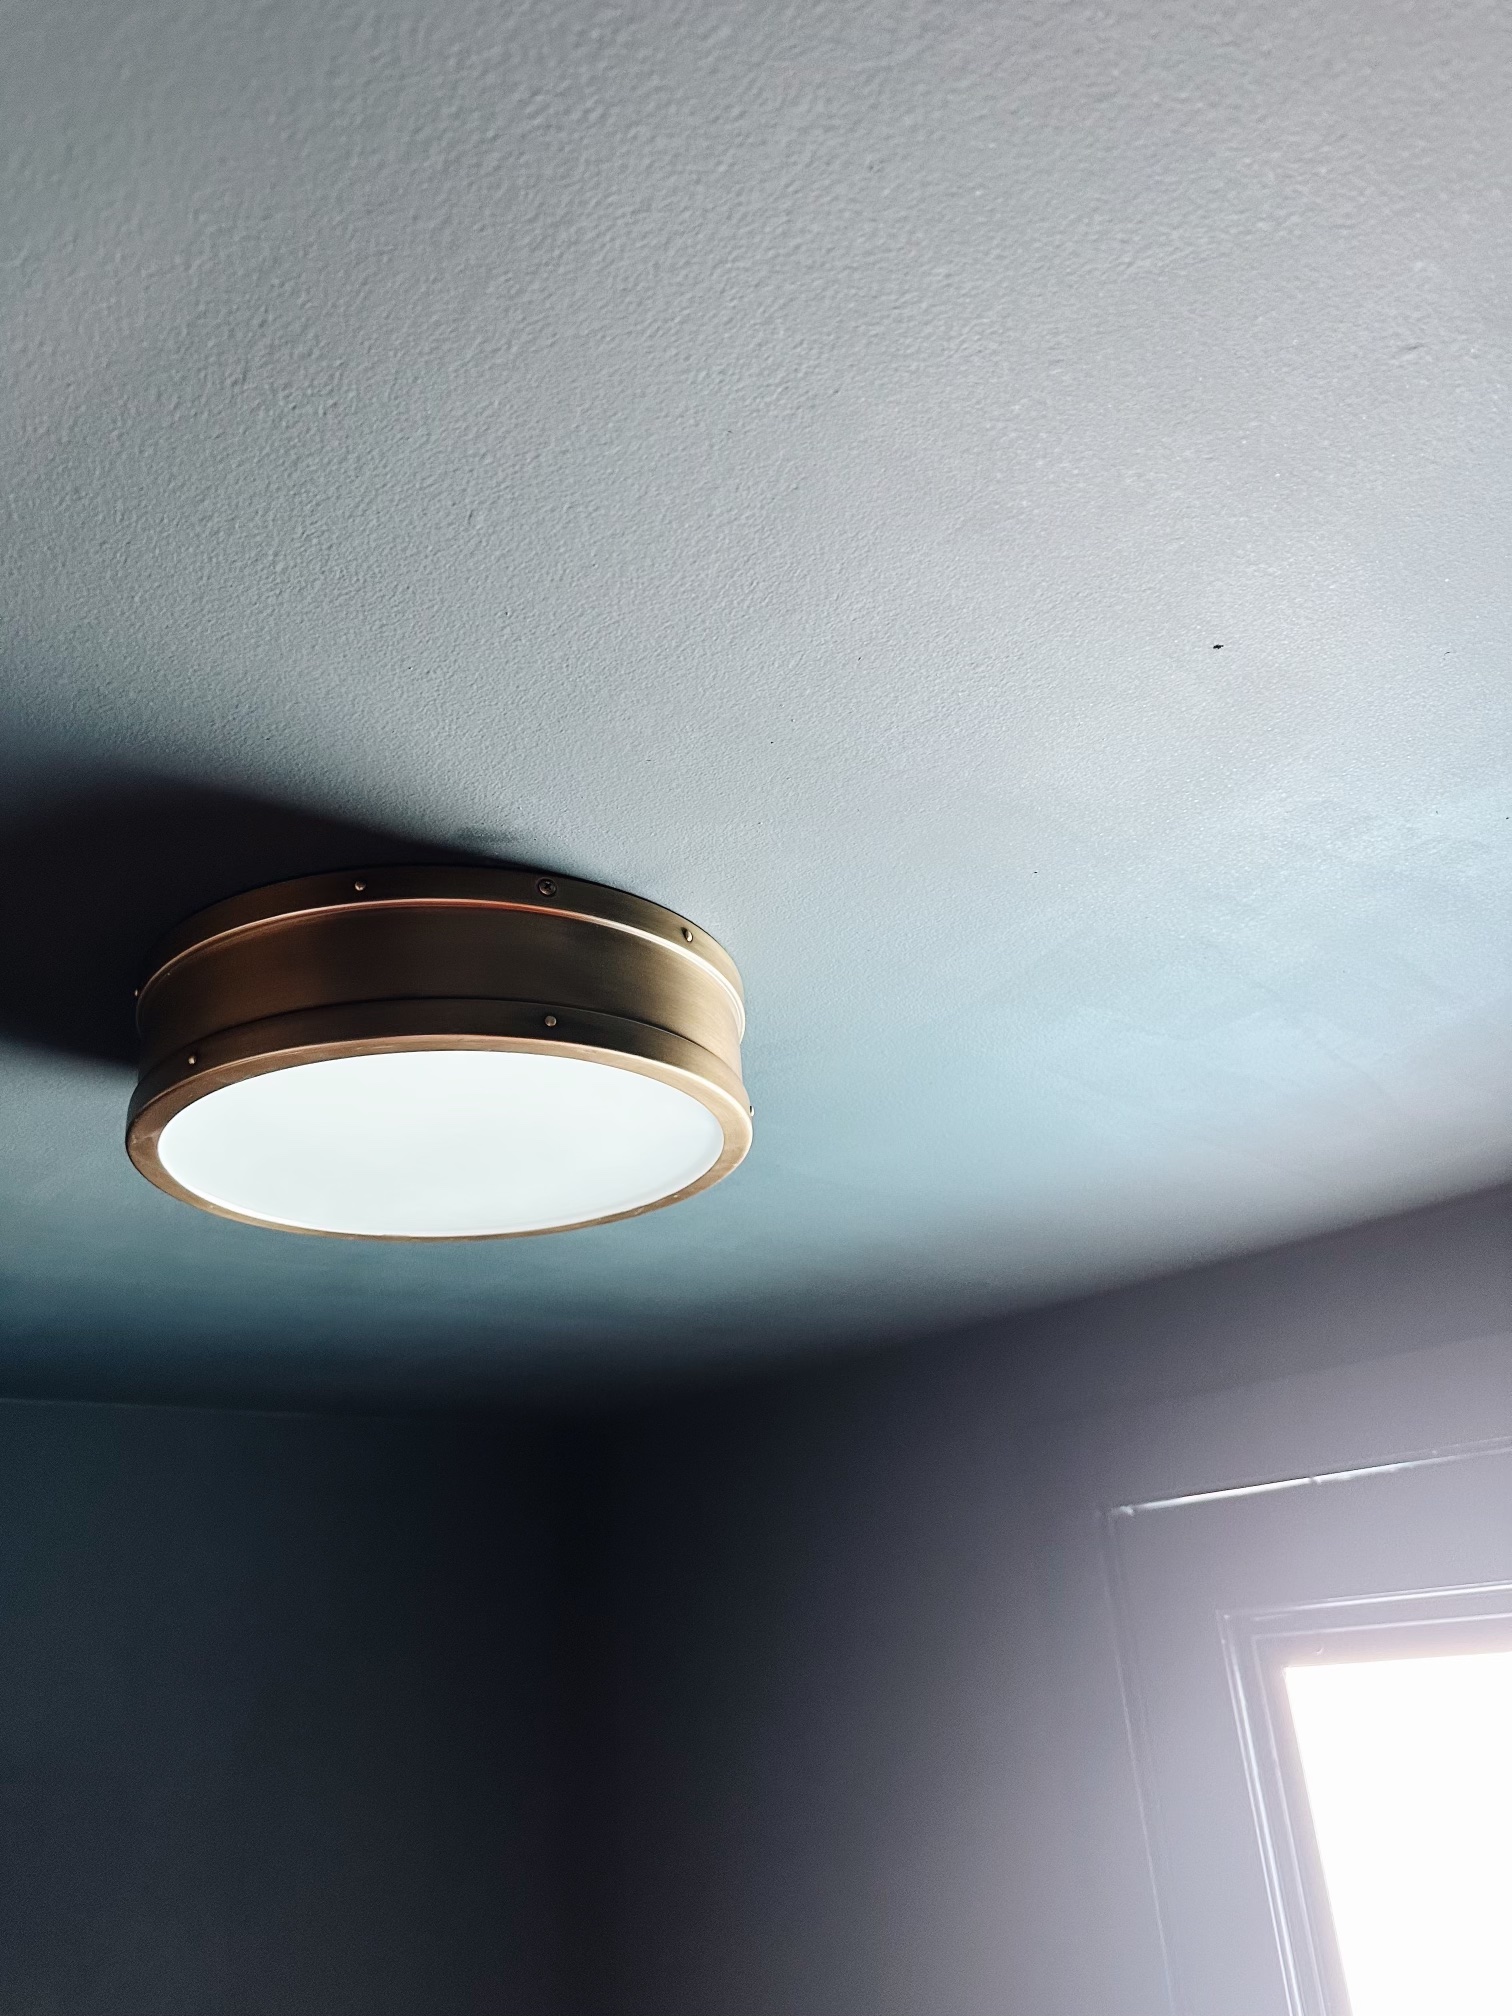
Next, we replaced the ceiling light. The mounting piece you’d usually use for our ceiling doesn’t fit with our current situation. I had to drill 3 holes in the mounting. I marked out where the holes needed to go on a piece of cardboard and drilled with that as a template. It worked perfectly!
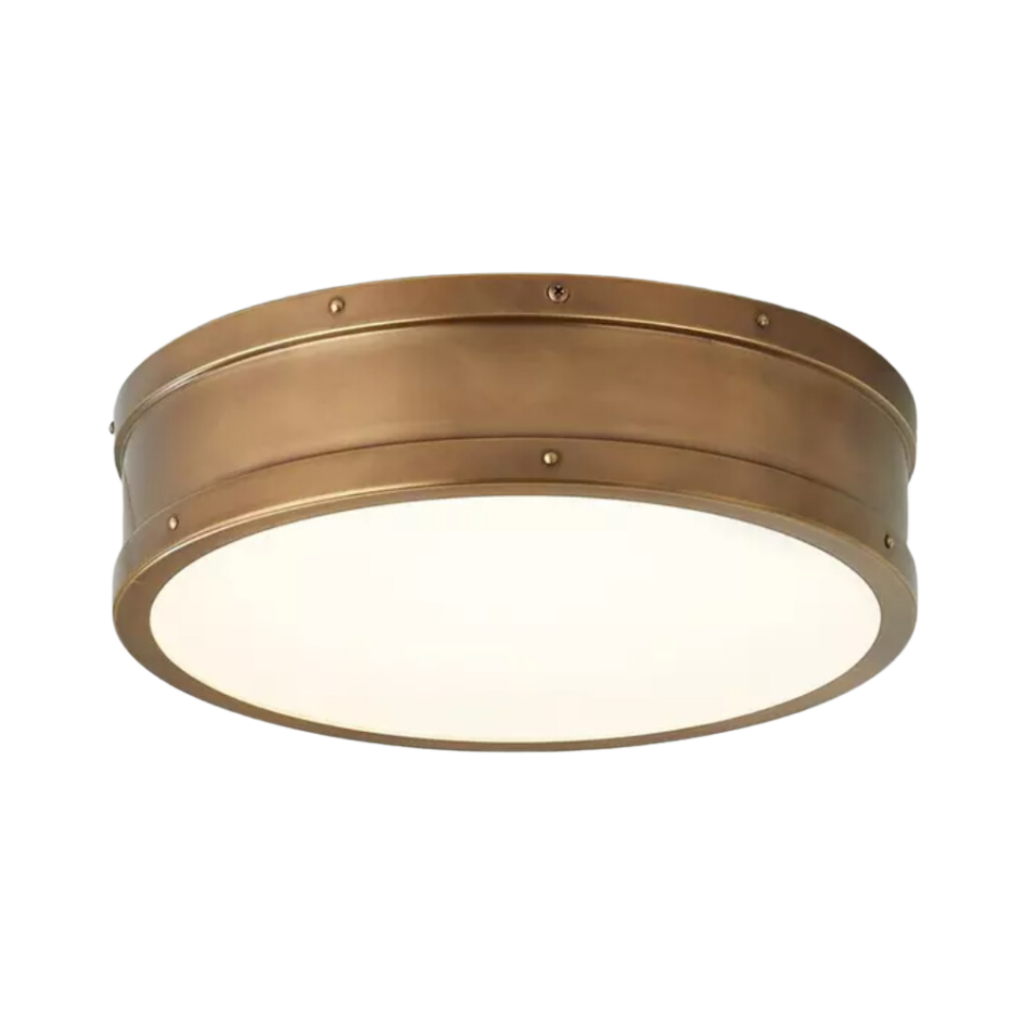
We used this Arleigh ceiling light from Shades of light in brass and I love it so much!
Shades of Light has these ceiling lights in nickel and brass options.

Bathtub Seal
Then we installed a seal around our bathtub. When we removed the tile, it brought the floor line down and exposed where the tub was reglazed. It was a green/blue tub from the 50’s. I bought this flexible trim for tubs I found on Amazon for just $6 to cover it up as a temporary fix. Here’s the before and after.
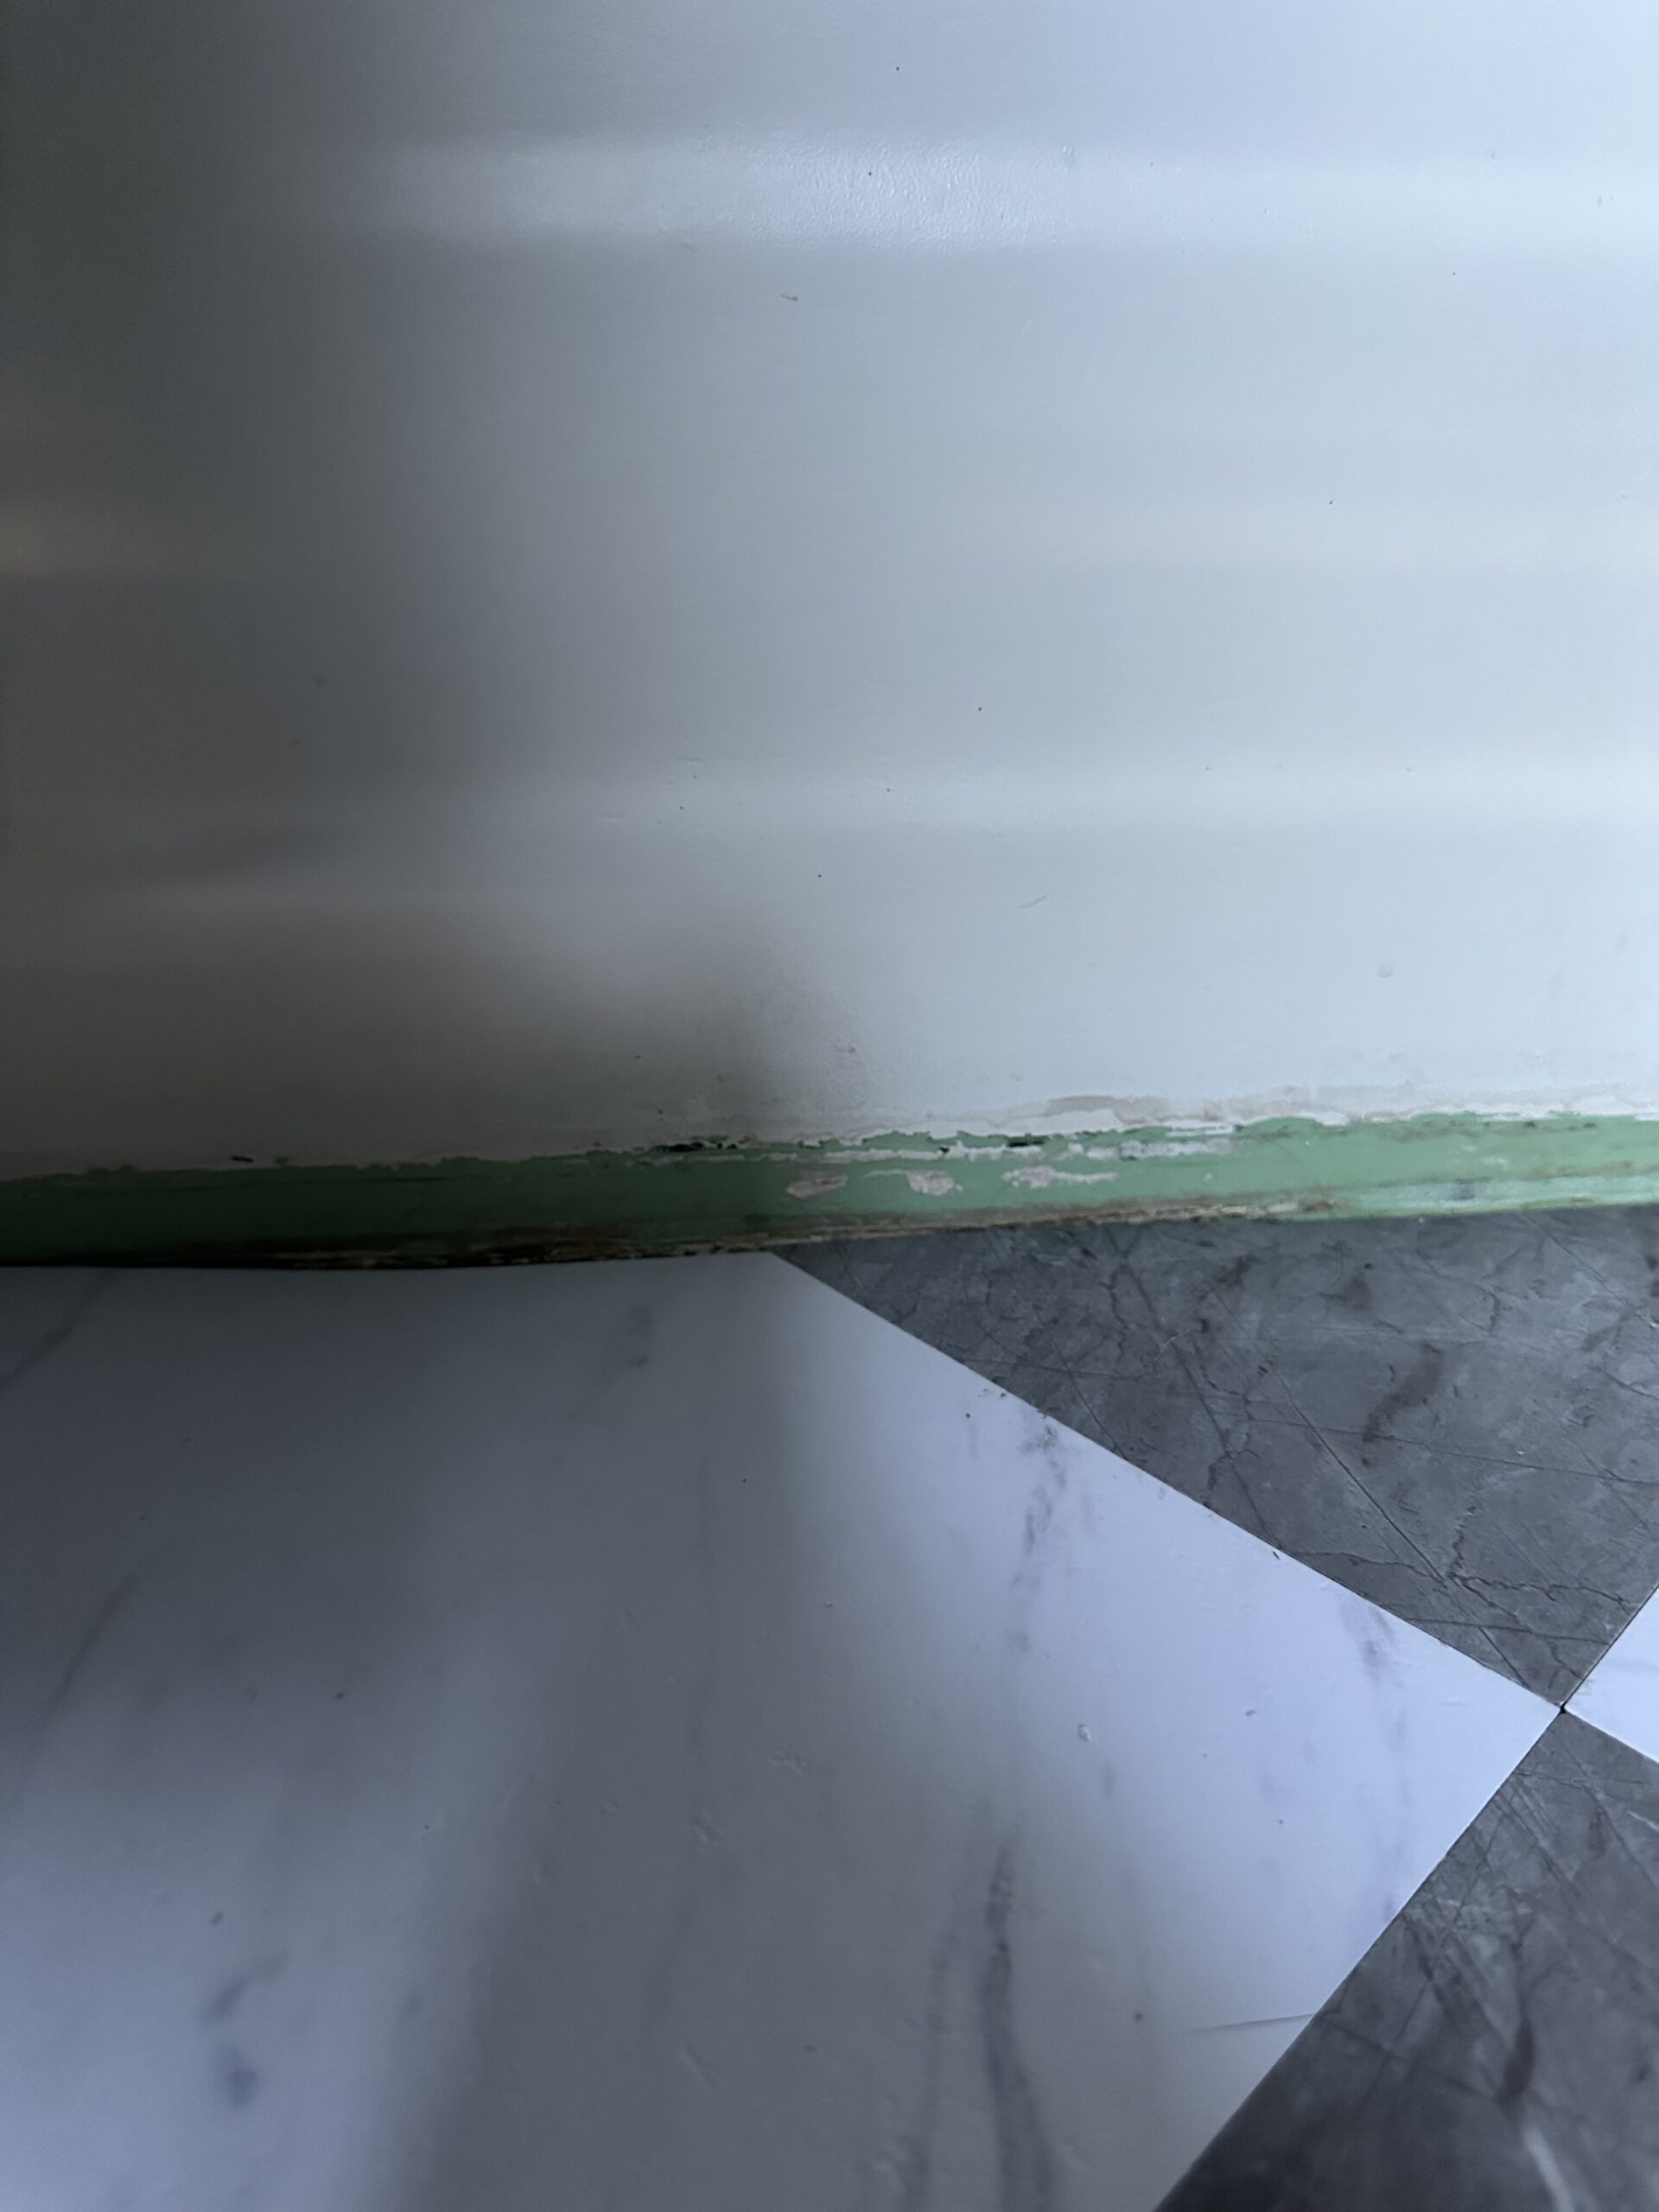
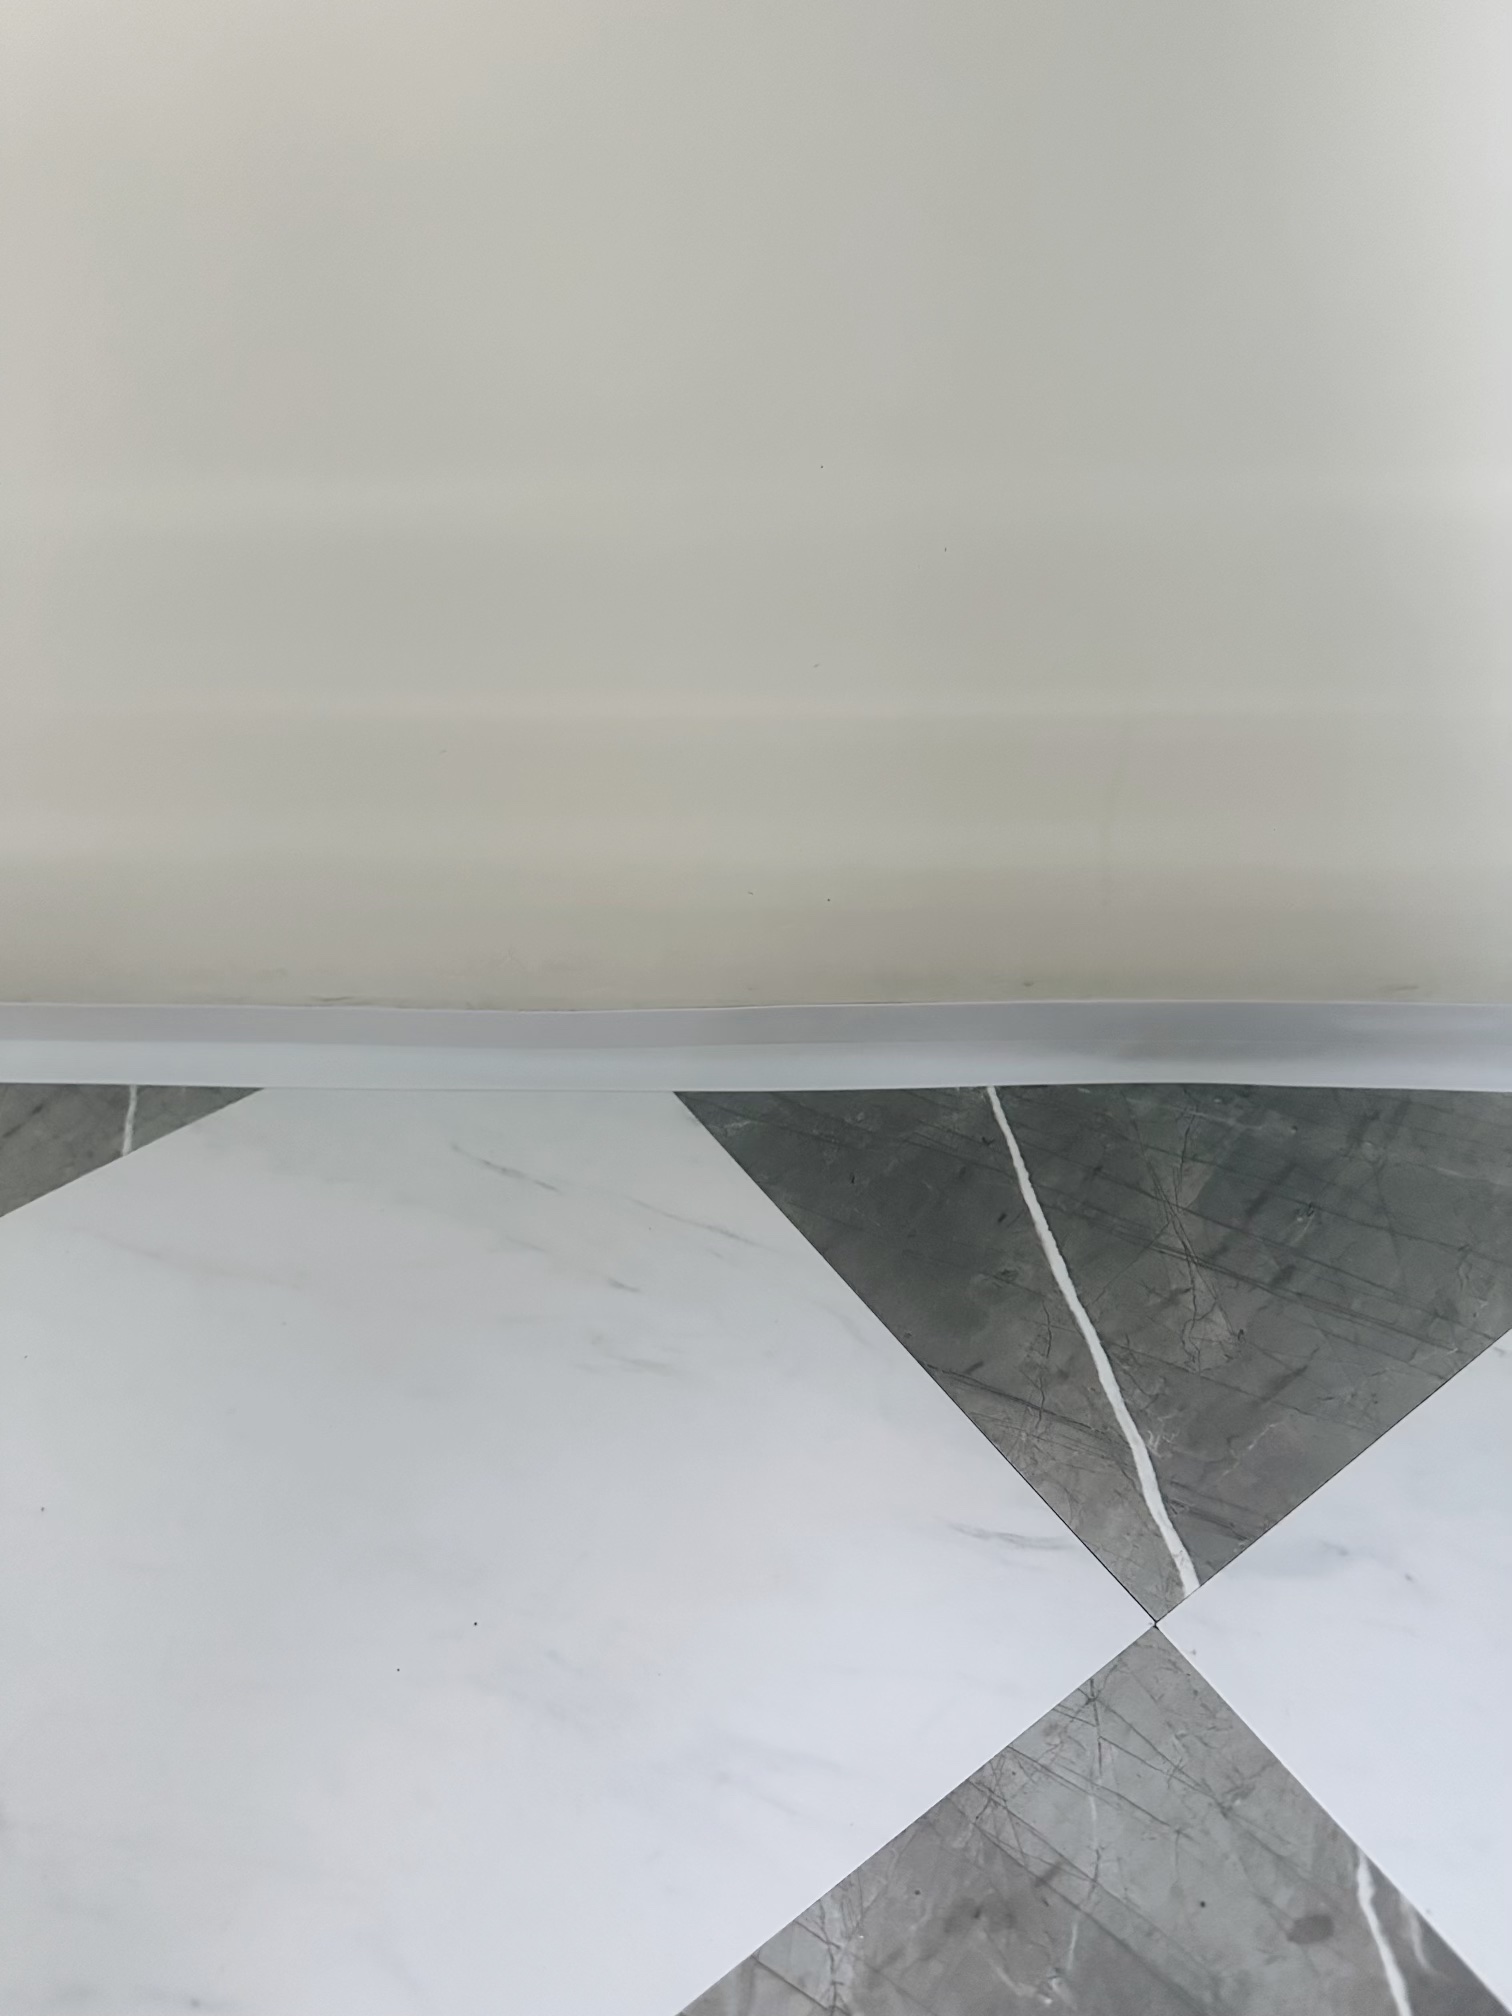
It’s not a perfect match but it looks so much better. If it gets dirty, I can just take it off and reapply
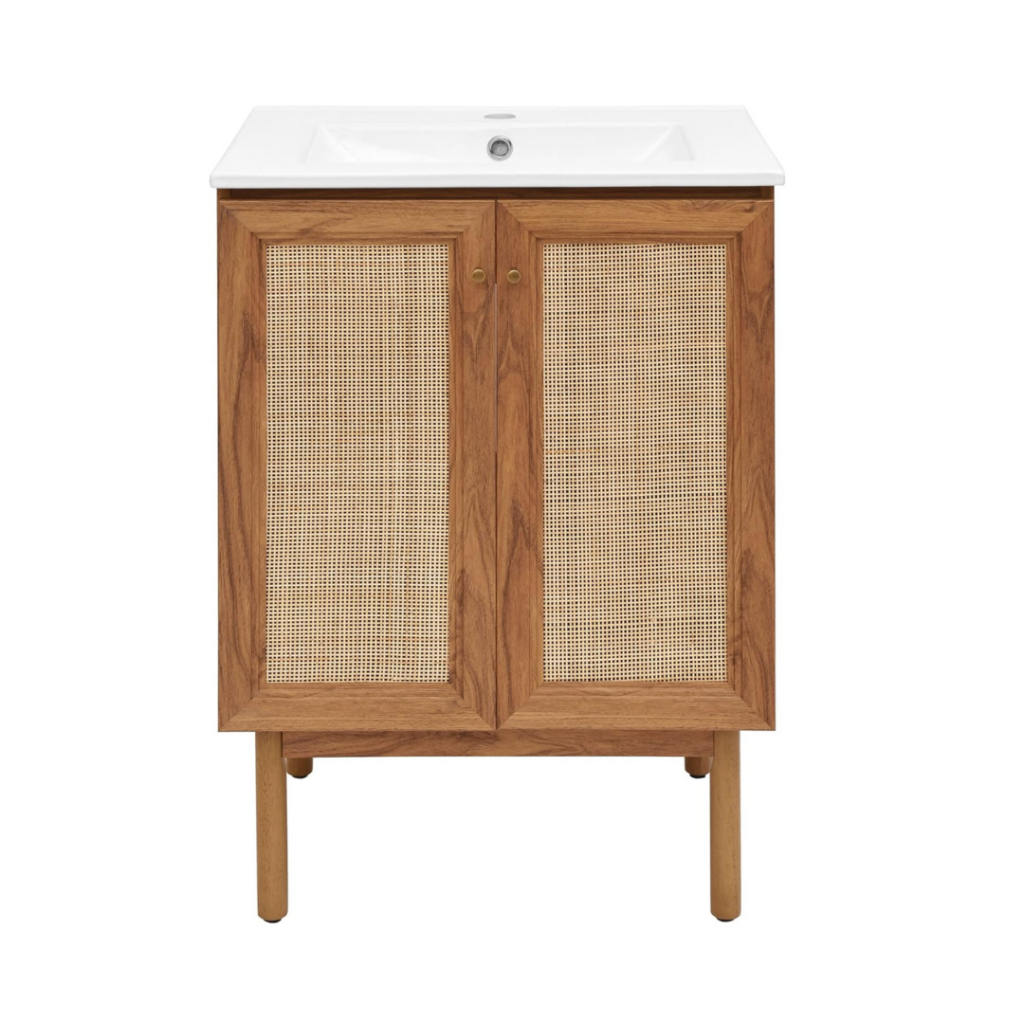
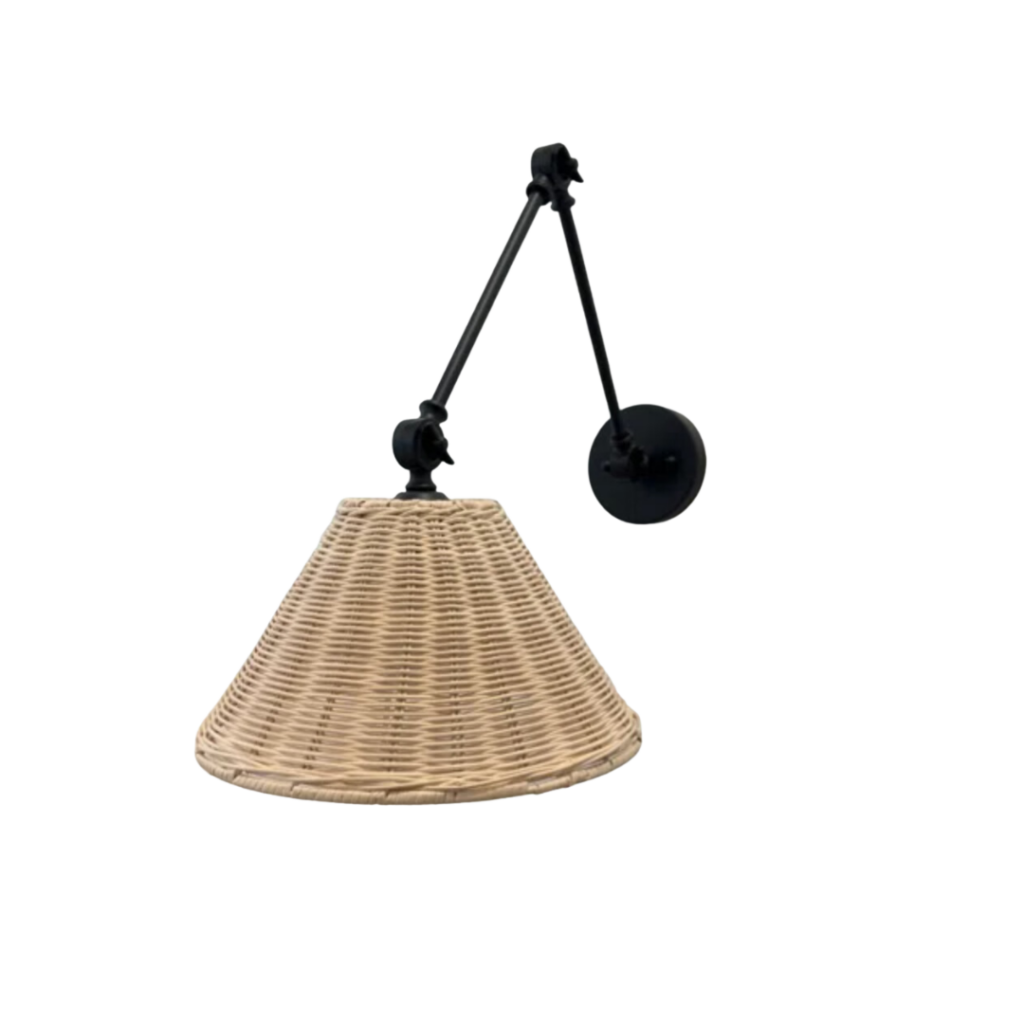
Next, we added a wall light and the vanity. I’m loving the final product!
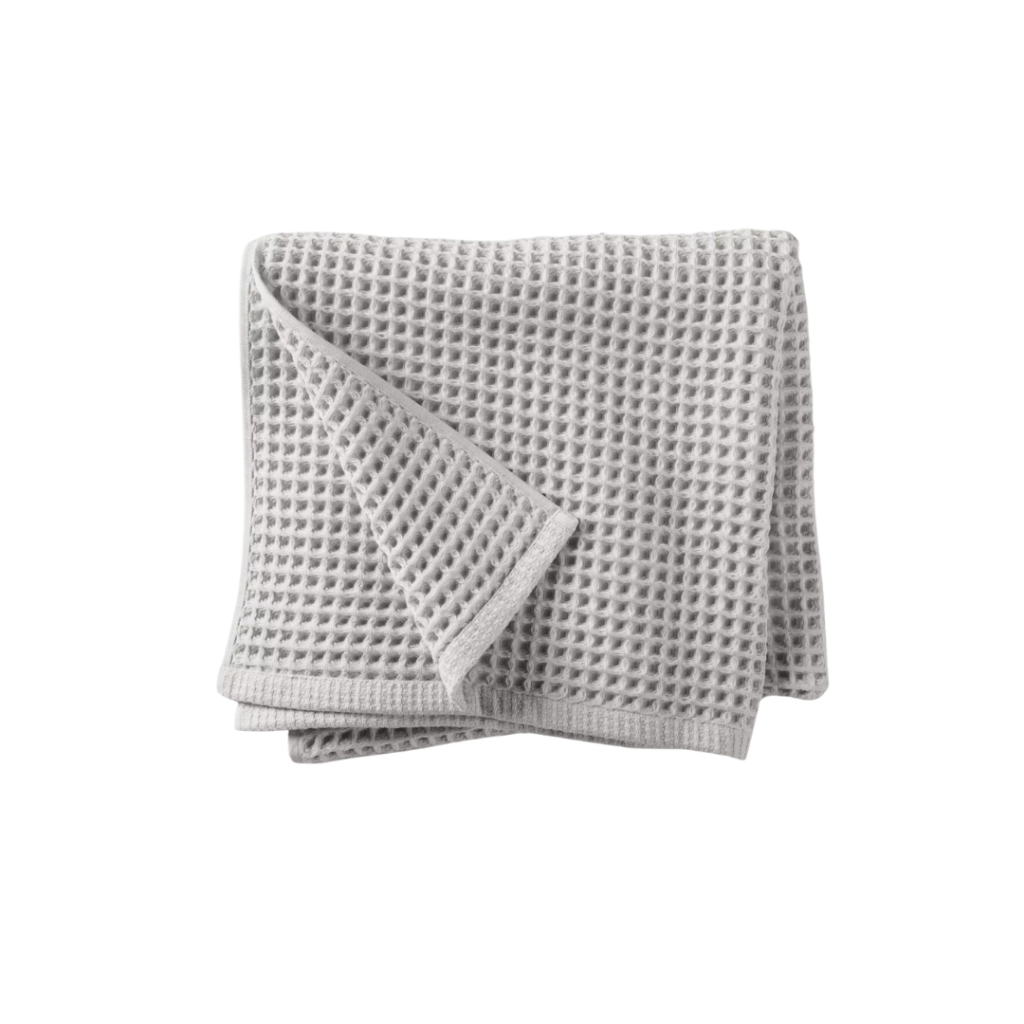
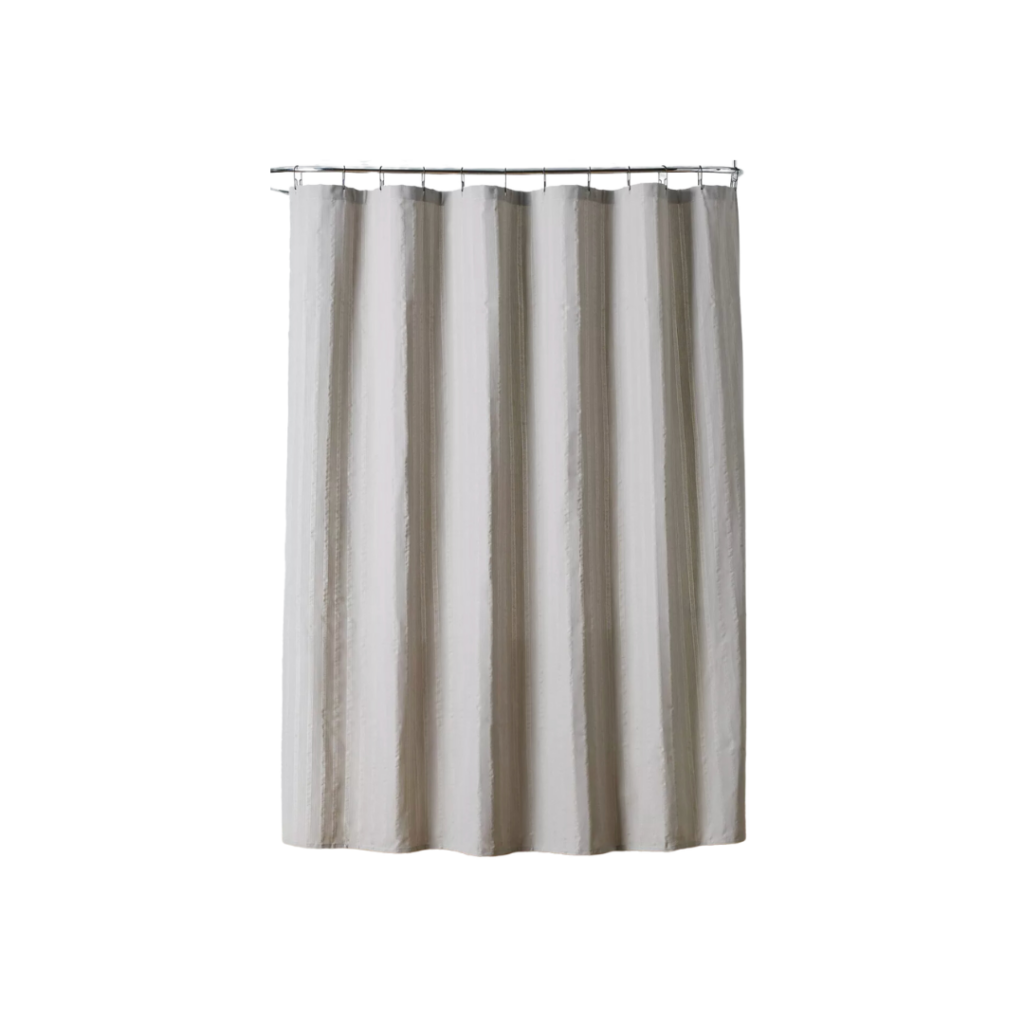
Here’s everything we used in our dark navy bathroom!

Comments