
A few years back, I fell in love with the concept of pocket holes from watching @frankieandgrae install seamless custom built-ins with no screws showing at all. I thought, “I have to learn how to do that one day!” I got my own pocket hold jig and the rest is history.
At first, watching other people work with pocket holes seemed a bit intimidating. I quickly learned that once I actually had the tools in my hand and tried it for myself…it was much simpler than I thought!
For about six months I used a cheap plastic portable jig (that I had to clamp on for each individual pocket hole). This was really rough on my hands and very time consuming! The clamp would often snap off, and the plastic jig just wasn’t the sturdiest. I was ready for an upgrade!
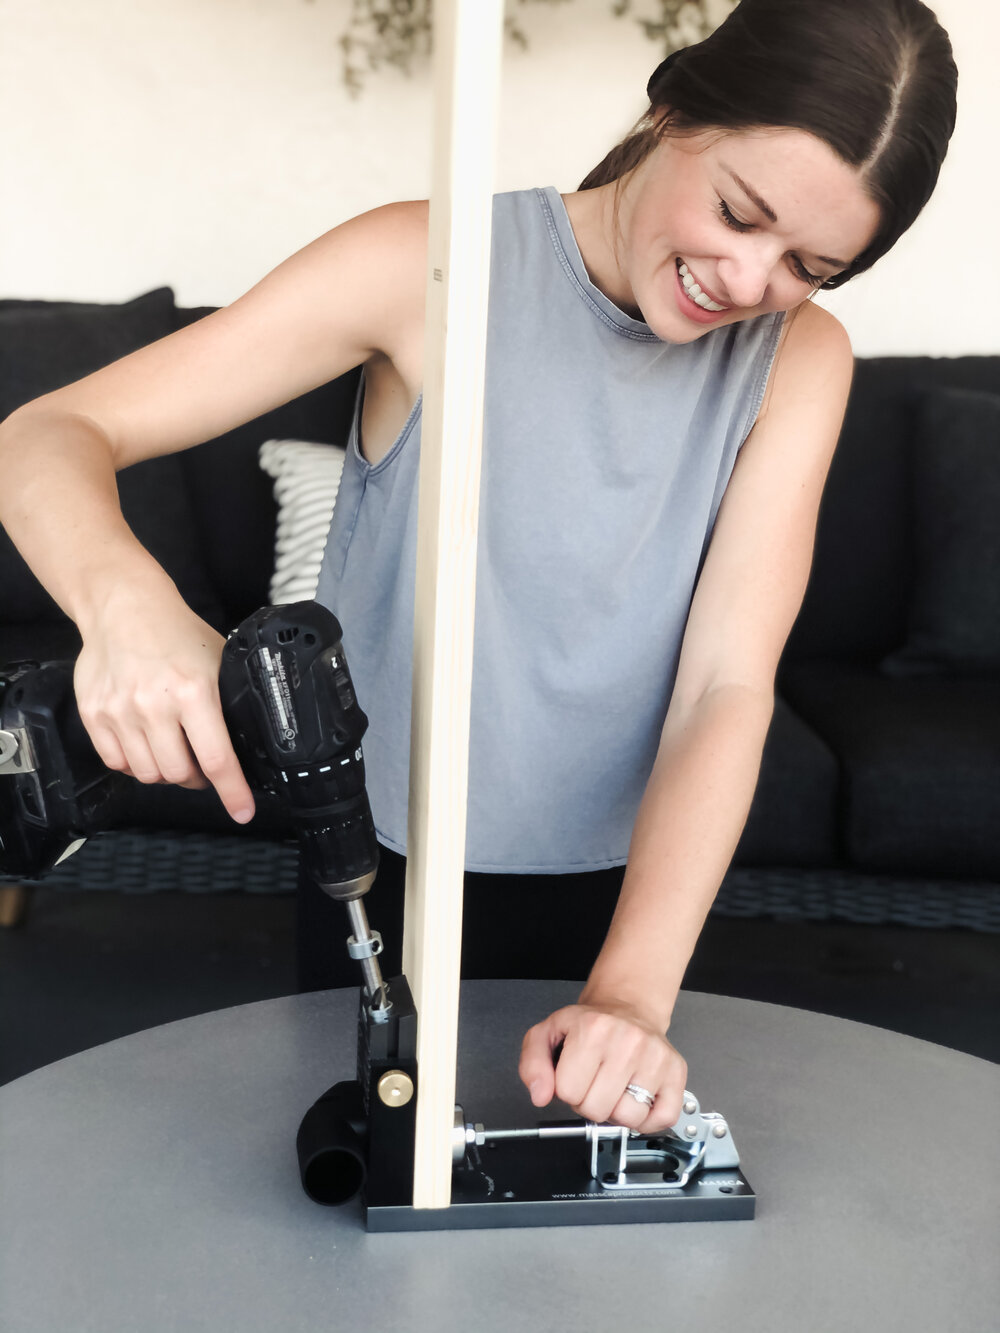
I switched to the Massca M1 Pocket Hole Jig and I’m never going back! This product has an incredible design and is all-around much more user-friendly than what I’ve used in the past. It’s made of heavy-duty aluminum instead of plastic, which just makes it so much stronger and more durable as I’m drilling holes. It also has a dust spout connector so I can hook up my shop-vac.

I just love the design!
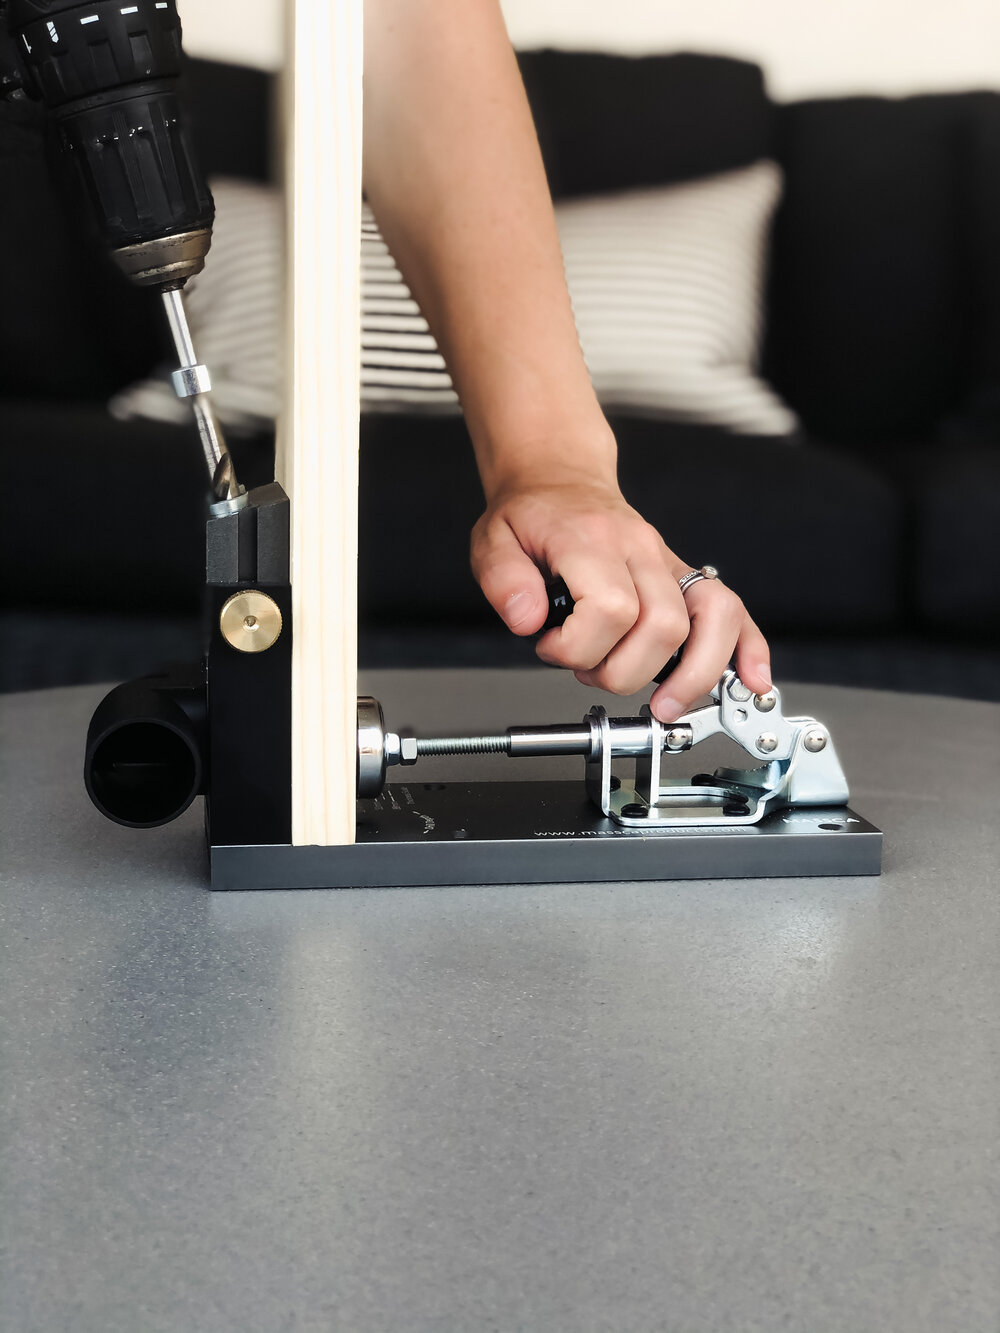
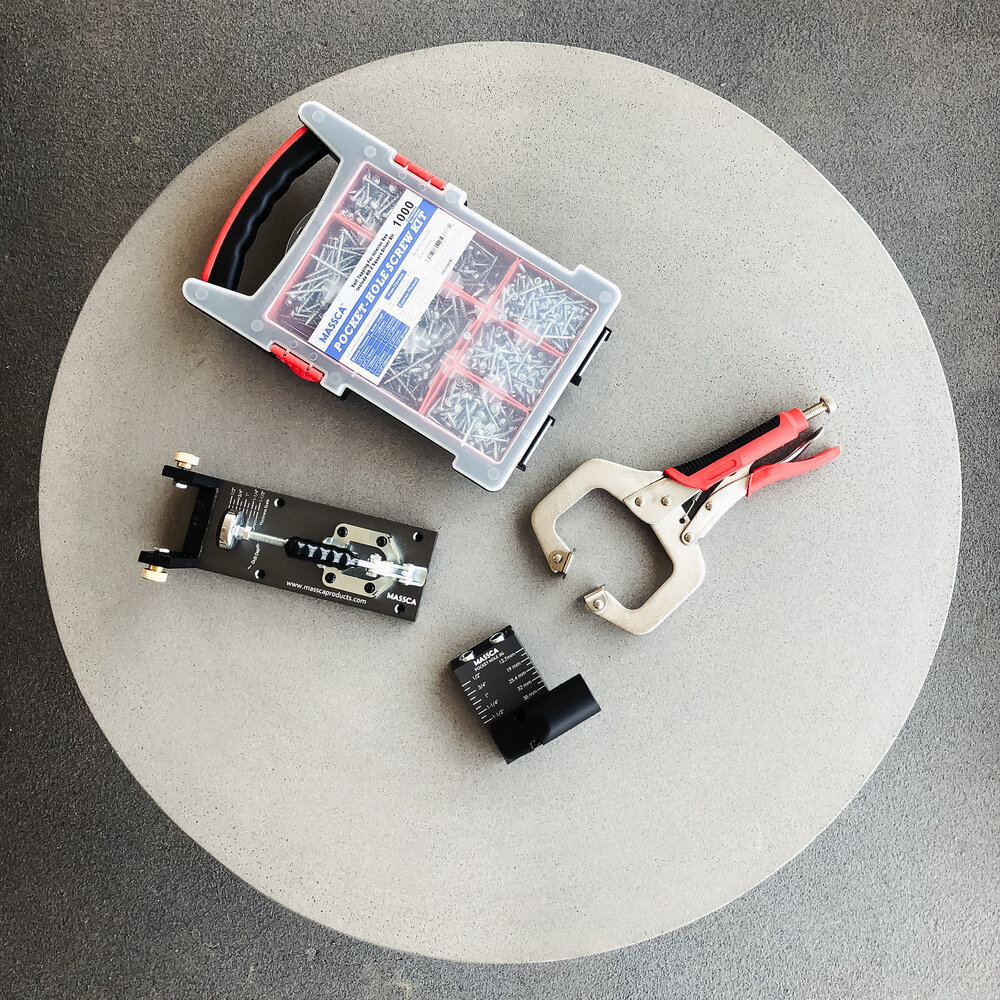
The Massca Jig Hole System Tool Bundle comes with the M1 Jig, a clamp, a square-head screw assortment, and the bits that you’ll need both to pre-drill and install the screws. I’d recommend getting this kit instead of just the jig!
I used pocket holes on all the wood slats for this wall planter. See how it looks totally seamless? I’m so happy with how it turned out!

This post is sponsored by Massca.
Comments