
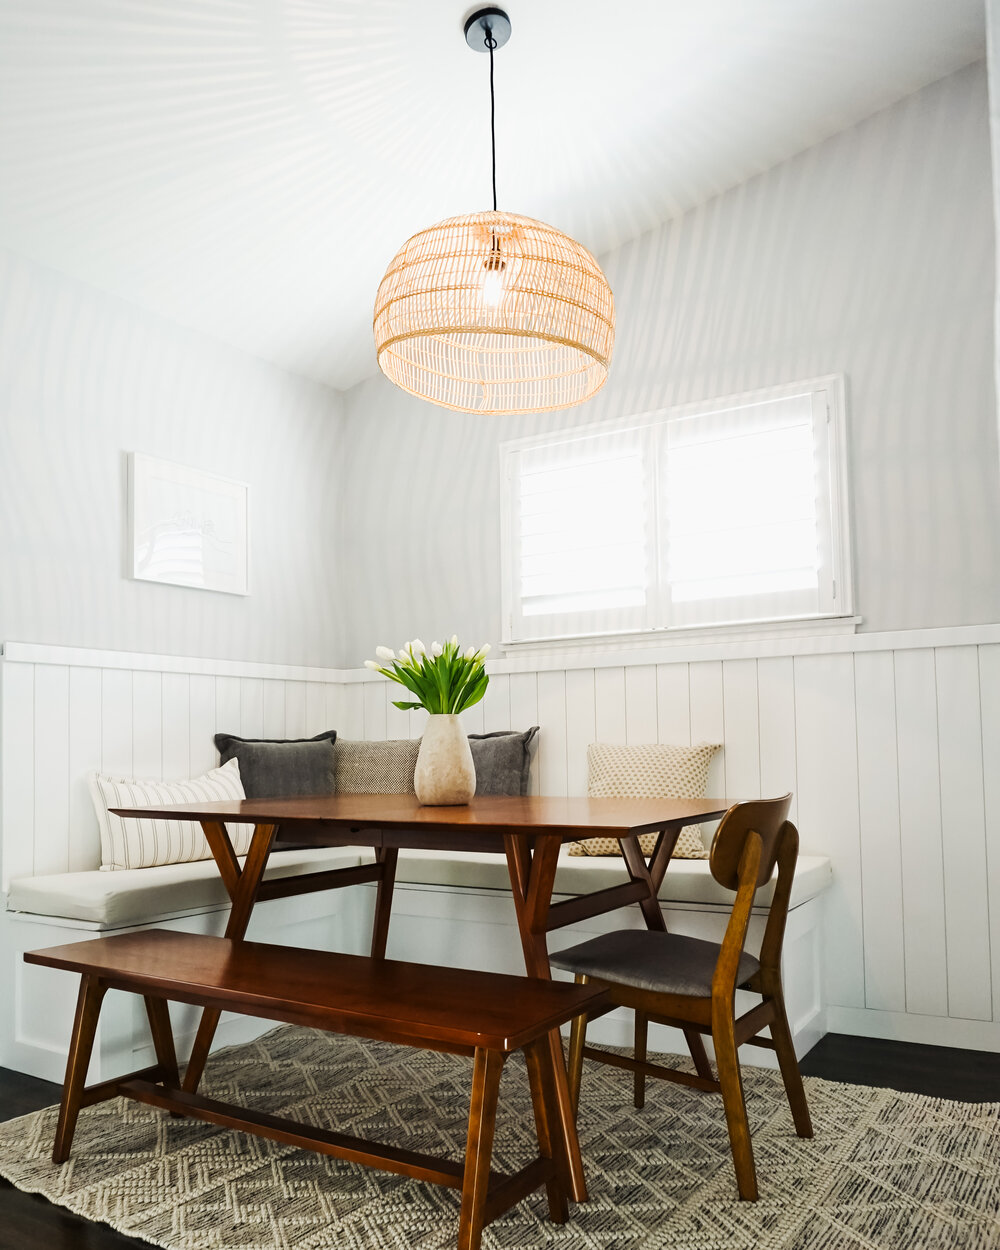
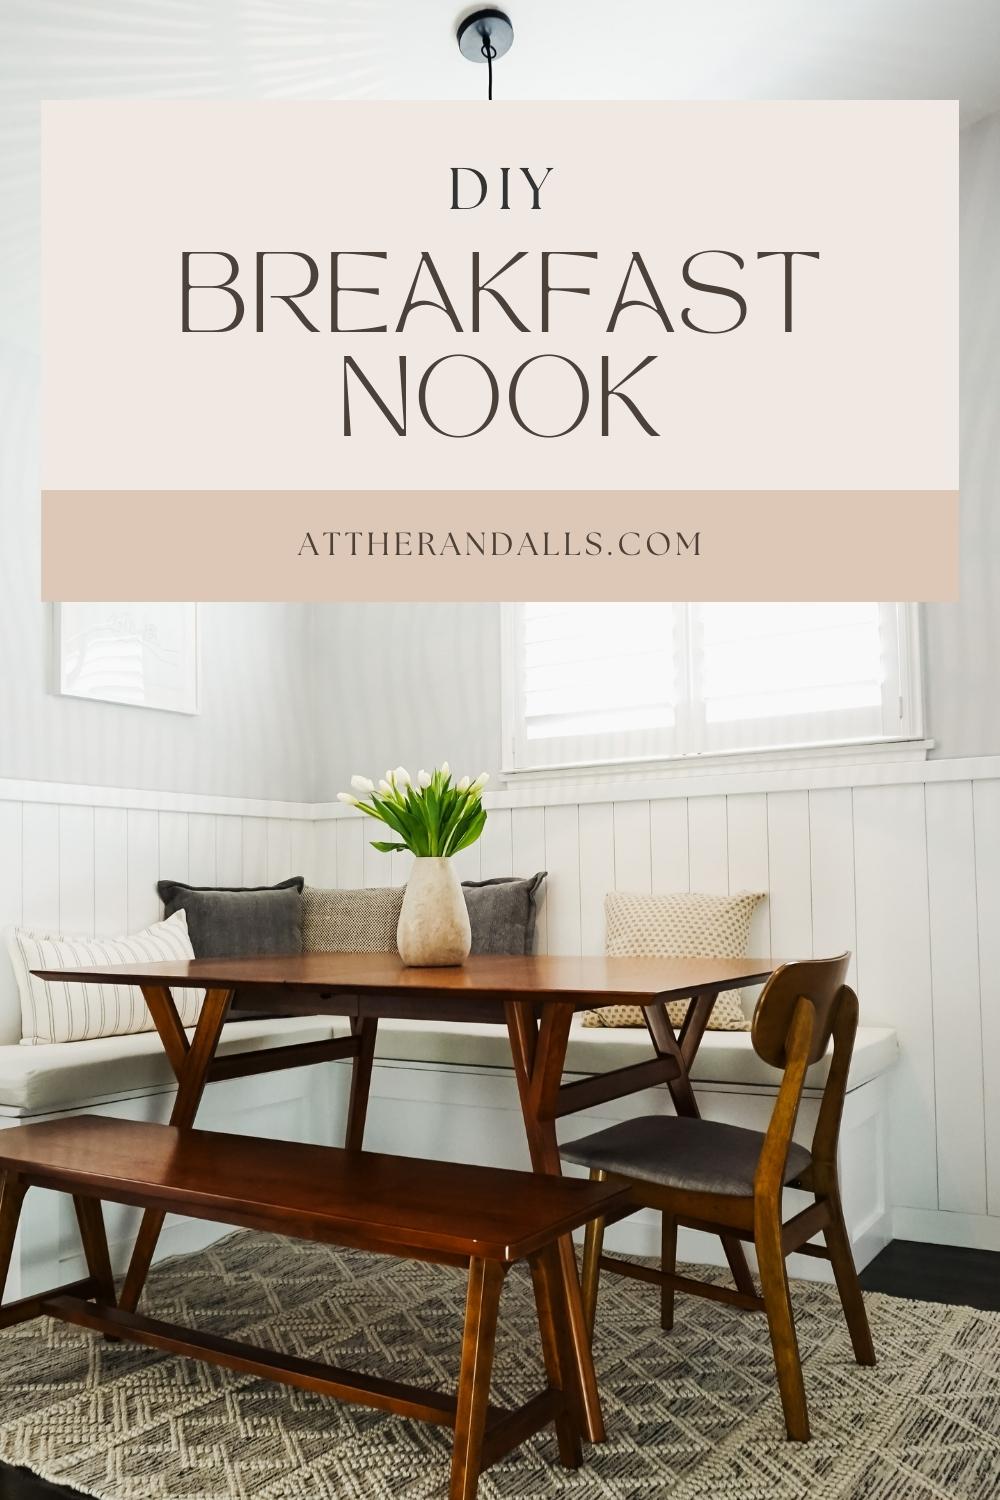
Here are the DIY instructions for our breakfast nook banquette build!
tools required:
circular saw
Kreg rip cut jig
drill
impact driver
countersink bit
miter saw
brad nailer
sander
caulk gun
hardware required:
2.5” screws (grab a box of at least 150)
3″.5” screws (20 or so)
piano hinges
brad nails
materials required:
2x4s (8 10’ boards)
3.5” x 1/2” mdf trim (4 10’ pieces)
1/2” plywood (1 4×8’ sheet)
3/4” plywood (1 4×8’ sheet)
wood filler
caulking
other links
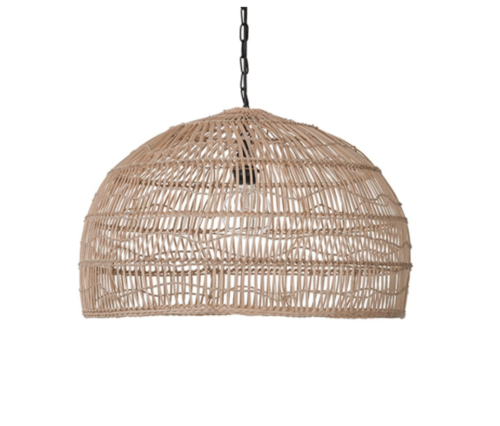
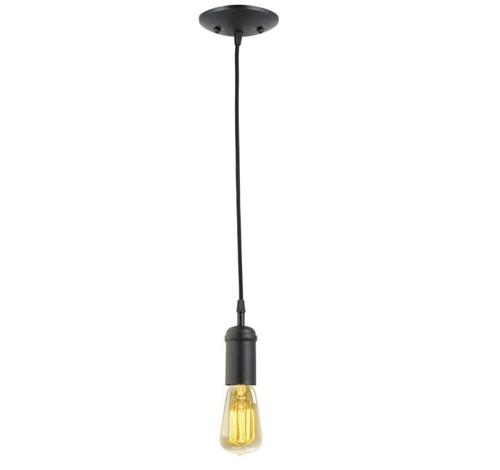
chandelier (we replaced the chain with this simple black cord)
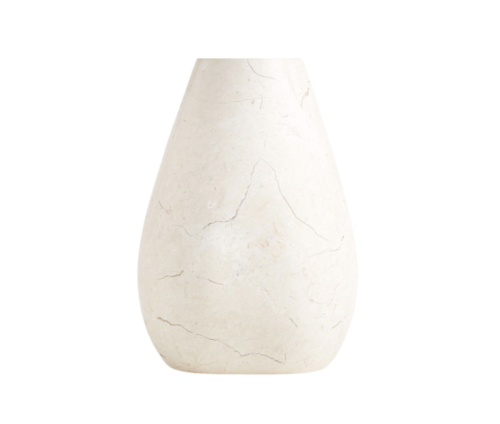
marble vase
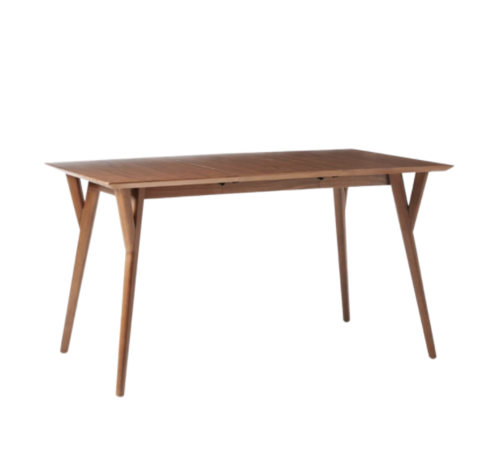
table
dining chair
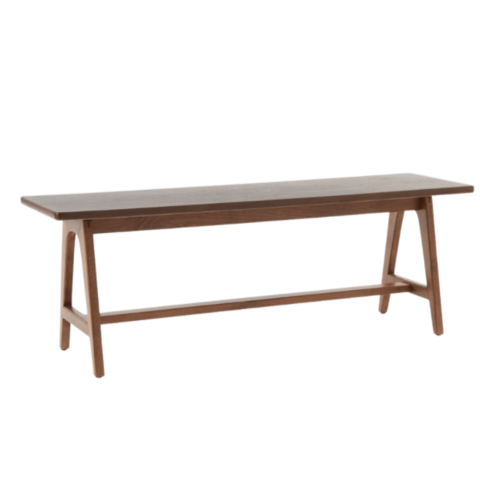
dining bench
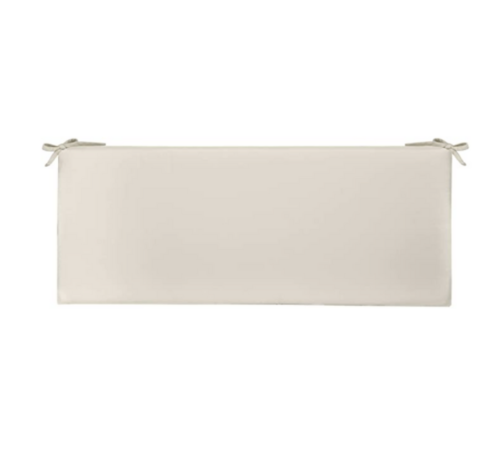
seat cushions
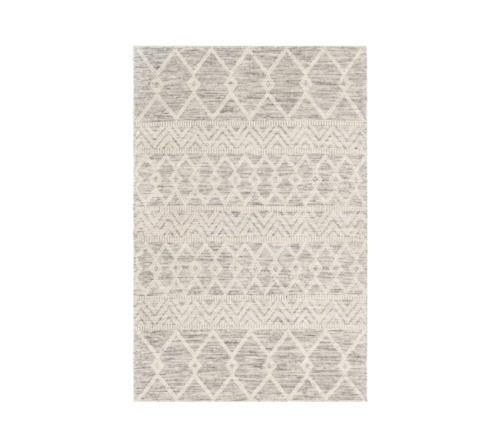
rug

Instructions
*Very important* Make sure you buy your seat cushions FIRST! We built our banquette around the cushion measurements. Unless you’re making or ordering custom cushions, it will be much easier to build around the cushions you order rather than trying to find the perfect size cushions after you build the nook.
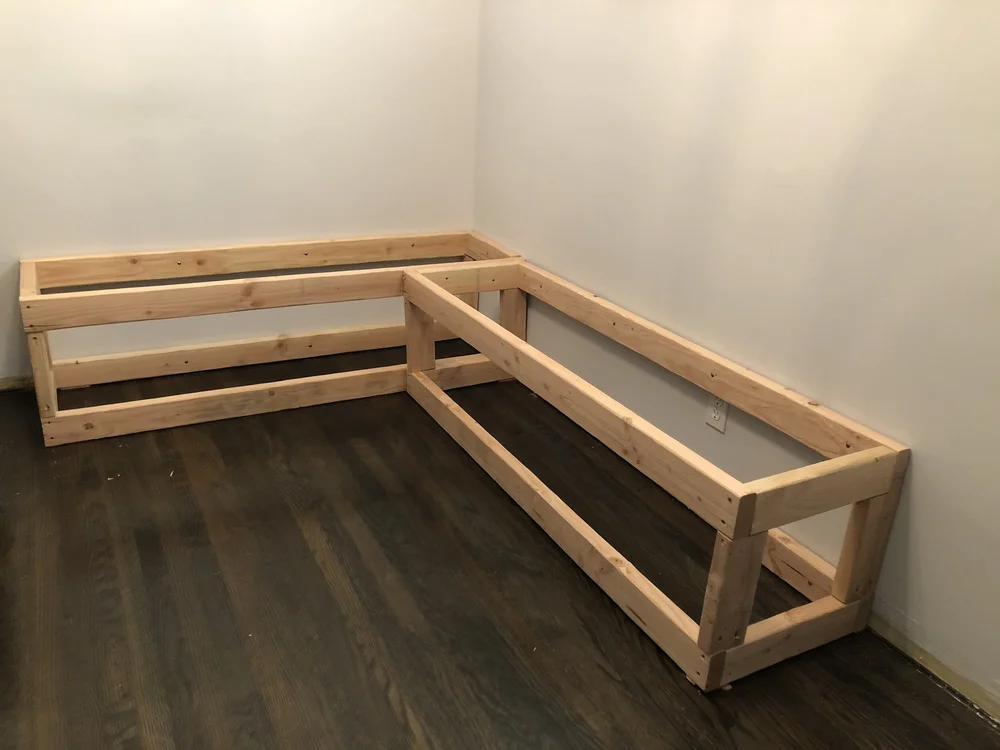
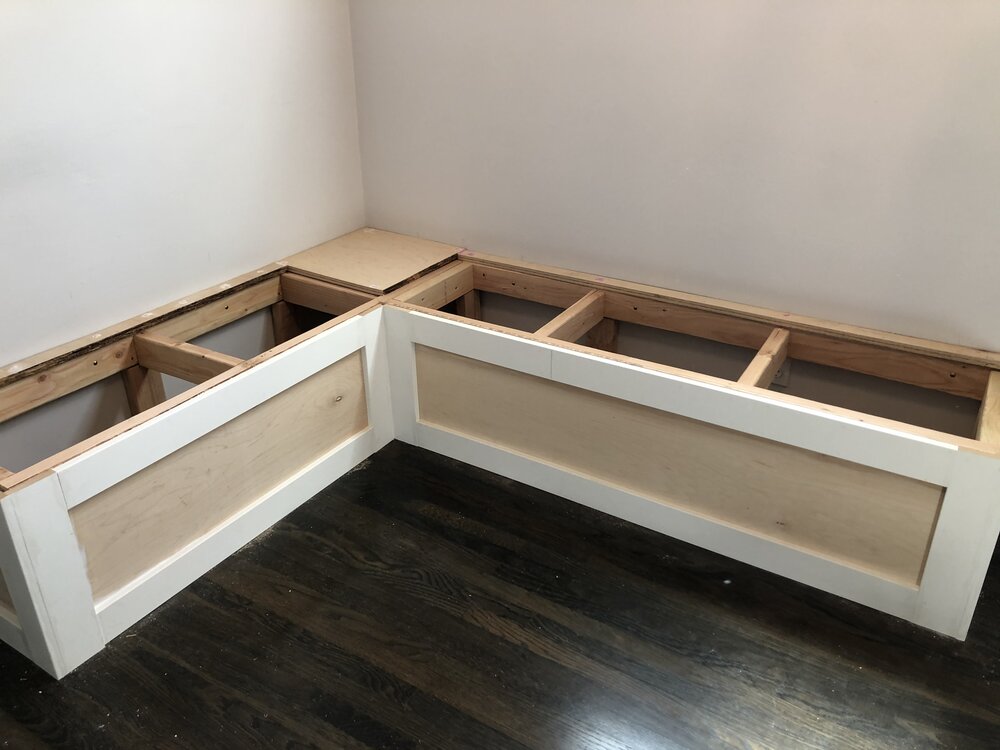
1. Build your frame.
Remove baseboards, and start building! Cut 2x4s to your required dimensions and build 2 basic frames. We used 2.5” screws.
Note on dimensions: we built this banquette to match the height of the chairs that would go on the other side. Remember to account for the plywood top and cushion too!
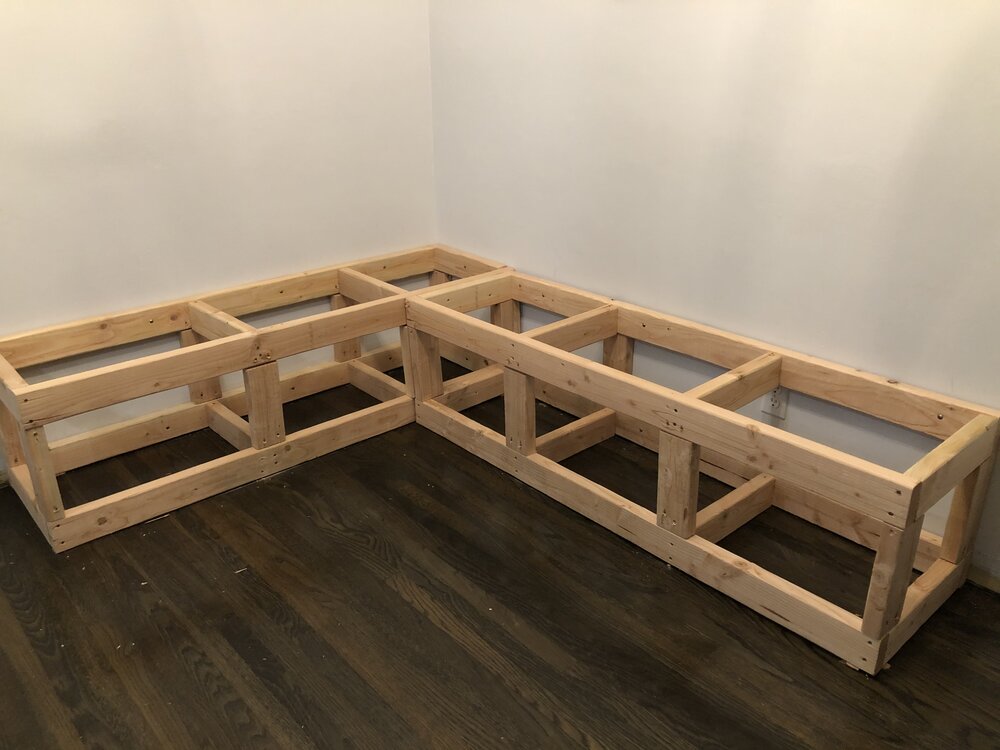
2. Add vertical and horizontal supports, and secure to the wall.
You can attach the vertical pieces using a pocket hole jig or drilling at an angle. Since this will all be hidden, we decided to just attach the screw at an angle. Secure the frames into the wall studs and join the 2 frames together.

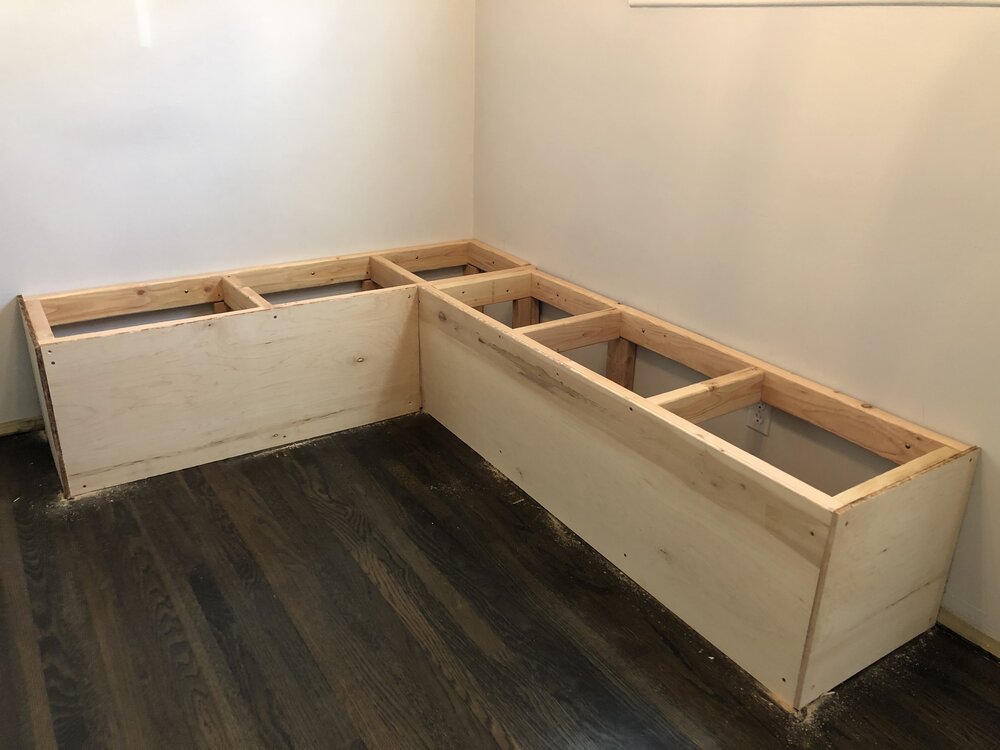
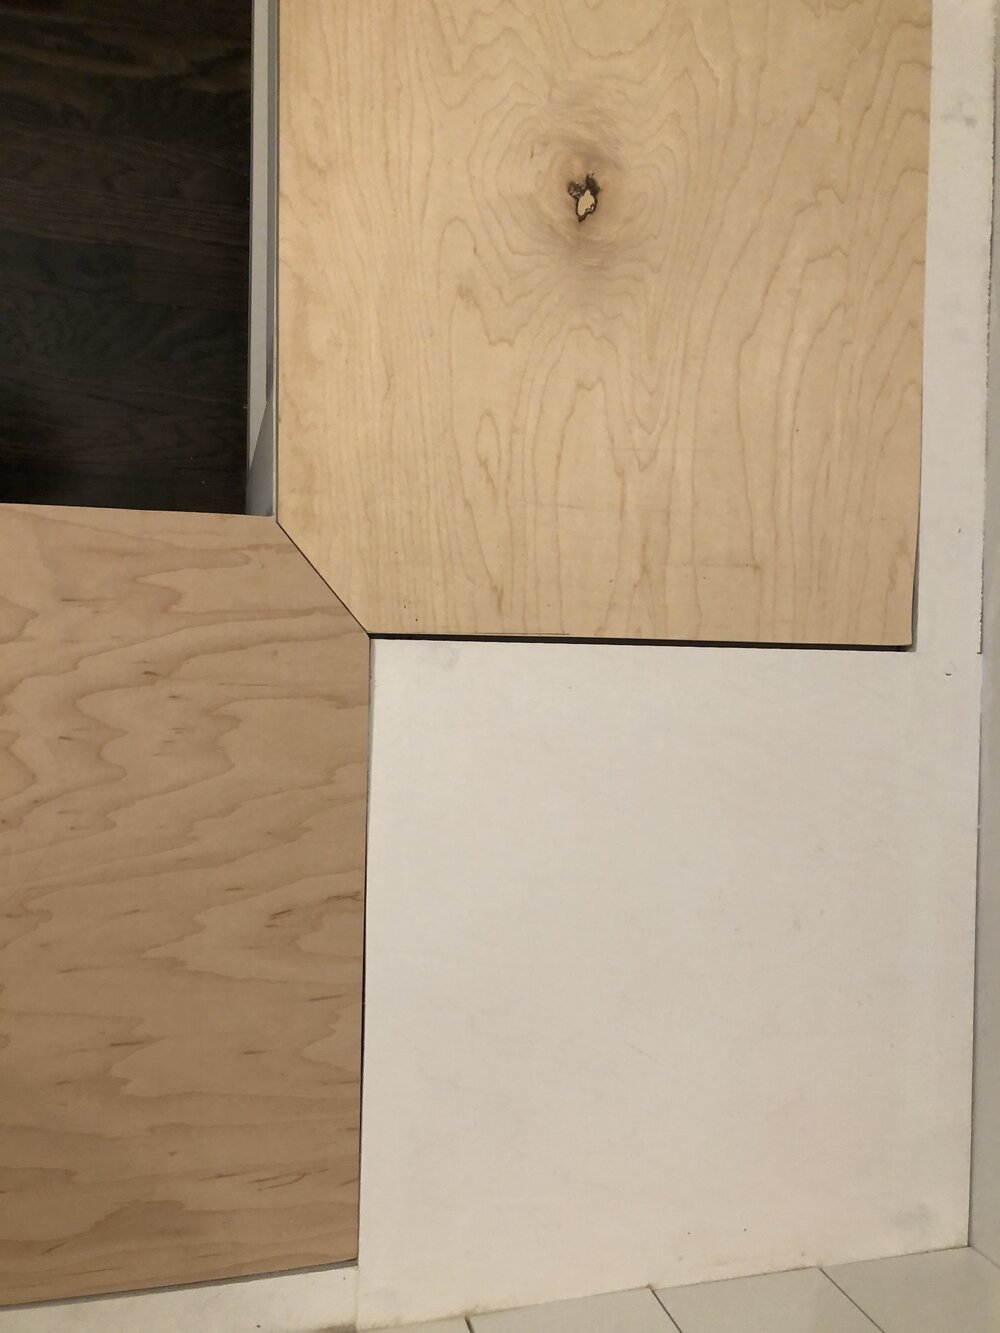
3. Encase with plywood.
Use the Kreg rip cut saw guide with a circular saw (table saw will also work) to cut your 1/2” plywood to size. Cut four pieces- outer squares and inner rectangles. Secure to frame with screws.
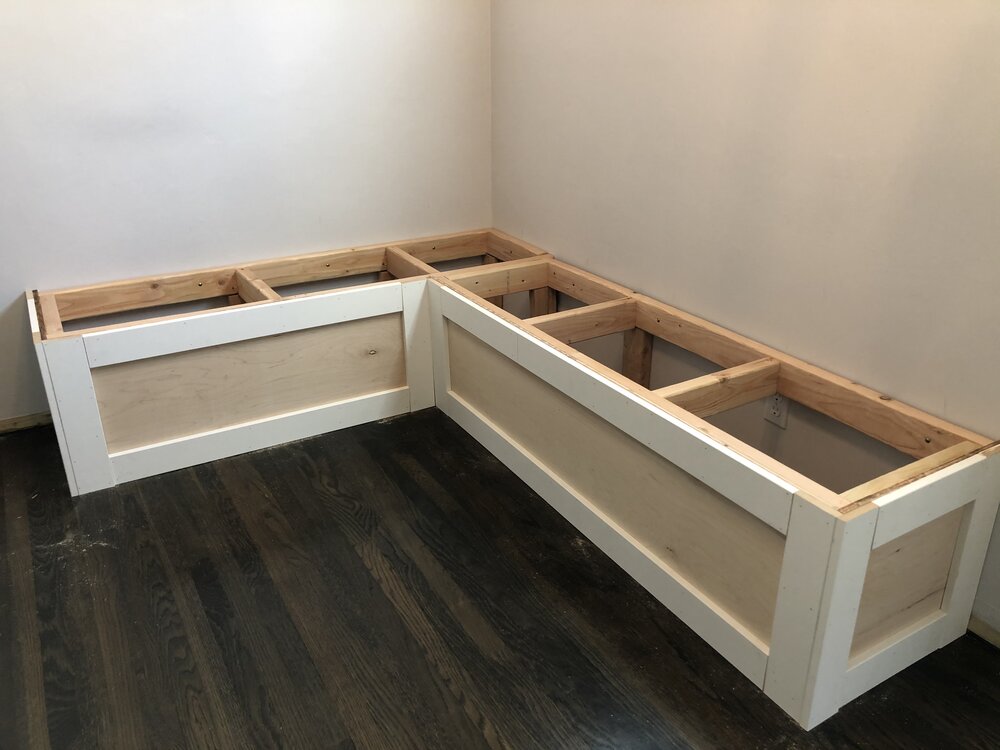
4. Trim it out.
We used 2.5” mdf and attached with the brad nailer.
5. Make cuts for the top. We used 3/4” plywood. Cut 3 pieces total- corner square (make this first), then the two top pieces. The corners that meet in the middle will need to be cut at a 45º angle to fit together. Congrats- you’re done cutting wood! Almost there!
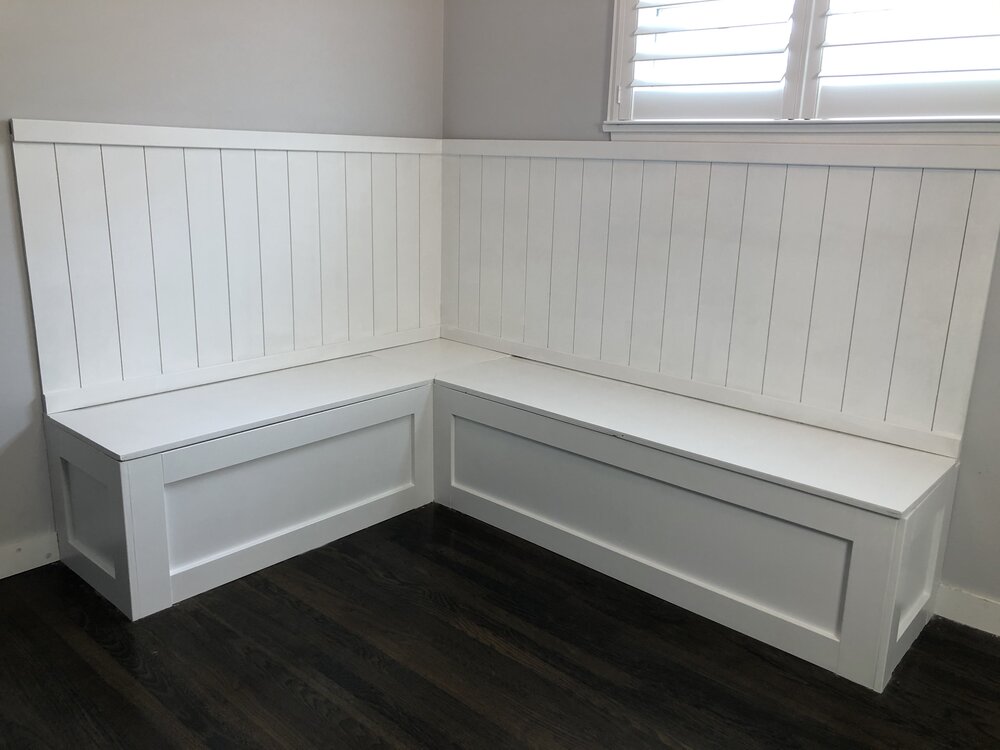
6. Prime and paint.
We decided to add some shiplap above! Make sure to prime since we’re working with raw wood, and paint. We used ultra bright white by HGTV Sherwin Williams (straight off the shelf). We also added our baseboards back during this step.
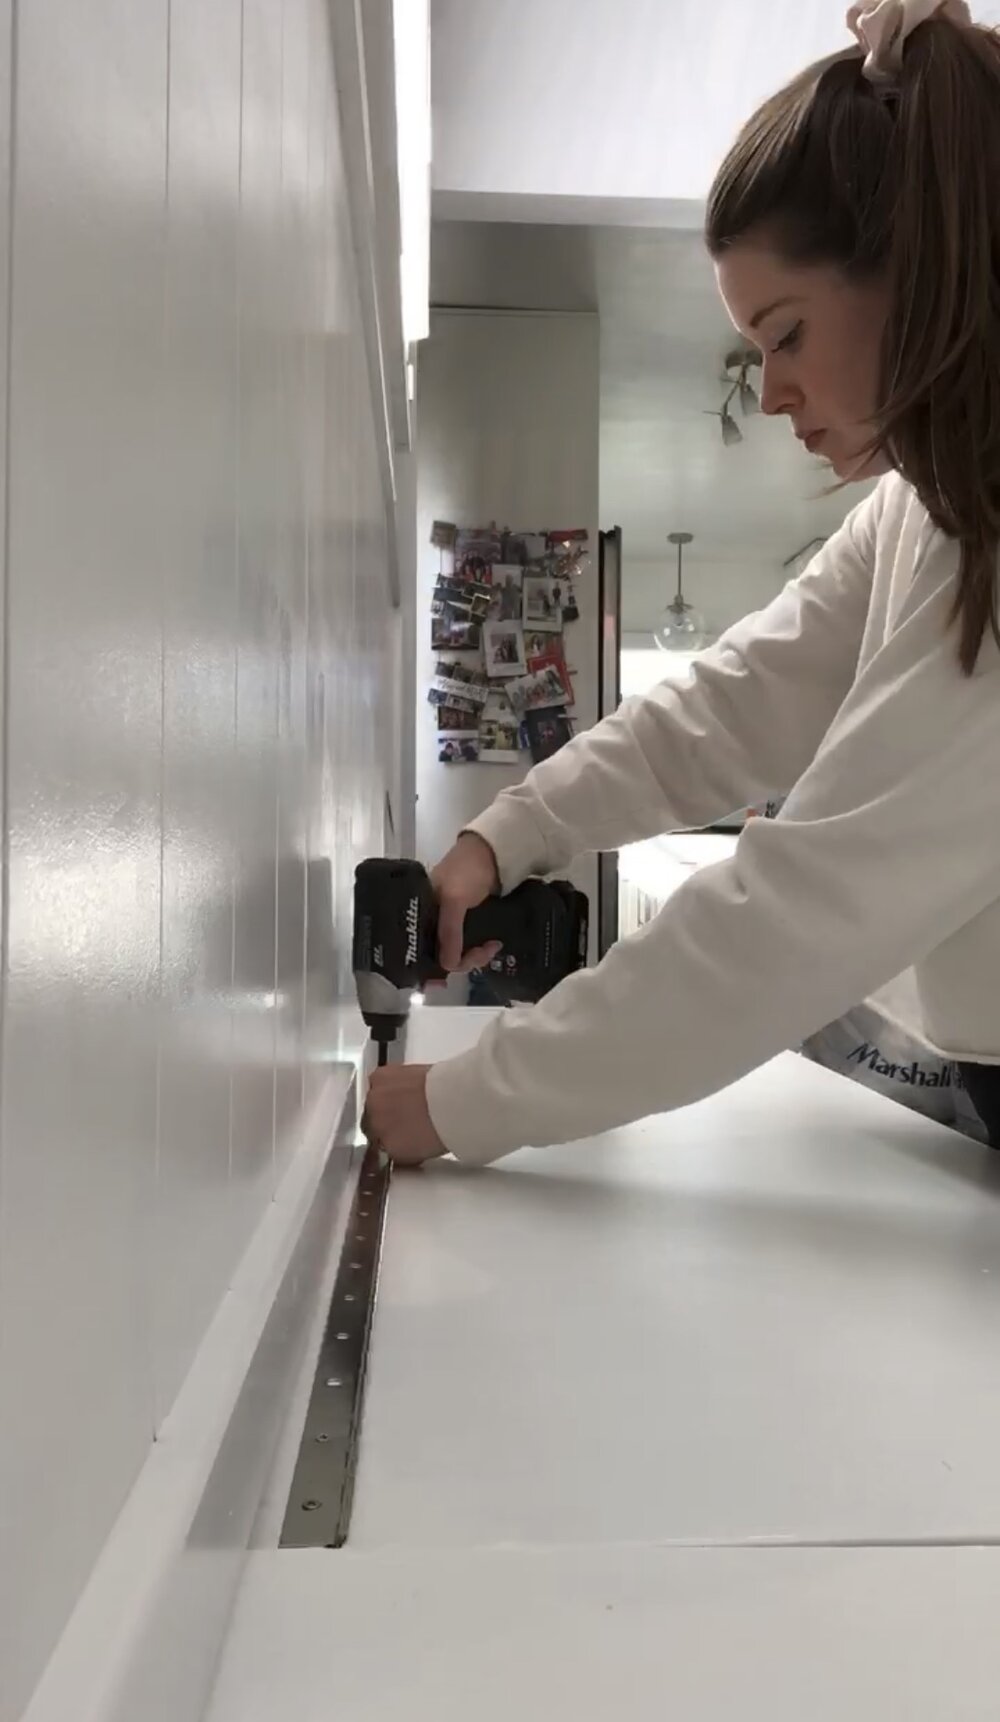
7. Once paint has cured, attach piano hinges.
We didn’t have enough space underneath to secure the hinge to hide it, but check out this tutorial by @diywithkt for another version with a hidden hinge. It didn’t matter too much here because we are going to finish the top with seat cushions and pillows anyway.

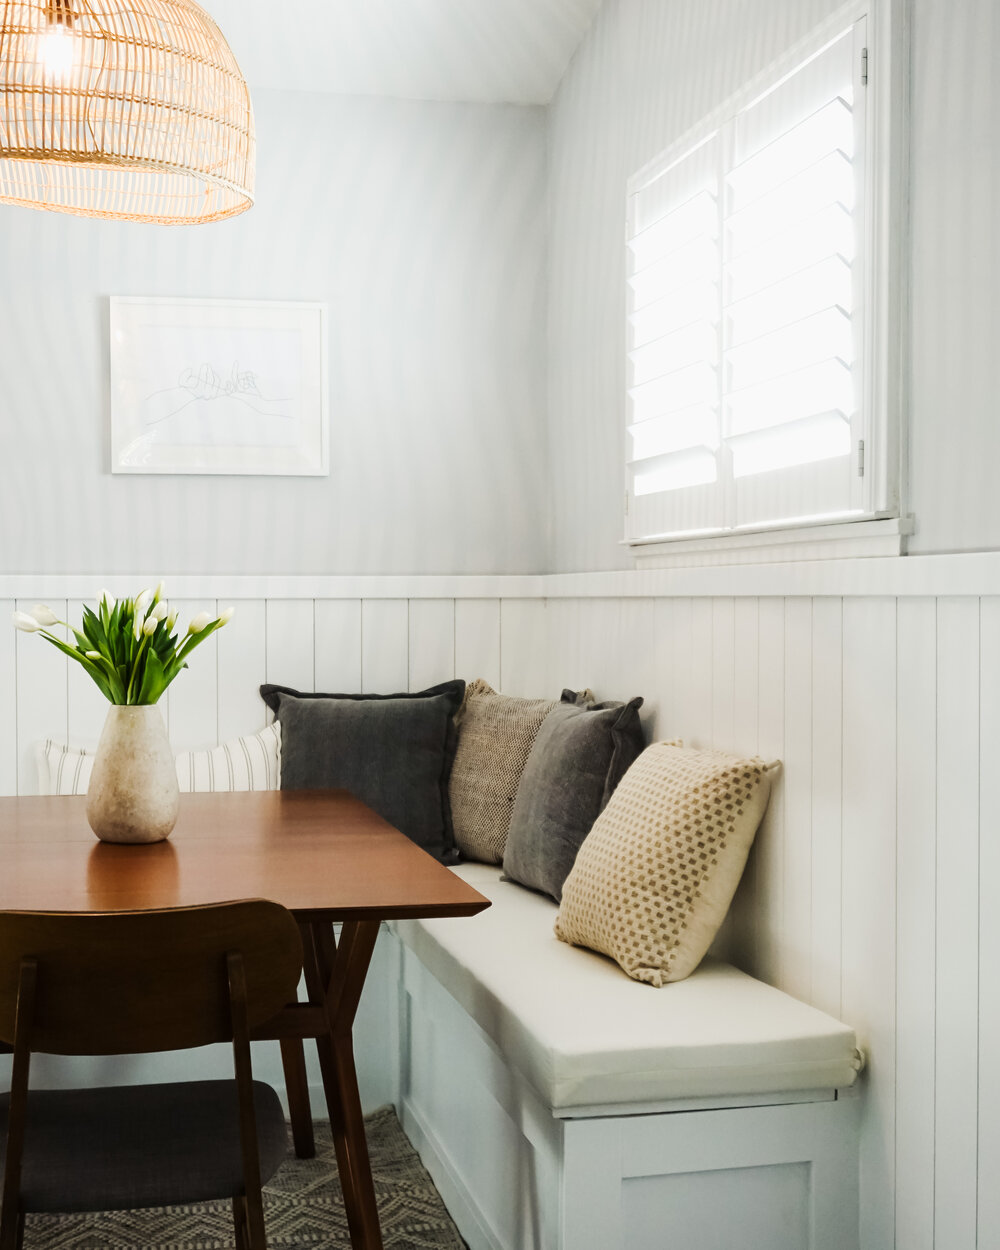
8. Be proud of your hard work.
Now the fun part- decorating! We used this pendant light, this rug, this table, vase, chair, and bench, and I bought the pillows locally at Marshall’s. Enjoy your new breakfast nook!
This build was featured on the West Elm website! Check it out in the #MyWestElm section of this page.
Comments